| This content applies solely to Connected KYC, which must be purchased separately from the Appian base platform. This content was written for Appian 23.1 and may not reflect the interfaces or functionality of other Appian versions. |
Connected FS (Financial Services) Settings is a separate site utilized by all three solutions in the Financial Services Suite: Connected Onboarding, Connected Servicing, and Connected KYC to allow business users to:
Only business users with the appropriate group membership are able to access this site. This ensures that only a select few have access to sensitive processes and information.
This page provides instructions and prerequisites for accessing the Connected FS Settings site and using it to streamline and accelerate configuring your Financial Services solutions.
To access the Connected FS Settings site:
AS FS Manage Processes group.AS FS Access Settings Configure Page groupAS FS GM Manage Group Membership group.AS IO Manage KYC Questionnaire group. > Connected FS Settings.
Managing organizational changes can be a big pain point for many organizations. New team members or team members with new responsibilities need to quickly have access to the tools they need to do their jobs. To ensure security, departing team members need to have their access revoked in a timely manner. The FS Settings site in Appian KYC allows business users with the appropriate access to quickly make the changes needed to keep business running securely.
appian-style note If you need to add new business or security groups, or modify group membership using Appian Designer, see Modifying groups.
Only business groups are able to be modified from FS Settings. So what exactly is a business group? A business group is a group that represents the different business roles that will interact with the solution.
For example, team members who are involved in investigations will be in the KYC business group and managers on the legal team who are involved in investigations will be in the Legal Department Heads business group.
This allows you to put certain teams into security groups to allow access to specific parts of the solution. For example, only members of the KYC and Client Onboarding groups have actions to create new investigations from the Home page.
appian-style note See Group Reference Page for more information on what groups provide what access in your Financial Services solution.
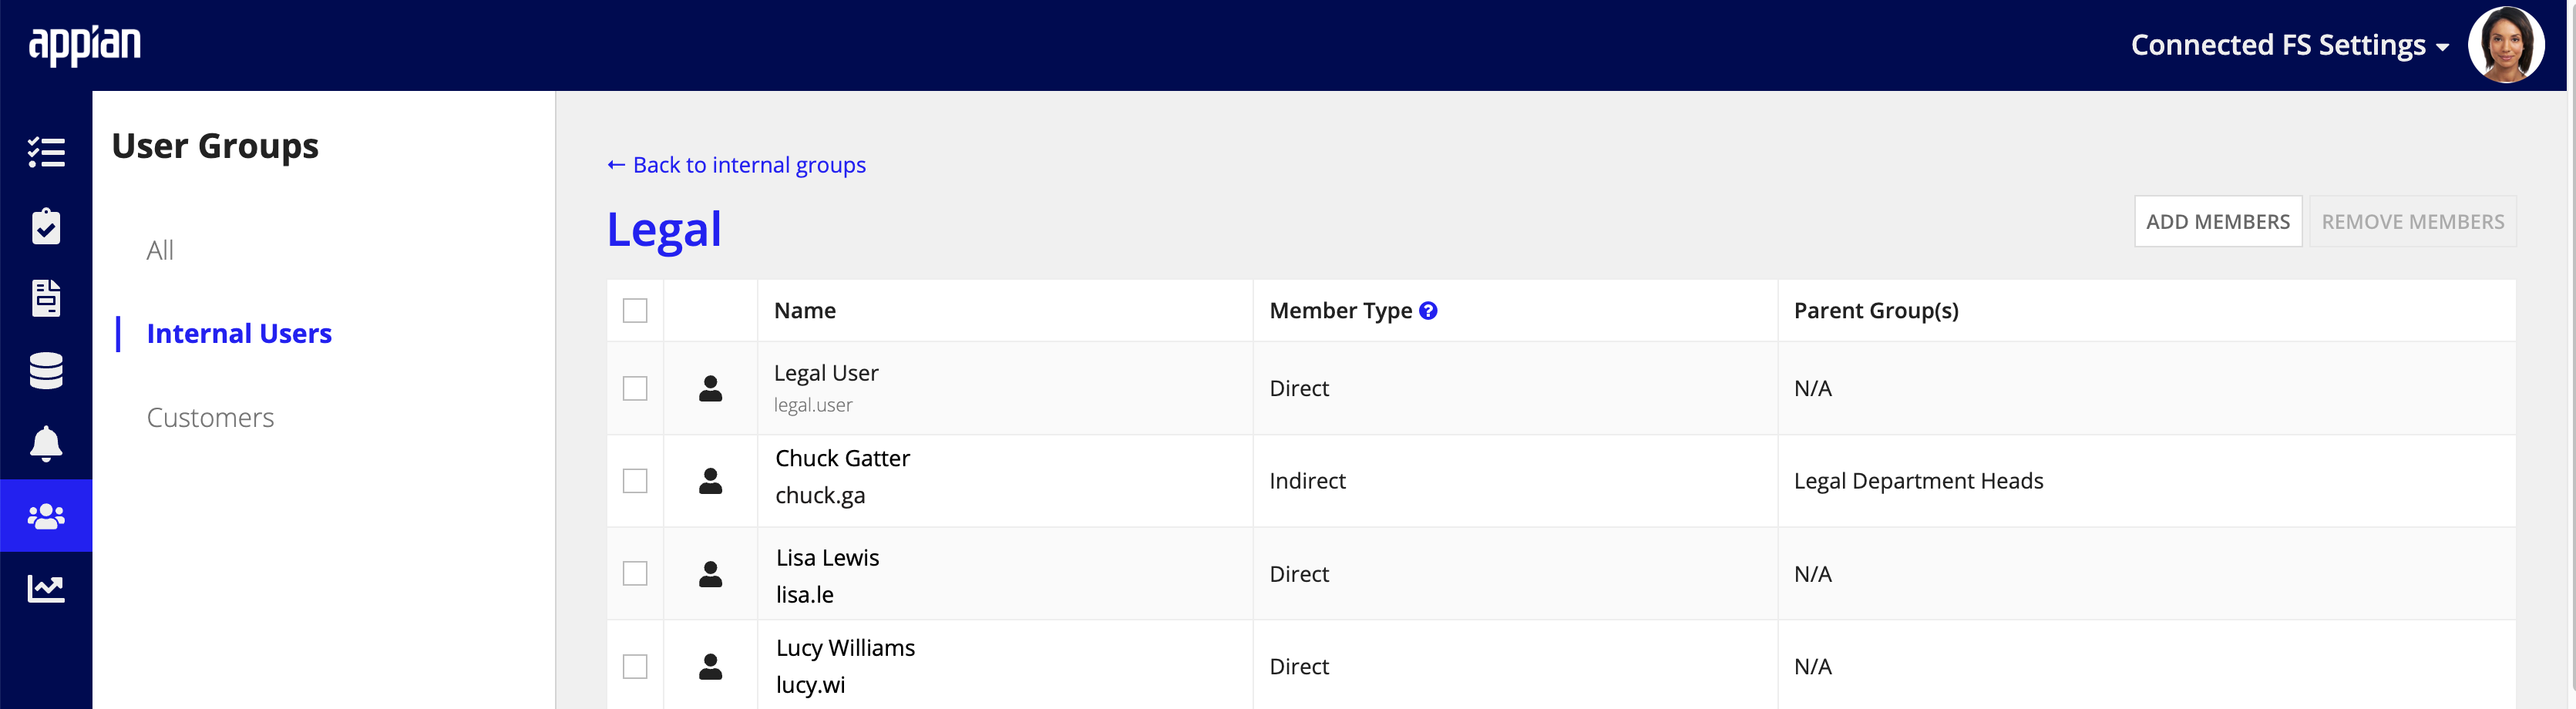
Business users with the appropriate group membership can easily view all of the members in any group in your organization.
To view current group members:
On the FS Settings site, click the user groups icon from the menu.
![]()
The group members display. You can see if a user is a Direct member, which means they have been added directly to the group, or an Indirect member, which means they are a member of a subgroup. If the user is an Indirect member, their subgroup will display in the Parent Group(s) column.
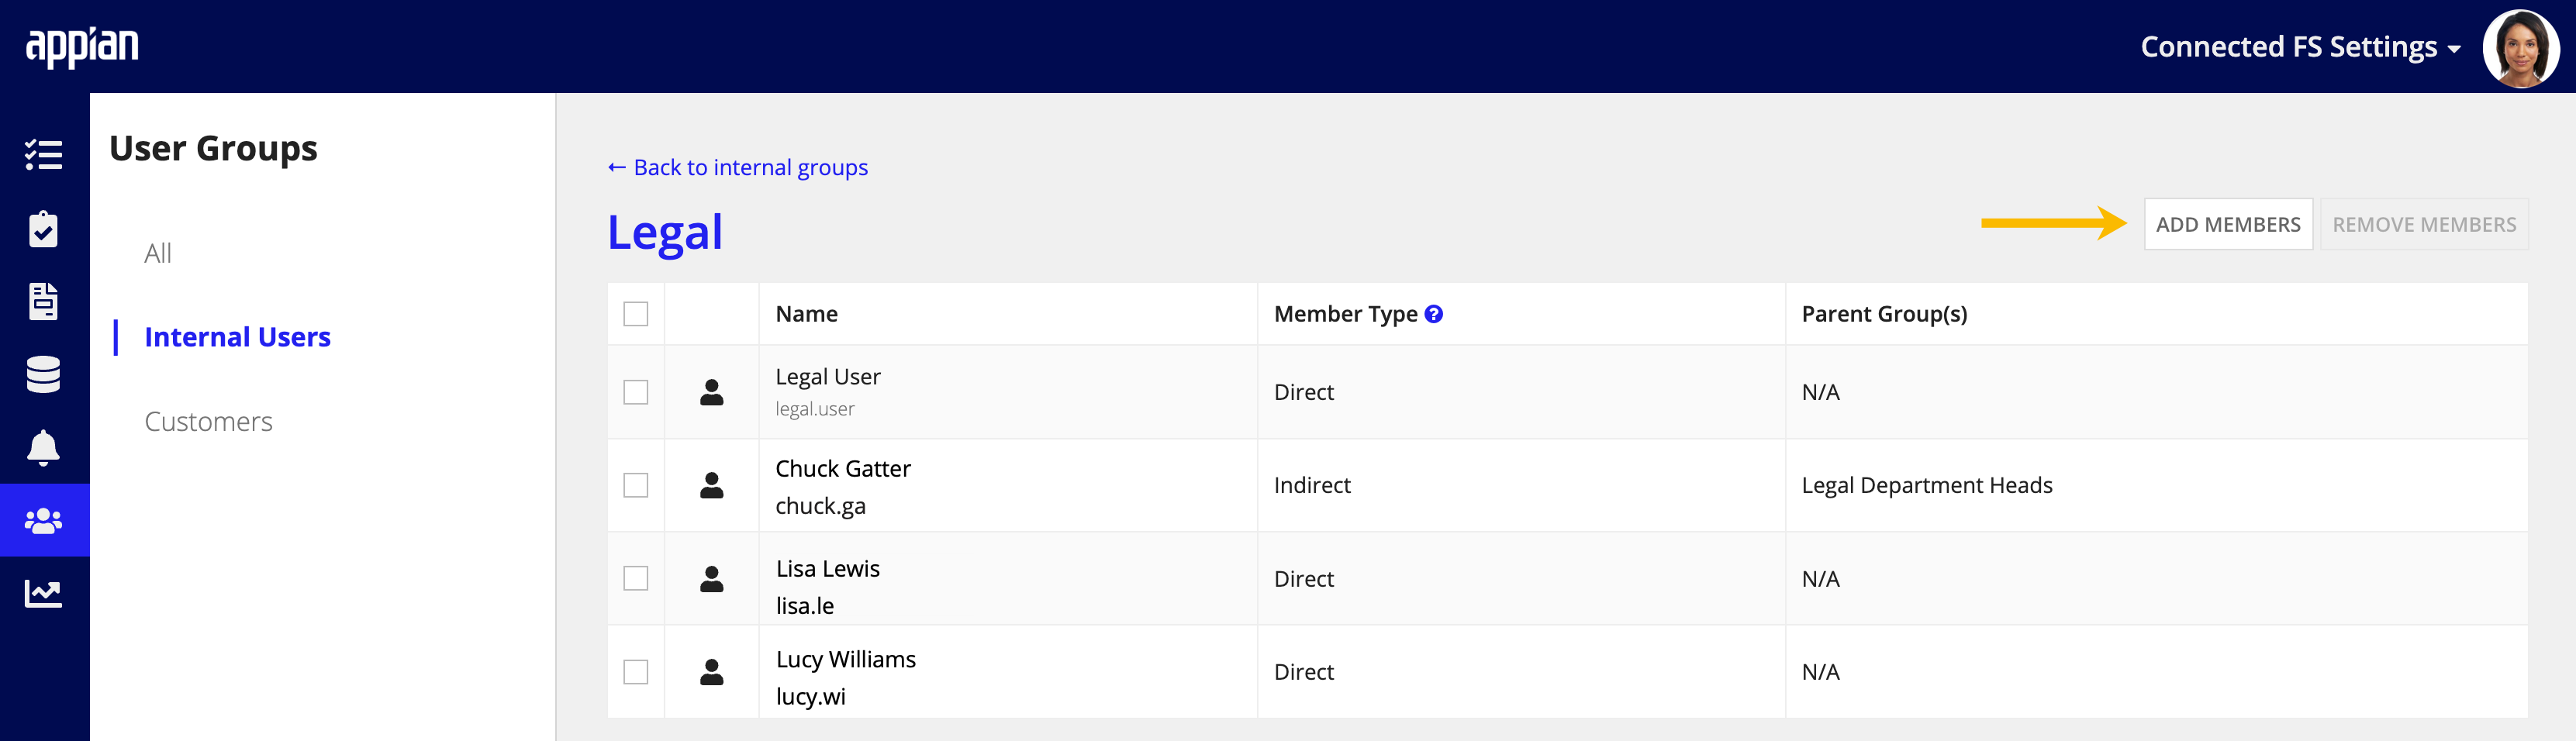
Managing group membership is easy in the FS Settings site. You can add existing users to a group, create new users, and remove members that no longer have access to a particular group.
To add an existing user to a group:
Click ADD MEMBERS.
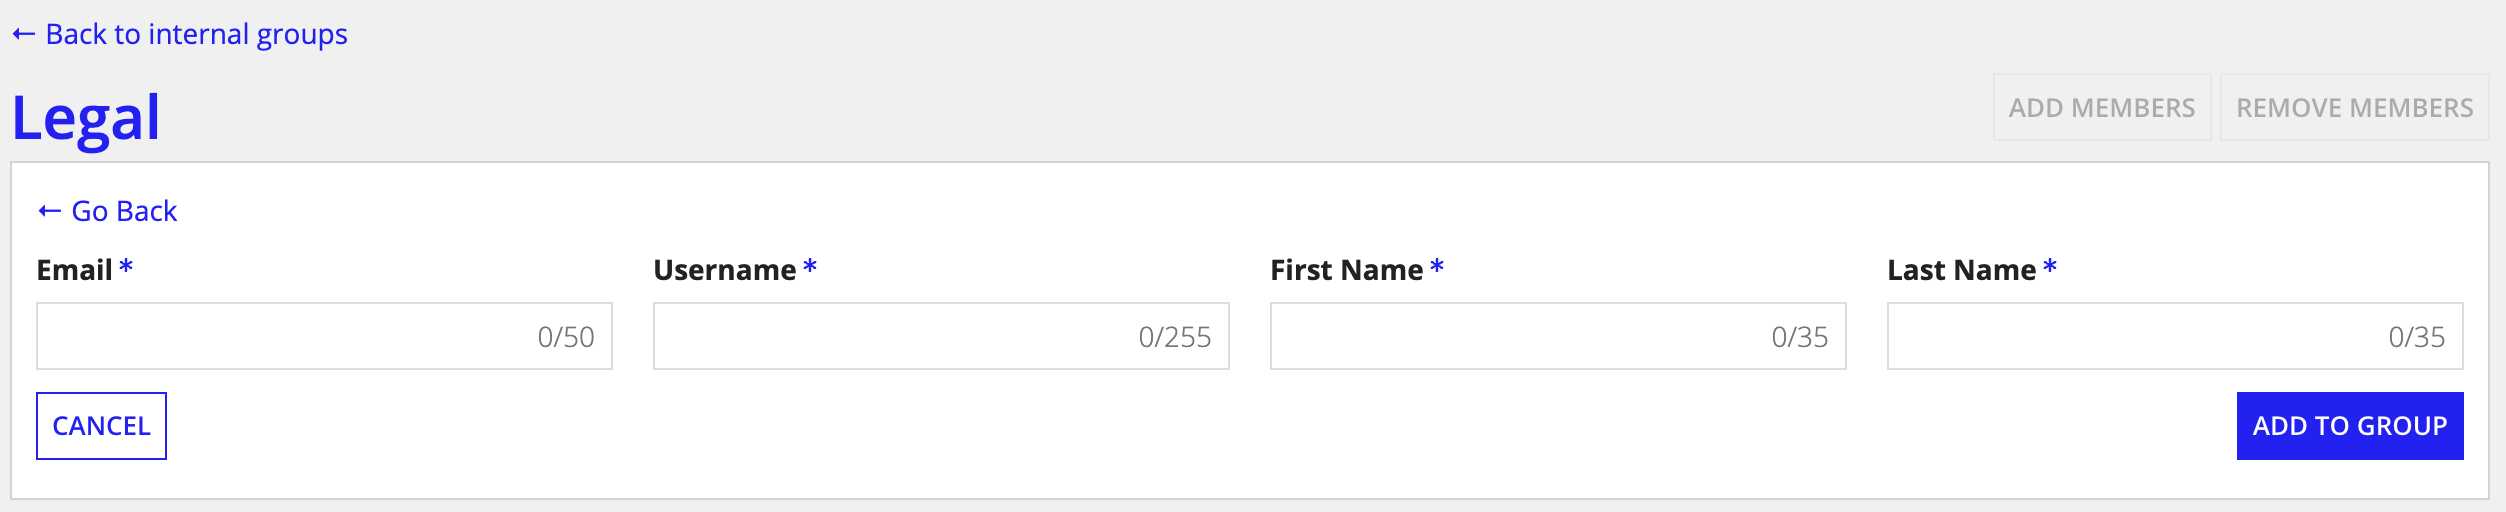
To create a new user to add to a group:
Click ADD TO GROUP.
To remove a member from a group:
Note: If the member is an indirect member of the group, you will not be able to remove them from the group. You must remove them from the parent group. For example, a member of the Back Office Department Heads group is an indirect member of the Back Office group. To remove them from the Back Office group, you must remove them from the Back Office Department Heads group.

When the users refresh the site, their membership will be updated.
Accessing the Connected FS Settings Site
