| This content applies solely to Connected KYC, which must be purchased separately from the Appian base platform. This content was written for Appian 23.1 and may not reflect the interfaces or functionality of other Appian versions. |
It is important to have easy access to all of your customer's data. In the Appian Know Your Customer (KYC) solution, the Customers record page contains all of this data, and allows users to take action on that data.
This page describes the customer workflow, including how to view, create, and update customer information.
See Using Records for more information on Appian Records.
From the Know Your Customer site, clicking CUSTOMERS displays a list of customer records. You can filter by searching for a customer or filtering by customer type.
Clicking a customer name displays the record for that customer. The record displays all of the pertinent information for a particular customer. This information is split into several different pages, which are outlined in the following sections.
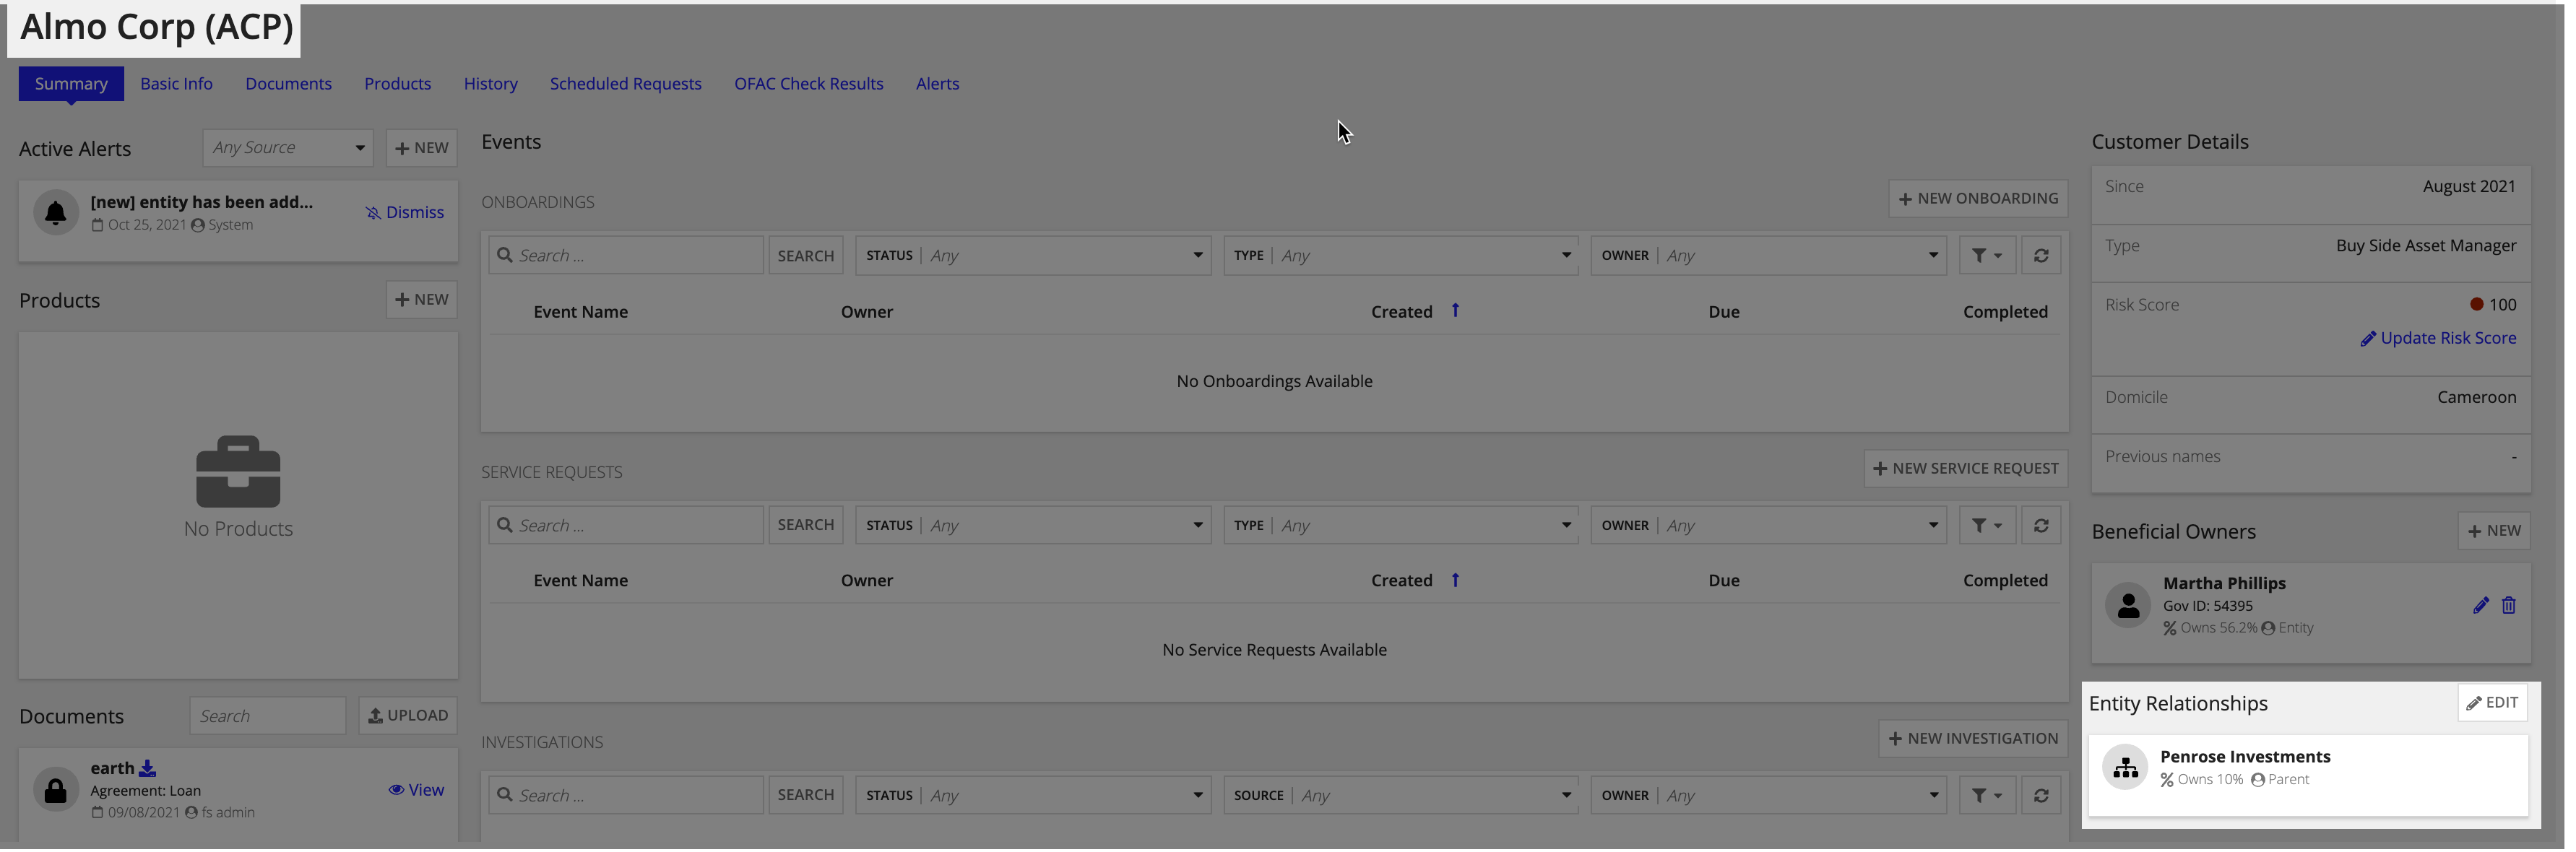
The Summary tab lists the important information about a customer.
The following customer information is listed on this page:
Customer details - This is where you can view specific information about a customer. This includes:
The Documents tab shows all of the documents associated with a customer.
You can learn more about documents on the Managing Documents page.
New customers can be created from the Customers record page. The guided experience for creating a new customer walks you through the process of entering the information you need to start the service request process. It consists of the following guided steps:
To begin creating a new customer, from the CUSTOMERS record page, click CREATE CUSTOMER.
The top of the screen contains the various data collection steps required to create a new customer. You can click NEXT at the bottom of the form to go to the next step.

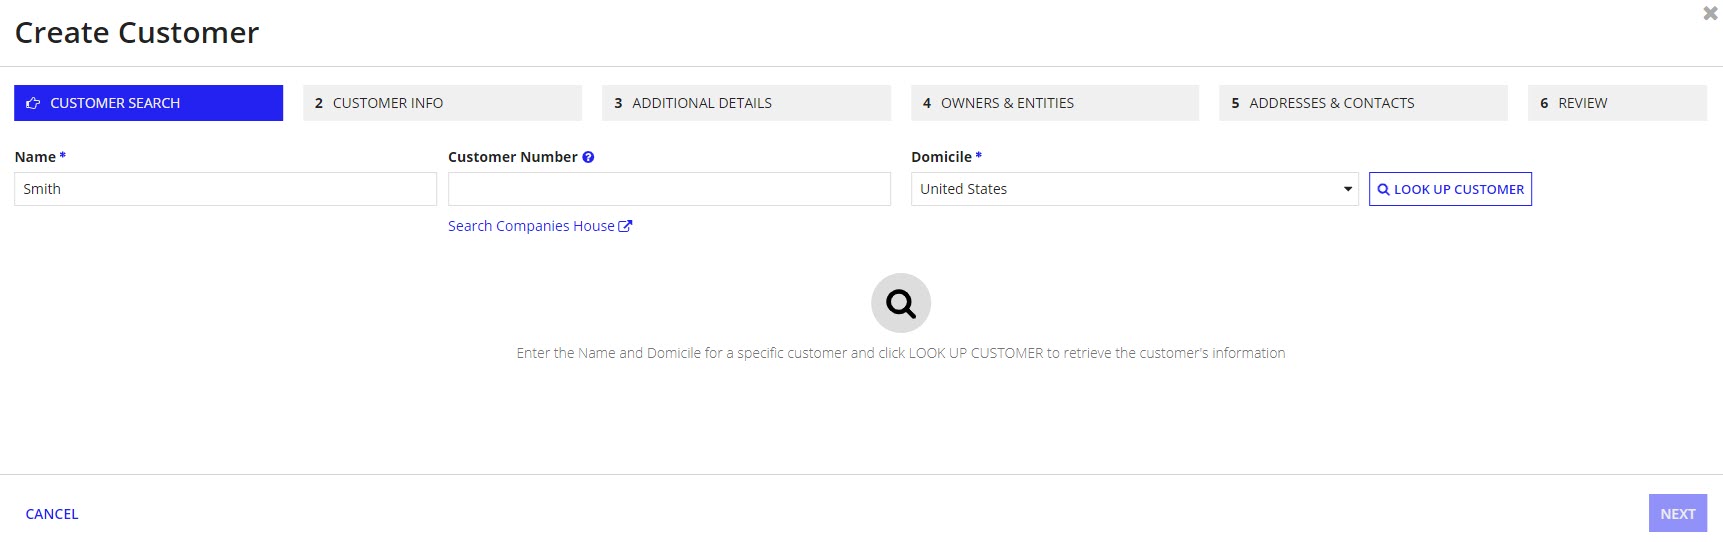
The first step of the create customer process is to search for the customer from your company's source of truth for customers. This is an external source, most likely a customer relationship management (CRM) system or database. If there is not an external source connected, this step will be skipped entirely and the user will be started on the Customer Info step to fill in the data manually in the following steps.
Connecting an external source will reduce the need for manual entry and in turn save time and lower the number of errors made. Connected Servicing uses Dun & Bradstreet and Companies House as two examples of ways to connect a source of truth for customers.
To search for a customer:
The LOOK UP CUSTOMER button will only become enabled once both Name and Domicile are filled out.
If none of the results are accurate, click NEXT to proceed to Customer Info and enter the information manually.
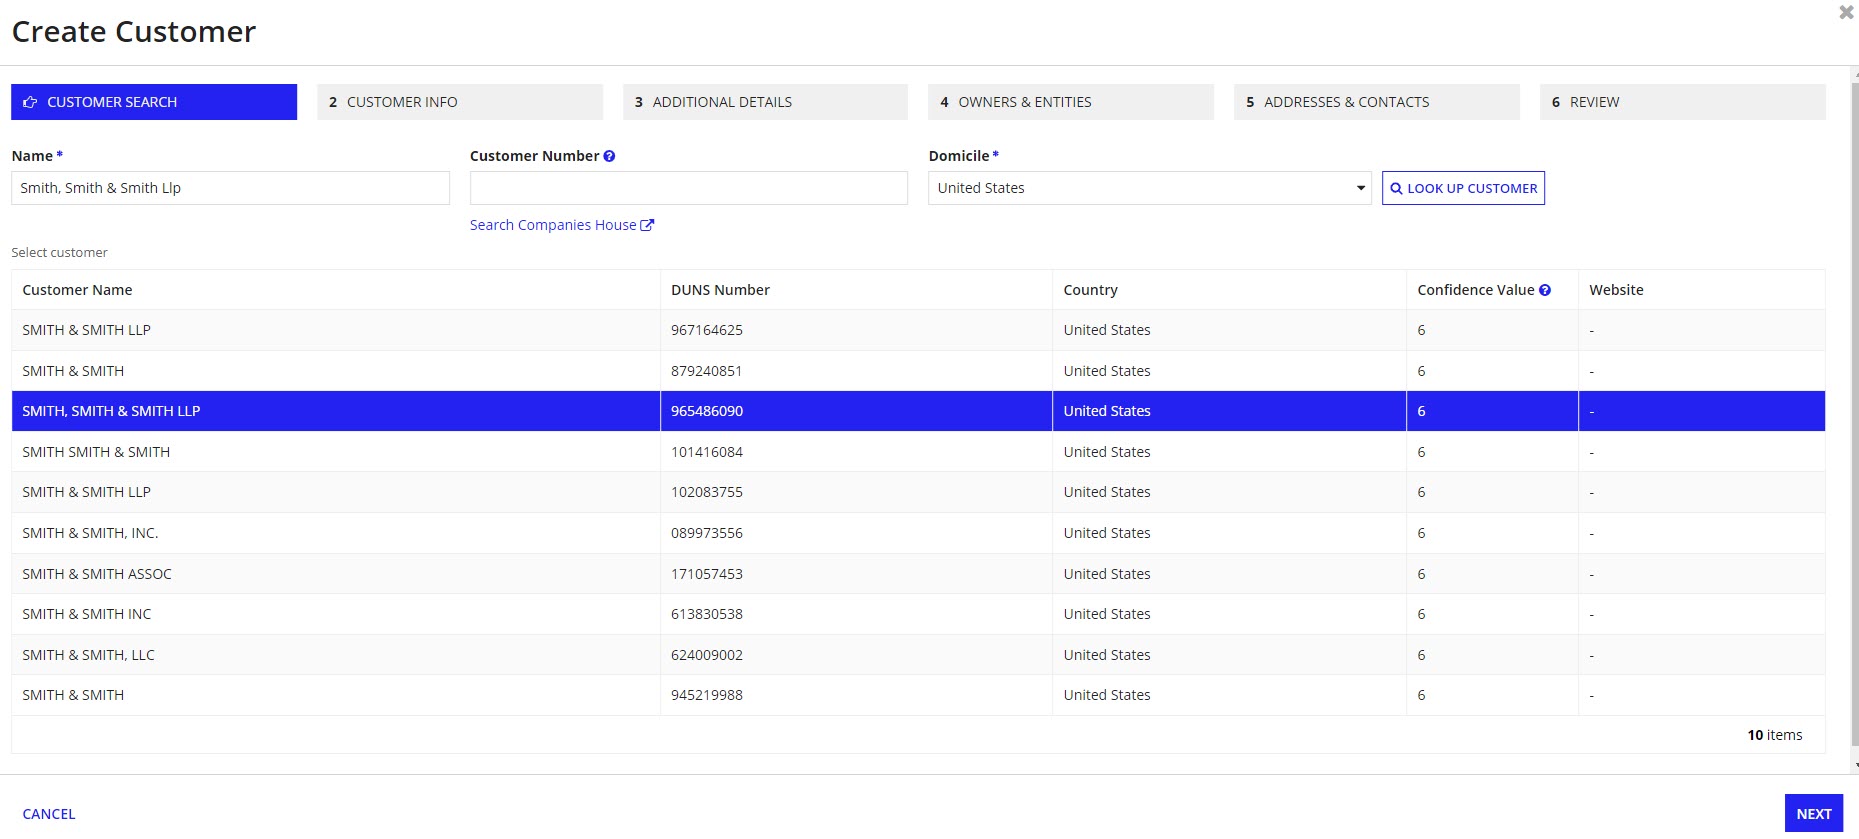
To look up the Customer Number, click on Search Companies House. A new window will appear and allow you to search by name in order to find the Customer Number.

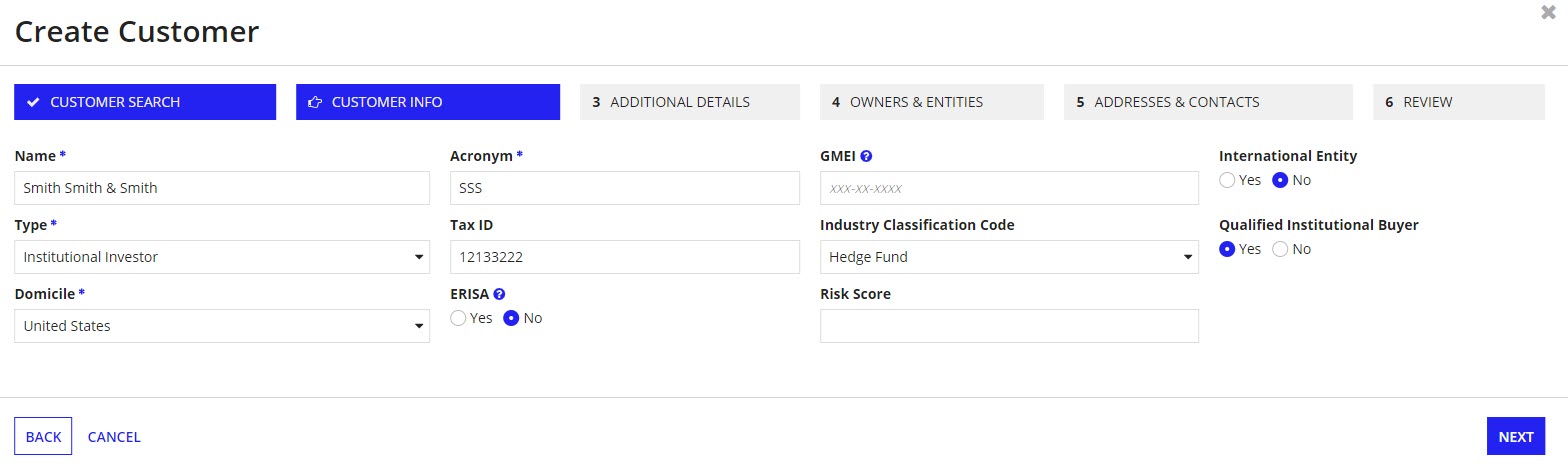
On the Customer Info step, fill in the fields. Name, Acronym, Type, and Domicile are required. Name and Domicile will be pre-populated from the Customer Search step.
On the Additional Details step, if the Company Number was entered during Customer Search the fields will be pre-populated by Companies House. However, you can enter the following sections manually or update them if need be:
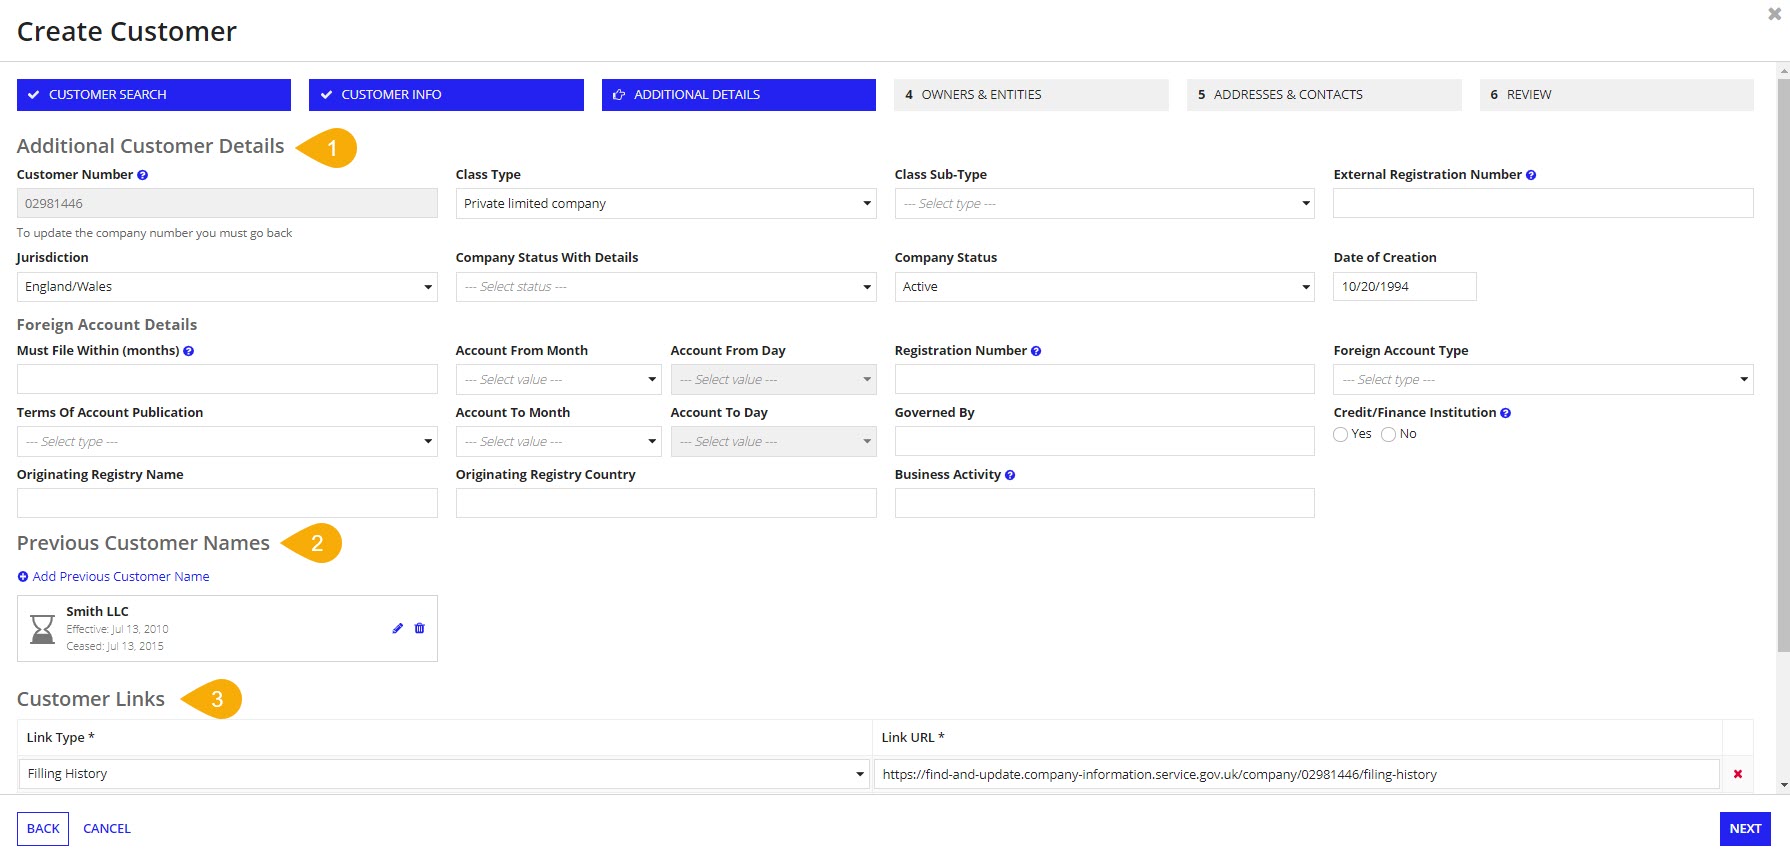
To add a new previous customer name:
Click SAVE.

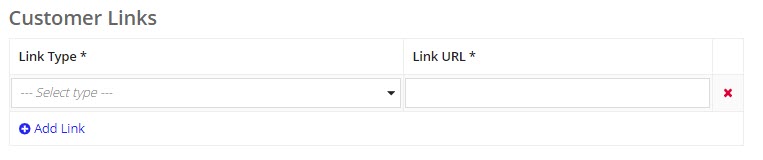
To add or update a customer links:
AS_FS_R_DATA table. See Modifying Dropdown Lists for instructions on how to add these.To add an additional link, click Add Link again. To delete a relationship, click the red x.
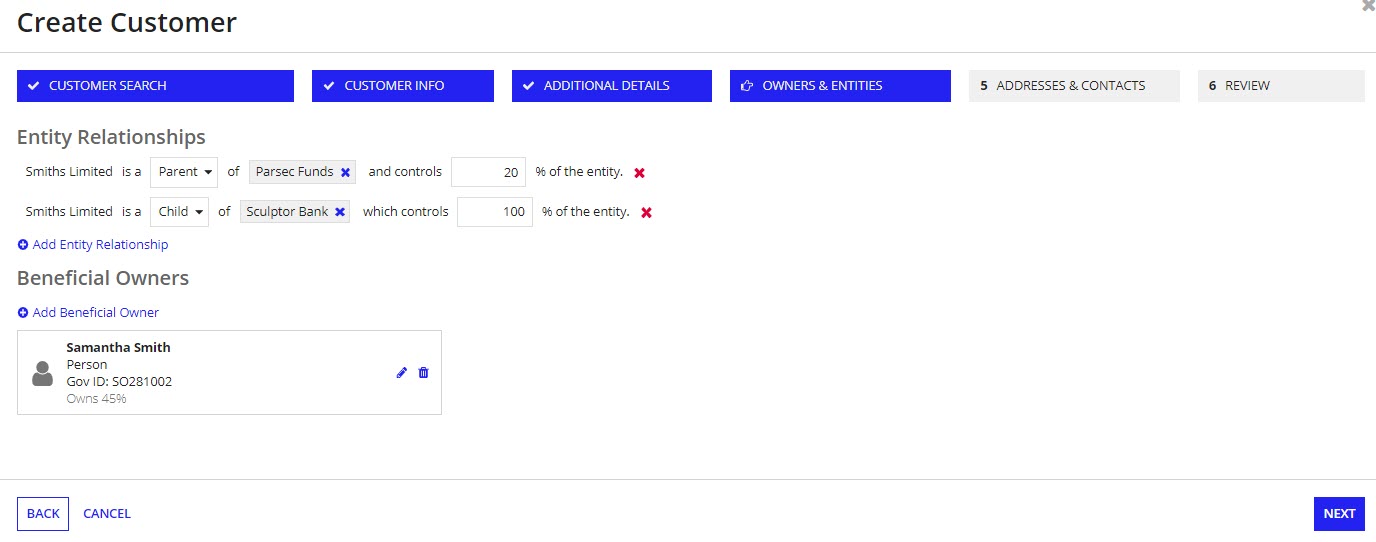
On the Owners & Entities step, add Beneficial Owners and Entity Relationships. If you selected a customer result during Customer Search, beneficial owners may be pre-populated, if available from Dun & Bradstreet. It is also possible to add beneficial owners and entity relationships manually.
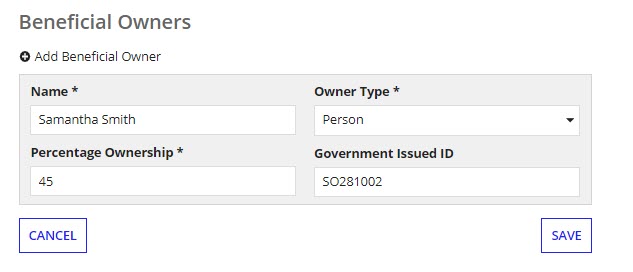
To add a beneficial owner:
AS_FS_R_DATA table. See Modifying Dropdown Lists for instructions on how to update these values.After you click SAVE, you can use the edit icon to edit the beneficial owner, or use the delete icon to delete the beneficial owner.
To add an entity relationship:

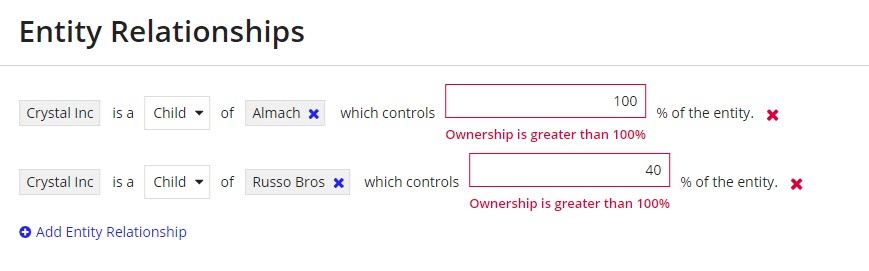
Validations will be applied to the entity relationships to prevent incorrect data from being entered such as ownership over 100%. See Smart relationship validations to learn about all of the entity relationship restrictions.
On the Addresses & Contacts step, add addresses and contacts. If you entered a customer number during Customer Search, addresses may be pre-populated, if available from Companies House. It is also possible to add addresses and contacts manually.
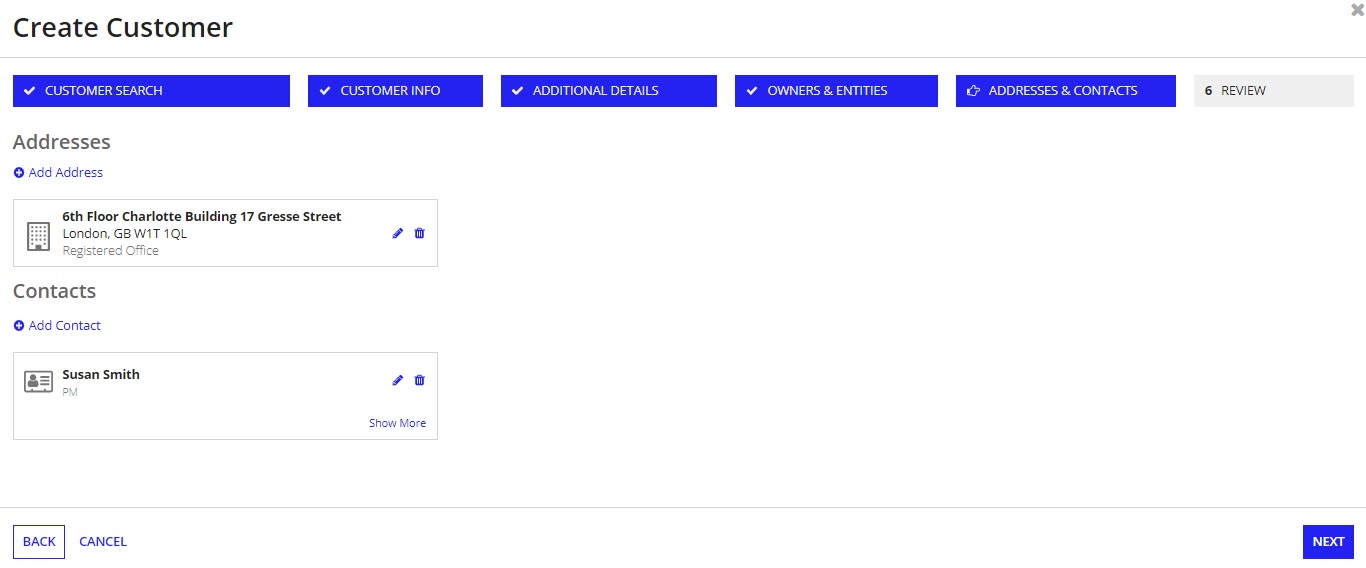
To add an address:
AS_FS_R_DATA table. See Modifying Dropdown Lists for instructions on how to update these values.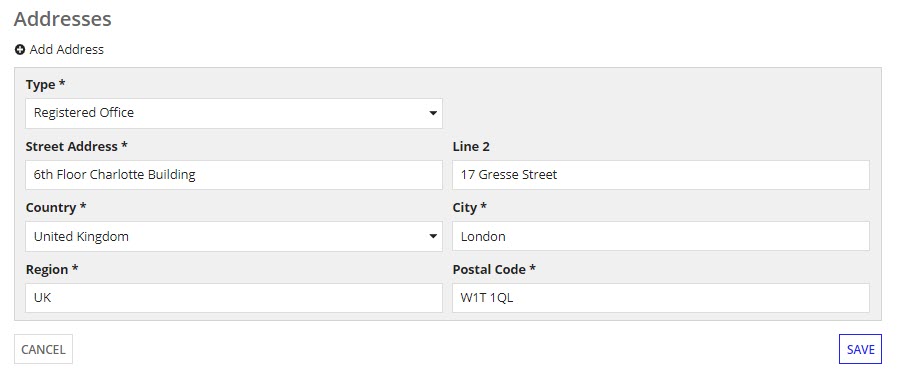
After you click SAVE, you can use the edit icon to edit the address, or use the delete icon to delete the address.
To add a contact:
AS_FS_R_DATA table. See Modifying Dropdown Lists for instructions on how to update these values.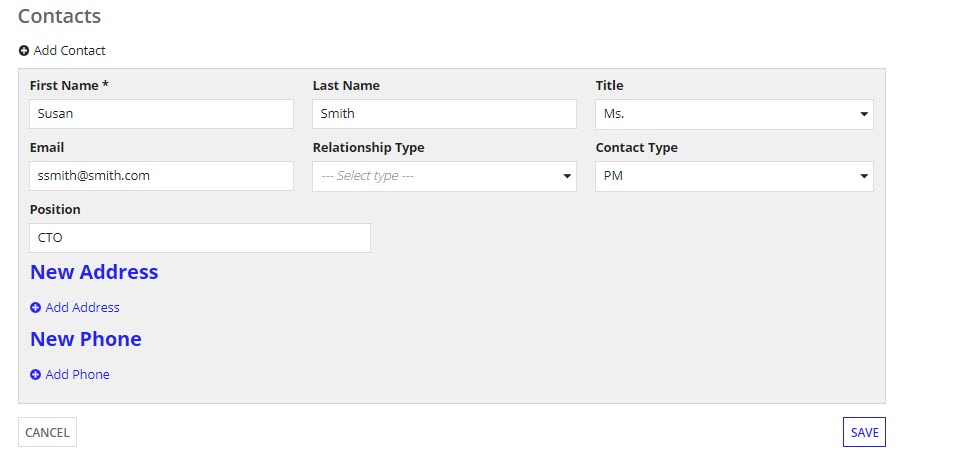
After you click SAVE, you can use the edit icon to edit the contact, or use the delete icon to delete the contact.
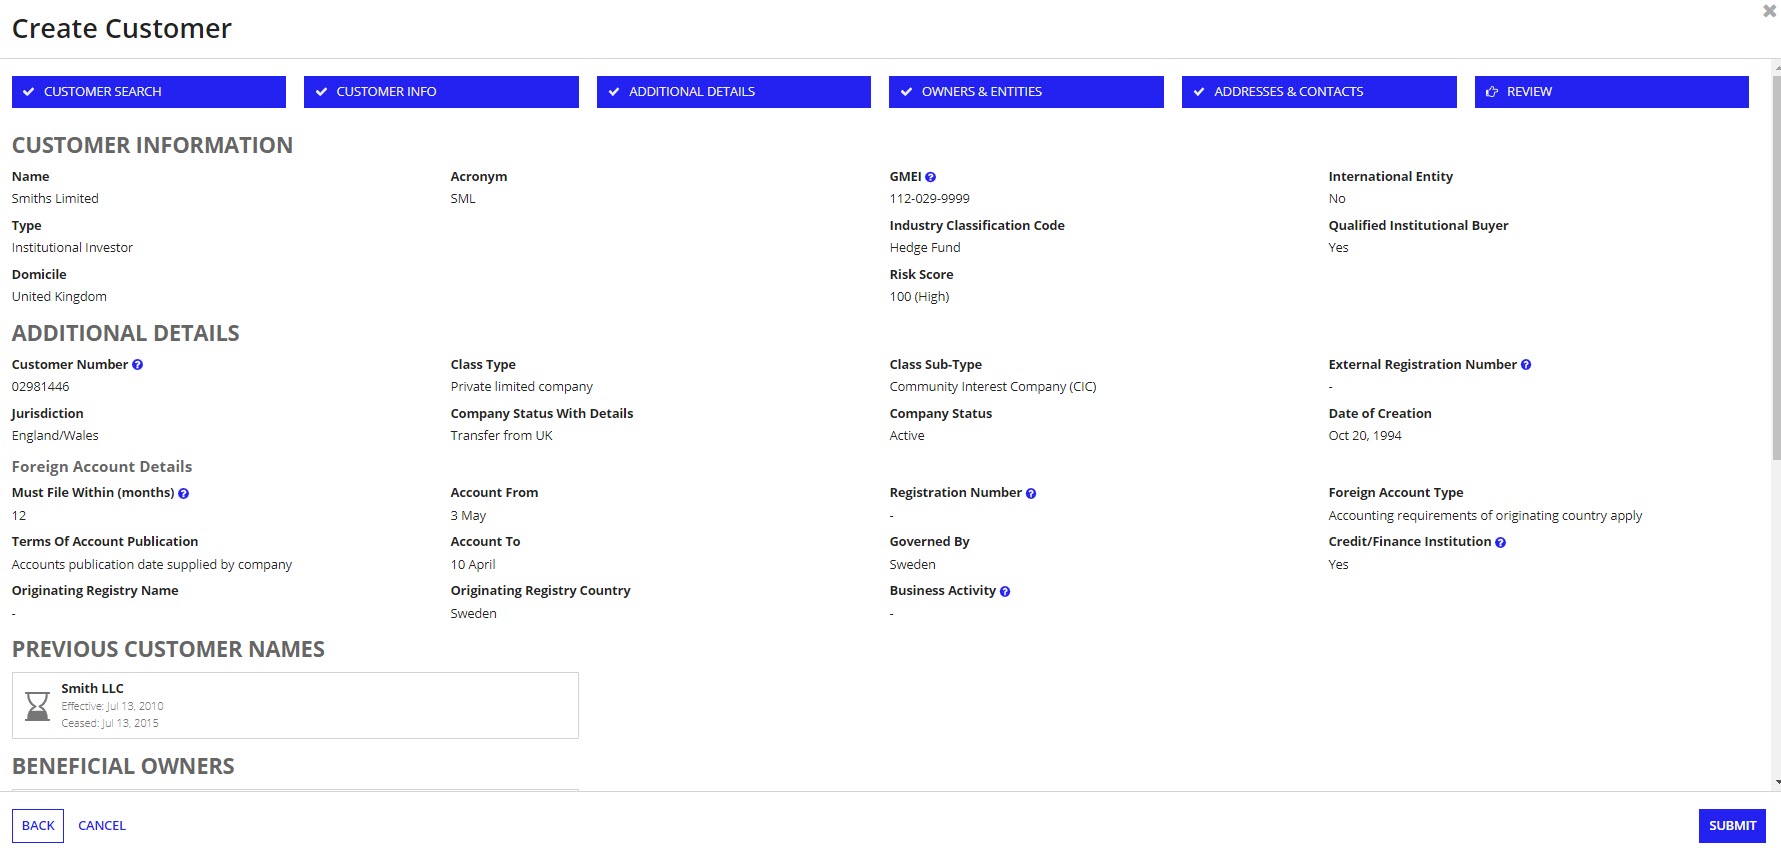
Use the Review step to reconfirm all the information entered on the previous pages and click SUBMIT.
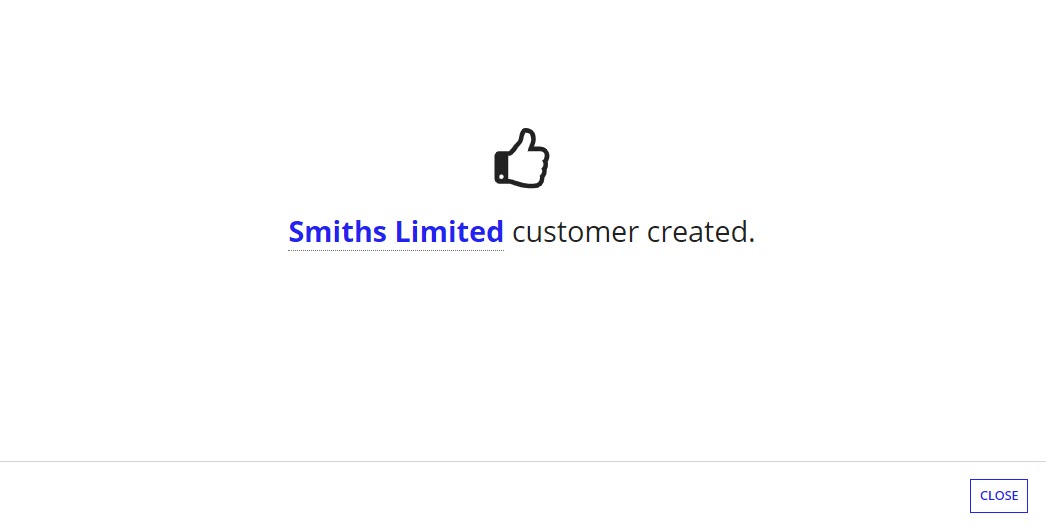
Once submitted, you will see a confirmation page which will confirm that the customer has been created. Click the customer name to be taken to the newly created customer record or click CLOSE to be returned to the customer record list.
The information for a customer can be updated on the Basic Info tab.
Click Edit Customer Details.
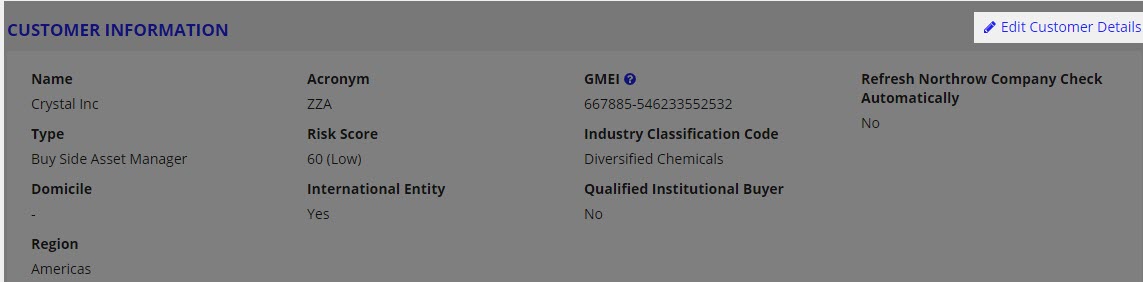
Update the form with new customer details.
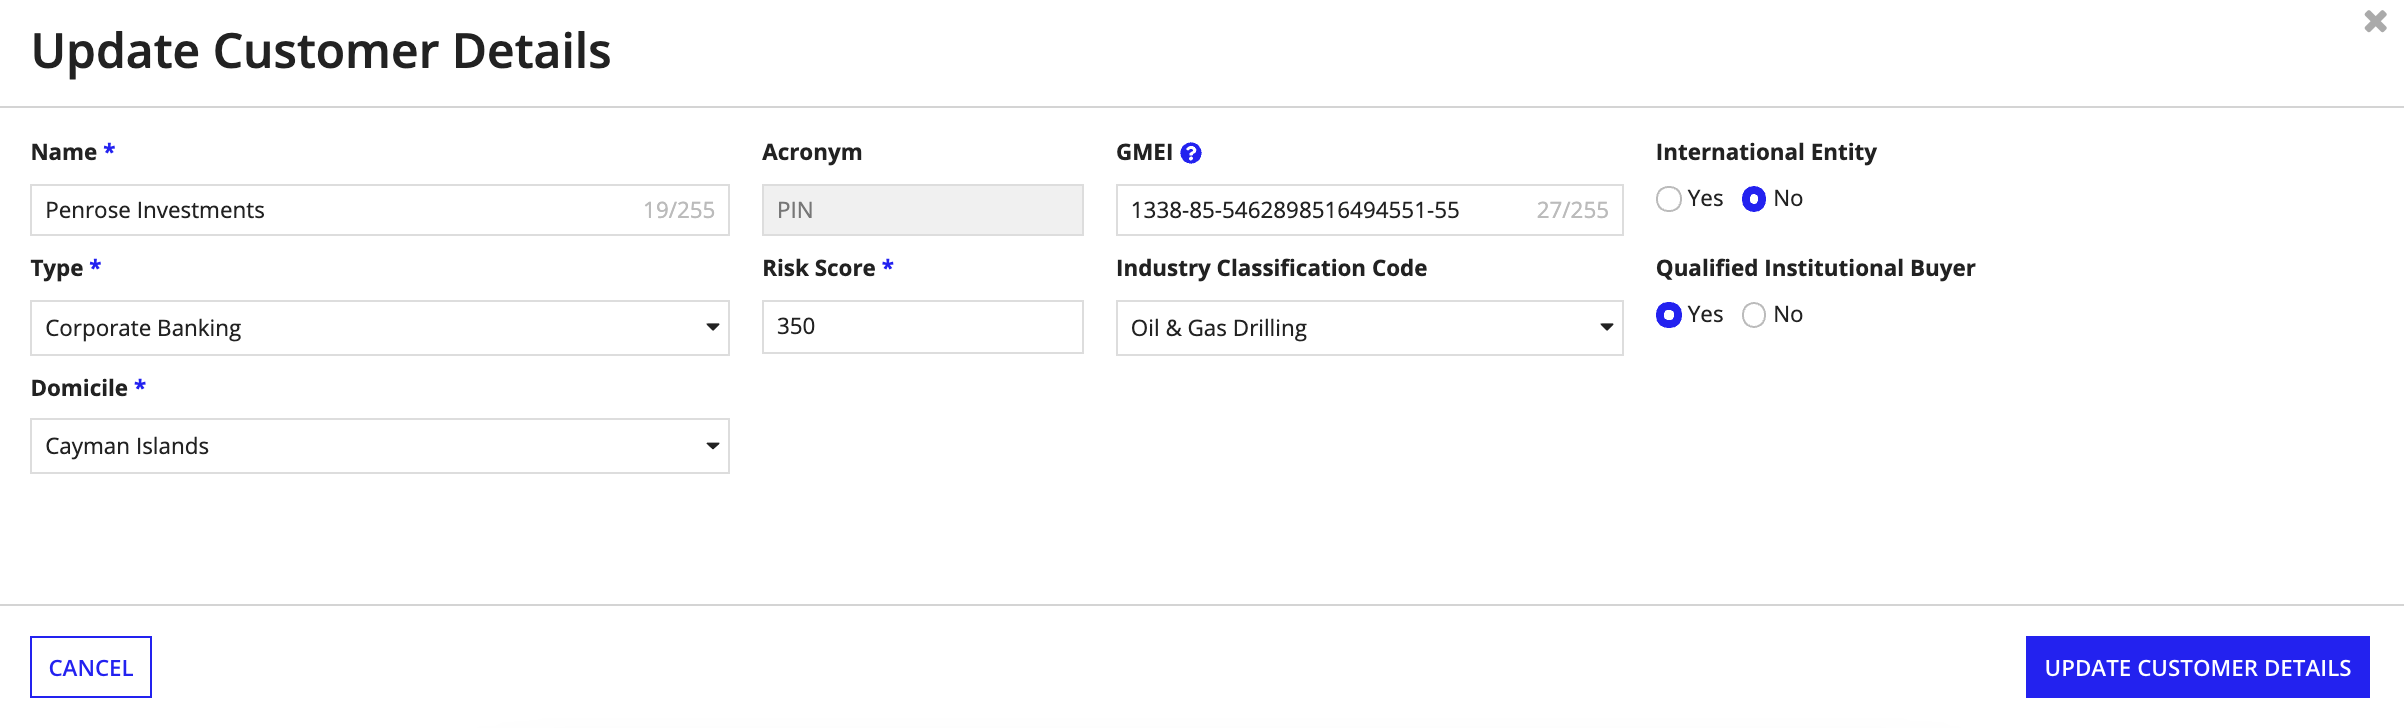
Click UPDATE CUSTOMER DETAILS.
On the Summary tab for a customer or during customer creation, Entity Relationships can be added by clicking Add. If a relationship has already been added click Edit.
You can optionally establish or update the relationship structure for the customer by adding parent and child relationships.
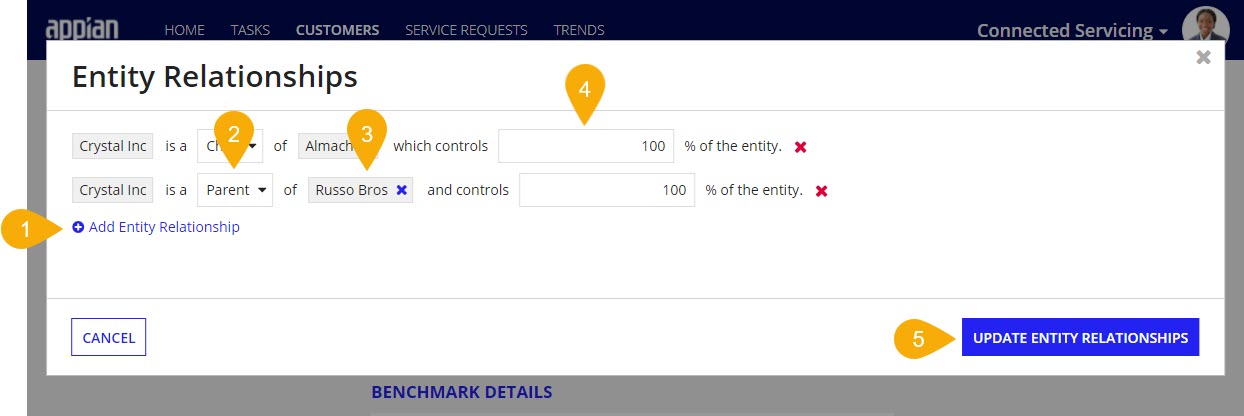
Relationships are automatically reflected in the entity relationship section of all related customer records.
For example, if the Penrose Investments customer record is updated to indicate that it is a parent of Almo Corp Inc.:
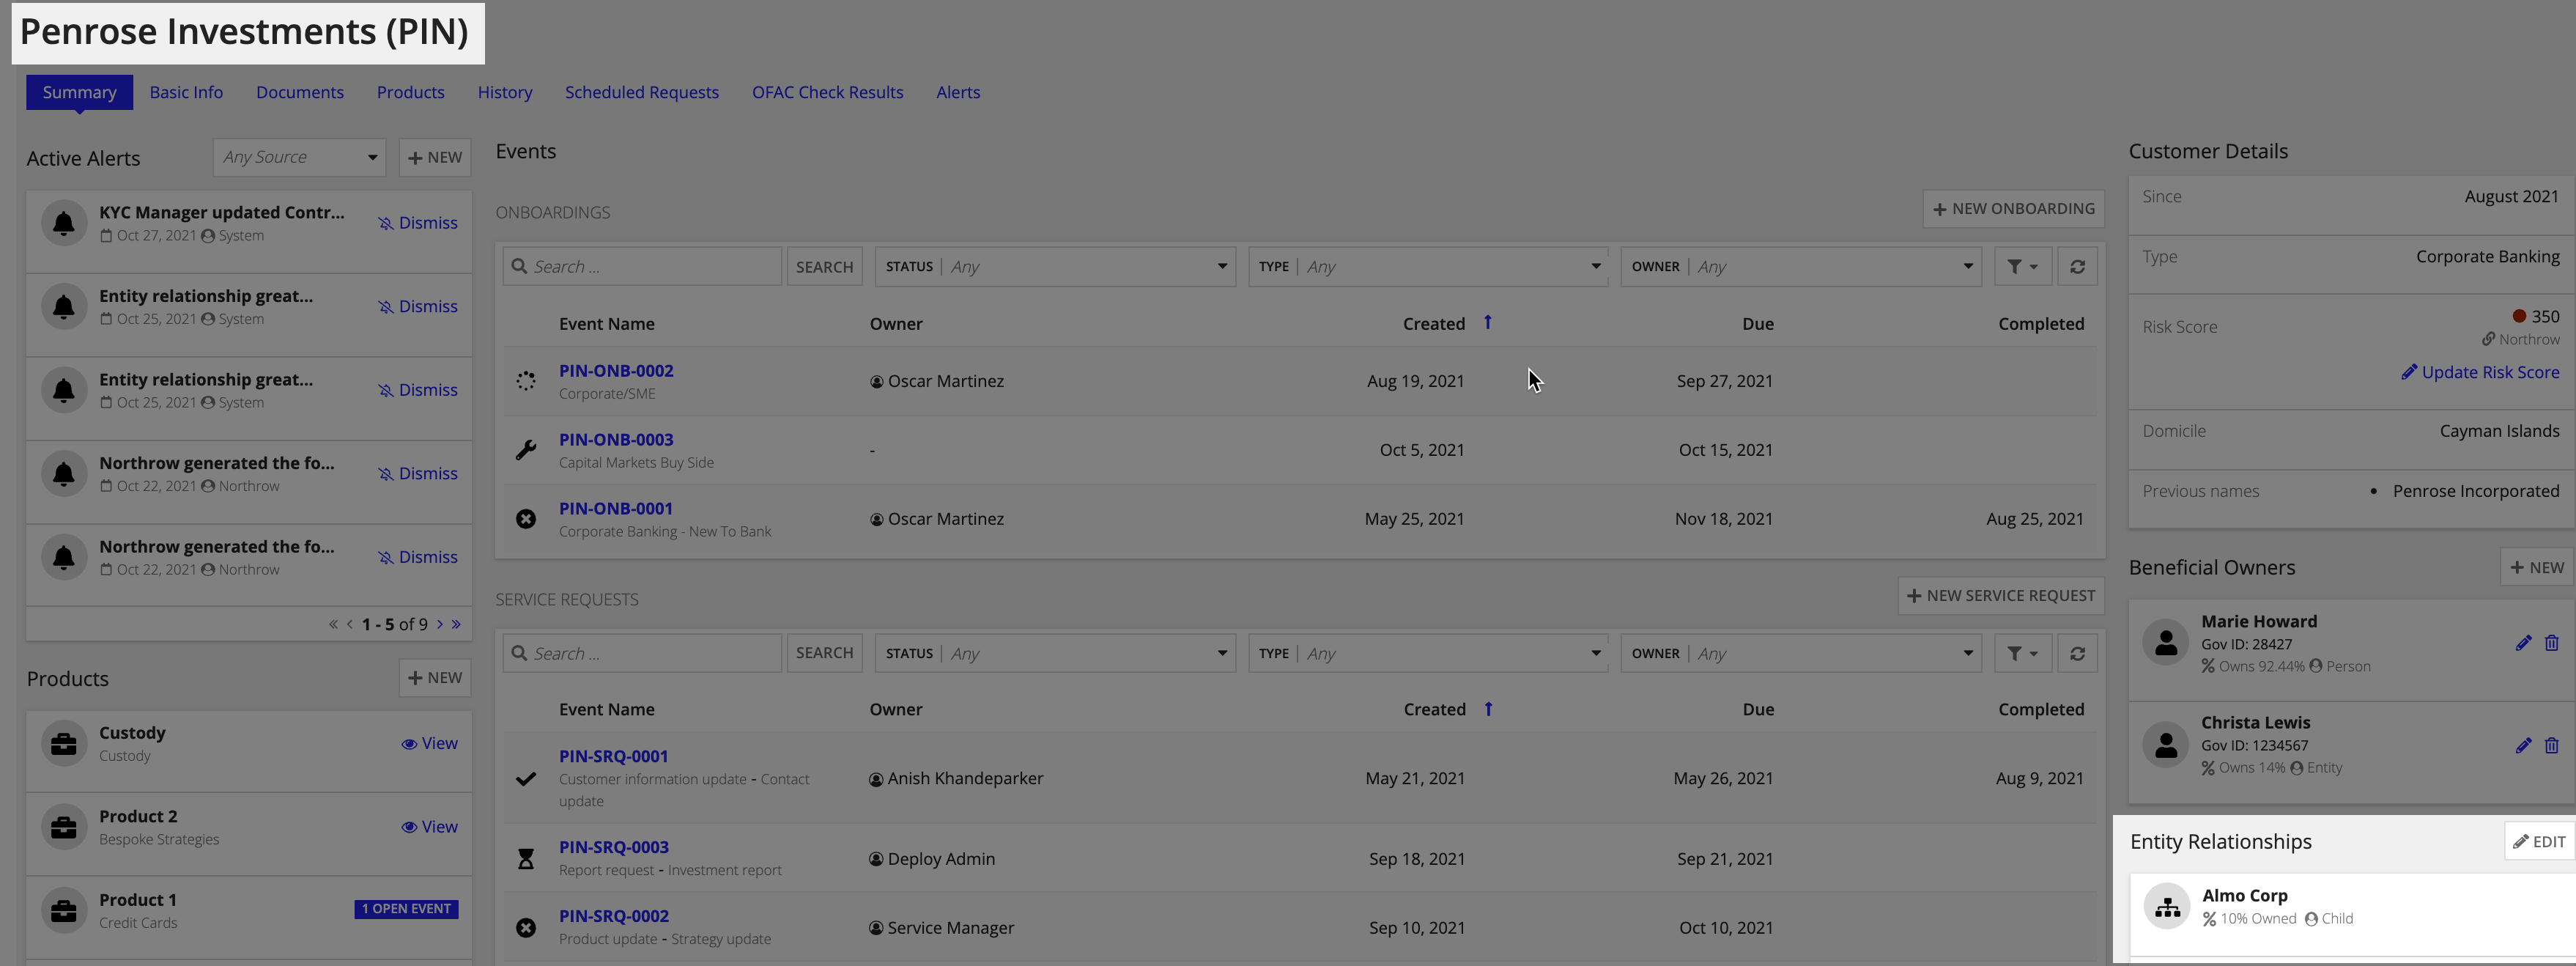
The Almo Corp customer record is automatically updated to reflect that it is a child of Penrose:
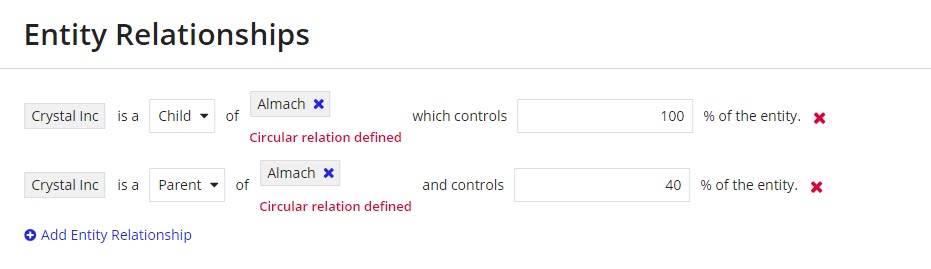
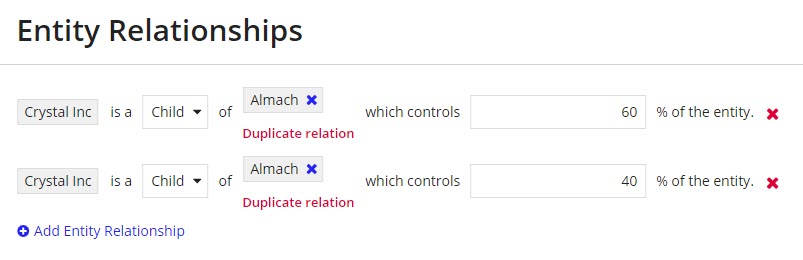
Smart validations check the logic of your relationships. The entity relationship section includes the following validations.
The percentage of control for all child relationships must not exceed 100%.
You cannot create circular relationships where one customer is both a parent and a child of the same company.
You cannot create a duplicate relationship where the same company is listed more than once as a child or more than once as a parent.
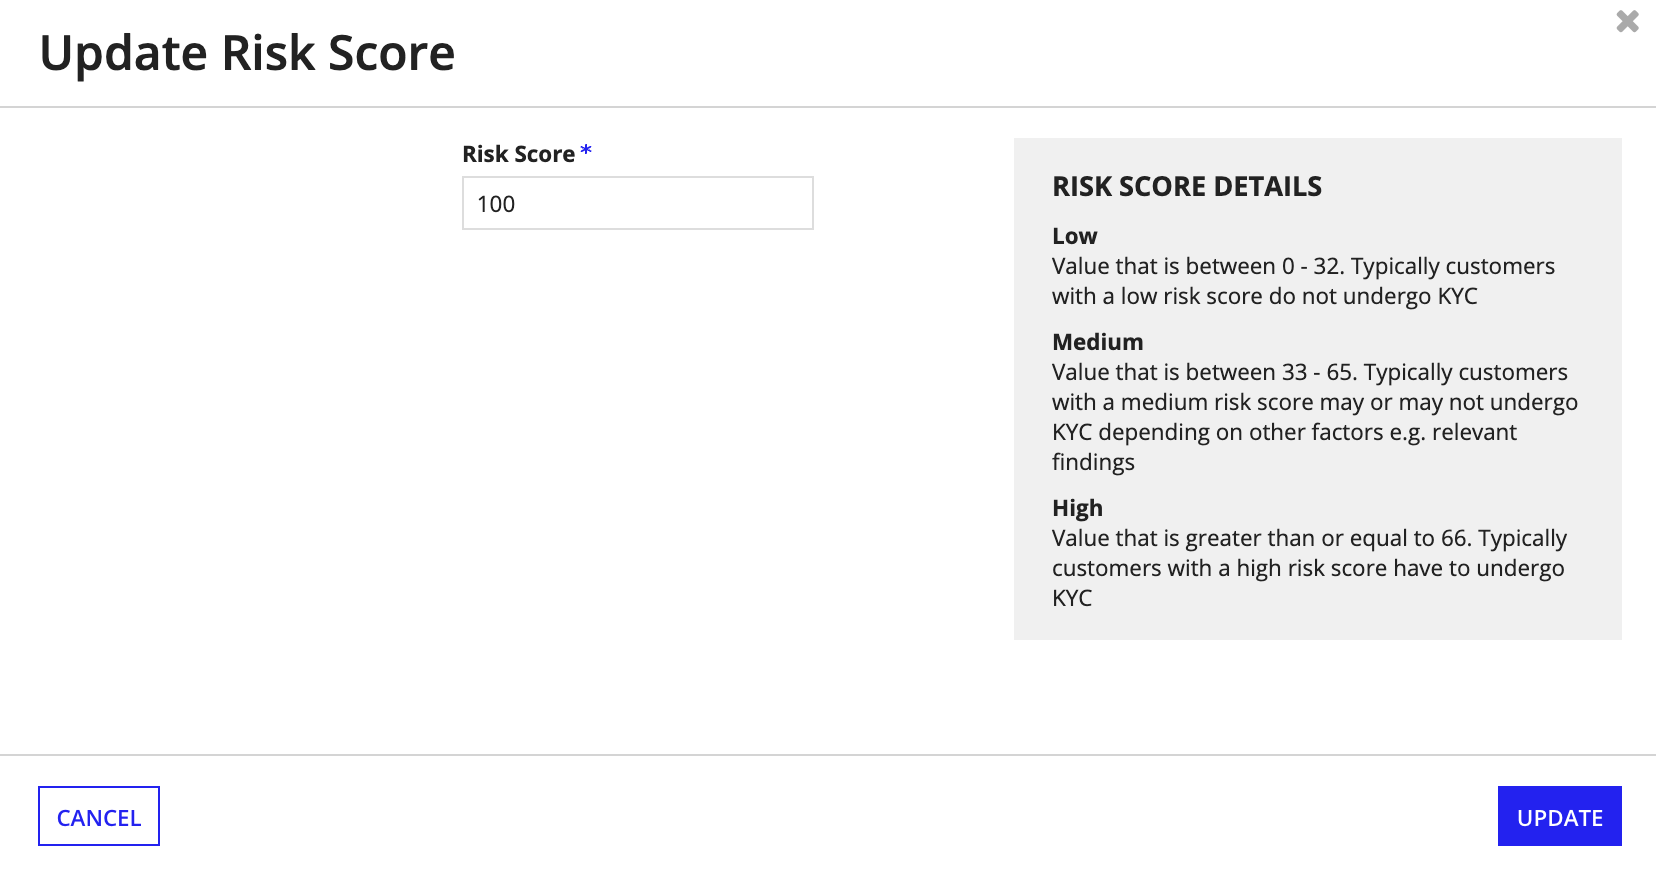
A customer's Risk Score is shown on the Summary tab of the customer record. The score is a numerical value with a corresponding red, amber, or green classification. The thresholds can be customized using the Solutions Customization Suite.
To update a customer's risk score:
If a Northrow integration is set up, the risk score can be set and refreshed automatically.
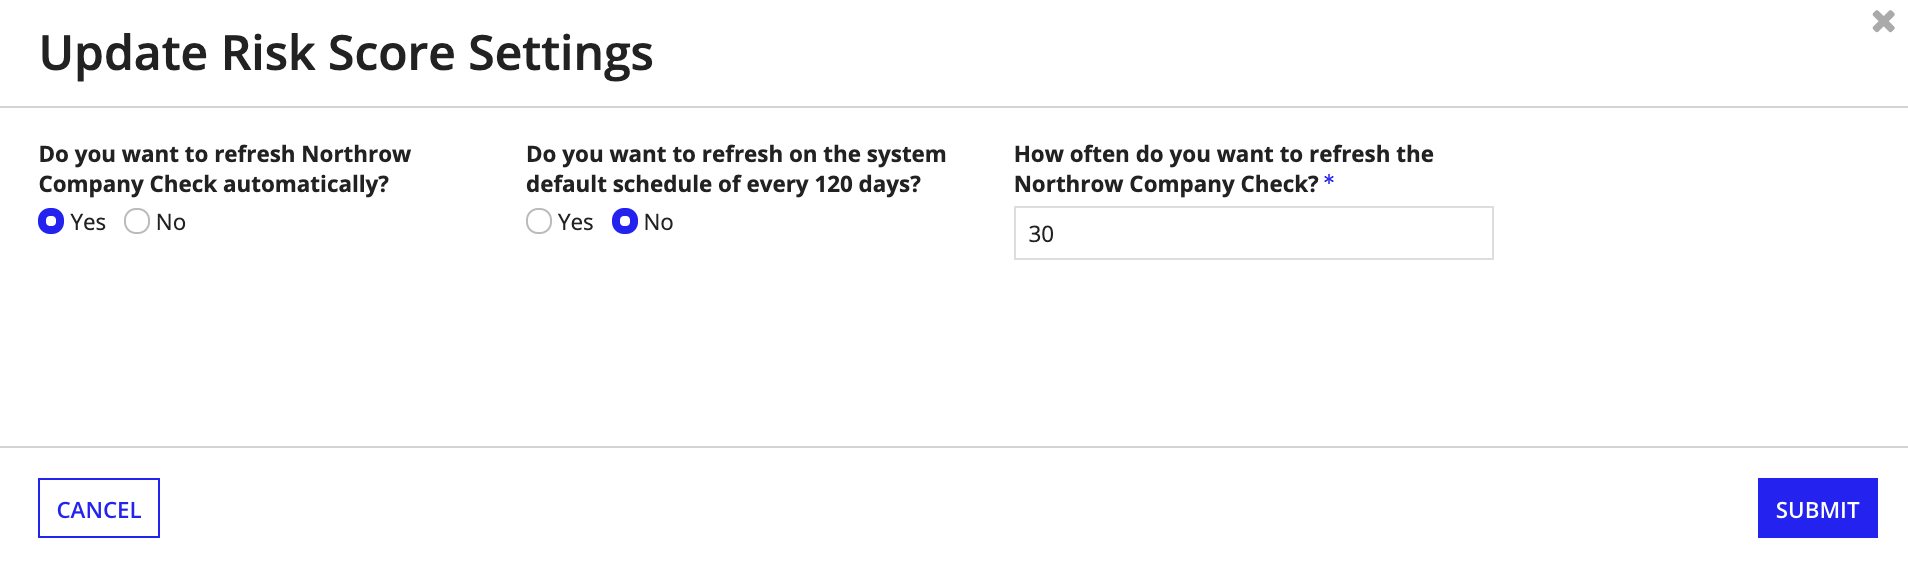
When you create a new customer, the risk score will be pulled in from the Northrow company check. It will automatically refresh when the interval, set in the Northrow properties of the System Administration Site, is reached.
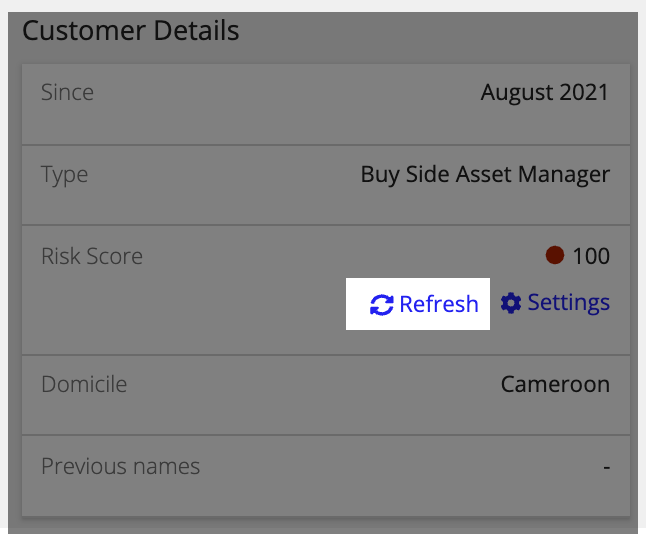
A user also has the option to refresh and pull a new risk score or any alerts from Northrow by clicking the refresh button. The refresh button is not available if the Northrow integration is disconnected.
Additionally, when the Northrow risk score is gathered, Northrow also provides a detailed risk score report. Once generated, the report is available for download from the DOCUMENTS tab of the customer record.
If a customer's risk score should be checked more frequently than the default or turned off completely, update the risk score settings.
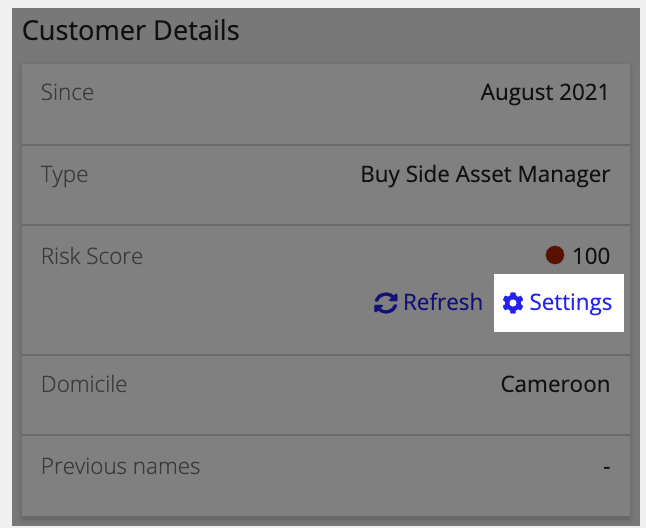
Updating the Northrow settings will only apply to the specific customer.
On the Summary tab for a customer or during customer creation, Beneficial Owners can be added manually or can be refreshed using Dun & Bradstreet if the integration is set up.
AS_FS_R_DATA table. See Modifying Dropdown Lists for instructions on how to update these values.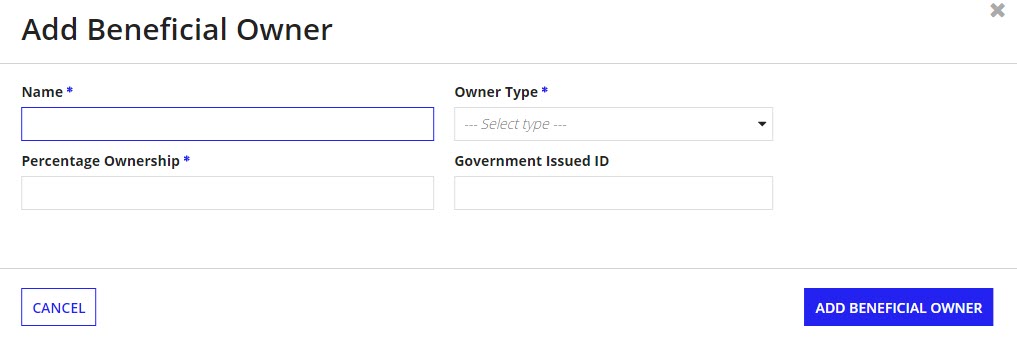
If the Dun and Bradstreet integration is turned on, you can pull back beneficial owner information if the DUNS number is available. A DUNS number is a customer identifying ID for the Dun and Bradstreet external system. If while creating a customer you selected a result on the Customer Search page the DUNS number will already be saved.
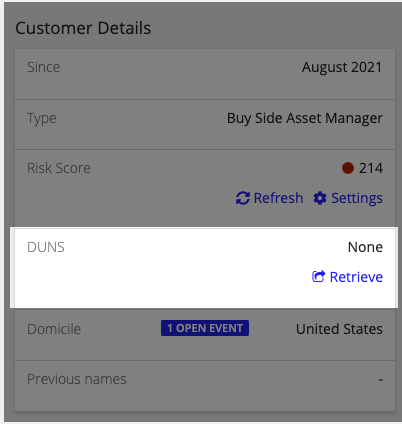
If the DUNS number is not entered or needs to be updated, you can manually search for it:
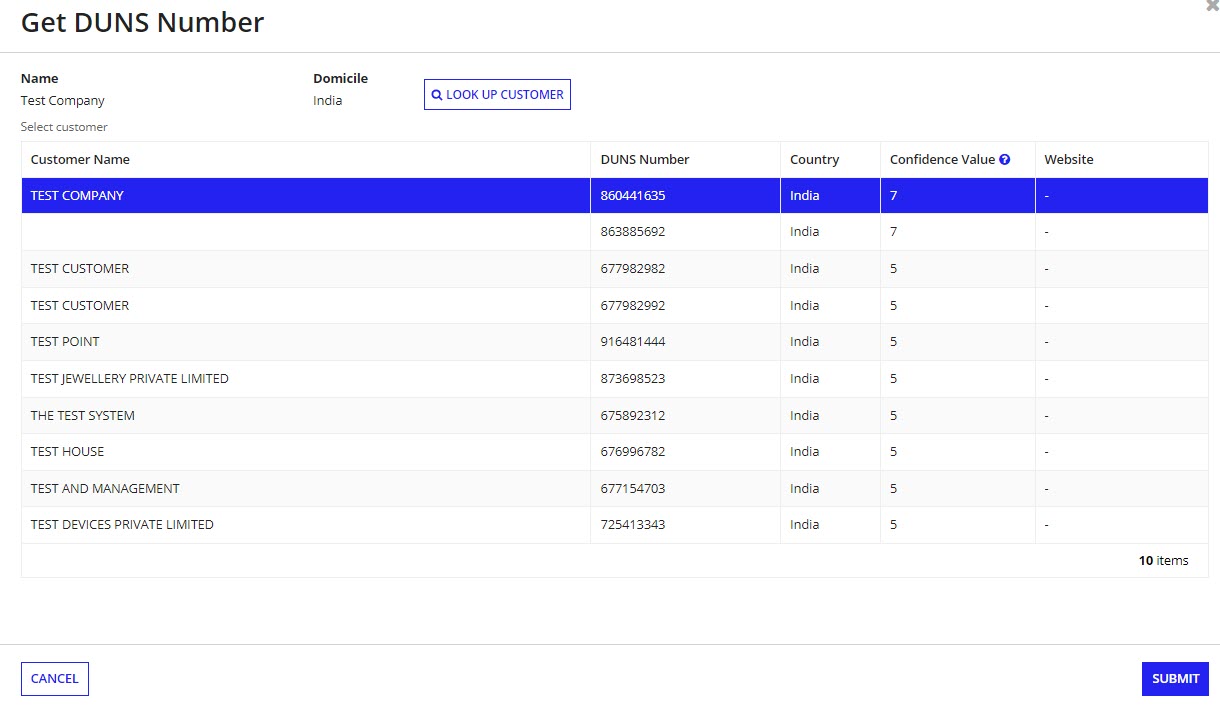
Once the DUNS number is available, the refresh button will enable in the beneficial owners section. Clicking this will call the Dun and Bradstreet system and display any beneficial owners from that external system.
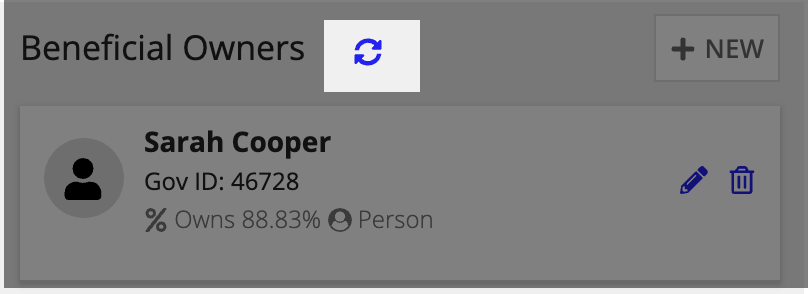
Additionally, you can click the edit icon to edit an existing beneficial owner, or click the delete icon to delete a beneficial owner.
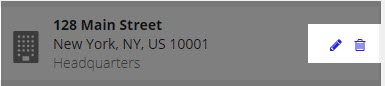
On the Basic Info tab for a customer or during customer creation, Addresses can be added.
To add a new address:
AS_FS_R_DATA table. See Modifying Dropdown Lists for instructions on how to update these values.
Additionally, you can click the edit icon to edit an existing address, or click the delete icon to delete an address.
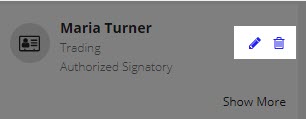
On the Basic Info tab for a customer or during customer creation, Contacts can be added.
To add a new contact:
AS_FS_R_DATA table. See Modifying Dropdown Lists for instructions on how to update these values.
Additionally, you can click the edit icon to edit an existing contact, or click the delete icon to remove a contact.
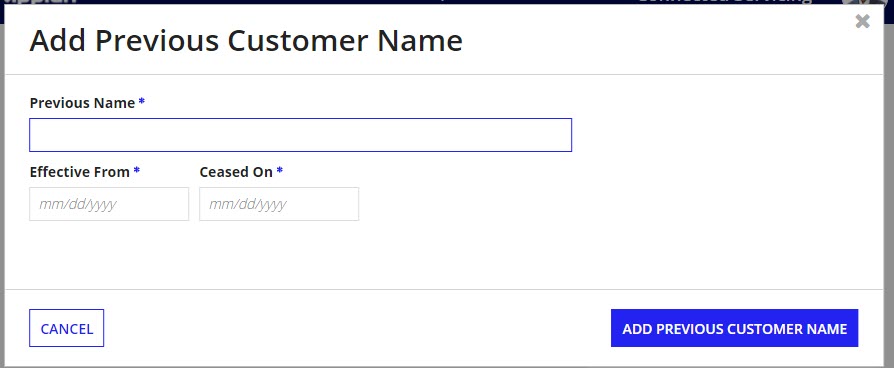
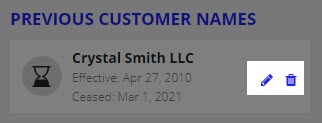
On the Basic Info tab for a customer or during customer creation, Previous Customer Names can be added.
To add a new previous customer name:
Additionally, you can click the edit icon to edit an existing previous customer name, or click the delete icon to remove a previous customer name.
On the Basic Info tab for a customer or during customer creation, Customer Links can be added.
To add or update a customer links:
AS_FS_R_DATA table. See Modifying Dropdown Lists for instructions on how to add these.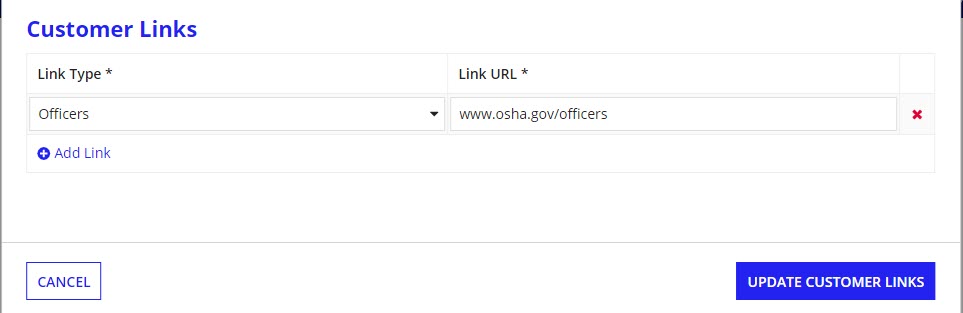
Create a New Customer
