|
| This content applies solely to Connected KYC, which must be purchased separately from the Appian base platform. This content was written for Appian 23.1 and may not reflect the interfaces or functionality of other Appian versions.
|
Introduction
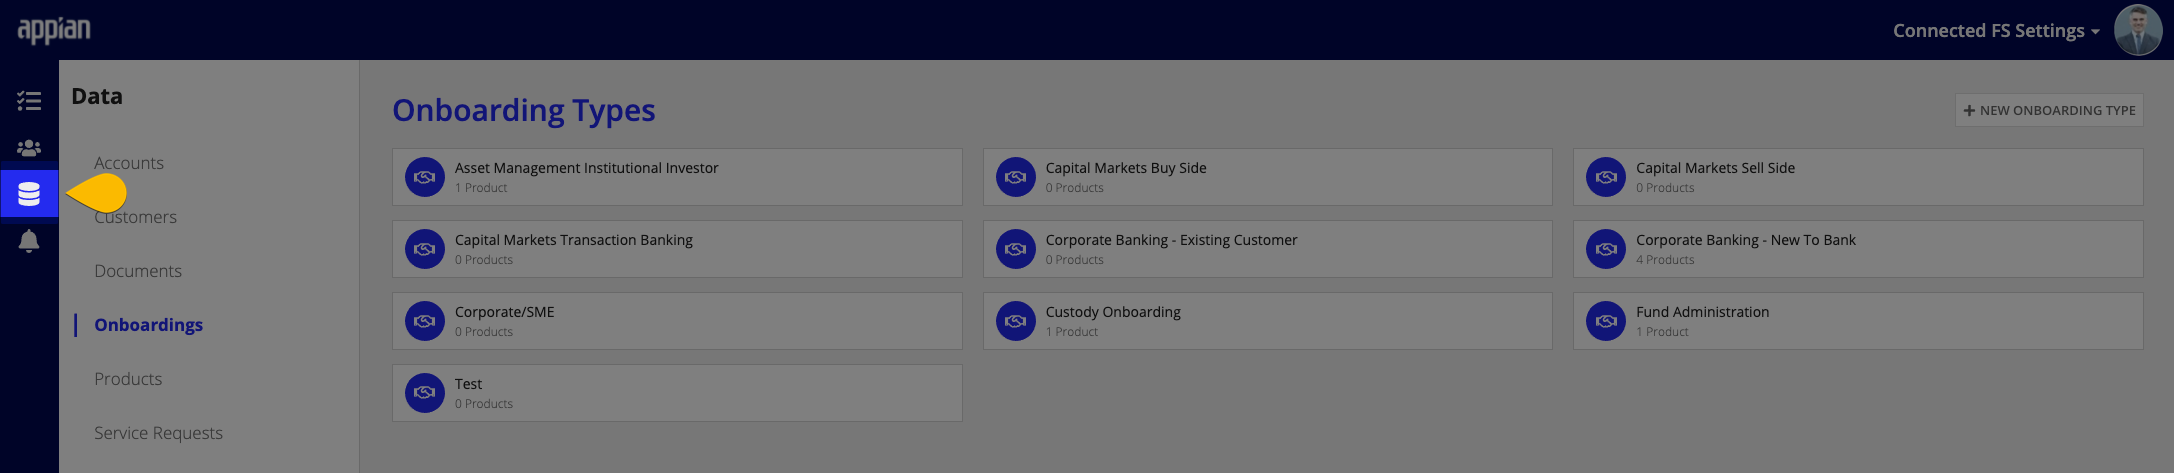
The Data section of the Connected FS Settings site allows business users to manage dropdown values for their Investigation data.
This page describes how to manage:
Add an account type
To add a new account type:
- From the Connected FS Settings site, click DATA.
- Click ACCOUNTS > NEW ACCOUNT TYPE.
- Enter the account type Name.
- Note: This has a 100 character limit and must be unique.
- Click CREATE ACCOUNT TYPE.
Remove an account type
To remove an account type:
- From the Connected FS Settings site, click DATA > ACCOUNTS.
- Click the account type that you would like to remove.
- Click DELETE.
- In the confirmation message, click DELETE again.
If this account type is set up to be a default account type for certain products, it will no longer be associated to those products. Additionally, if an account type is removed, anywhere it is already referenced will now show that it is inactive.
Update an account type
To update an account type:
- From the Connected FS Settings site, click DATA > ACCOUNTS.
- Click the account type that you would like to update.
- Update the the account type Name.
- Note: This has a 100 character limit and must be unique.
- Click UPDATE ACCOUNT TYPE.
Updating the account type will reflect anywhere this account type is used.
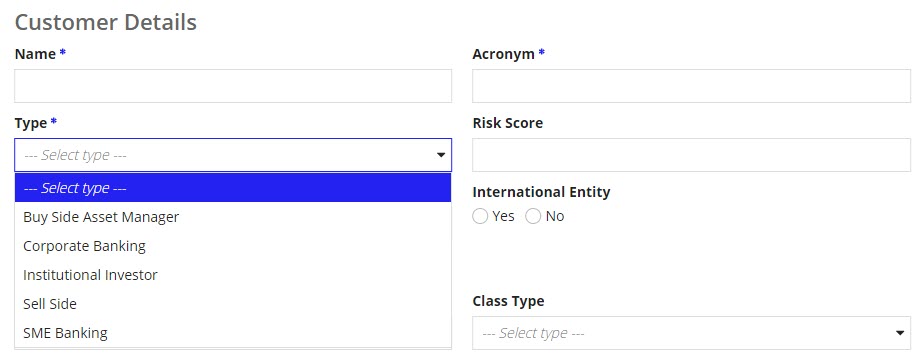
The customer type dropdown is accessed when a new customer is created.
Add a customer type
To add a new customer type:
- From the Connected FS Settings site, click DATA.
- Click CUSTOMERS > NEW CUSTOMER TYPE.
- Enter the customer type Name.
- Note: This has a 100 character limit and must be unique.
- Click CREATE CUSTOMER TYPE.
Remove a customer type
To remove a customer type:
- From the Connected FS Settings site, click DATA > CUSTOMERS.
- Click the customer type that you would like to remove.
- Click DELETE.
- In the confirmation message, click DELETE again.
If a customer type is removed, anywhere it is already referenced will now show that it is inactive.
Update a customer type
To update a customer type:
- From the Connected FS Settings site, click DATA > CUSTOMERS.
- Click the customer type that you would like to update.
- Update the customer type Name.
- Note: This has a 100 character limit and must be unique.
- Click UPDATE CUSTOMER TYPE.
Updating the customer type will be reflected for anywhere this type is used on both previous and new customers.
The document type dropdown is accessed when a document is uploaded to Investigations.
Add a document type
To add a new document type:
- From the Connected FS Settings site, click DATA.
- Click DOCUMENTS > NEW DOCUMENT TYPE.
- Enter the document type Name.
- Note: This has a 100 character limit and must be unique.
- Click CREATE DOCUMENT TYPE.
Remove a document type
To remove a document type:
- From the Connected FS Settings site, click DATA > DOCUMENTS.
- Click on the document type that you would like to remove.
- Click DELETE.
- In the confirmation message, click DELETE again.
If a document type is removed, anywhere it is already referenced will now show that it is inactive.
Update a document type
To update a document type:
- From the Connected FS Settings site, click DATA > DOCUMENTS.
- Click the document type that you would like to update.
- Update the document type Name.
- Note: This has a 100 character limit and must be unique.
- Click UPDATE DOCUMENT TYPE.
Updating the document type will be reflected for anywhere this type is used on both previous and new documents.
Set up document classification files
If Intelligent Document Processing (IDP) is being used in your environment, a business user has the ability to train Connected KYC to recognize different document types. If trained, when a user uploads a document to the system, the system can automatically determine what type of document has been uploaded. This will save users time and ensure accuracy when attaching documents to Investigations.
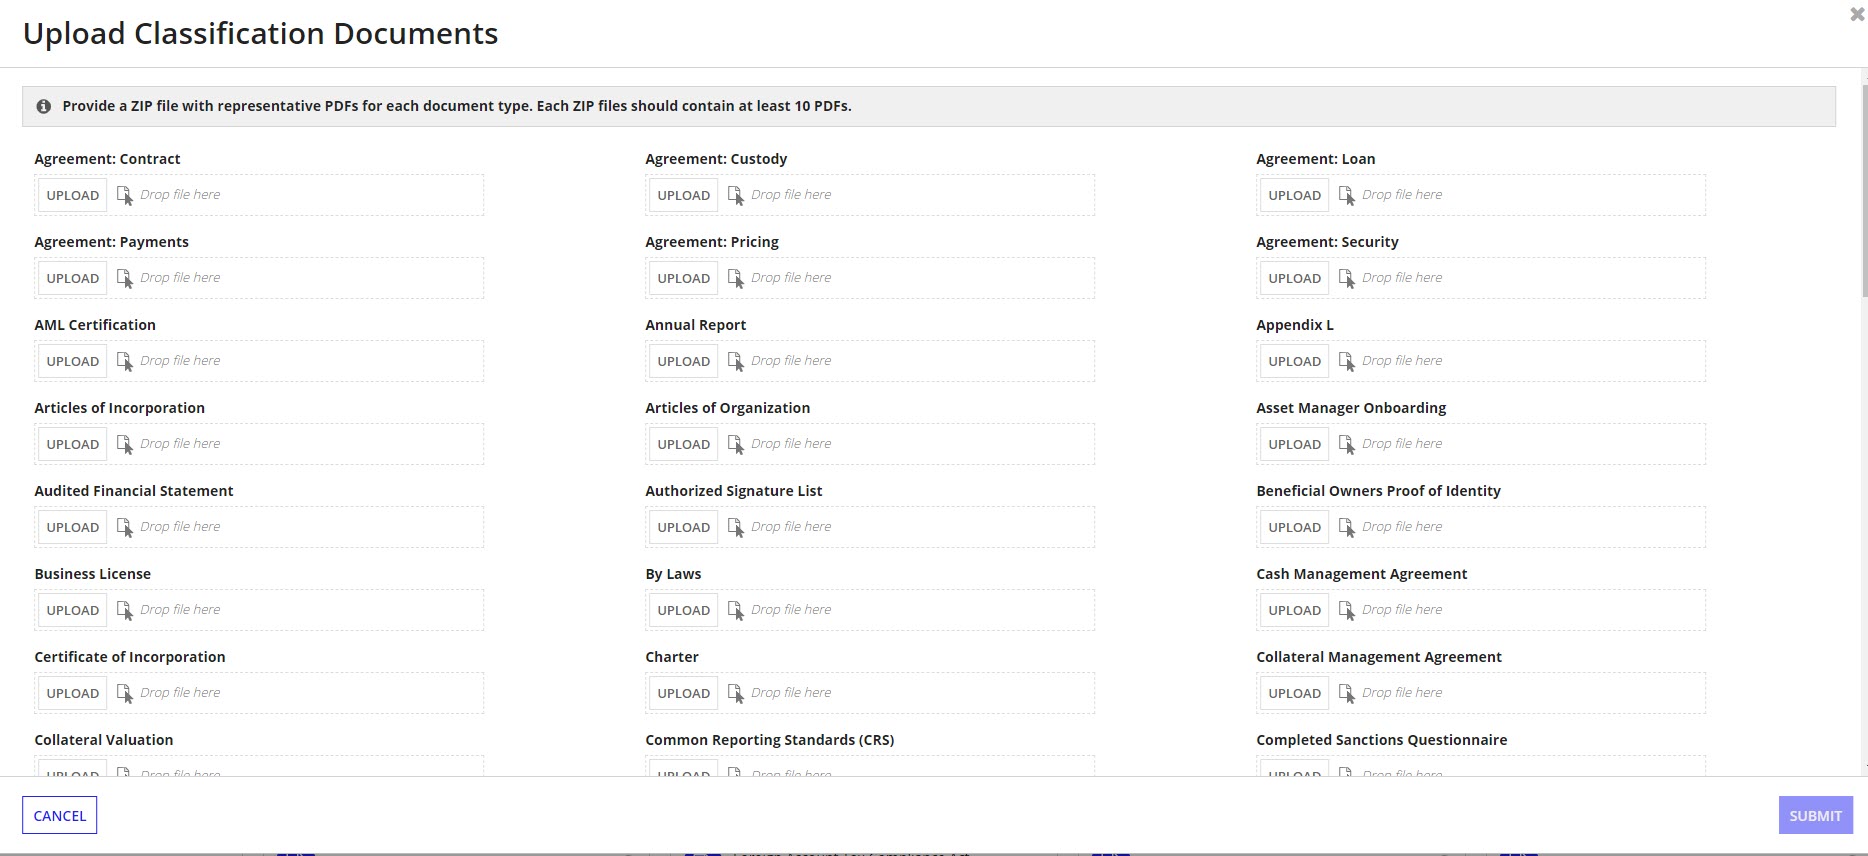
Classification files are groups of 10 example documents of the same document that will be used to train the system to recognize that format as a certain document type.
Add document classification files to a single document type
To add a document classification file:
- From the Connected FS Settings site, click DATA > DOCUMENTS.
- Click on the document type that you would like to add files to.
- Click UPLOAD CLASSIFICATION FILE.
- Note: If IDP is not enabled in the environment, the UPLOAD CLASSIFICATION FILE button will not be available.
- Attach a ZIP file with representative PDFs for the document type. Each ZIP file should contain at least 10 PDFs.
- Note: If the training model is processing, you must wait until it is done before submitting a new classification file. Training the model can take several hours.
-
Click SAVE.
If there are any issues with the classification files and the system could not process them there will be an indicator next to the name of each document type with an issue.

When you click on a document type with an issue you will also see a message on the UPDATE DOCUMENT TYPE page.
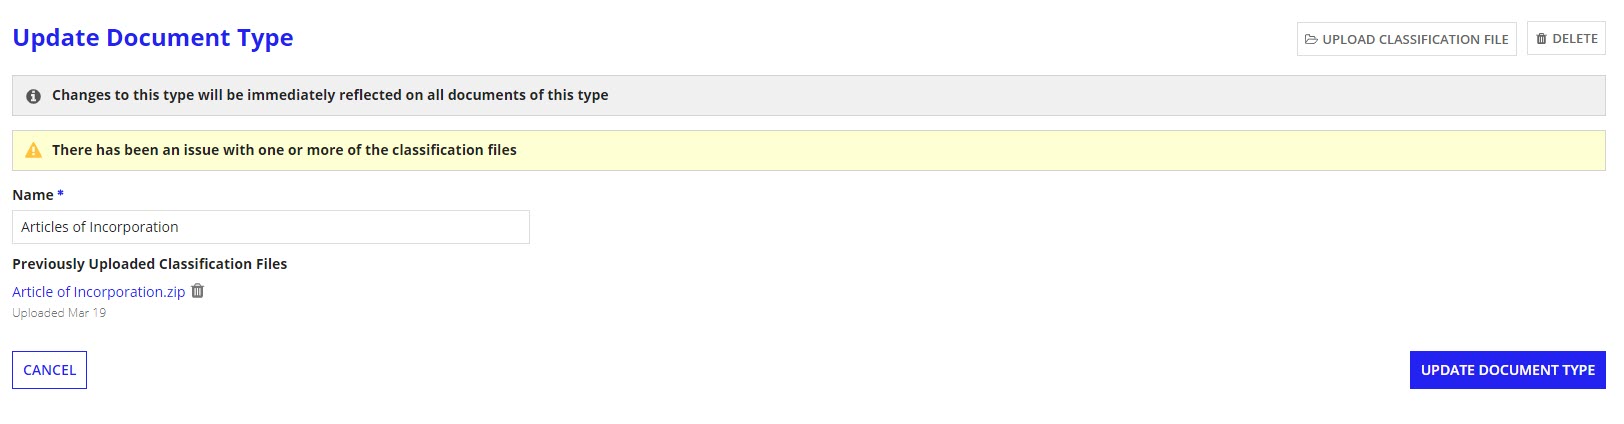
You will need to remove and re-upload the files to fix any issues.
Bulk add document classification files
It is possible to add multiple files in order to train the system on many document types at once.
To bulk add document classification files:
- From the Connected FS Settings site, click DATA > DOCUMENTS.
- Click ADD CLASSIFICATION FILES.
- Note: If IDP is not enabled in the environment, the ADD CLASSIFICATION FILES button will not be available.
- Attach a ZIP file with representative PDFs for each document type that you want to add classification files for. Each ZIP file should contain at least 10 PDFs.
- Note: If the training model is processing, you must wait until it is done before submitting a new classification file. Training the model can take several hours.
- Click SUBMIT.
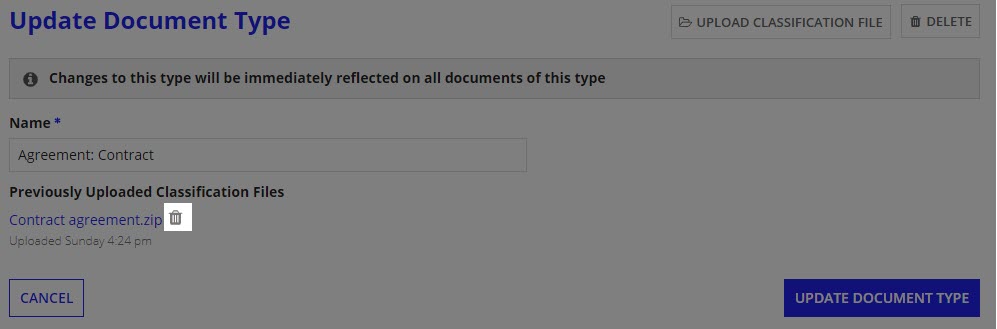
Remove document classification files
To remove a document classification file:
- From the Connected FS Settings site, click DATA.
- Click DOCUMENTS.
- Click on the document type that you would like to remove the file from.
- Next to the file you would like to remove, click .
- Note: If the training model is processing, you must wait until it is done before removing a classification file. Training the model can take several hours.
-
Click UPDATE DOCUMENT TYPE.
Add a product type
To add a new product type:
- From the Connected FS Settings site, click DATA.
- Click PRODUCTS > NEW PRODUCT TYPE.
- Enter the product type Name.
- Note: This has a 100 character limit and must be unique.
- Click CREATE PRODUCT TYPE.
Remove a product type
To remove a product type:
- From the Connected FS Settings site, click DATA > PRODUCTS.
- Click on the product type that you would like to remove.
- Click DELETE.
- In the confirmation message, click DELETE again.
If a product type is removed, it will now show as inactive anywhere it is already referenced.
Update a product type
To update a product type:
- From the Connected FS Settings site, click DATA > PRODUCTS.
- Click on the product type that you would like to update.
- Update the product type Name.
- Note: This has a 100 character limit and must be unique.
- Click UPDATE PRODUCT TYPE.
Updating the product type will be reflected anywhere this type is used on both previous and new products.
Manage default account types for products
Business users can set up which accounts will be automatically added for each product type by setting the default accounts for the product type while updating the product type in the Connected FS settings site.
Add an account to a product type
To add an account to a product type:
- From the Connected FS Settings site, click DATA > PRODUCTS.
- Click on the product type that you would like to update.
- Click ADD ACCOUNT.
- Choose which existing account type to add.
- Click ADD.
Remove an account from a product type
To remove an account from a product type:
- From the Connected FS Settings site, click DATA > PRODUCTS.
- Click the product type that you would like to update.
- Click the red icon next to the account type you would like to remove.
- Note: This has a 100 character limit and must be unique.
