| This content applies solely to Connected KYC, which must be purchased separately from the Appian base platform. This content was written for Appian 23.1 and may not reflect the interfaces or functionality of other Appian versions. |
When important data changes are made to a customer record, alerts are generated to notify business users of the change. In the Connected FS Settings site, business users can control when these alerts generate, which customer groups are notified, and the actions or events that need to occur after an alert is triggered. You can view alerts on the customer record.
All alert settings are located in the ALERTS tab of the Connected FS Settings site.

By default, the Alert Configurations page displays all alert configurations. To filter the alerts by status, select Active or Inactive in the navigation pane. Any alert that the system is currently generating is an active alert. Alerts that are disabled by a user and no longer used to trigger an alert are inactive.
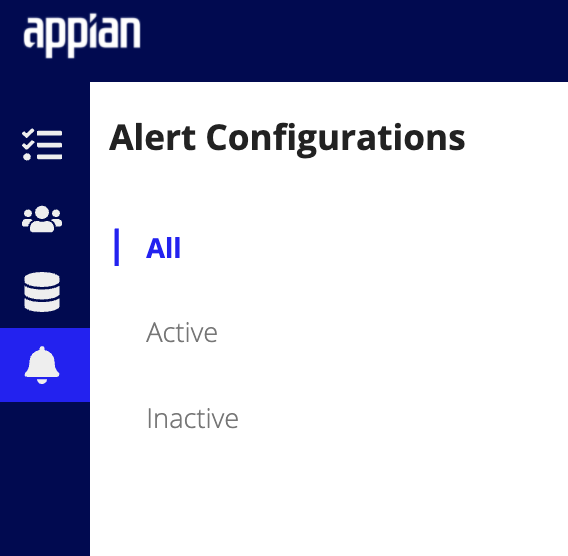
To find a specific alert, search by the alert name. You can also sort the alerts by the date when the configuration was last updated.
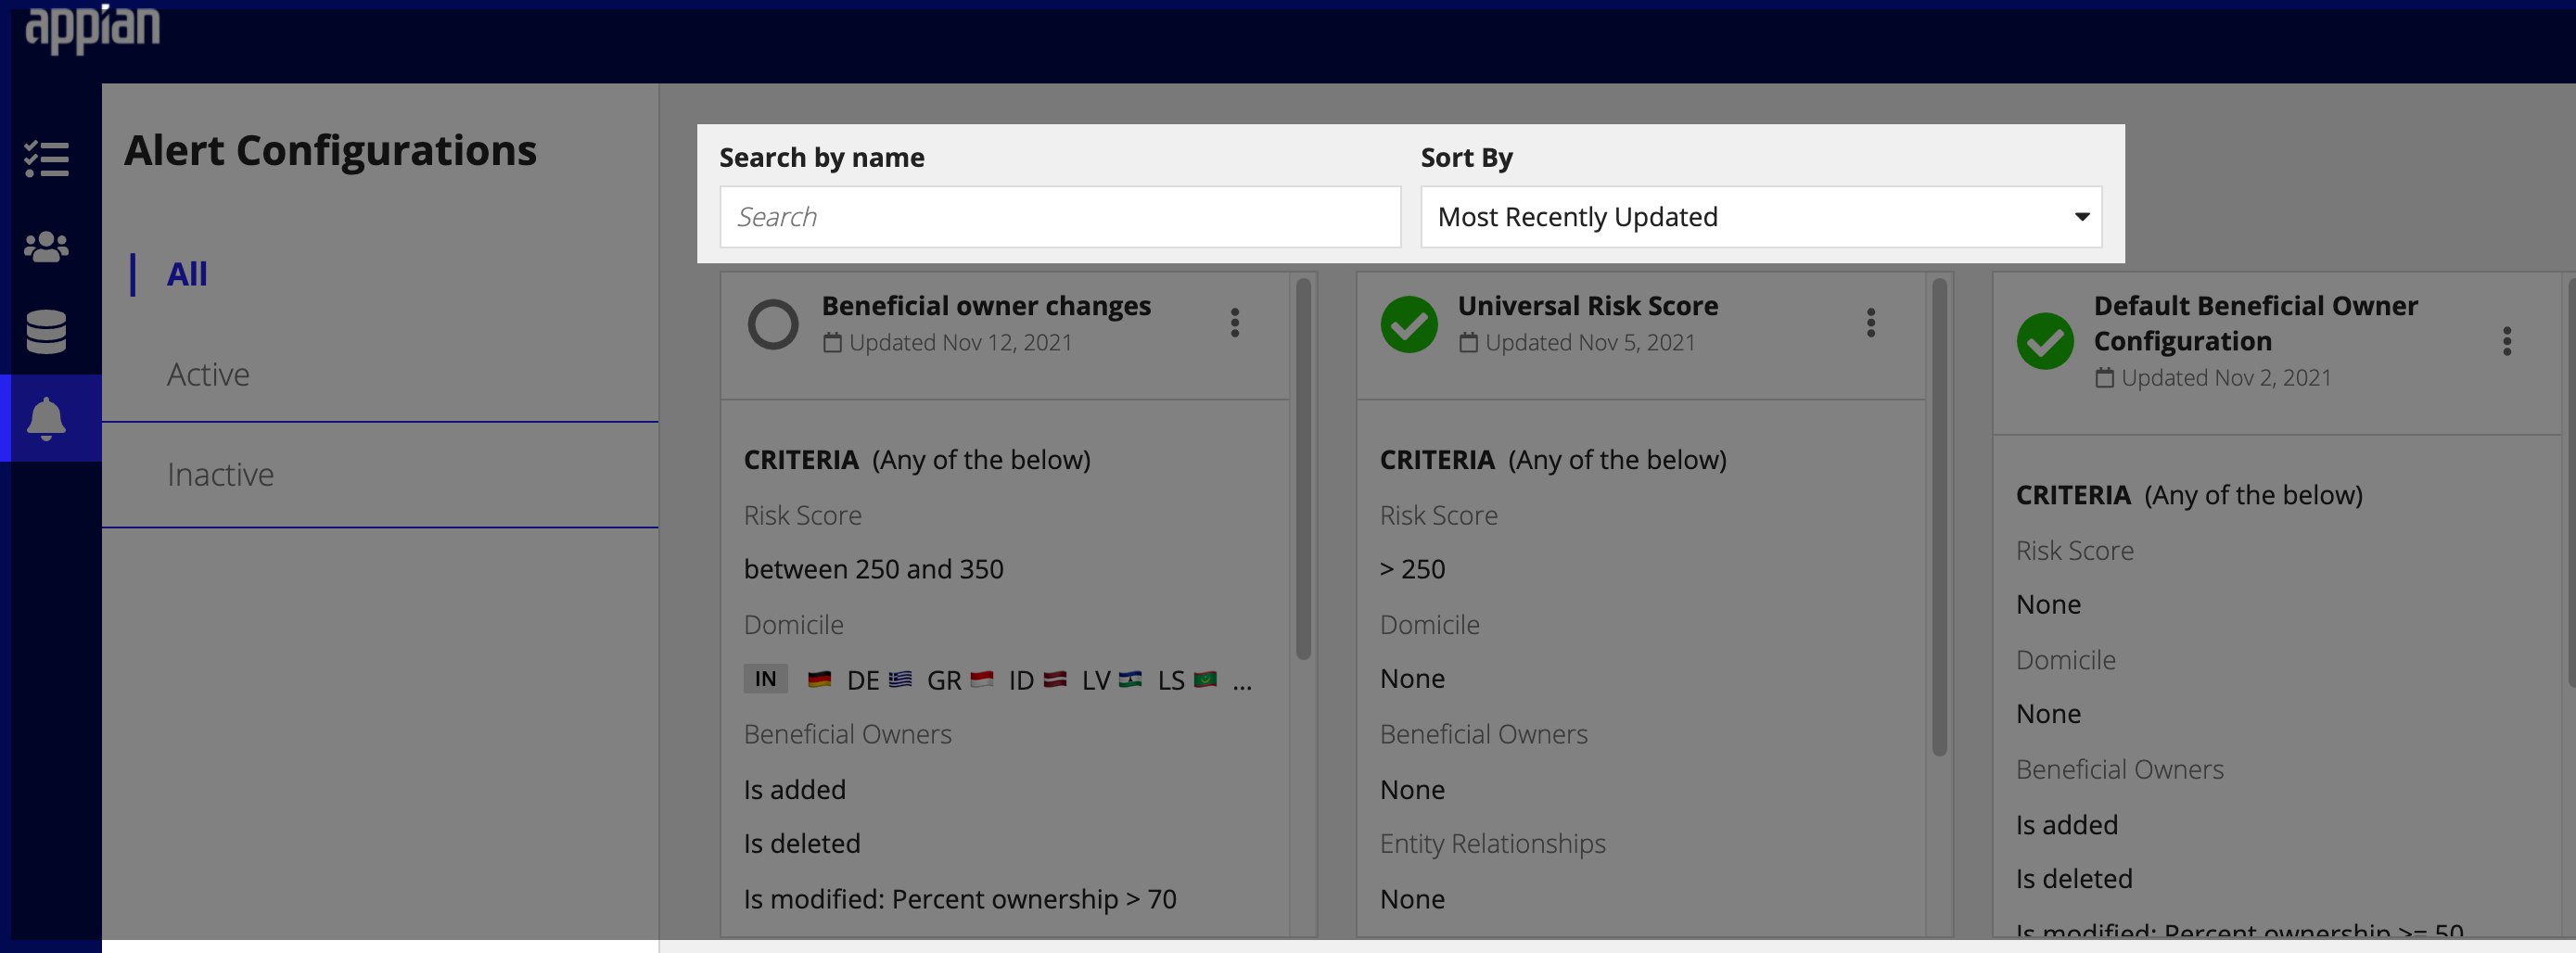
You can configure a customer alert to trigger when a specific customer matches a set of conditions or a specific scenario.
For example, you can configure an alert to trigger when the risk score changes for a customer in APAC. The alert, which include a custom message, appears on the Summary tab of the Customer record.
To create new alert configurations:
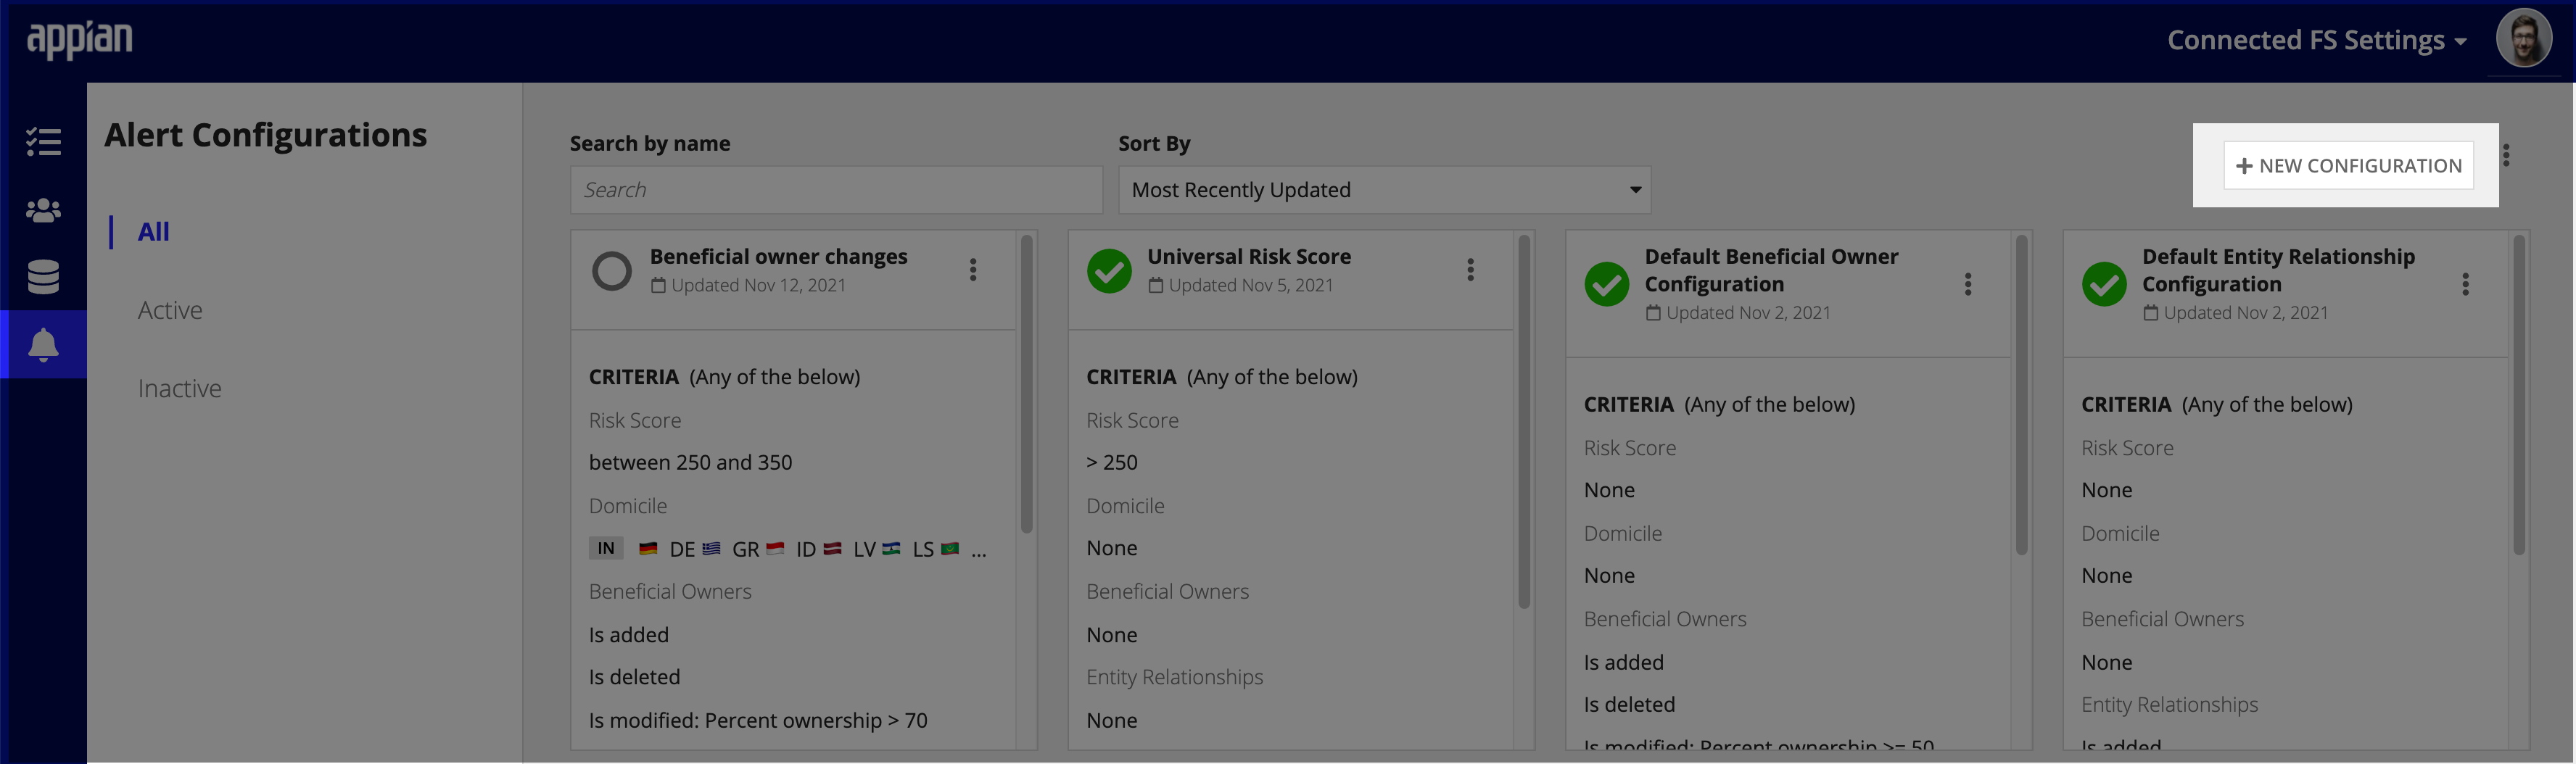

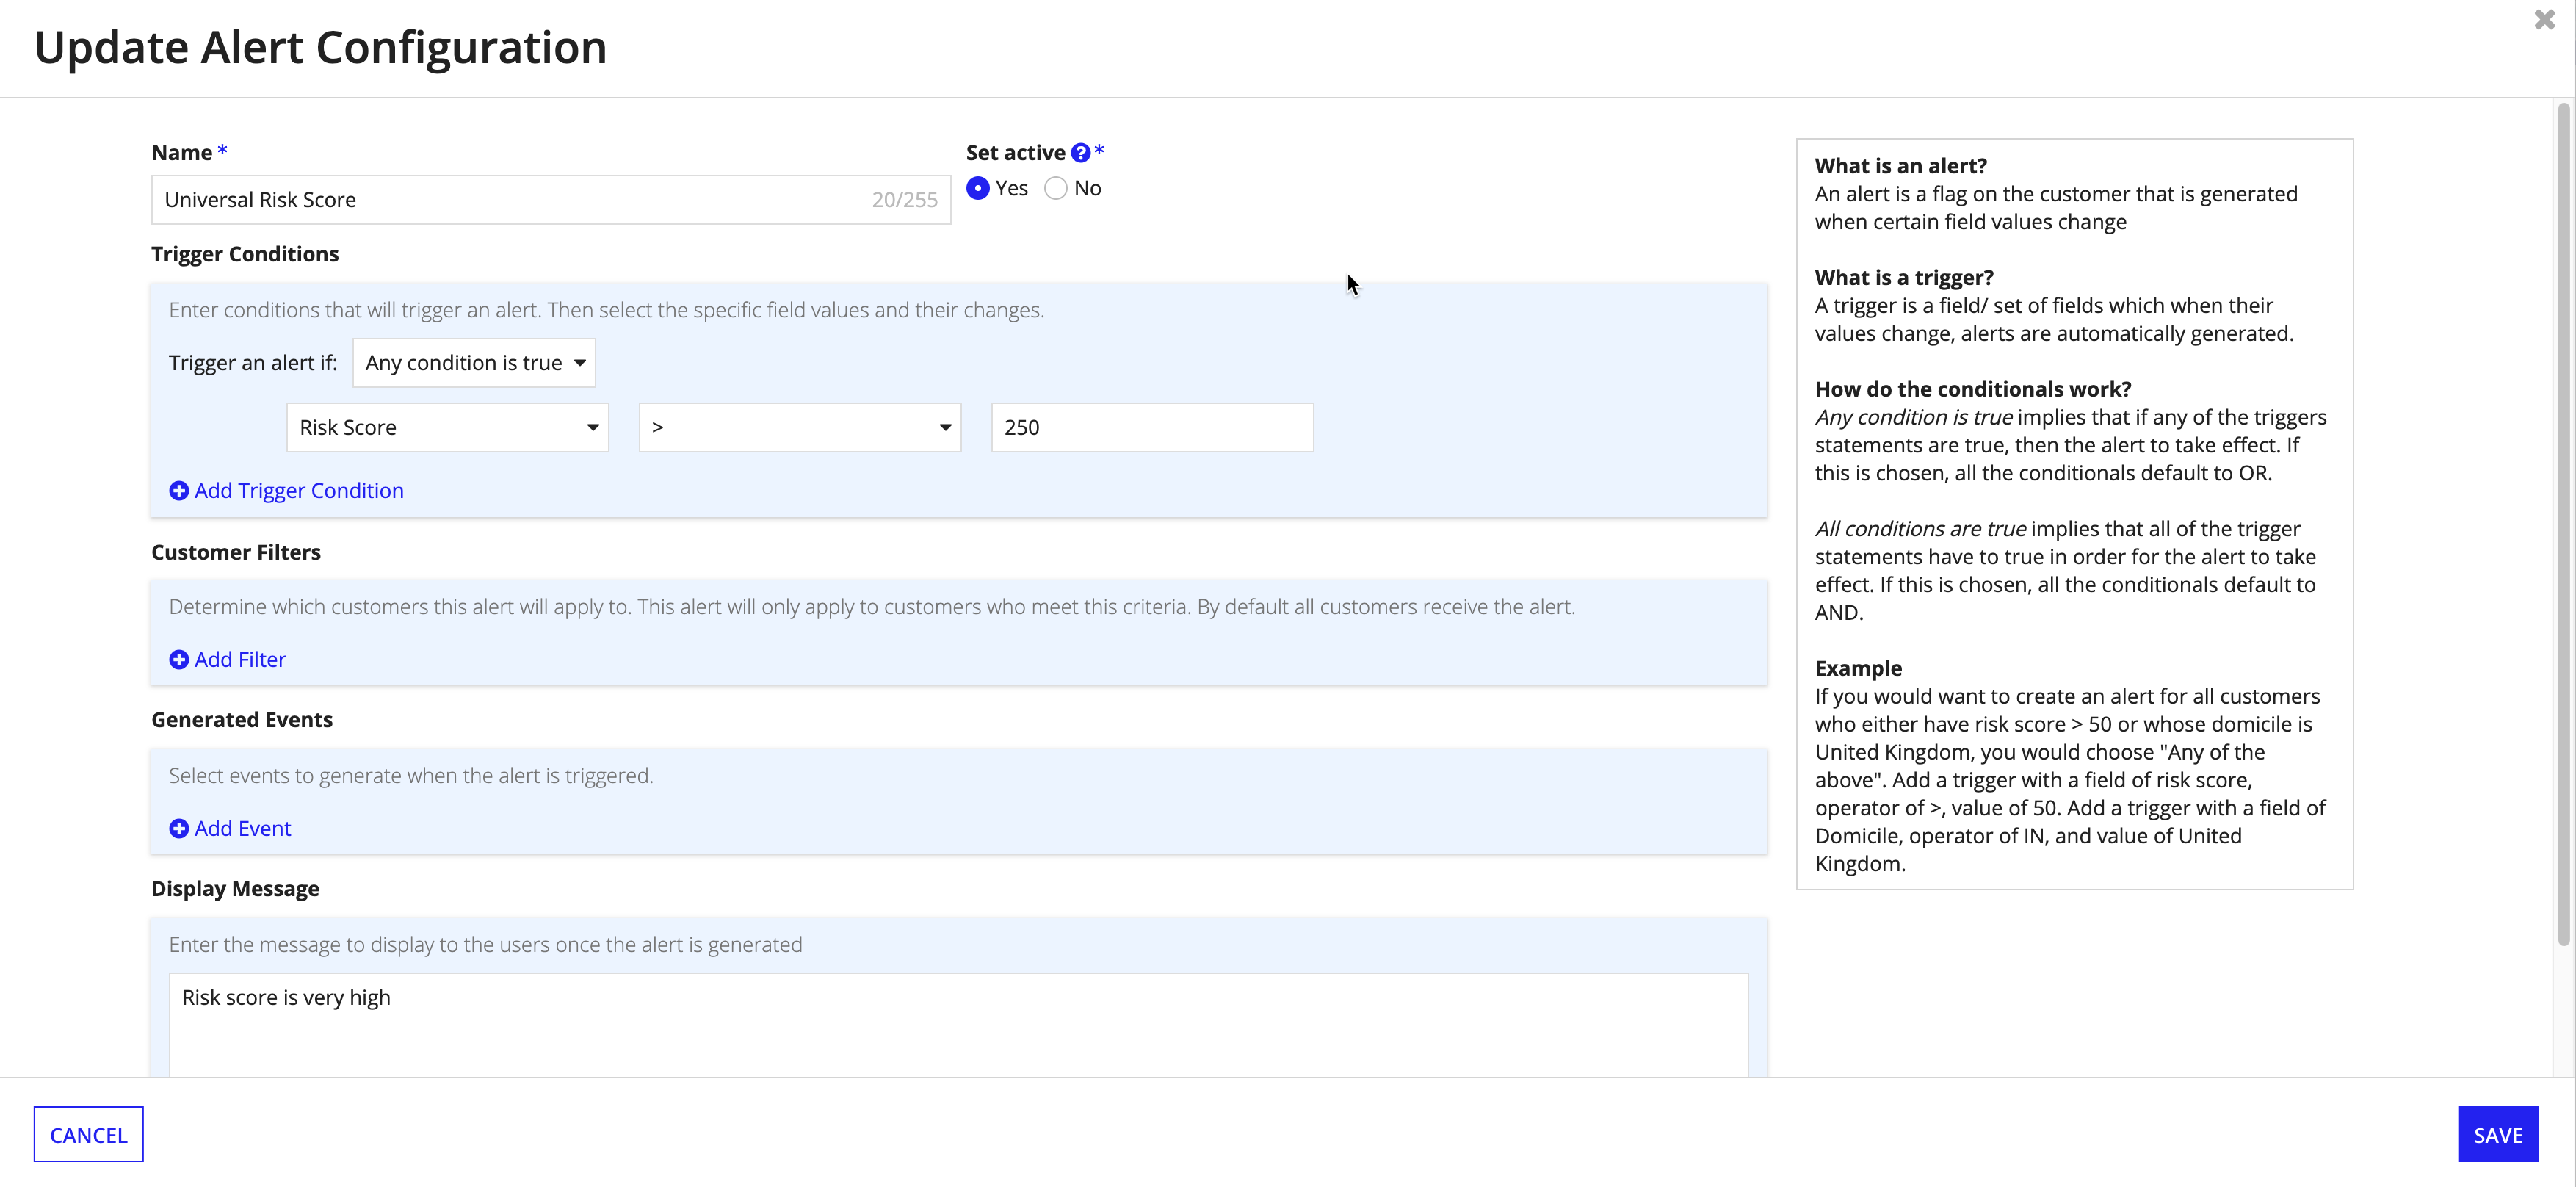
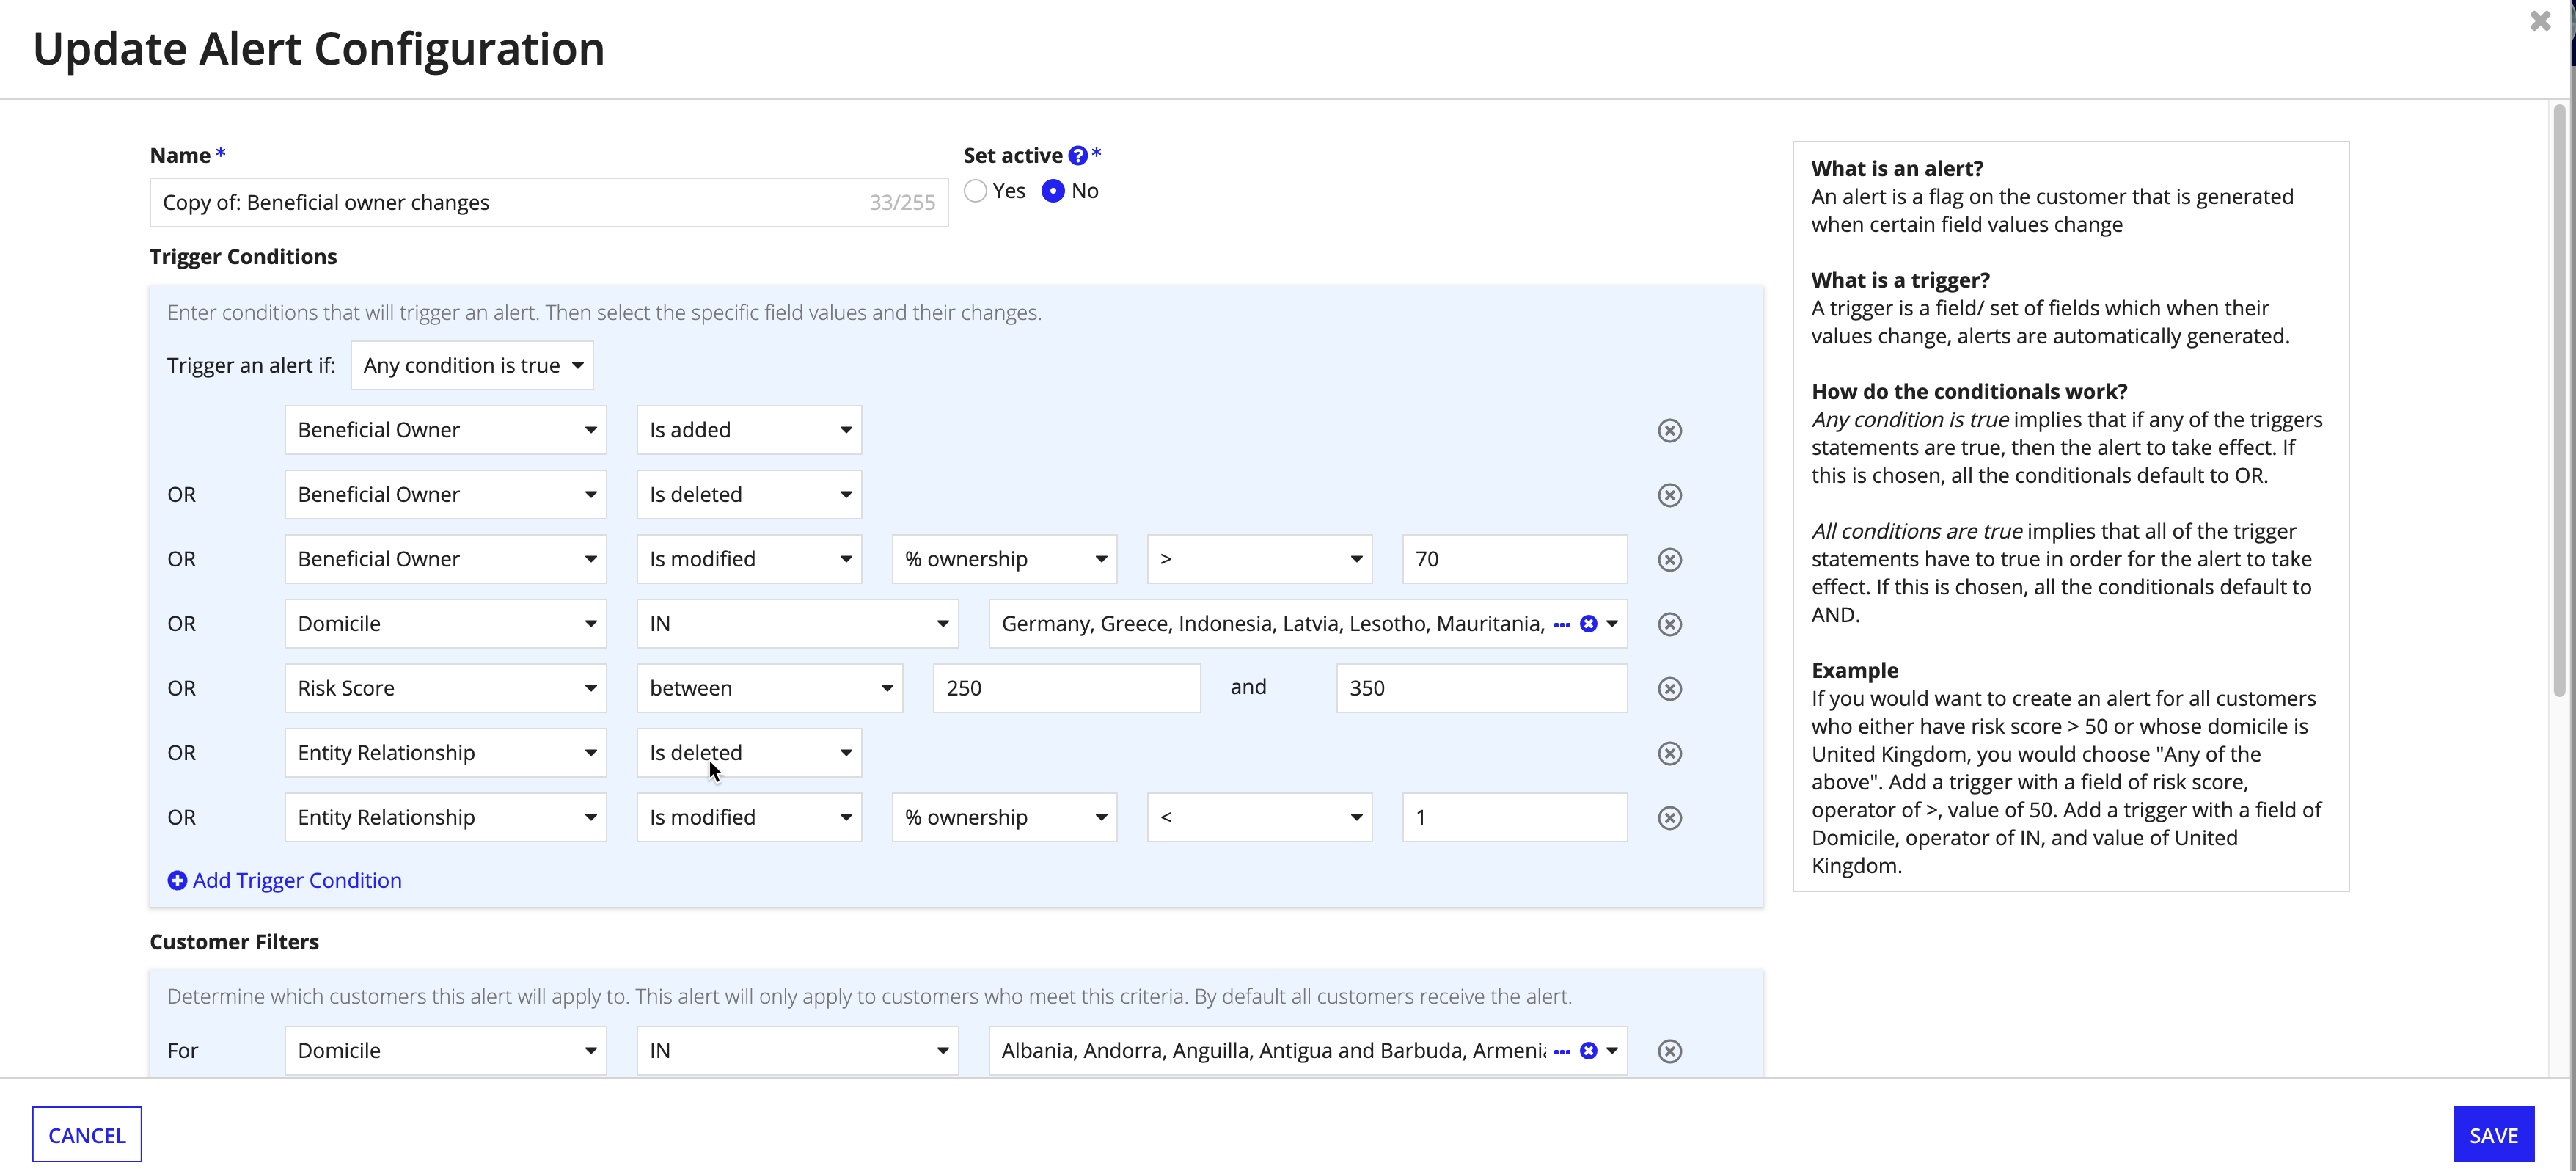
Trigger conditions are the rules that define the data that needs to change in order to generate an alert. When the customers' data changes and matches the rule set, an alert will be automatically generated.

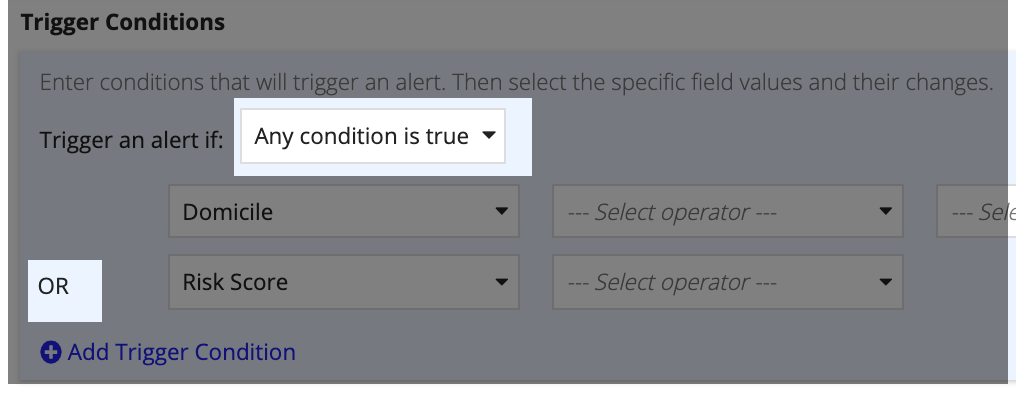
There are two types of trigger conditions: ANY conditions or ALL conditions.
For an Any condition is true trigger to generate an alert, any of the trigger statements can be true. If this is chosen, all the conditional separators will default to OR.
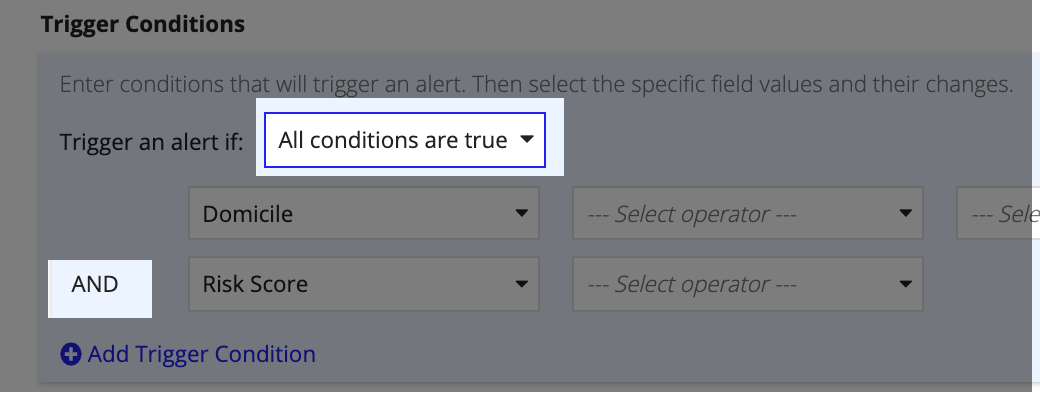
An All conditions are true trigger implies that all of the trigger statements have to be true in order for the alert to generate. If this is chosen, all the conditionals will default to AND.
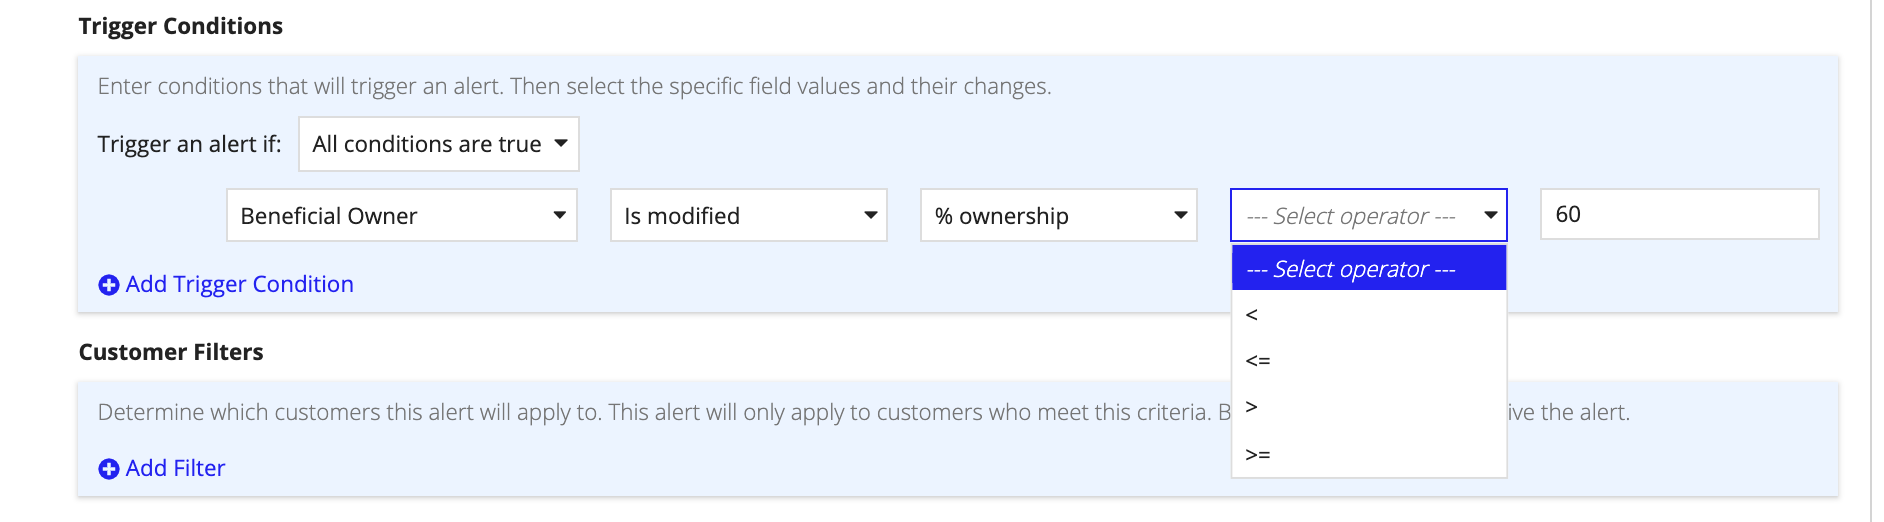
You can set up trigger conditions to monitor four types of changes: Beneficial Owners, Domiciles, Entity Relationships, and Risk Scores by configuring each field to generate a trigger when a specific data value changes.
You can also configure an alert to trigger when a Beneficial Owner is added, deleted, or modified. If you configure an alert to trigger when you modify a Beneficial Owner, you can also set up an expression to define when an alert will trigger once a specific Ownership threshold is met.
The Domicile field allows you to configure an alert to trigger when a domicile change occurs. You can configure an alert to trigger when a change is made to include a domicile in a. list of specific countries using the IN or exclude a list of countries using the NOT IN condition.

The Entity Relationship field allows you to configure an alert to trigger when a user adds, deletes, or modifies an entity relationship. If you configure an alert to trigger when a user modifies Entity Relationship, you can also set up an expression to define when an alert will trigger once a specific Ownership threshold is met.

An alert can trigger when a risk is changed to a certain value or threshold.

To define which customers the trigger rules apply to, you can set up Customer Filters by filter type, including name, domicile, or region. For each of the filter types, determine whether the filter should be inclusive using the IN operator or exclusive using the NOT IN operator.

To remove the filter, click the icon next to the filter. By default, an alert configuration that does not have a customer filter will apply to all customers.
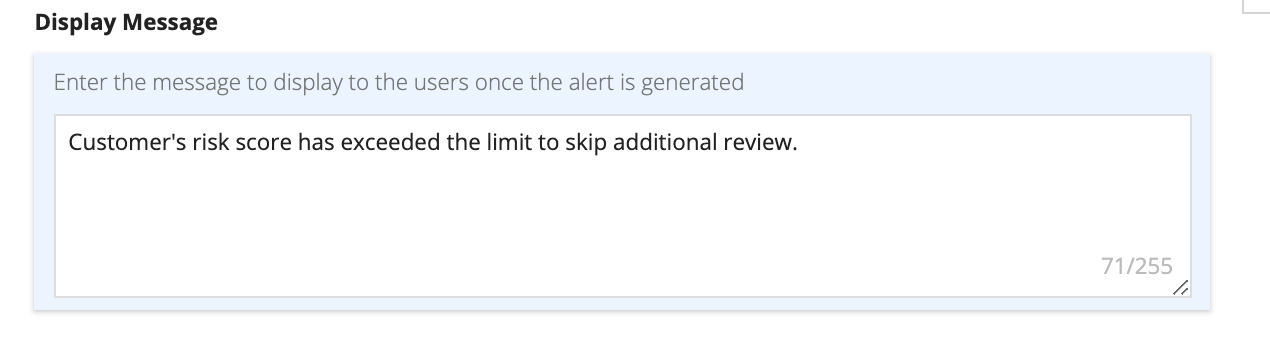
The Display Message dialog allows you to configure an alert message to show on the customer record. When an alert is generated, users viewing the alert will see this message.
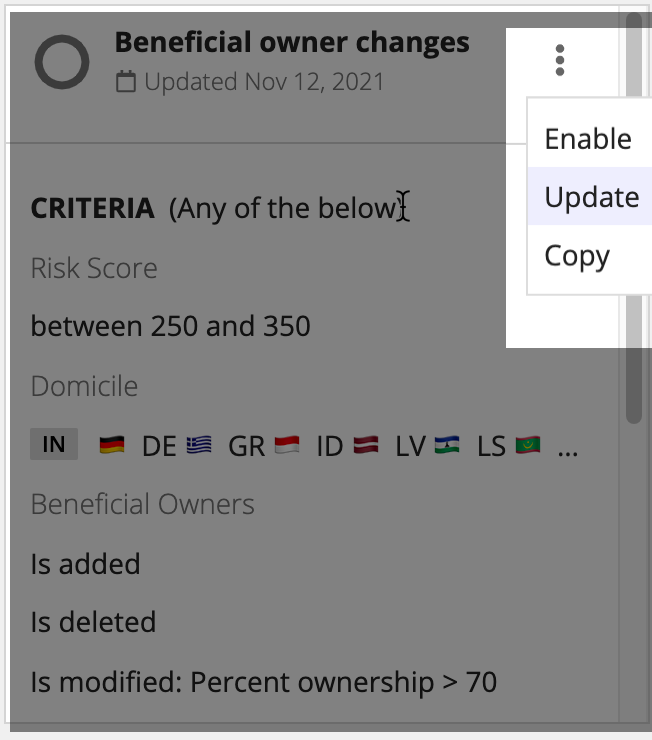
When changes to alert configurations are necessary, you can update the existing configuration without having to create a new one.
To update an alert configuration:
If an alert configuration is no longer required, you can stop the configuration from generating any new alerts.
To disable an alert configuration, click the icon on the alert you want to disable and select Disable.

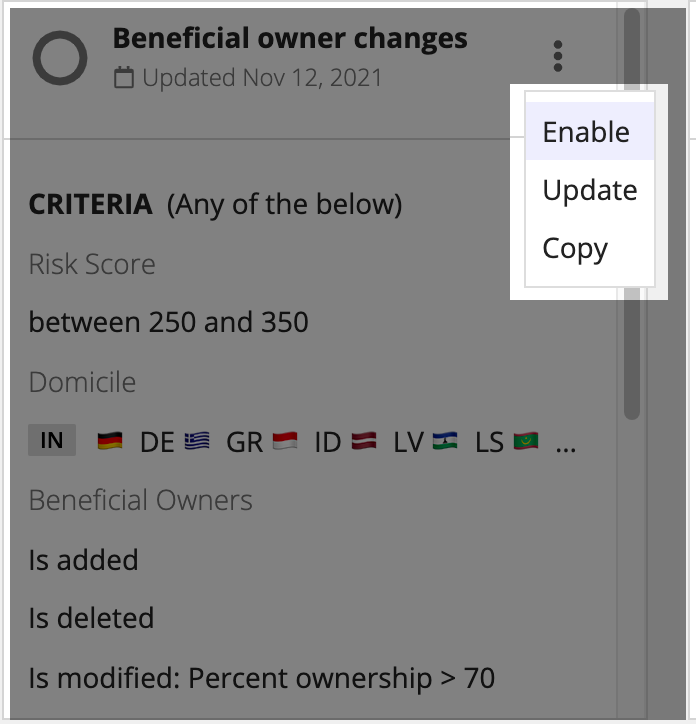
After creating or disabling an alert configuration, you need to to turn it on in order to start generating alerts.
To enable an alert configuration, click the icon on the alert you want enable and select Enable.
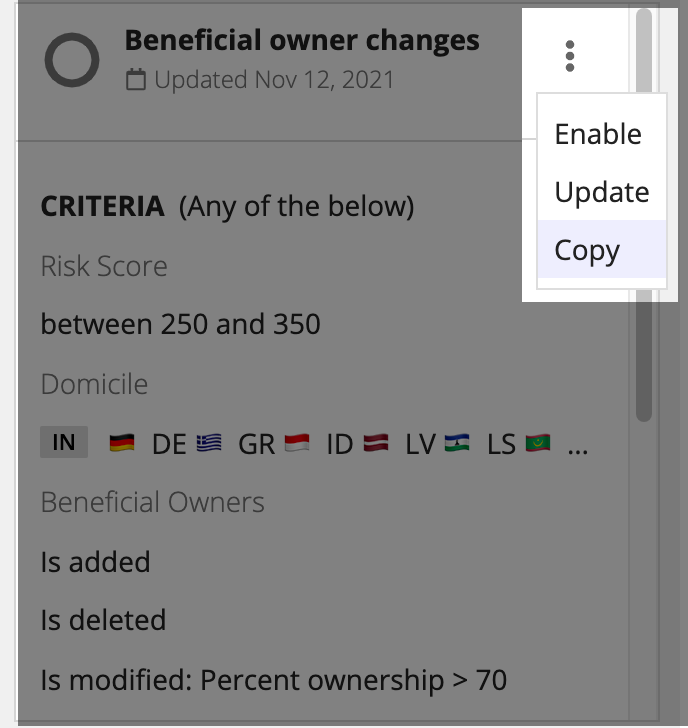
Copying an alert is a quick way to create a new alert with slightly different trigger logic. When copied, the new alert has all of the same configurations, including active status, triggers, customer filters, and actions, as the alert that was copied. The name of the new alert configuration will start with Copy of.
To copy an alert configuration:
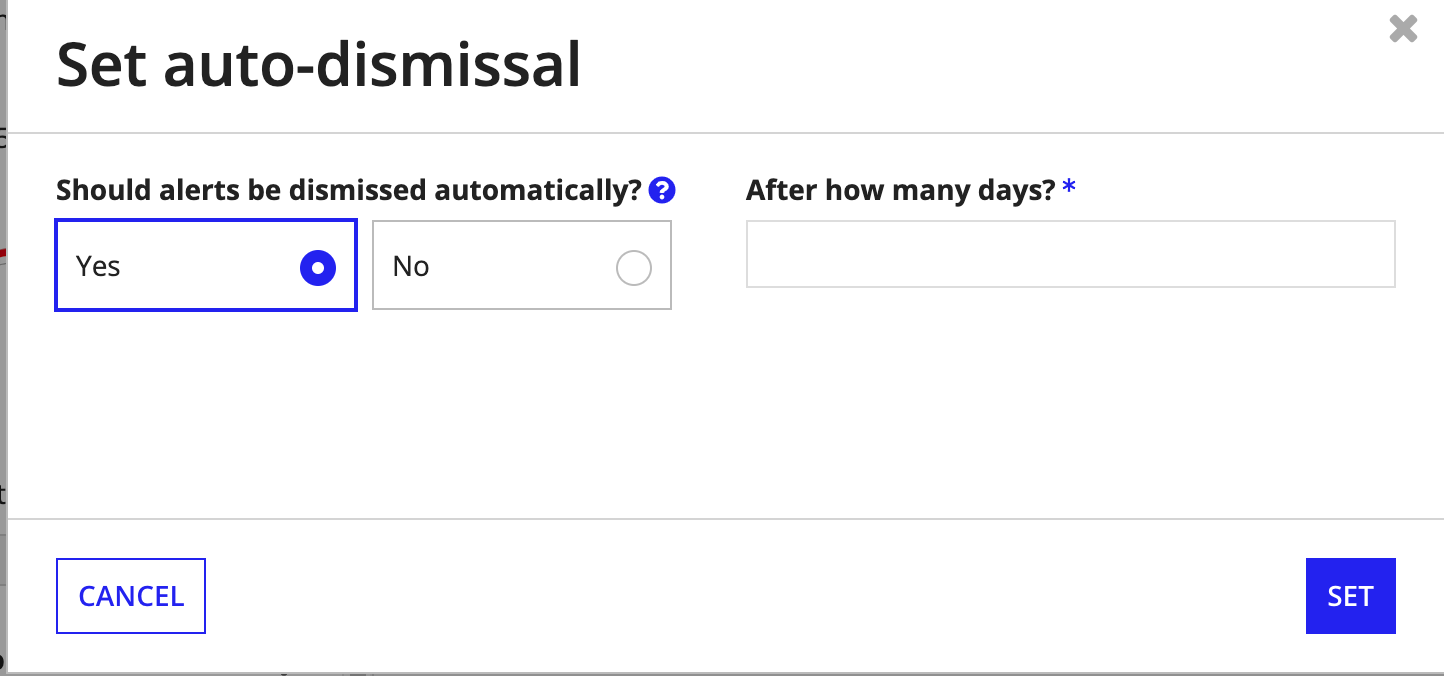
You can configure alerts that are not dismissed manually, to be automatically dismissed by the system after a specific timeframe.
To configure auto-dismissal:
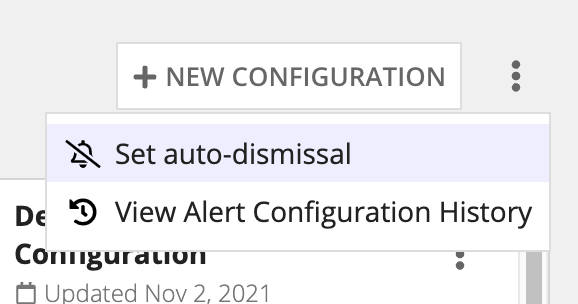
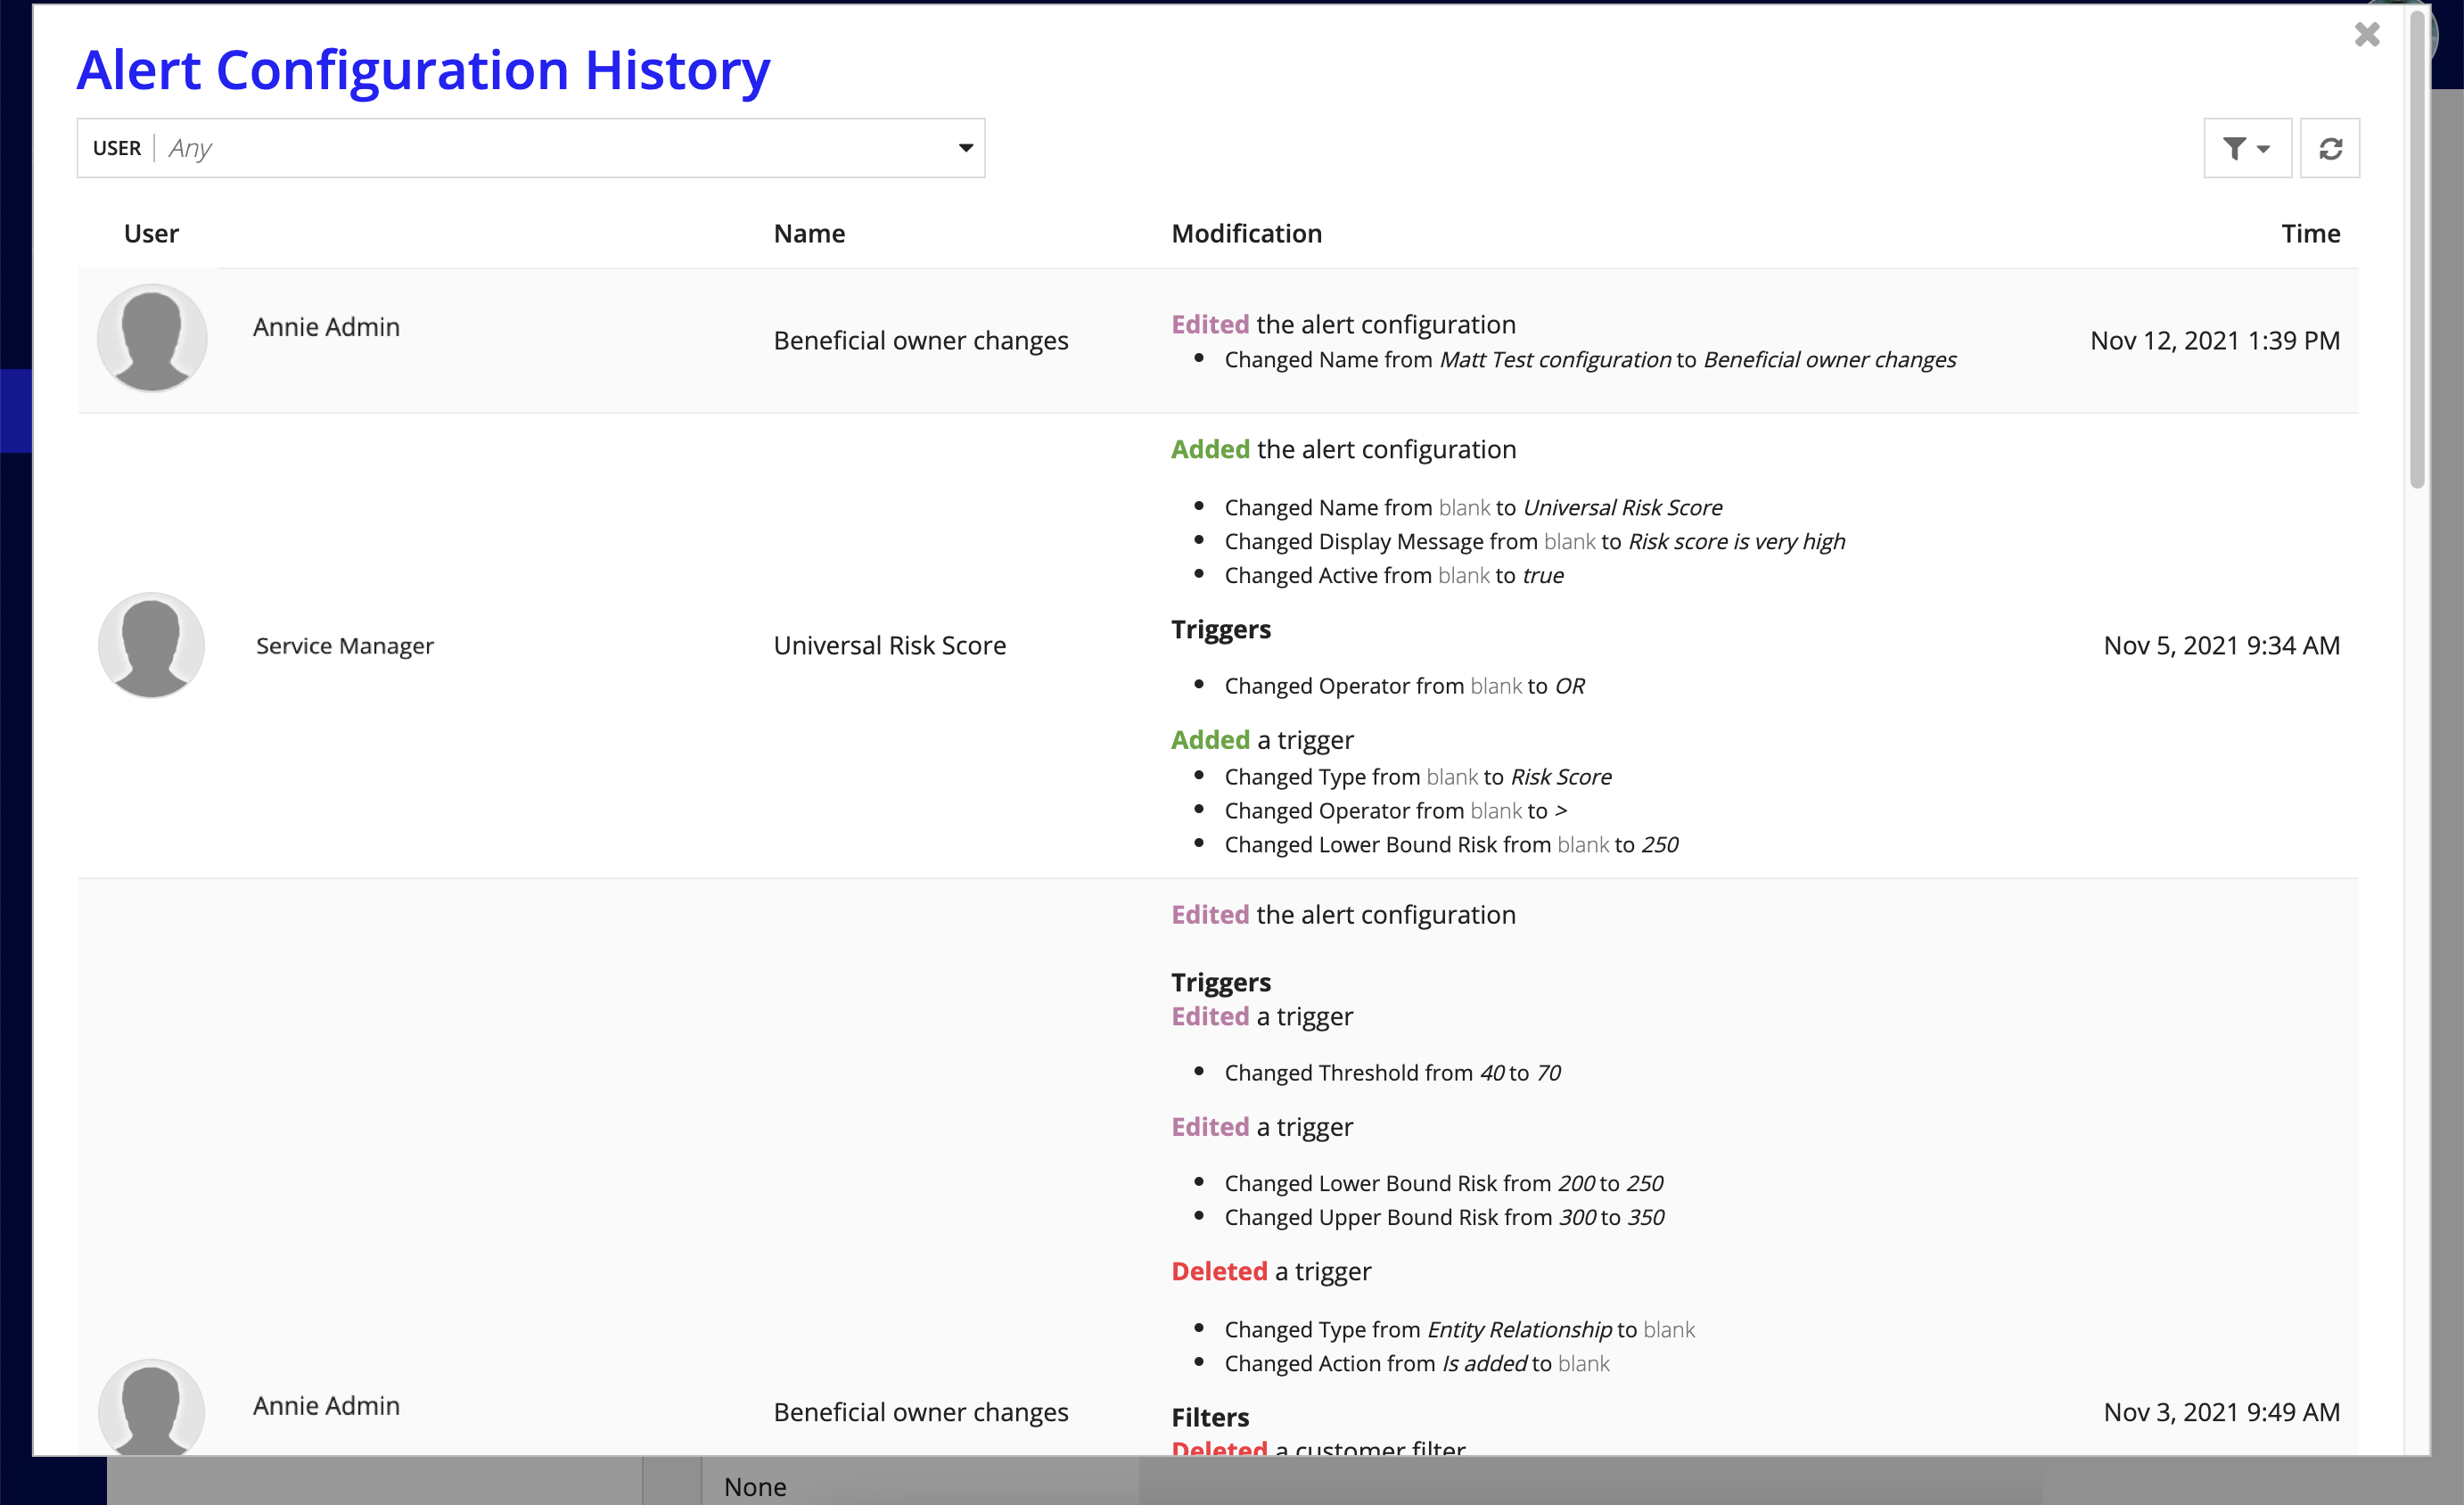
Each time an alert configuration is added, deactivated, or edited, the system tracks the changes, including who made the changes and when they were made. To see a completed history of the changes made to any of the alert configurations select View Alert Configuration History in the menu button on the top right corner.
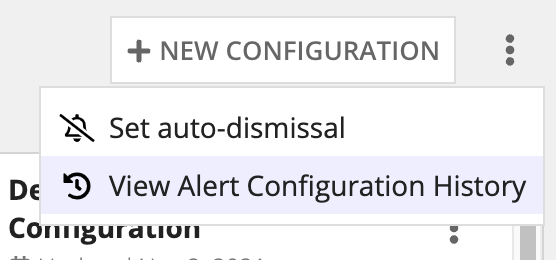
The alert configuration history grid also shows the values before and after a configuration change and which alert configuration was affected. You can filter these alert configuration changes by the user.
Configure Alerts
