| This content applies solely to Workforce Safety, which must be purchased separately from the Appian base platform. This content was written for Appian 21.4 and may not reflect the interfaces or functionality of other Appian versions. |
Workforce Safety helps organizations manage crises, such as the COVID-19 pandemic. This page provides instructions for installing Workforce Safety in an Appian environment.
To update to v14.0 of Workforce Safety, see the version 14.0 upgrade guide. Note that you must be registered on Appian Community to access this link.
Note: This solution may involve collection and dissemination of Personal Health Information. Please follow your organization's guidelines for handling Personal Health Information under HIPAA. Appian recommends installing this app on Appian's HIPAA Cloud sites.
Please call our dedicated Workforce Safety solution help line at the numbers below if at any point you need assistance or have questions:
Current customers can also log into Appian Community and open support cases. All users of Workforce Safety can also email Appian Support at support@appian.com.
Note: If you intend to run both Appian's Workforce Safety and CampusPass solutions, you will need to install them on separate environments. We also strongly recommend using a standalone environment for the solution, separate from your other Appian applications, to streamline configuration.
This package contains the following files:
WorkforceSafetyv14.0.0.zipWorkforceSafetyv14.0.0.sqlWorkforceSafetyv14.0.0.propertiesTo download the software package (as an existing Customer or Partner):
Workforce Safety Solution v14.0.Workforce Safety v14.0 relies on the following plug-ins required to be deployed and configured in the target system before the application files can be imported. Please update to the latest version of each plugin:
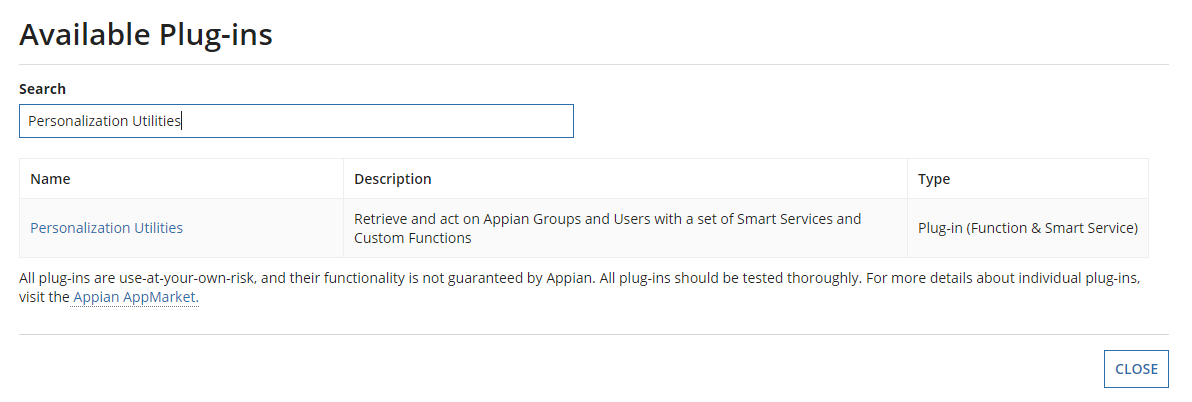
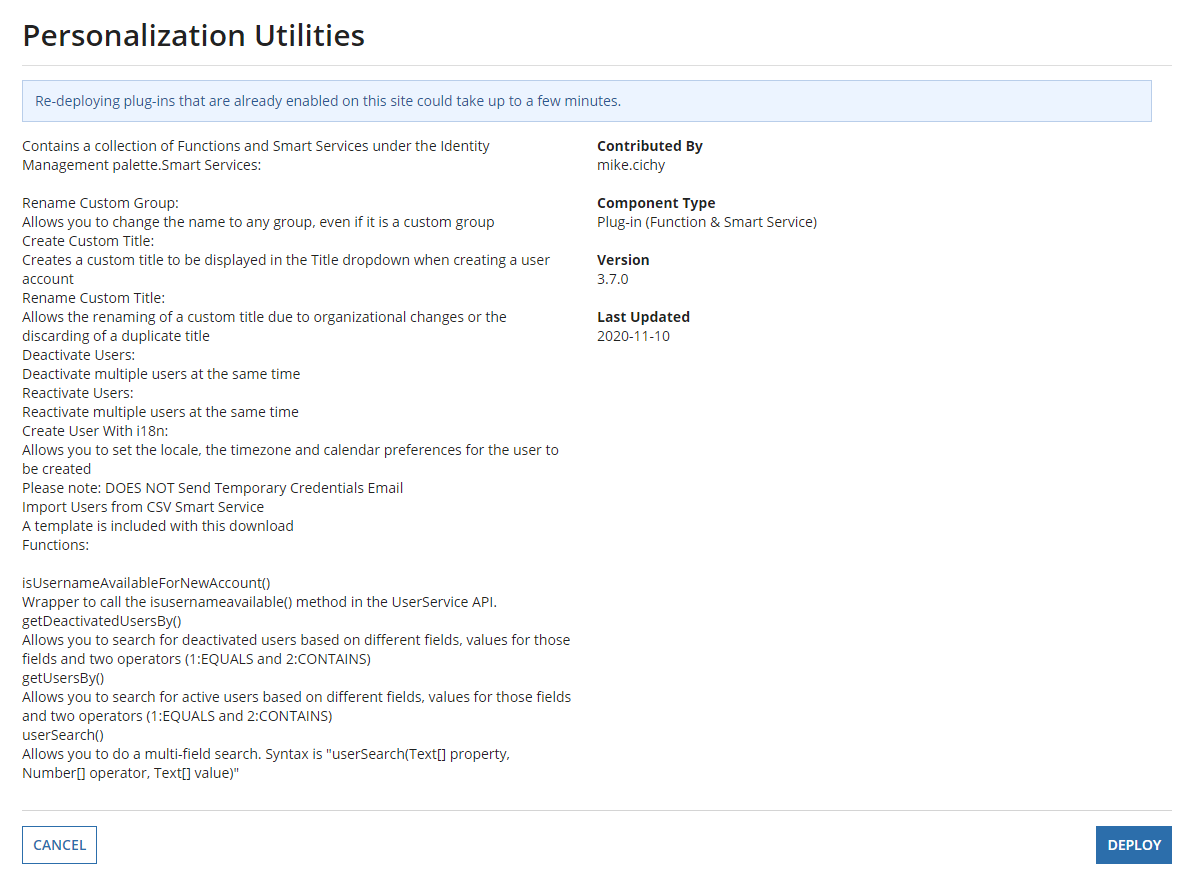
To deploy the plug-in for an Appian Cloud environment:
Personalization Utilities.
To deploy the plug-ins for a self-managed environment, follow the Deploying Plug-ins instructions. The plug-in files can be retrieved from the AppMarket links above.
In order to create the structure for the database tables, views, and other objects that are a part of Workforce Safety, you will need to run DDL scripts in your database.
WorkforceSafetyv14.0.0.sql, which was downloaded in Step 1.Import the application files into the target environment.
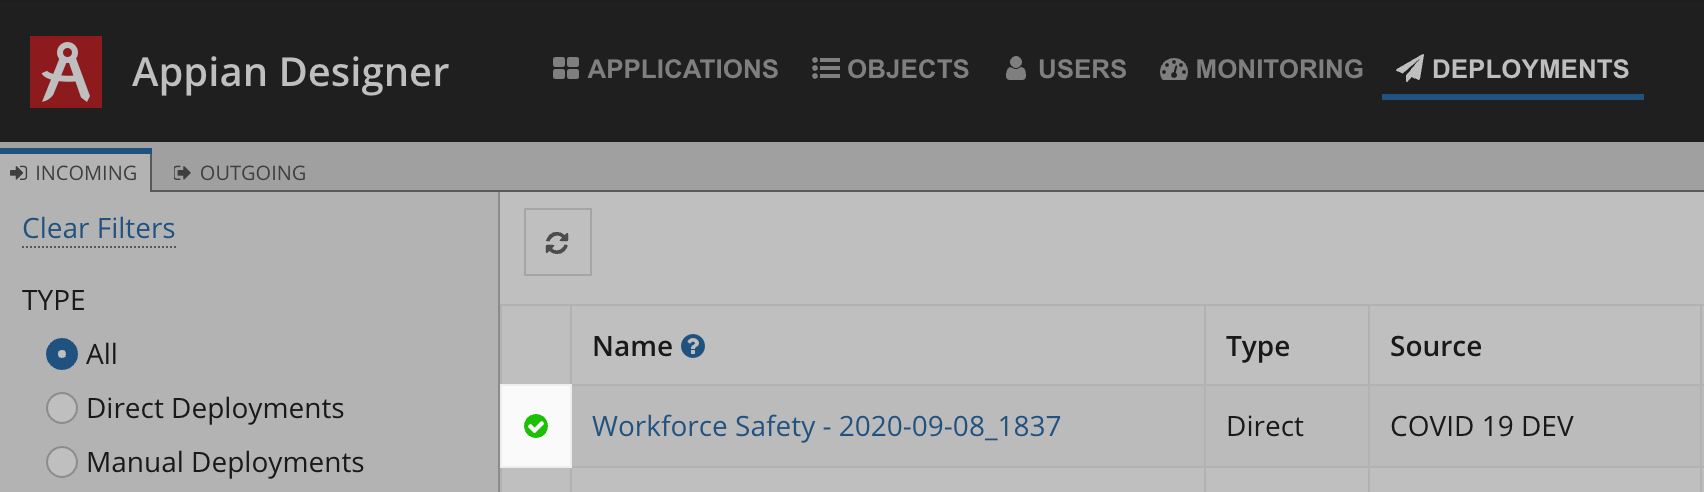
WorkforceSafetyv14.0.0.zip file that was downloaded in Step 1. Check the box to include a related import customization file, and choose the WorkforceSafetyv14.0.0.properties file that was also downloaded in Step 1.Appian, a warning will occur when importing the data stores. To fix this, after the import is complete, open each data store object and update the Data Source dropdown list to point to the Appian business database. Then simply save and publish the Data store.To check the status of the import:
If Workforce Safety is the only application in your environment, or Tempo is not used by your organization, this step can be skipped.
Tempo access is restricted across the environment. By default, users are not members of the Tempo Users group.
This prevents external visitors and those within your organization from achieving broader access to the environment than they need. Additionally, Workforce Safety does not require Tempo for any of its functionality.
If you require particular users or groups to have Tempo access, you can add select members or groups to the Tempo Users group:
Tempo Users group.Tempo Users group and add members as needed.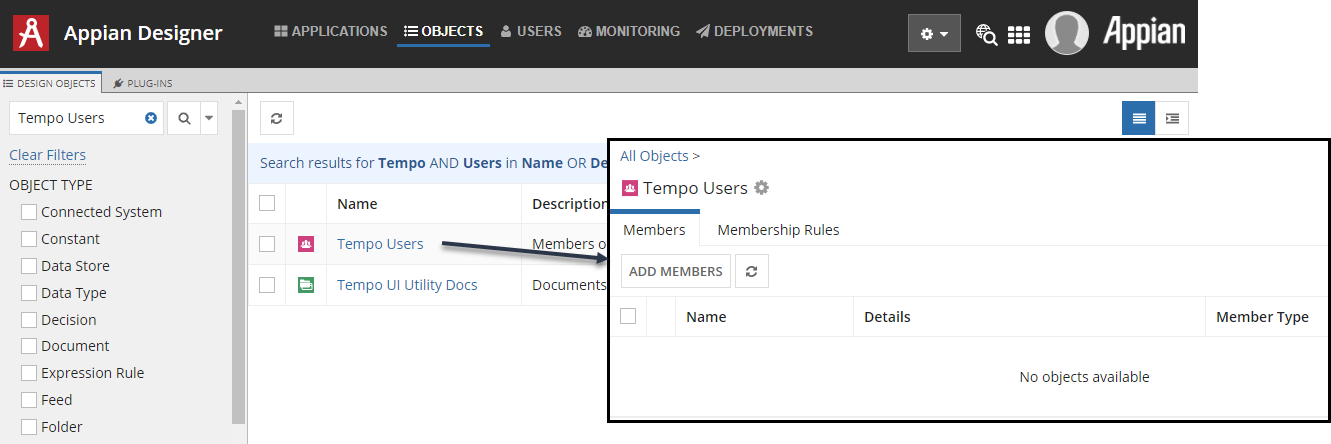
We encourage you to only add members who need access to Tempo. Refrain from using a membership rule that adds all users in the environment.
After you finish installing the application, follow the Setup Guide to complete the solution set up.
Note: If your database name is not Appian, be sure to follow the instructions in the Setup Guide to update the database constant.
