| The capabilities described on this page are included in Appian's advanced and premium capability tiers. Usage limits may apply. |
IntroductionCopy link to clipboard
Building forms that fit the specific needs of your case is an important part of creating case management applications that work for you. While our form builder allows you to easily build forms using many of the most common components, you may want to add data fields to your forms that aren't available in the form builder.
This page is for low-code developers and explains how to configure forms with additional fields not offered in the form builder using examples of common use cases.
Example 1: Cascading dropdownsCopy link to clipboard
Cascading dropdowns are a series of dropdowns in an interface that conditionally appear based on the value of a certain field. These can be useful when you want to avoid showing irrelevant fields to users if they don't need them at the current time.
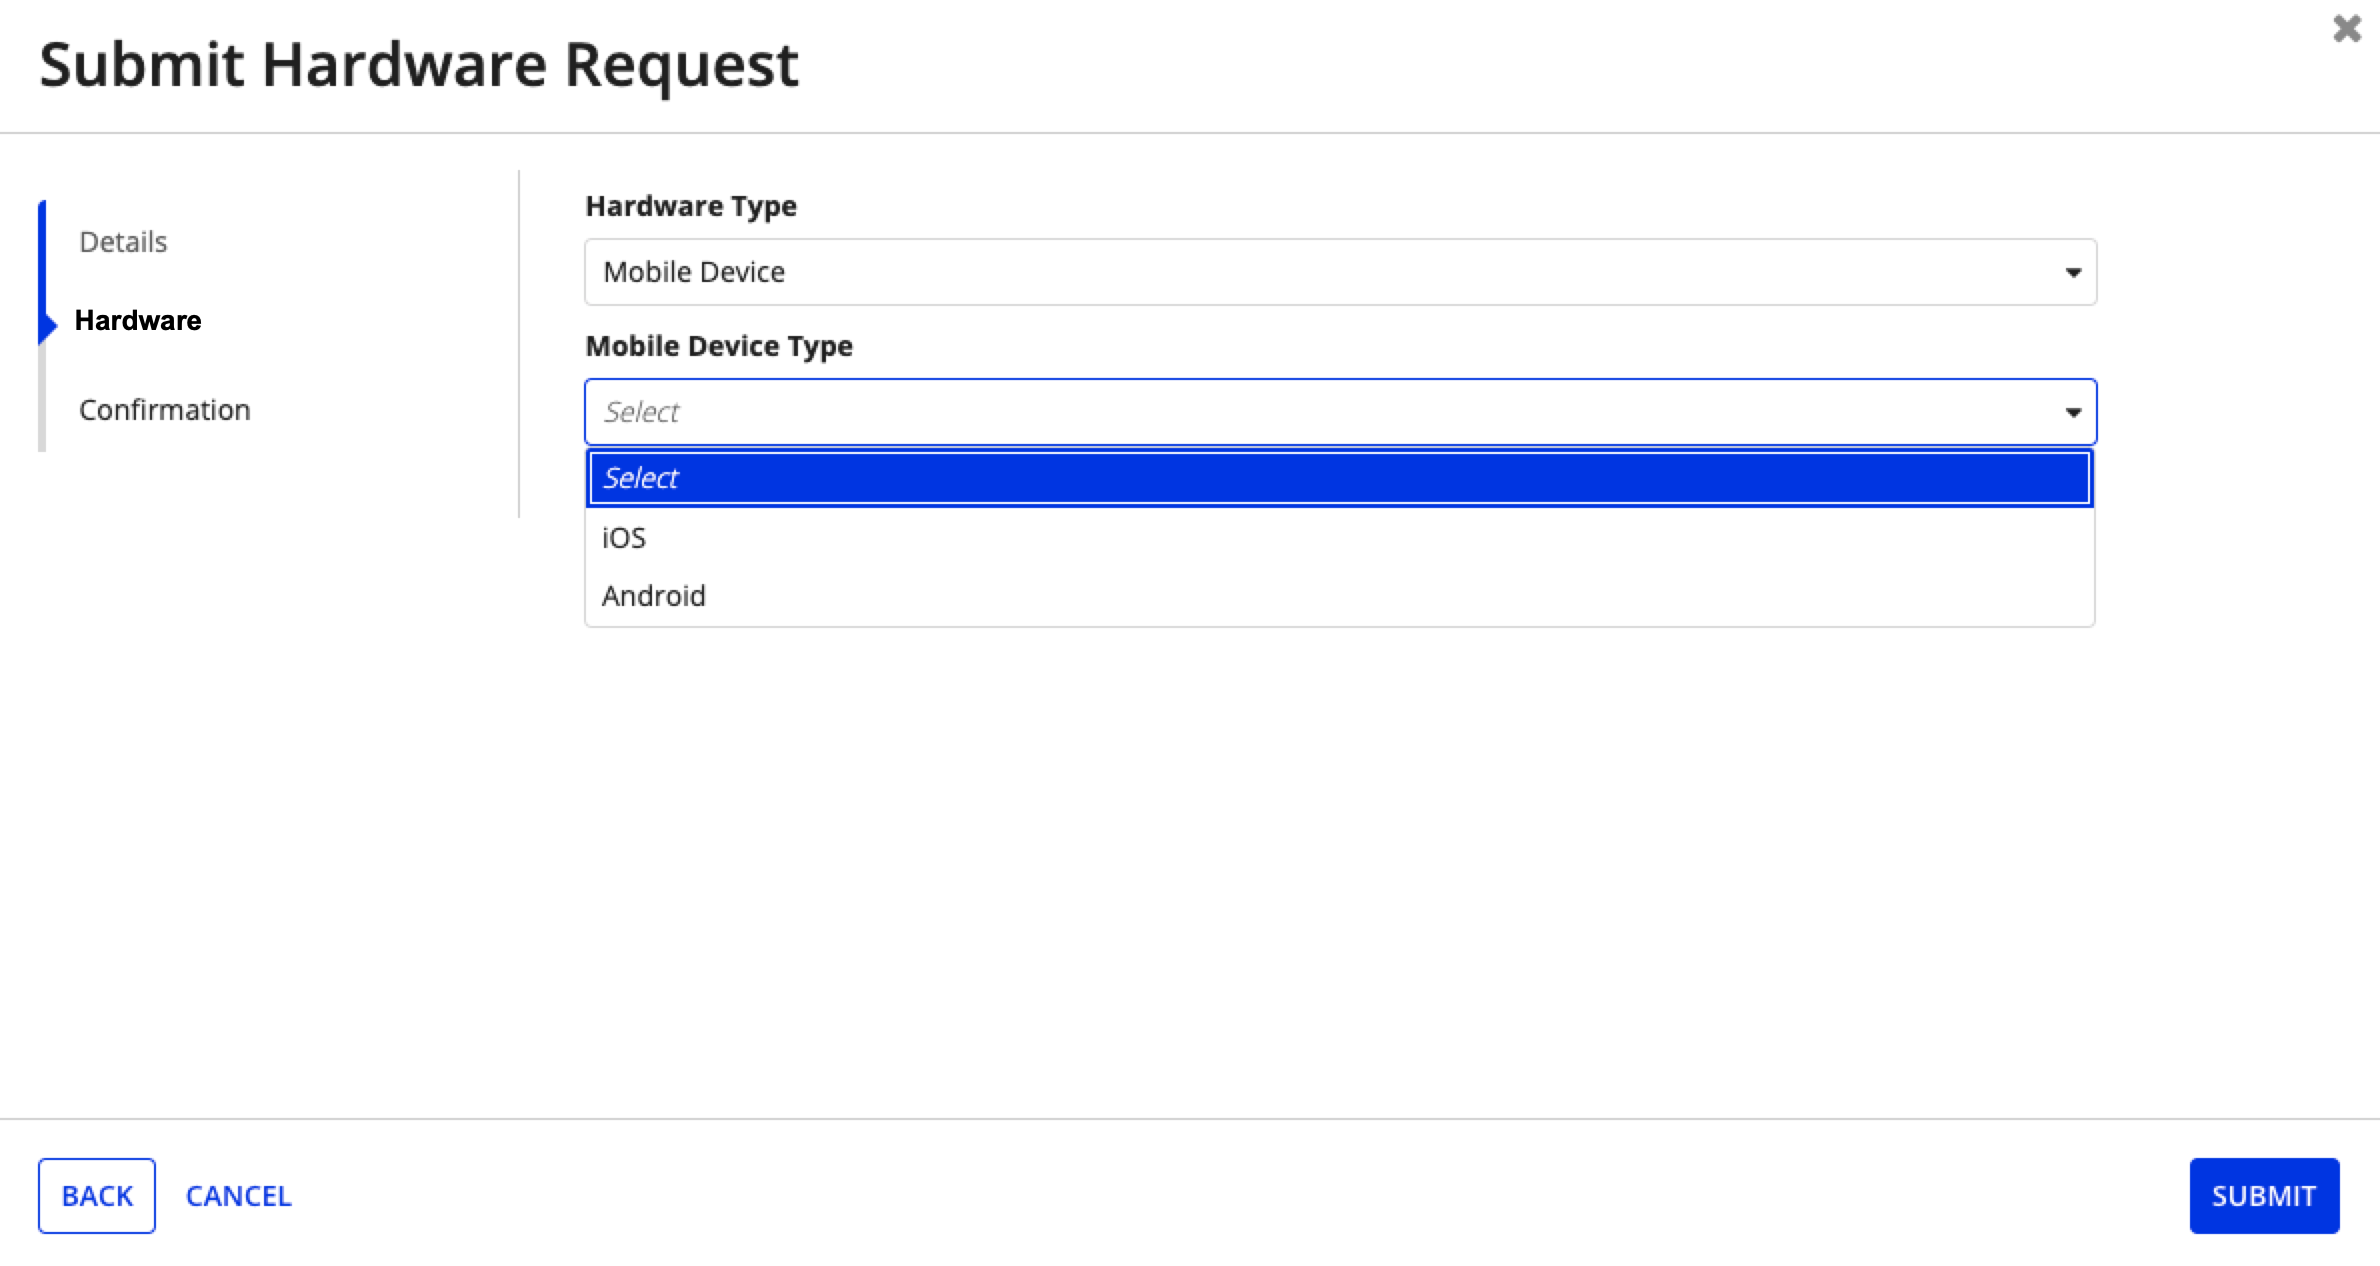
In this example we'll create an intake form with a dropdown that allows a user to select the affected hardware in an IT case. We'll also configure an additional dropdown that conditionally appears based on the hardware they select and asks them for more relevant details about the hardware. Not all of these details are relevant to all hardware and device options, so having them appear conditionally reduces confusion and visual clutter for your users.
If they select Laptop as the affected hardware, the interface would then display a dropdown for them to select the operating system. This is helpful for a laptop, but isn't relevant for an external monitor.
If they select Mobile device, a dropdown for the type of mobile device would appear. This is helpful additional information for a mobile device, but irrelevant for a printer.
Creating cascading dropdowns for formsCopy link to clipboard
Adding cascading dropdowns to your Case Management Studio forms requires you to configure both the objects in Studio and in Designer.
To create the cascading dropdowns for this example:
- In Studio, open your case type.
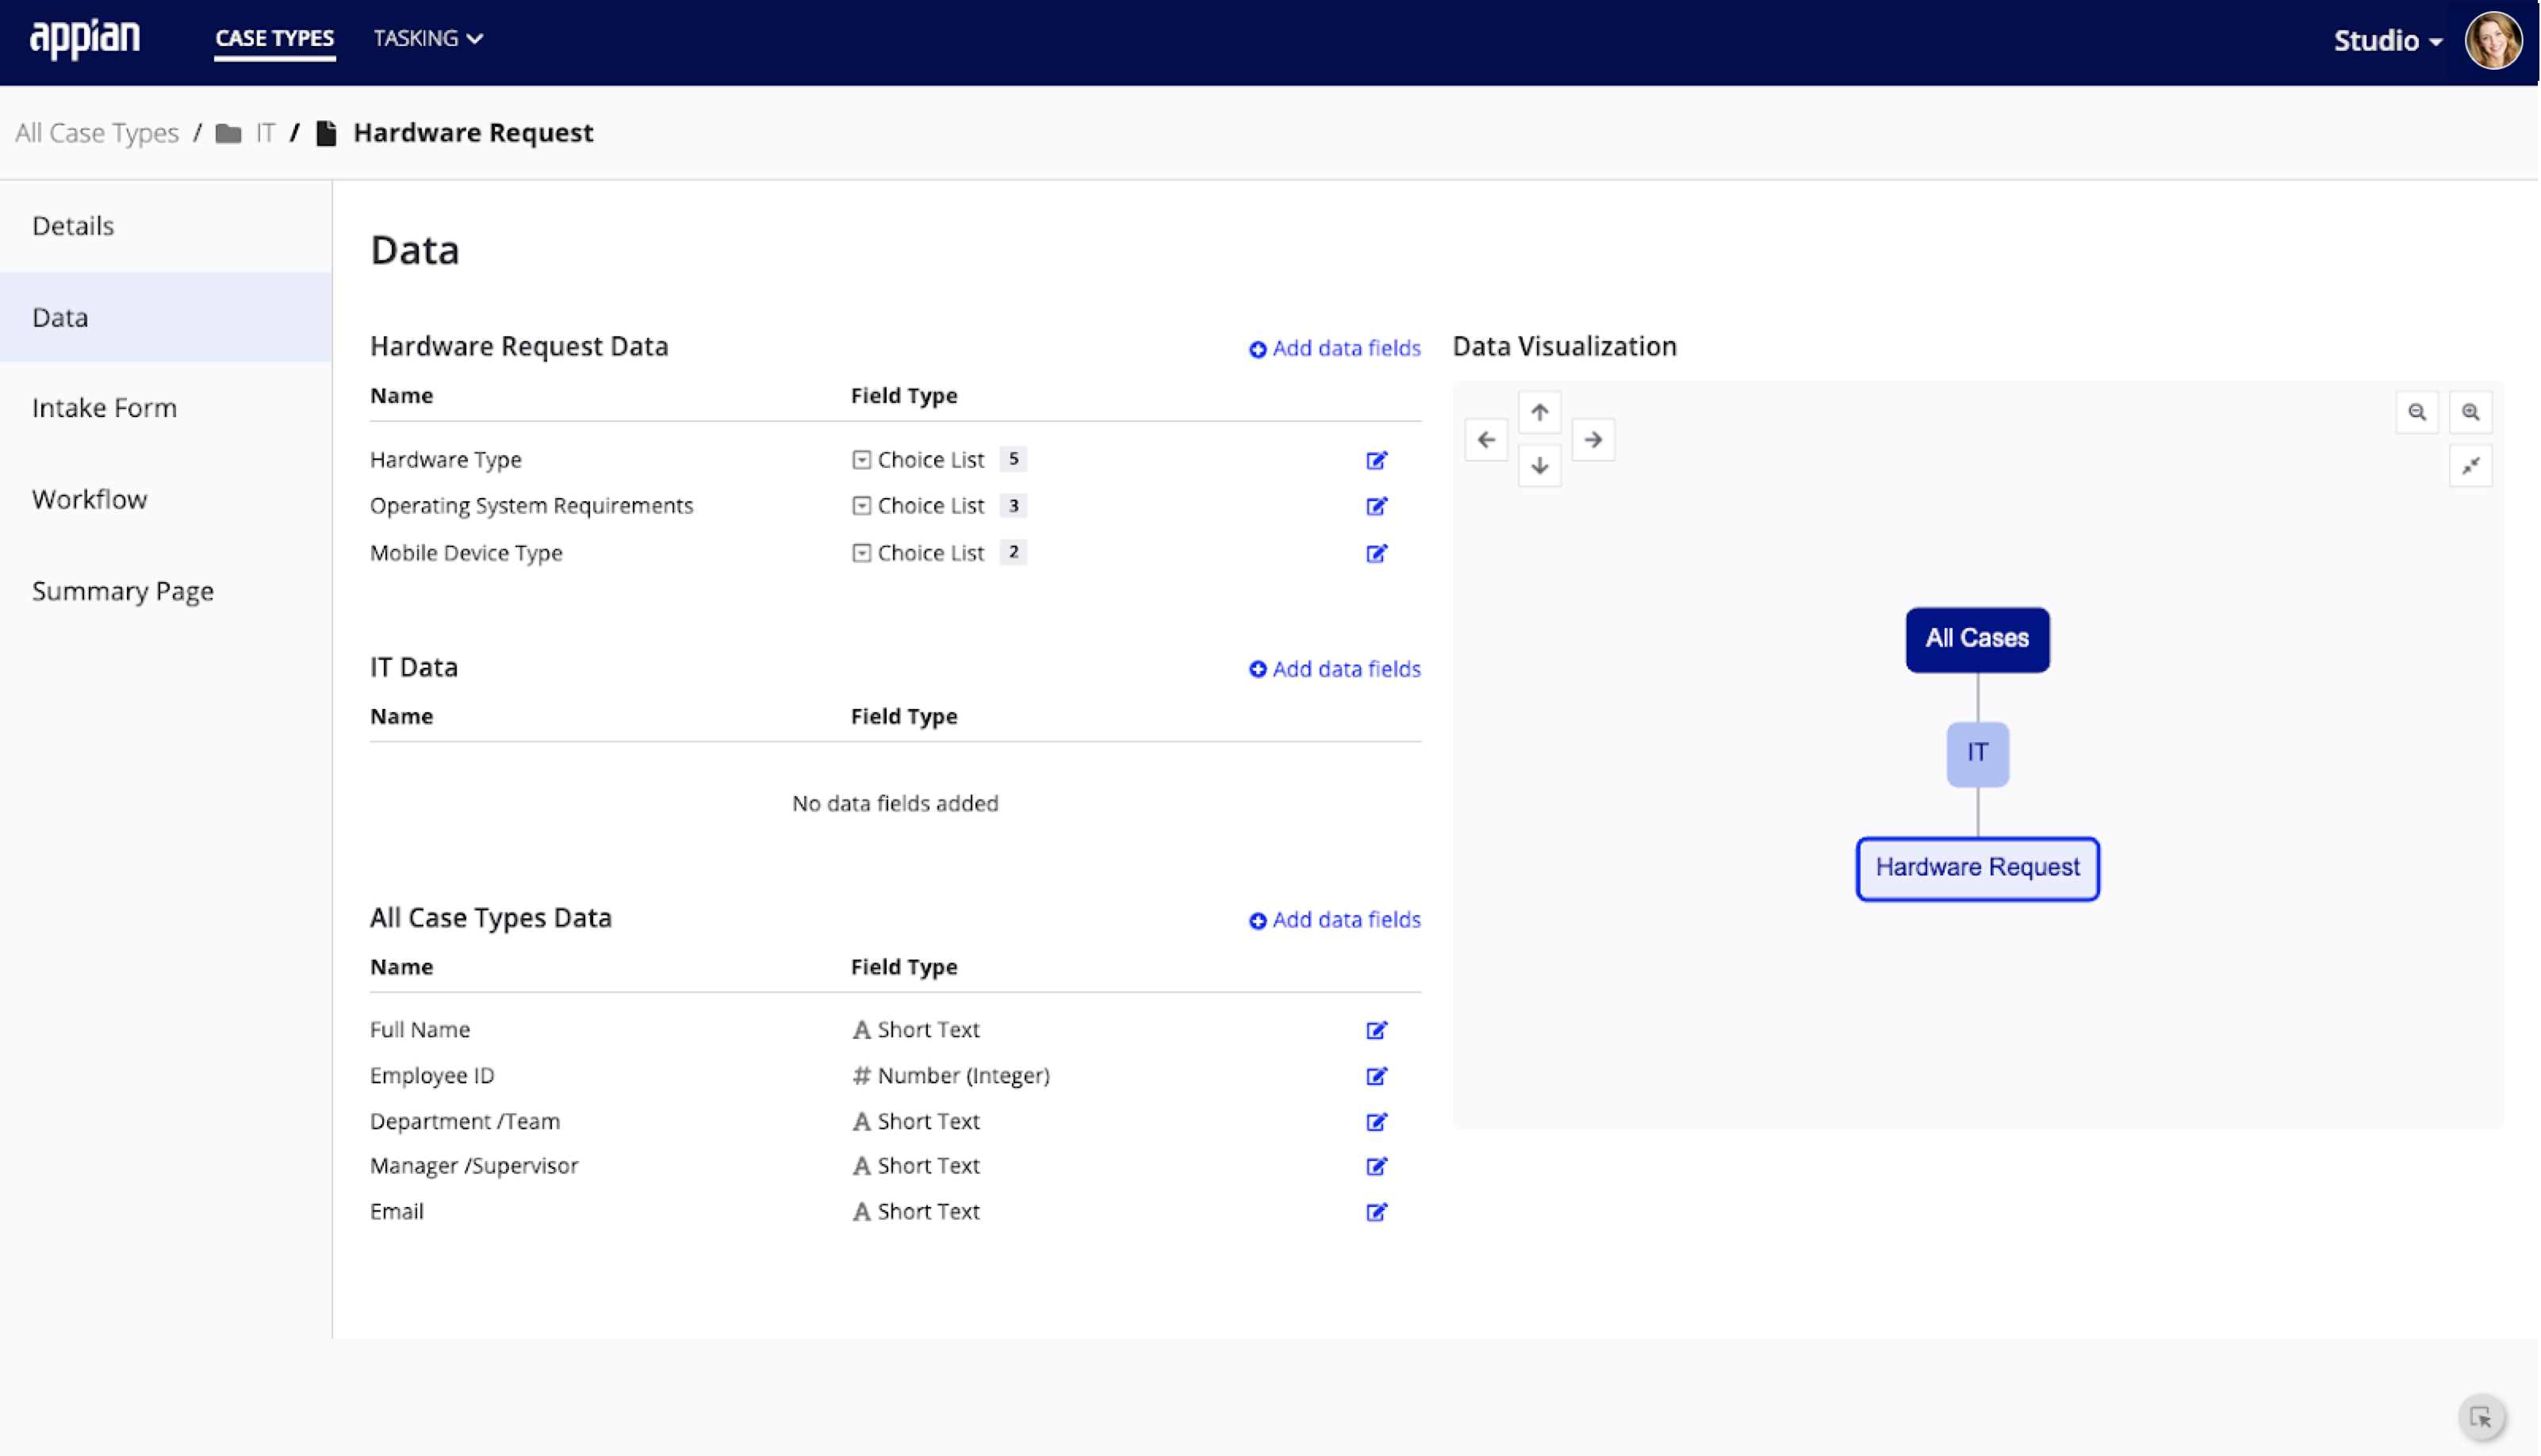
- Go to the Data tab and add choice list data fields. For this example, we added three choice list data fields: hardware type, operating system, and mobile device type. The choices for these data fields are as follows:
- Hardware type:
- Laptop
- Desktop
- Monitor
- Printer
- Mobile device
- Operating system:
- Windows
- macOS
- Linux
- Mobile device type:
- iOS
- Android
- Hardware type:
- Go to the Intake Form tab and create a new intake form.
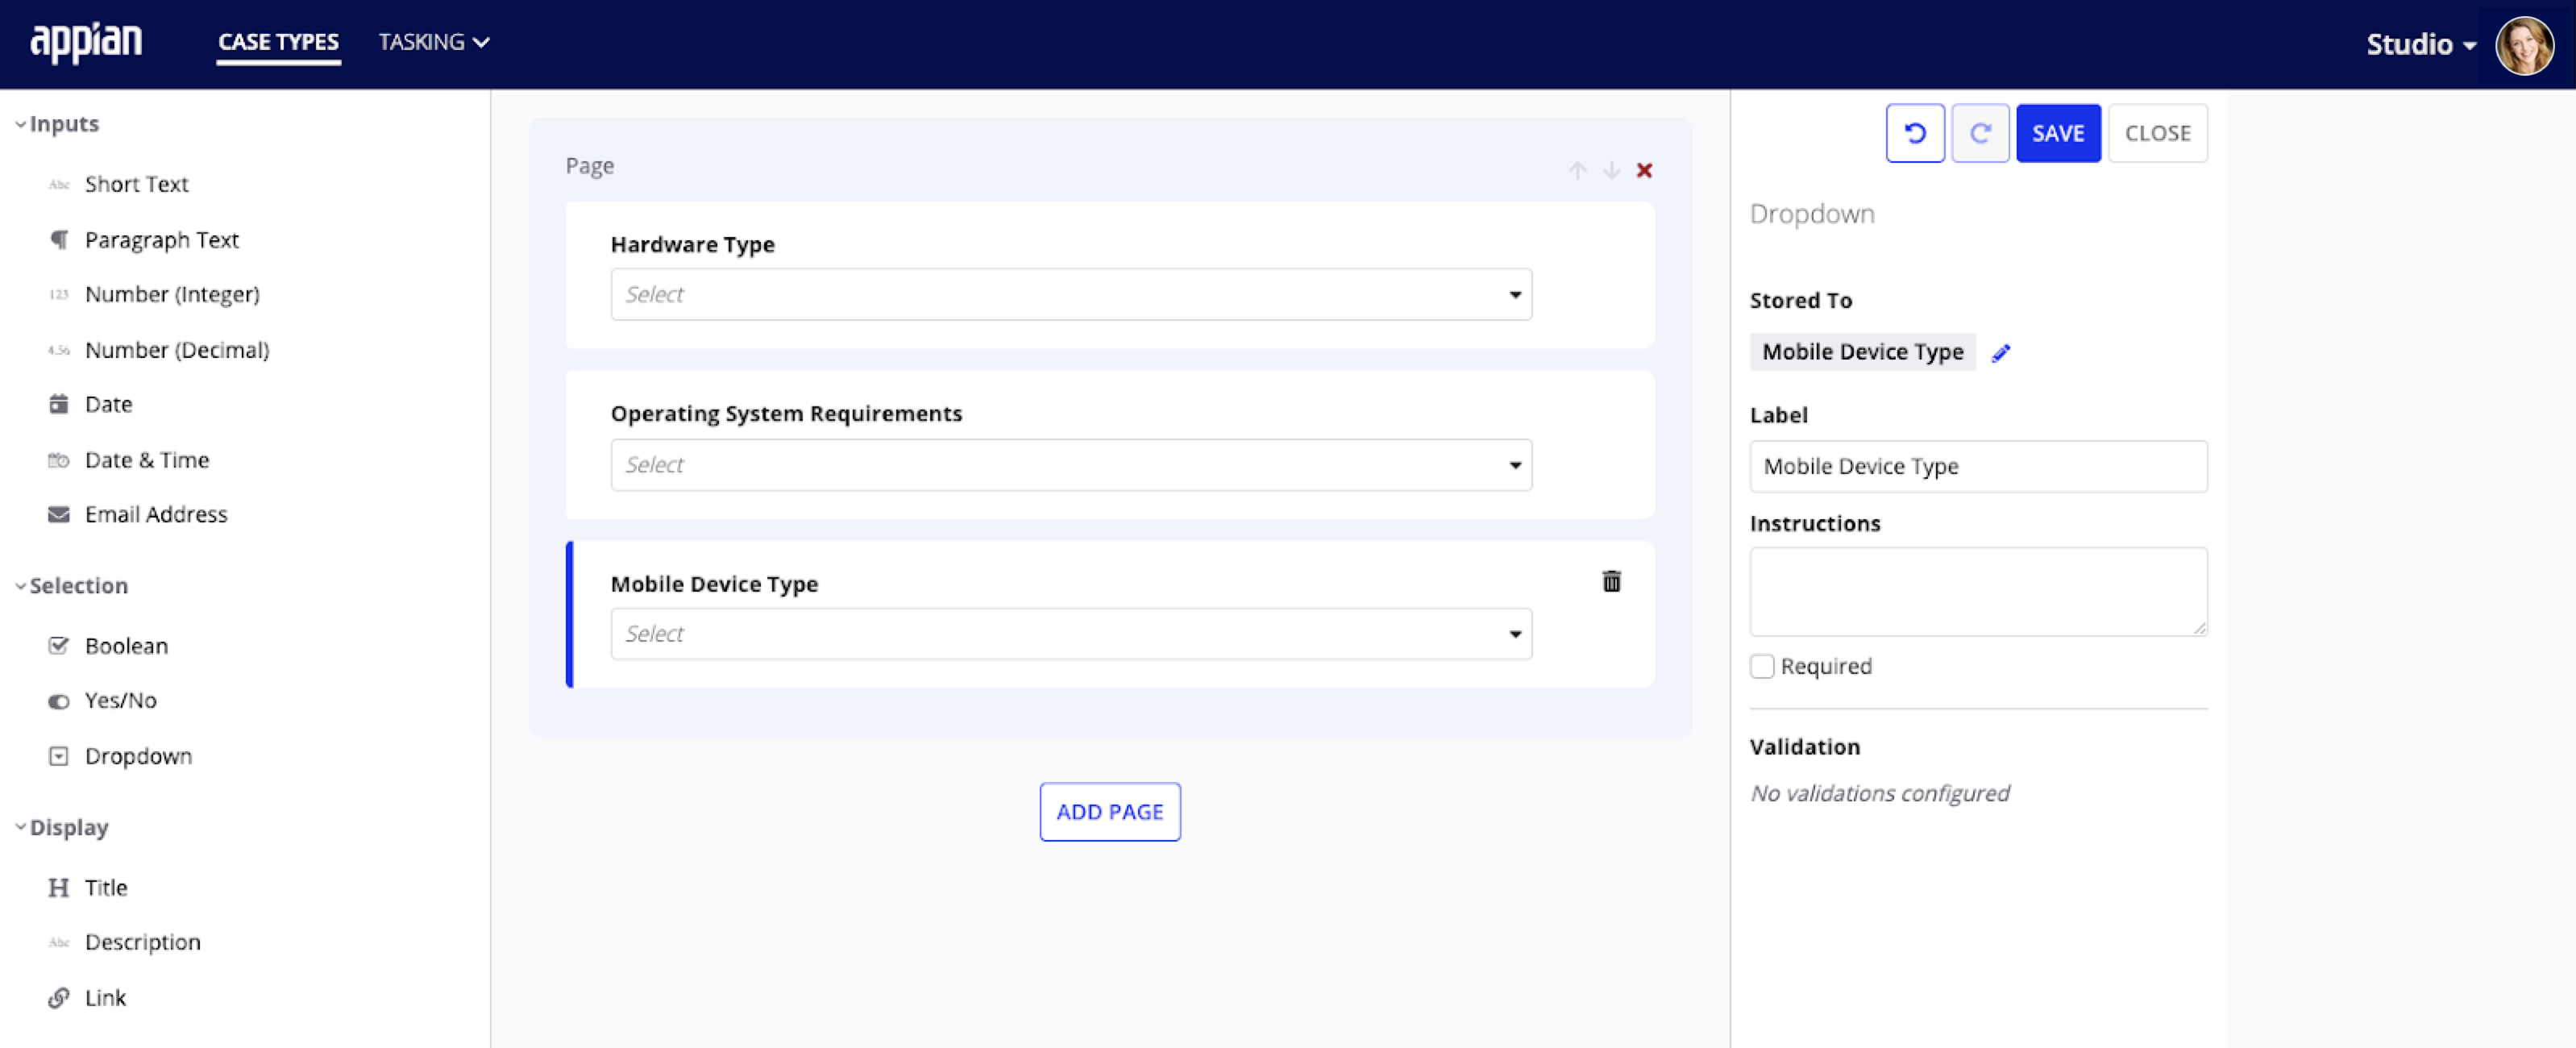
- In form builder, add three dropdowns and configure them to work with the three choice list data fields.
- Note: Dropdowns are a supported field in form builder, the conditional visibility for cascading dropdowns is what requires configuration in the interface itself.
- Click SAVE before heading to Designer.
- In Designer, find and open the CMGT Studio Generated Objects app.
- In the app, find and open the interface for the intake form for your case type.
- In the interface expression, add the showWhen parameter to the expressions for the operating system and mobile device dropdowns.
- In the showWhen parameter of the Operating system dropdown, paste the following expression and replace the record type references provided with references to your own record types:
1
2
3
4
5
6
7
8
9
 if(
     a!isNullOrEmpty(ri!data['recordType!{4ea358dc-1ba4-405d-9009-1a052896f0de}CMGT_Category_IT_Type_Hardware_Request.fields.{1b5c4a42-72f1-4d80-a7c7-b9dcb77e464e}hardwareTypeId']),
     false,
     if(
       ri!data['recordType!{4ea358dc-1ba4-405d-9009-1a052896f0de}CMGT_Category_IT_Type_Hardware_Request.fields.{1b5c4a42-72f1-4d80-a7c7-b9dcb77e464e}hardwareTypeId'] = 1,
       true,
       false
     )
   )
Copy- Note: The
hardwareTypeIDis the ID associated with each choice in the choice list data field. The choicelaptopis represented by the ID1.
- Note: The
- In the showWhen parameter of the
mobile devicedropdown, paste the following expression and replace the record type references provided with references to your own record types:1 2 3 4 5 6 7 8 9
if( a!isNullOrEmpty(ri!data['recordType!{4ea358dc-1ba4-405d-9009-1a052896f0de}CMGT_Category_IT_Type_Hardware_Request.fields.{1b5c4a42-72f1-4d80-a7c7-b9dcb77e464e}hardwareTypeId']), false, if( ri!data['recordType!{4ea358dc-1ba4-405d-9009-1a052896f0de}CMGT_Category_IT_Type_Hardware_Request.fields.{1b5c4a42-72f1-4d80-a7c7-b9dcb77e464e}hardwareTypeId'] = 5, true, false ) )
Copy- Note: The
hardwareTypeIDis the ID associated with each choice in the choice list data field. The choicemobile deviceis represented by the ID5.
- Note: The
- Click SAVE CHANGES.
Note that after you add the conditional logic to the showWhen parameters, you may no longer be able to see and/or edit the dropdowns in the form builder, but the rest of the form should be unaffected.
Example 2: User pickerCopy link to clipboard
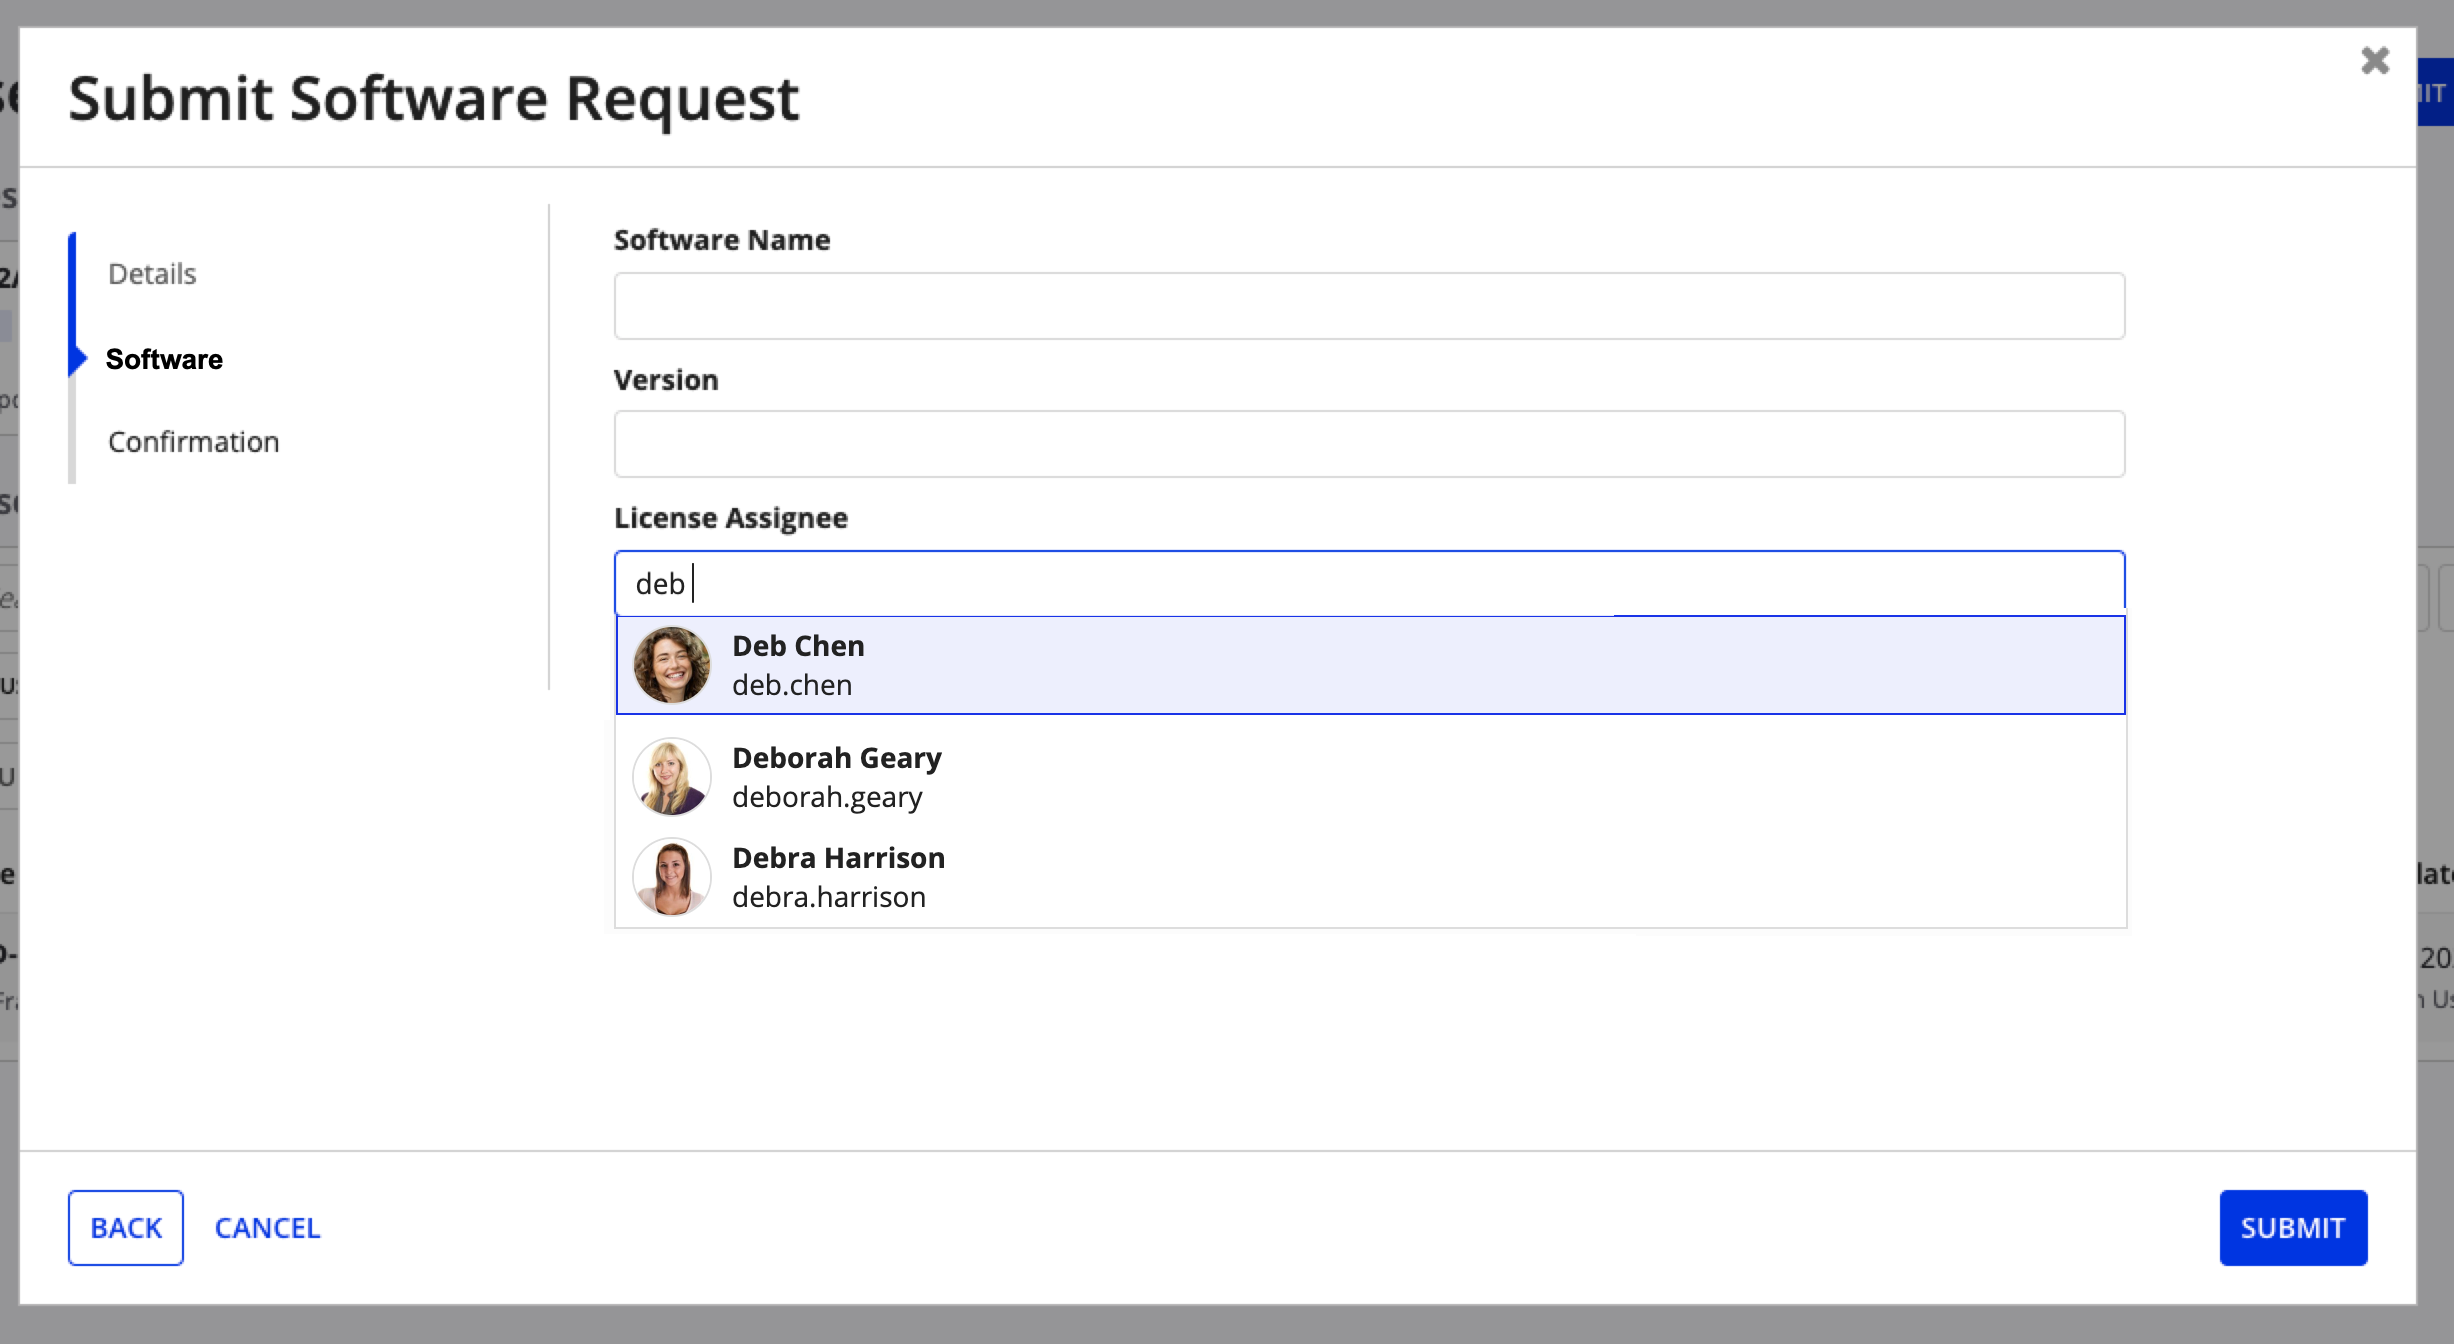
User pickers allow you to easily find and select a user from a list without having to type out the full name. This not only saves you time, but helps ensure that you have the right user, as well as limits spelling errors.
In this example, we'll be creating a user picker for manager's to select a direct report to submit a software license request for.
Creating a user picker for formsCopy link to clipboard
To create the user picker for this example:
- In Studio, open your case type.
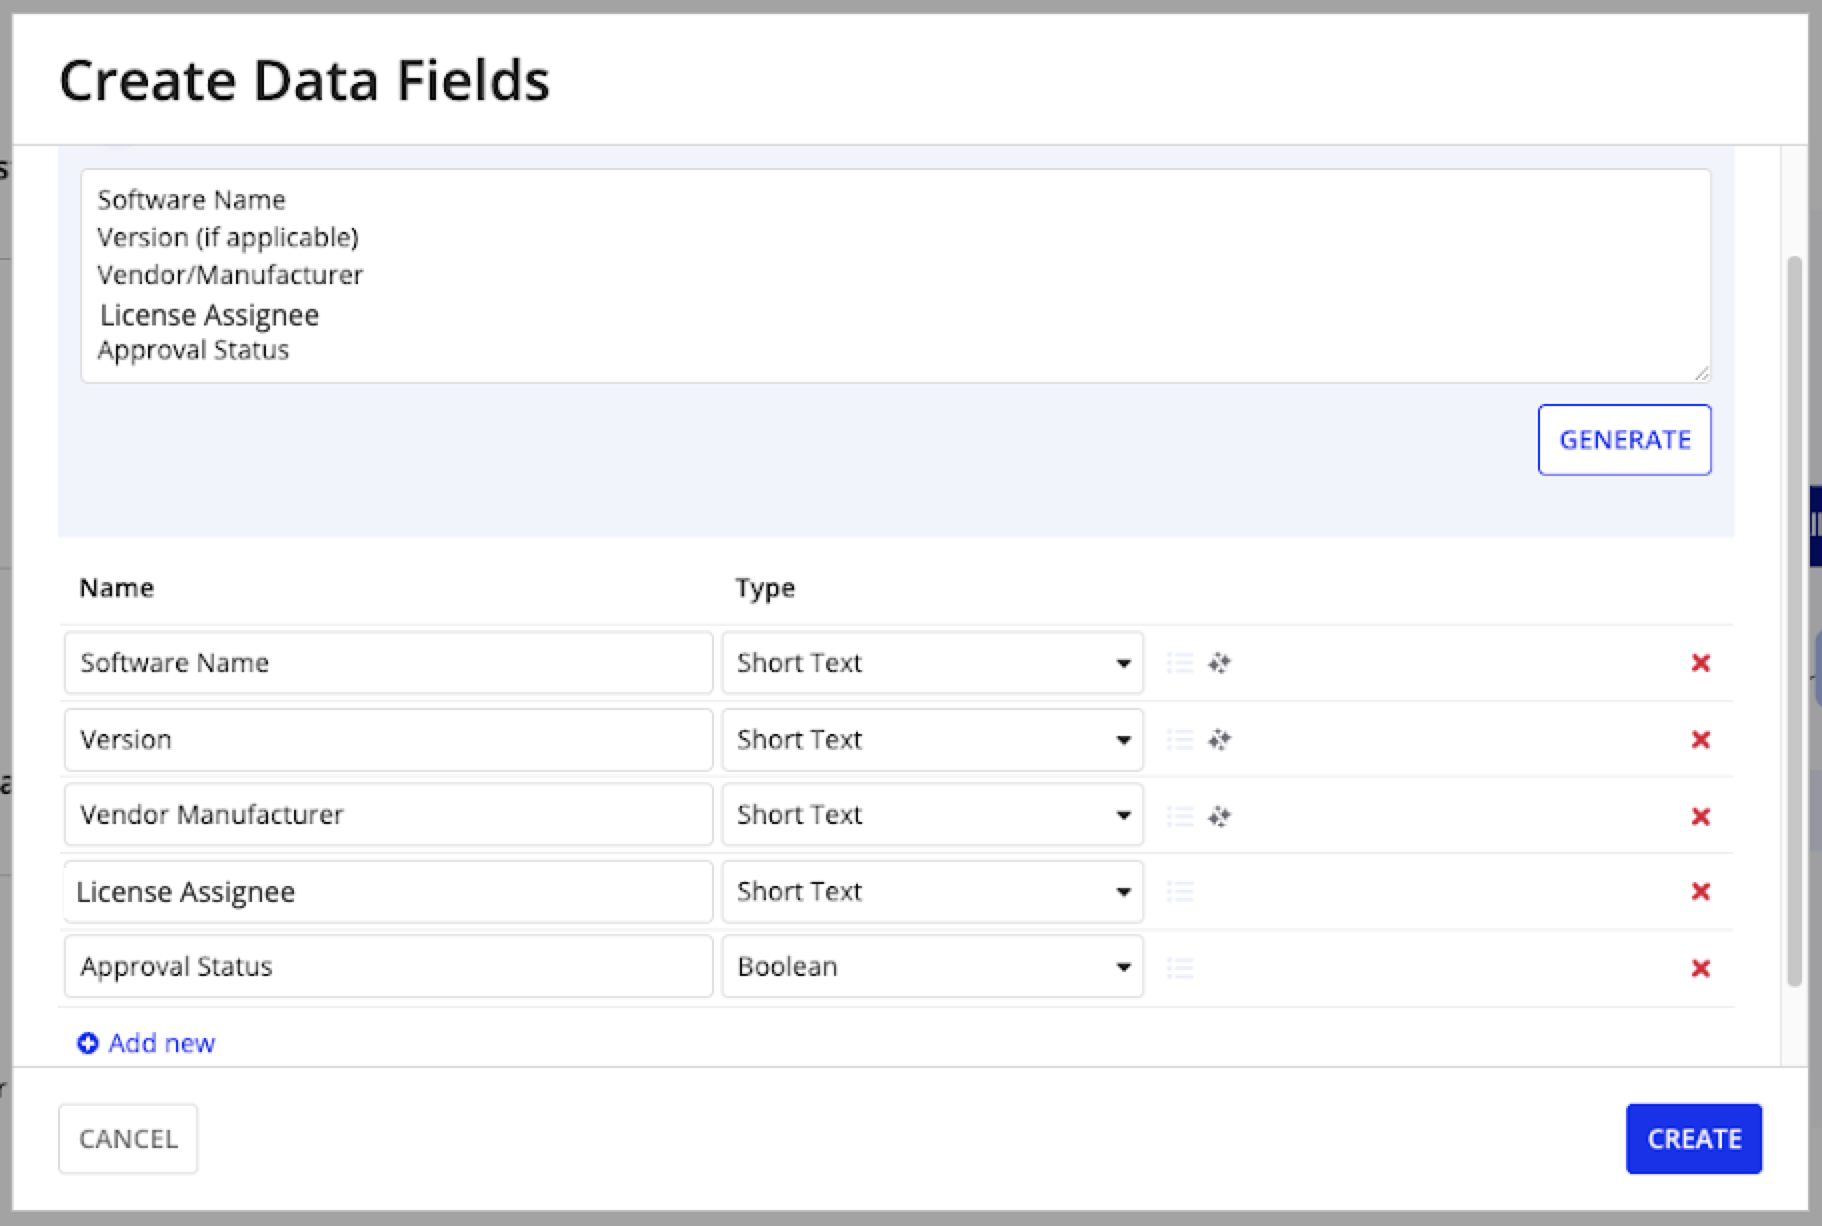
- Go to the Data tab and add a text data field named
License Assignee.- Note: You can easily change the type of the text data field to a user data field later.
- Note: You can easily change the type of the text data field to a user data field later.
- Go to the Intake Form tab and create a new intake form.
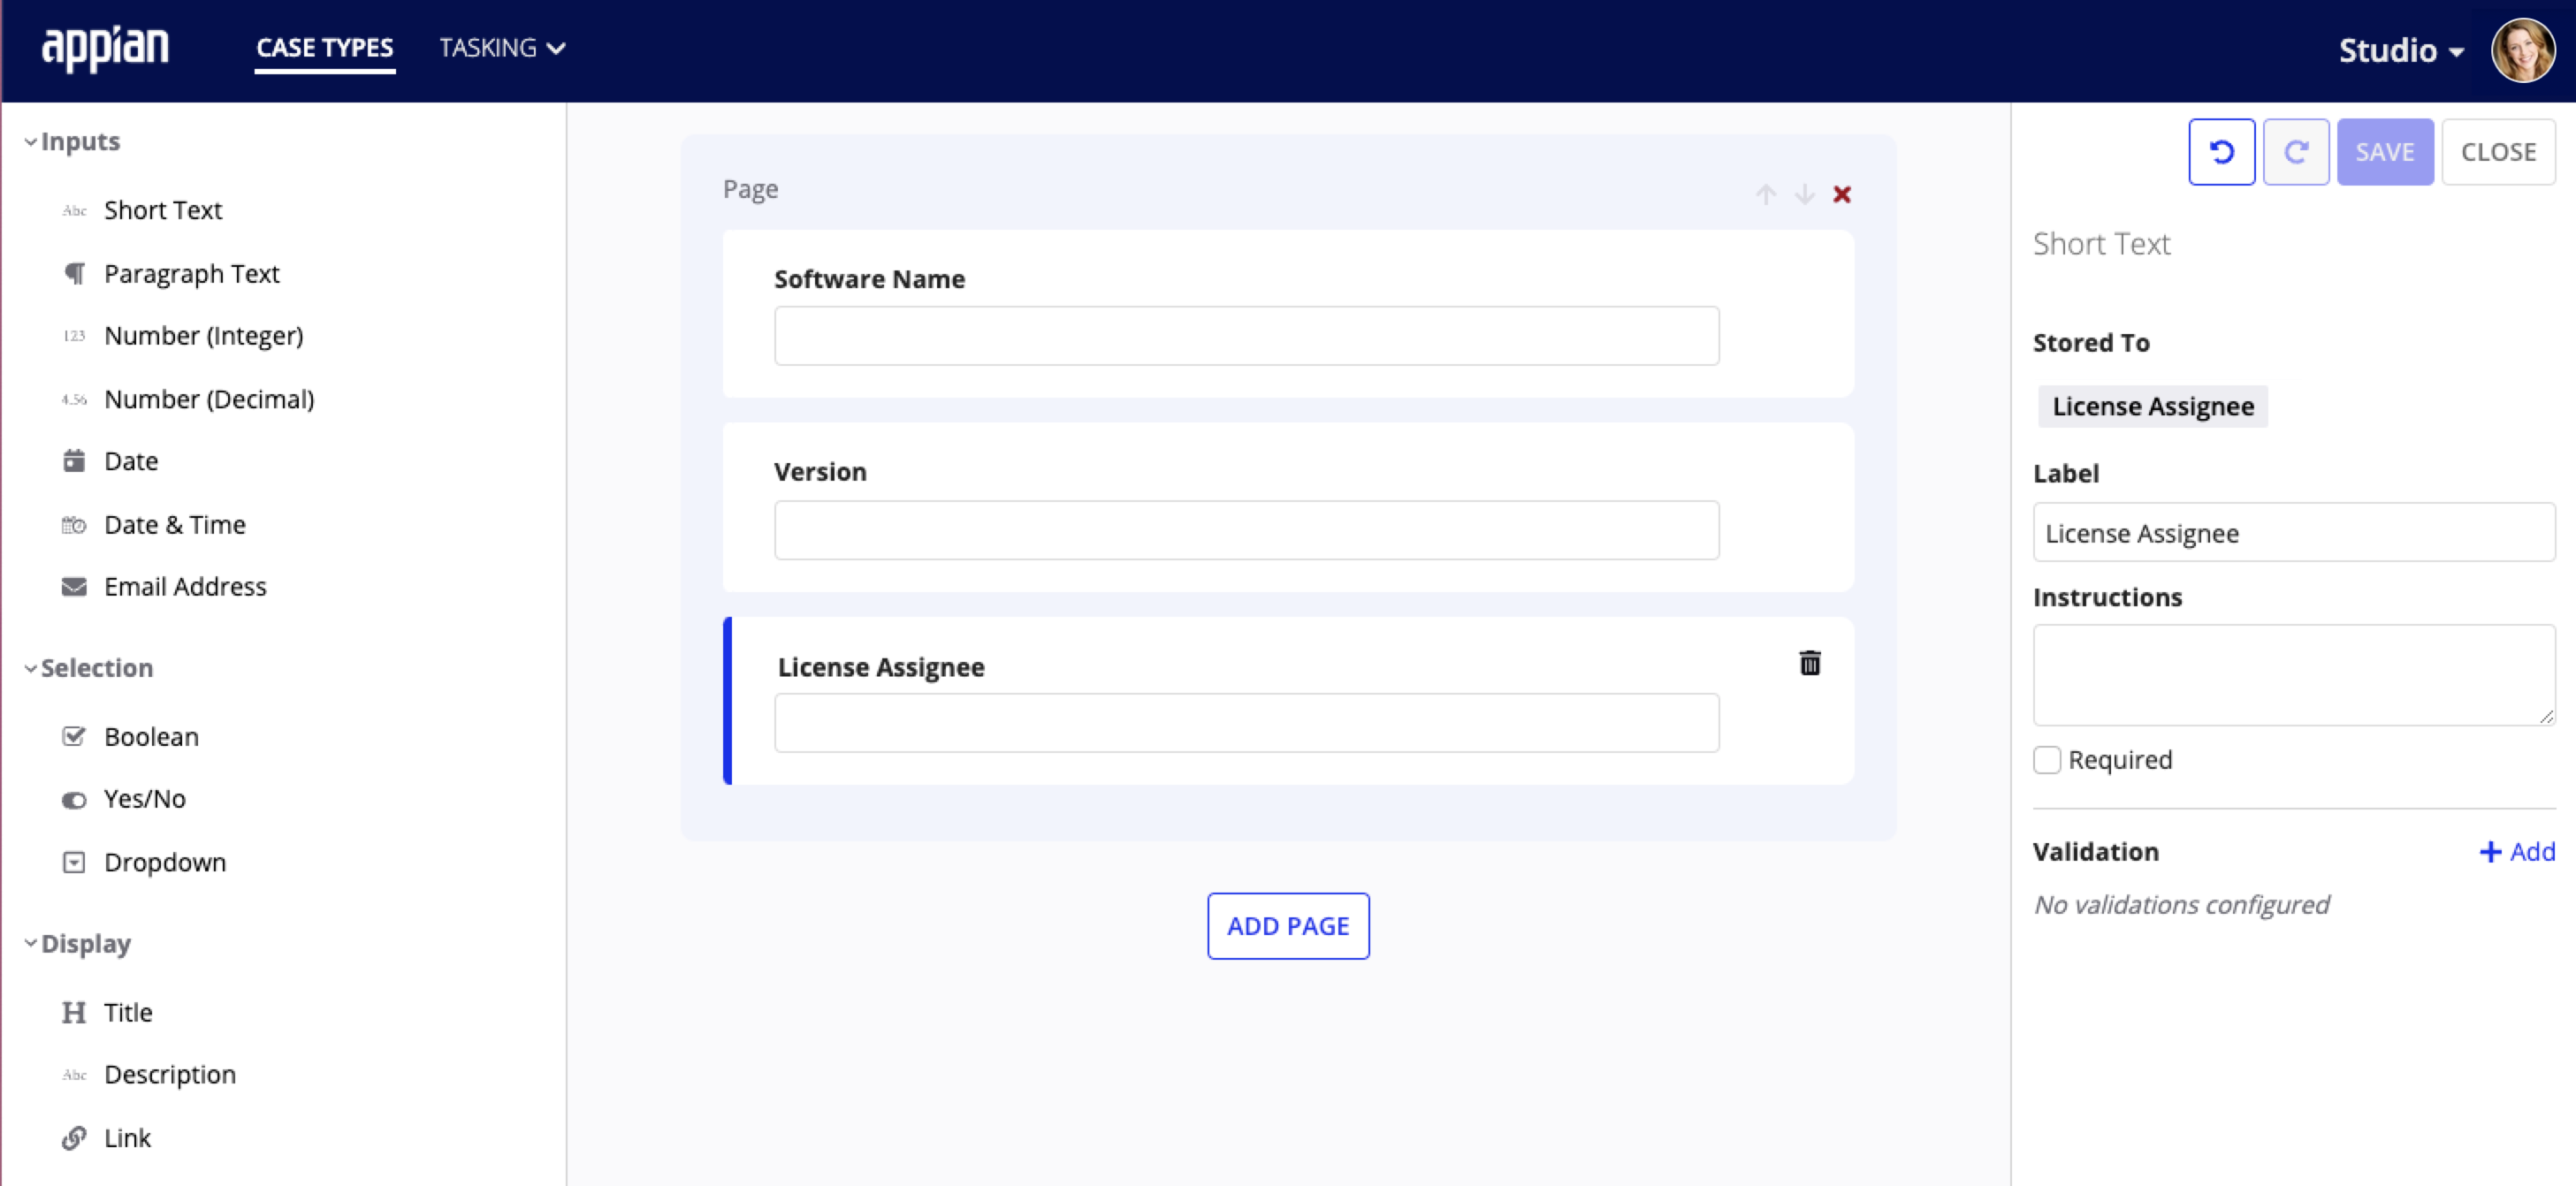
- Add a text field and configure it to work with the
License Assigneedata field. - Click SAVE before heading to Designer.
- In Designer, find and open the CMGT Studio Generated Objects app.
- In the app, find and open the record type for your case type.
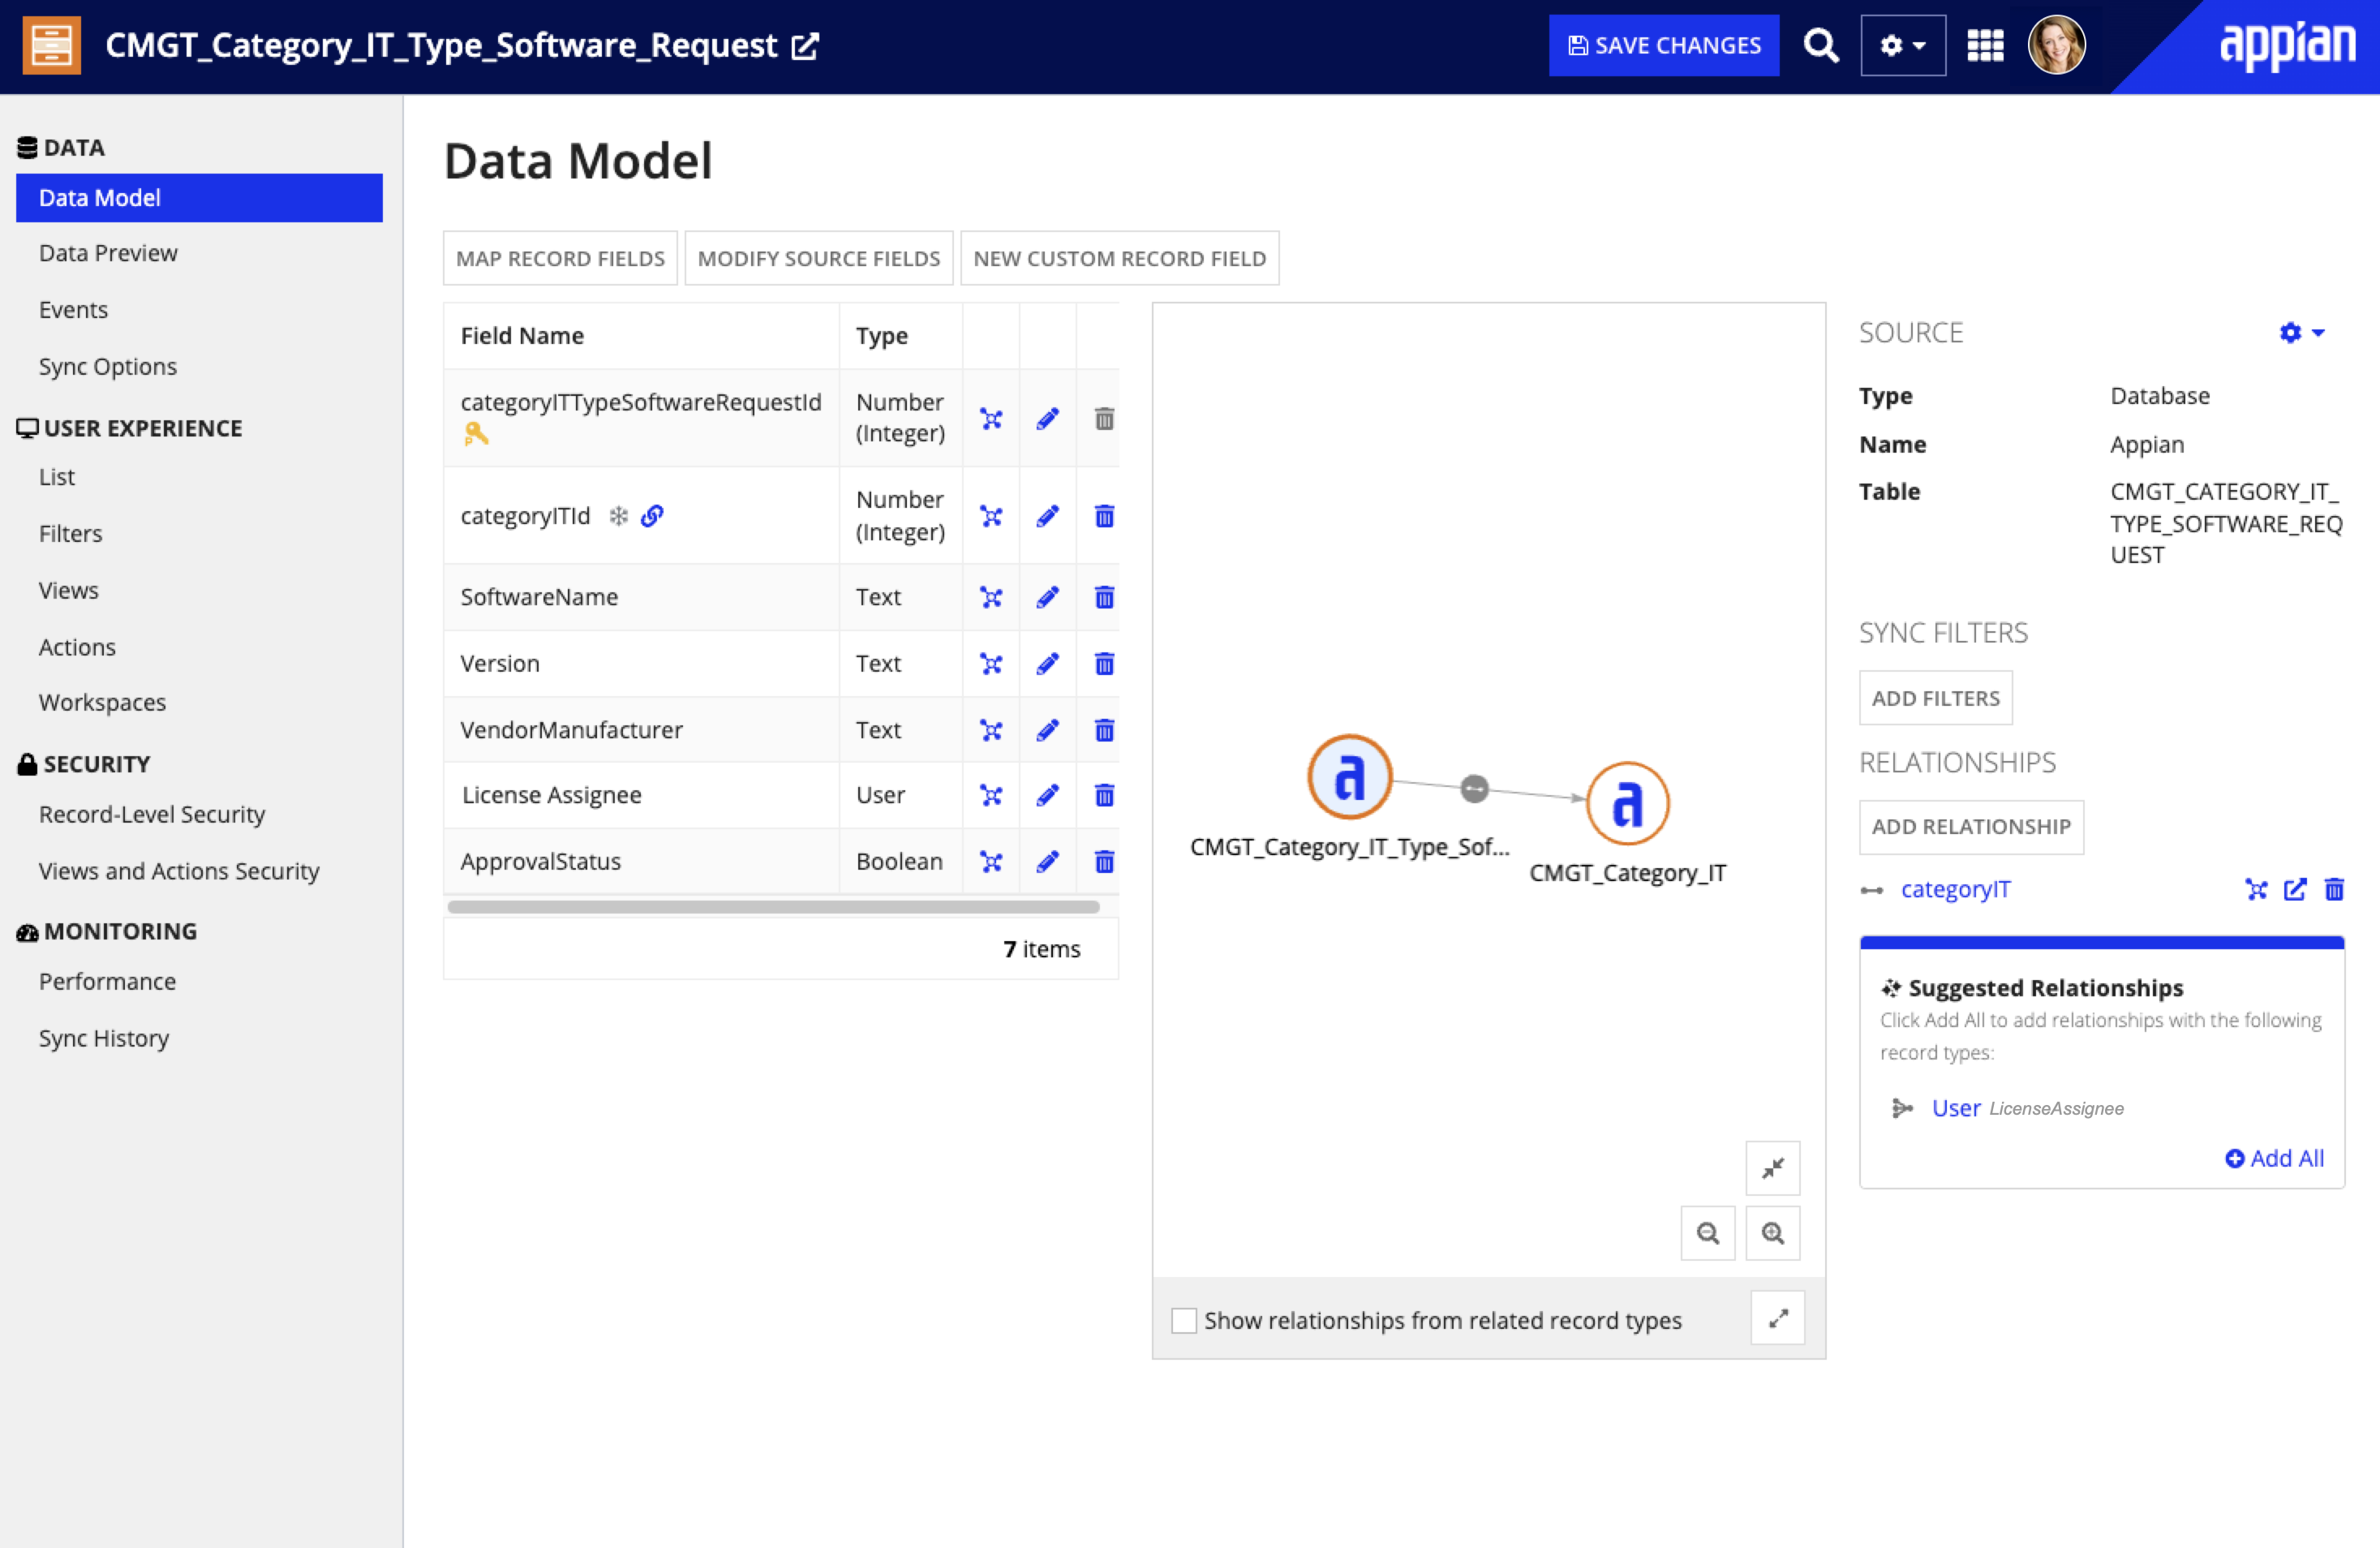
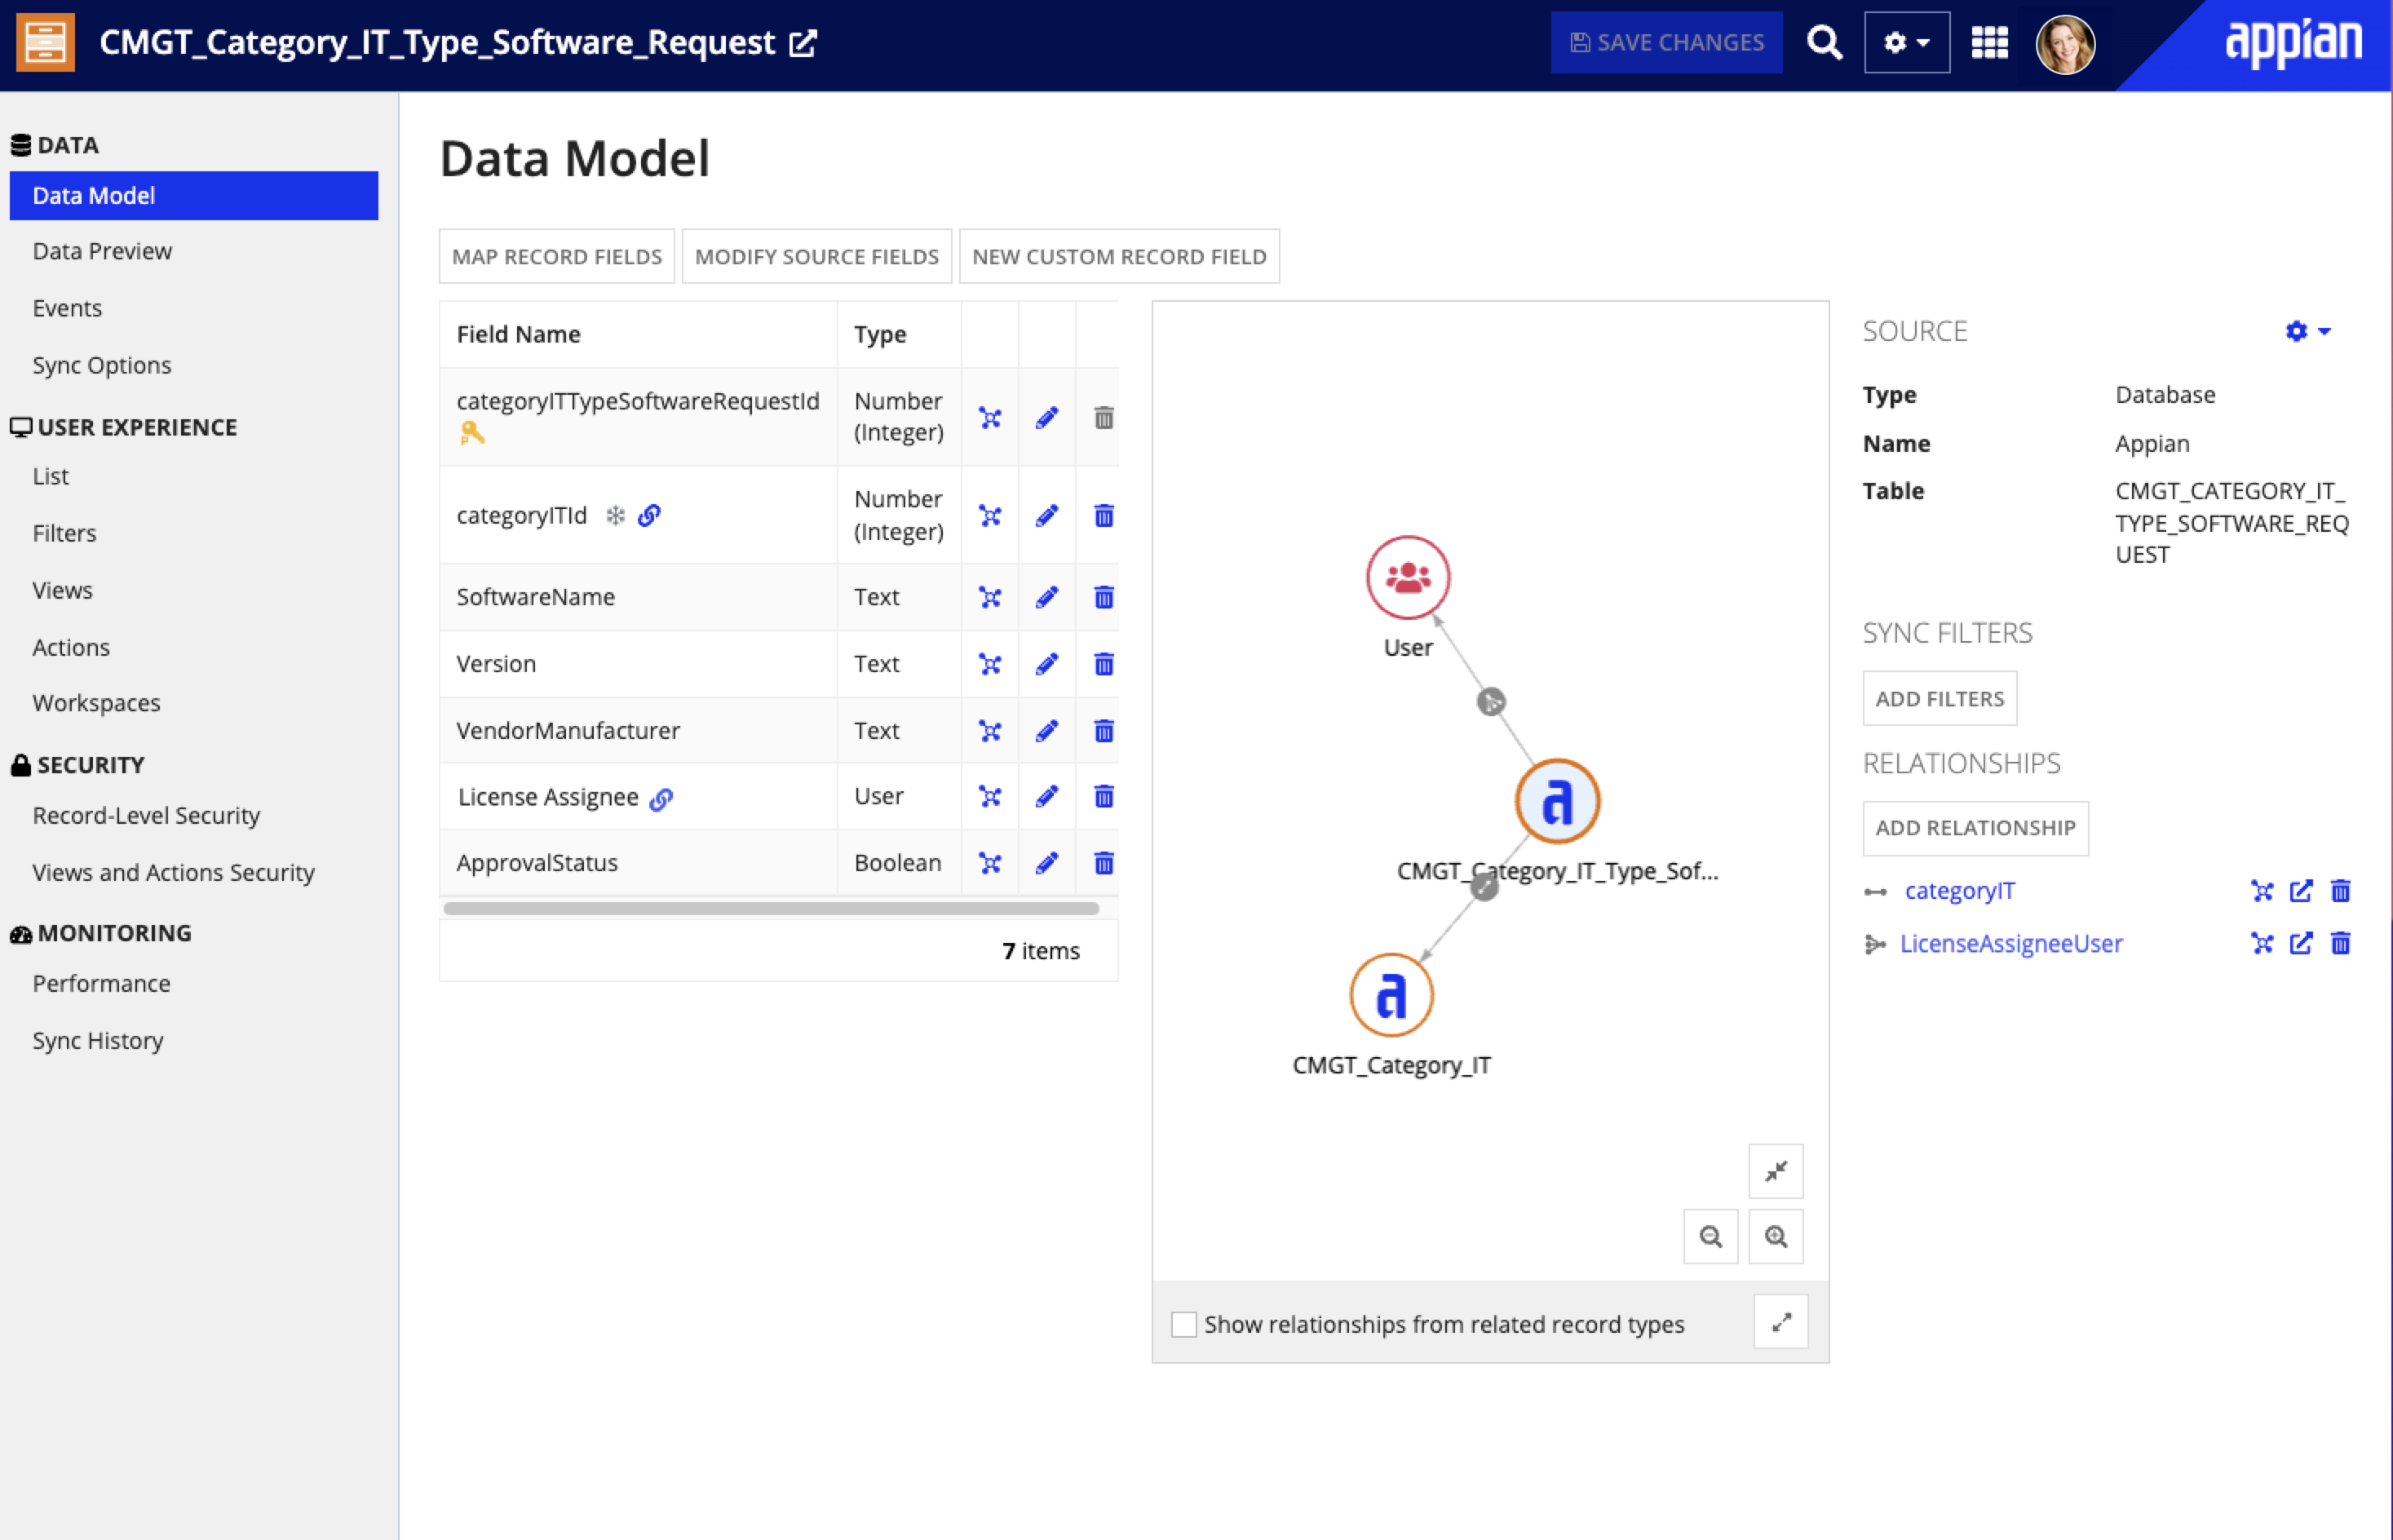
- On the Data Model page of the record type, edit the
License Assigneefield. - Change the Record Field Type to type User.
- Click OK. Now that the assignee field is type user, Appian will automatically suggest that you set up a relationship between that field and the User record type. You'll see a box appear near the bottom of the screen with the suggested relationship to the User record type.
- In the Suggested Relationships box, click + Add All. The relationship between the field and the User record type is immediately added and you can now see it in the relationship diagram.
- Click SAVE CHANGES and head back to the CMGT Studio Generated Objects app to find the interface for your case type's intake form.
- In the interface for your intake form, add a user picker component.
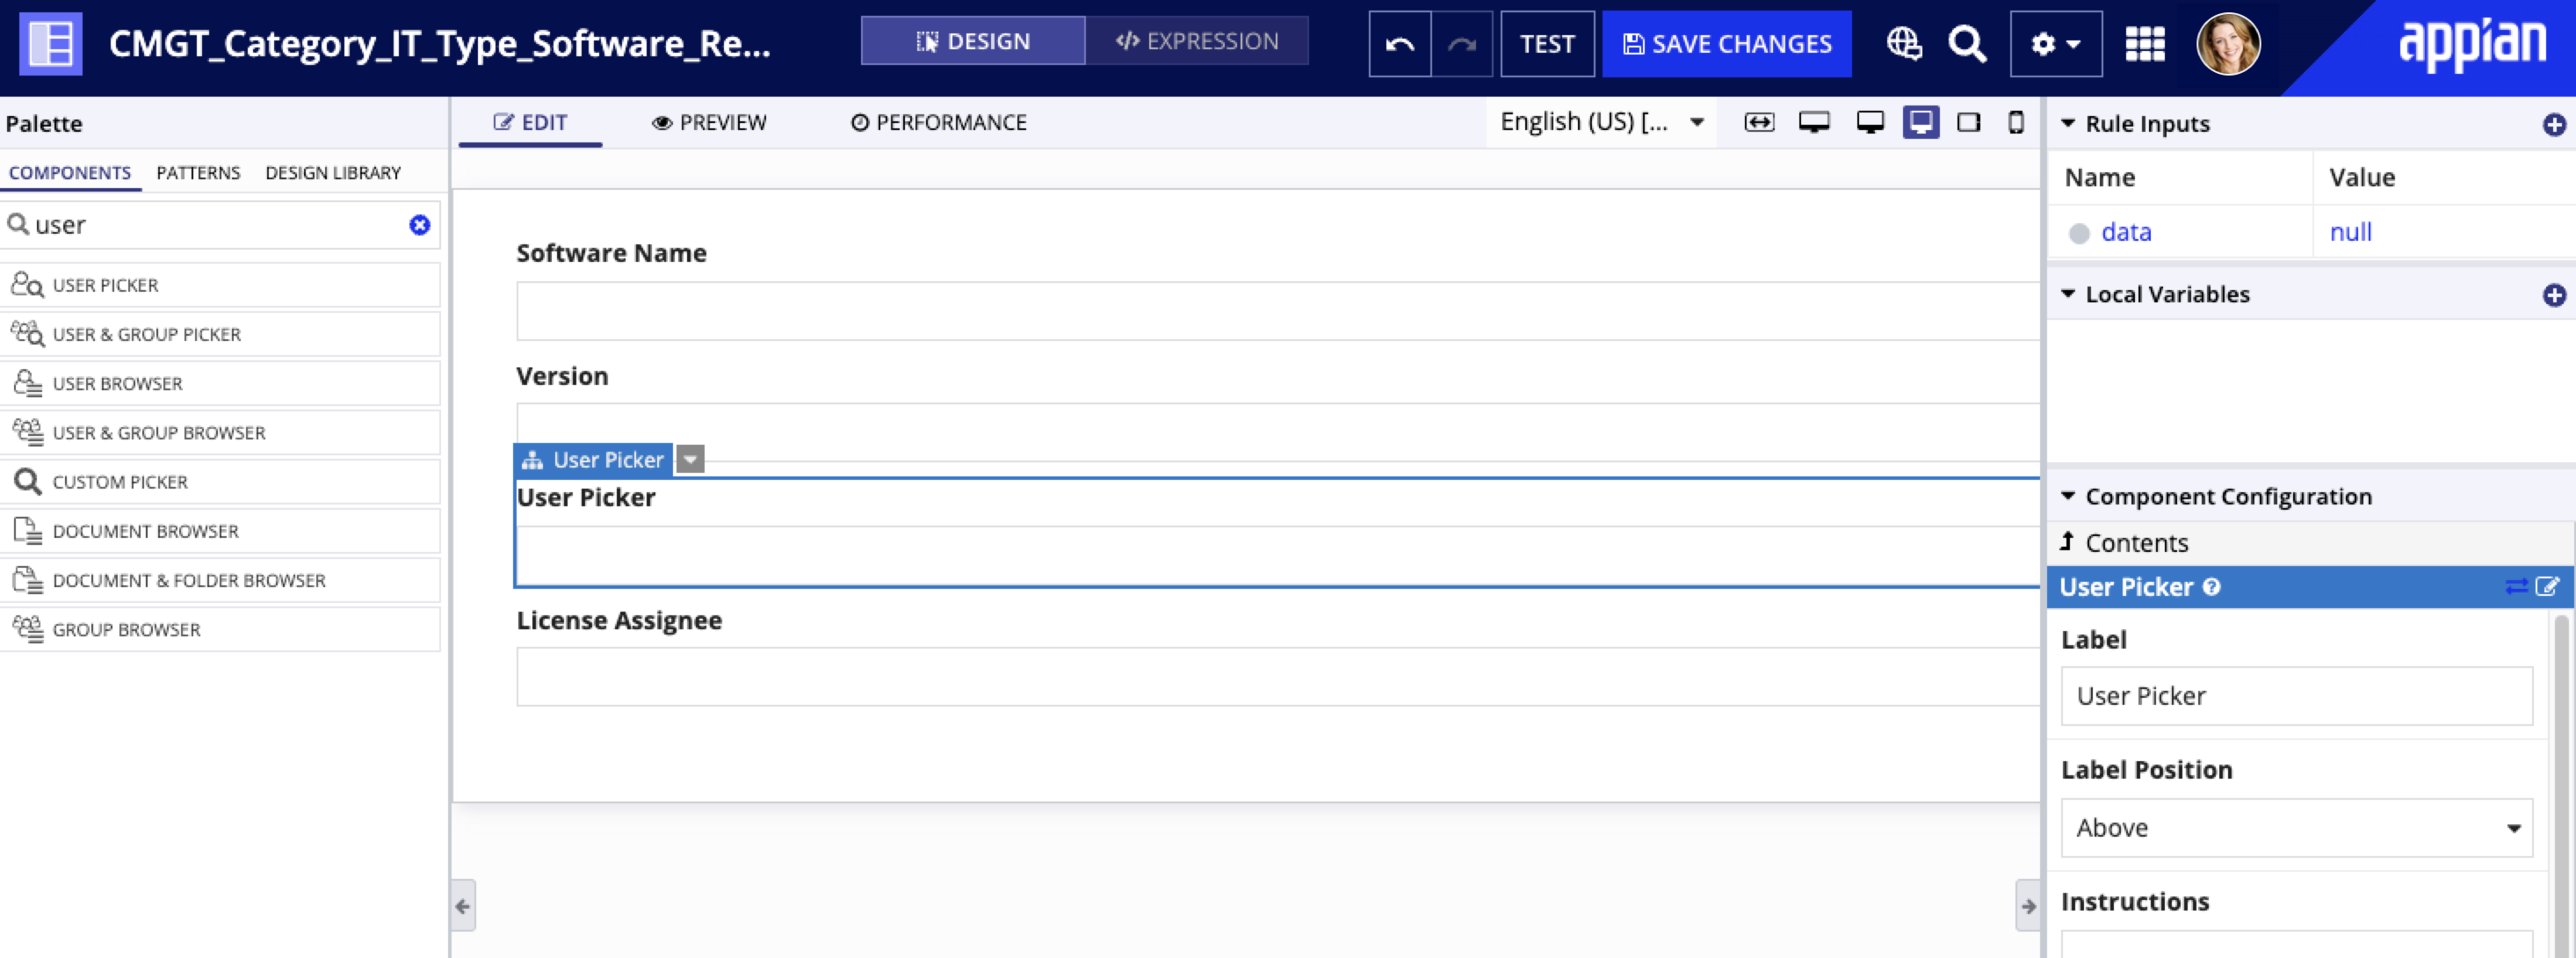
- In the interface expression, find the original
License Assigneefield. - Copy over the configurations for the value and saveInto parameters to the same parameters for the new user picker field.
- Click SAVE CHANGES.
If you want a more filtered list of users in the user picker, you can optionally use a group filter. This ensures that only members of a specific group (like managers or supervisors) are suggested in the picker.

