| The capabilities described on this page are included in Appian's advanced and premium capability tiers. Usage limits may apply. |
OverviewCopy link to clipboard
This page explains how to set up custom task types and custom automations for your workflows.
Tasks are activities in a workflow that require user interaction. Tasks are designed for actions that need human oversight or decision-making, ensuring that critical steps receive the necessary attention. This involvement helps maintain control and accuracy in your processes.
Workflow automations are activities in a workflow that do not require user interaction. They automatically start at their designated point in the workflow, perform a specific action, and then move to the next activity without human intervention. Workflow automations help streamline processes and saves time, letting you focus on more important tasks.
Case Management Studio comes with some common workflow automations and three pre-configured task types: confirmation, decision, and document upload. If you need custom task types or custom workflow automations, follow the steps on this page to add them.
Set up custom task types and tasksCopy link to clipboard
To set up custom task types and tasks:
- Using your database management tool, add a new row to the CMGT_CFG_TASK_BEHAVIOR_TYPE table with the necessary details for your task type. Refer to an existing task type to populate this information.
- Set IS_AUTOMATED to
0for a task. This identifies the activity as a task. - In the ICON column, enter the name of the icon to display next to the task in the task list.
- Set IS_AUTOMATED to
- In Appian Designer, resync the CMGT_CFG_TASK_BEHAVIOR_TYPE record type.
-
Configure any new fields.
If you are… Then… creating a new record type object for the new task data add a record type relationship to relate this new record type to the CMGT_Task record type. adding additional fields to an existing record type add new fields to the CMGT_Task record type by using the Modify Source Fields action. - Update the CMGT_WFL_ReferenceTask_RecordAction_CreateUpdate interface and make any necessary configurations to support your new task. For example, if the task requires users to select a value from a set of options, add a dropdown with the values to the interface.
- Create the task in Studio and add it to a new task block.
- Configure a case type workflow with this task.
- Update the
a!match()function in the CMGT_Task_RecordAction_Complete interface to specify how the interface should display content for your new task type.- The
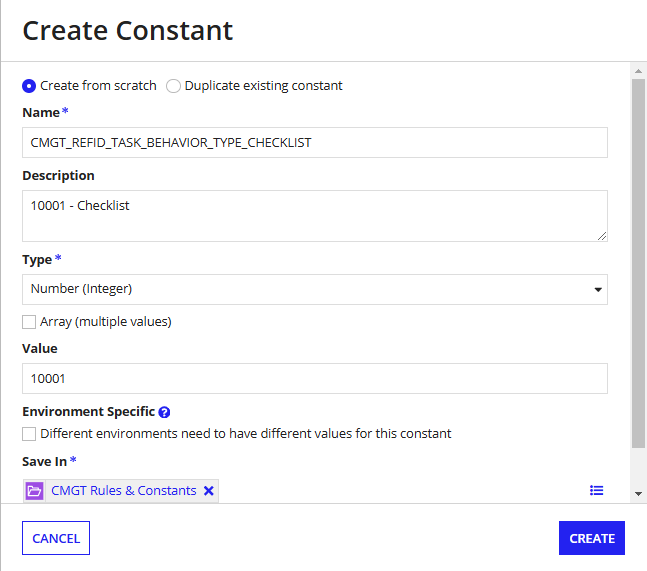
a!match()function uses the TASK_BEHAVIOR_TYPE_ID from the CMGT_CFG_TASK_BEHAVIOR_TYPE table. - Create a new constant for each new task type ID, as pre-configured task types are referenced through constants.

- The
- Update the CMGT_Task_Complete process model if you need to write new data or add unattended activities during task completion, like calling a subprocess to post to an integration.
- Note that this process is reused for all task types.
- Configure the CMGT_Task_RecordView_Summary interface as necessary to include the new task type and add any new data that you want to display on the task's summary page.
- There is an
a!match()function for displaying completed tasks by task type. Modify thea!match()function to include the new task type, ensuring completed tasks display accurately.
- There is an
Set up a custom automationCopy link to clipboard
To set up a custom automation
- Using your database management tool, add a new row to the CMGT_CFG_TASK_BEHAVIOR_TYPE table with the necessary details for your task type. Refer to an existing automation to populate this information.
- Set IS_AUTOMATED to
1. This identifies the activities as an automation. - In the ICON column, enter the name of the icon to display next to the automation in the activities list.
- Set IS_AUTOMATED to
- In Appian Designer, resync the CMGT_CFG_TASK_BEHAVIOR_TYPE record type.
-
Configure any new fields.
If you are… Then… creating a new record type object for the new automation data add a record type relationship to relate this new record type to the CMGT_Task record type. adding additional fields to existing record type add new fields to the CMGT_Task record type by using the Modify Source Fields action. - Create the automation in Studio.
- Design a process model to complete the automation and include two script tasks to update the task status and update the task status relationship.
- The process should look similar to this:

- The process should look similar to this:
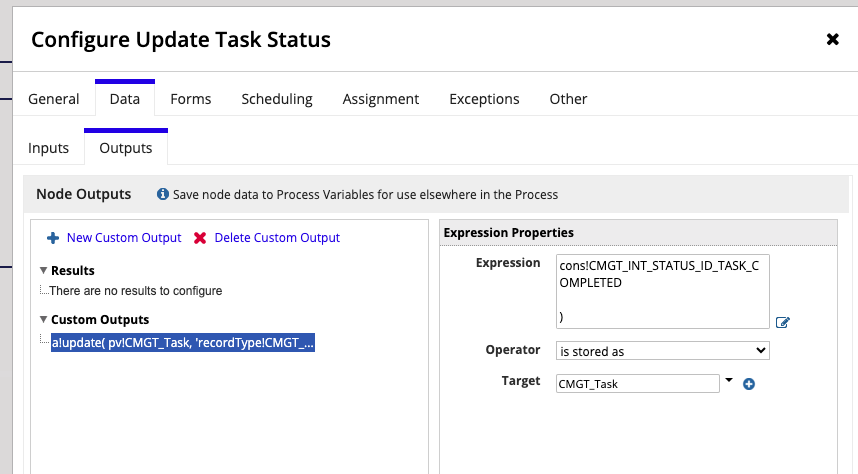
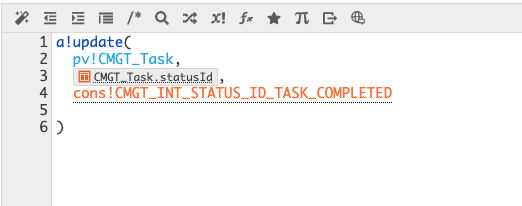
- In the Update Task Status node, add a custom output for updating the task status.

- Update the expression for the custom output to look similar to this expression:

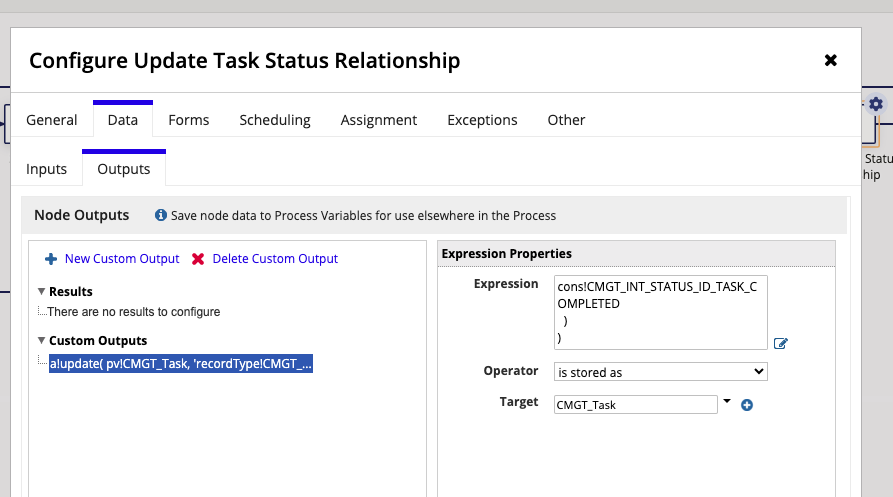
- In the Update Task Status Relationship node, add a custom output for updating the task status relationship.

- Update the expression of the custom output to look similar to this:

- End the process with a call to the CMGT_Task_Complete subprocess to set the task status to complete.
- This marks the automation as completed and opens any subsequent tasks.
- If you are creating an automation with a decision, make sure to pass in the appropriate response option.
- Be sure to Save & Publish.
- Add logic to the CMGT_Task_Complete_AutomatedTask_Wrapper process model to trigger the new process model for the automation.
- Be sure to Save & Publish.
- Test the workflow with the new automation to ensure it works correctly.
- Update the CMGT_Task_RecordView_Summary interface to adjust the automation summary page.
- There is an
a!match()function for displaying automations. Modify thea!match()function to include the new automation, ensuring completed automations display accurately.
- There is an


