| This content applies solely to Requirements Management, which must be purchased separately from the Appian base platform. This content was written for Appian 23.4 and may not reflect the interfaces or functionality of other Appian versions. |
IntroductionCopy link to clipboard
Appian Requirements Management comes with an integration with Azure OpenAI that can be used to generate message thread summaries. To configure this, you will need to register for an account with Azure OpenAI and configure the connected system with your account credentials. This page provides instructions for configuring the Azure OpenAI integration in Requirements Management.
Configure applicationCopy link to clipboard
Note: Before installing RM 1.7 or later, you will need to install the Azure OpenAI Plugin.
After setting up your Azure OpenAI account, you will need to configure the application to use the API key.
- Register for a paid account with Azure OpenAI, if your organization does not already have one.
Note: You may want to start with a free account for dev and test environments, but you will likely hit the request limit fairly quickly.
- Generate an API key for the account.
-
Update
AS RM CS Azure Open AI.- Enter resource name in the Your Resource Name field.
- Paste your API key in the API Key field.
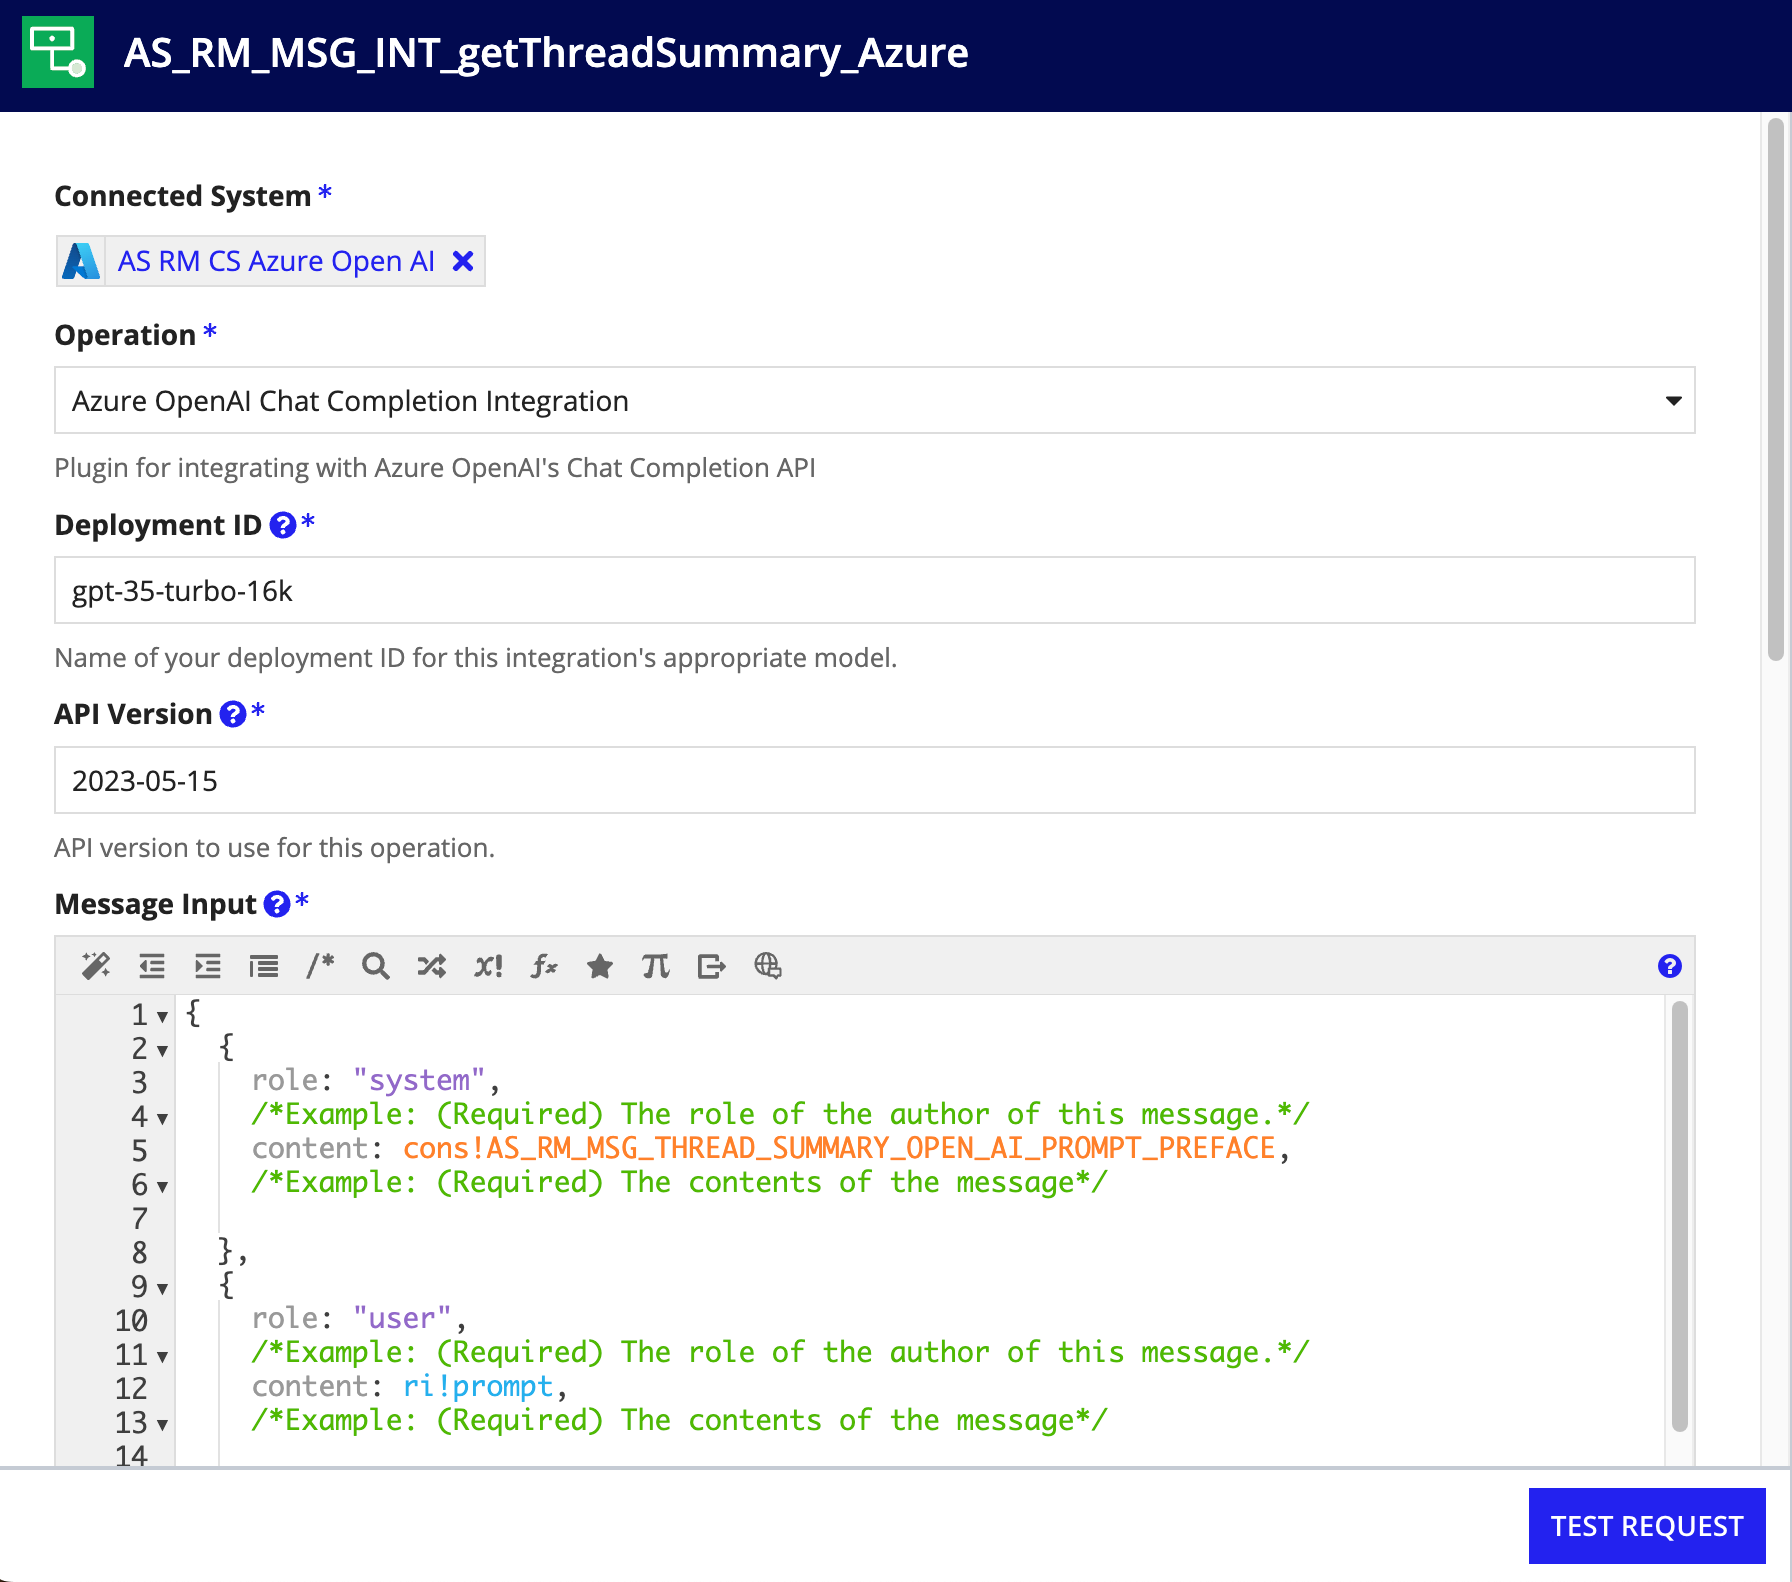
- Navigate to one of the integrations using this Connected System.
- Select the
AS RM CS Azure Open AIConnected System. - Click the DEPENDENTS button.
- Open an Integration.
- Select the
- Click TEST REQUEST to make sure the API Key works and the resource name is set up correctly.

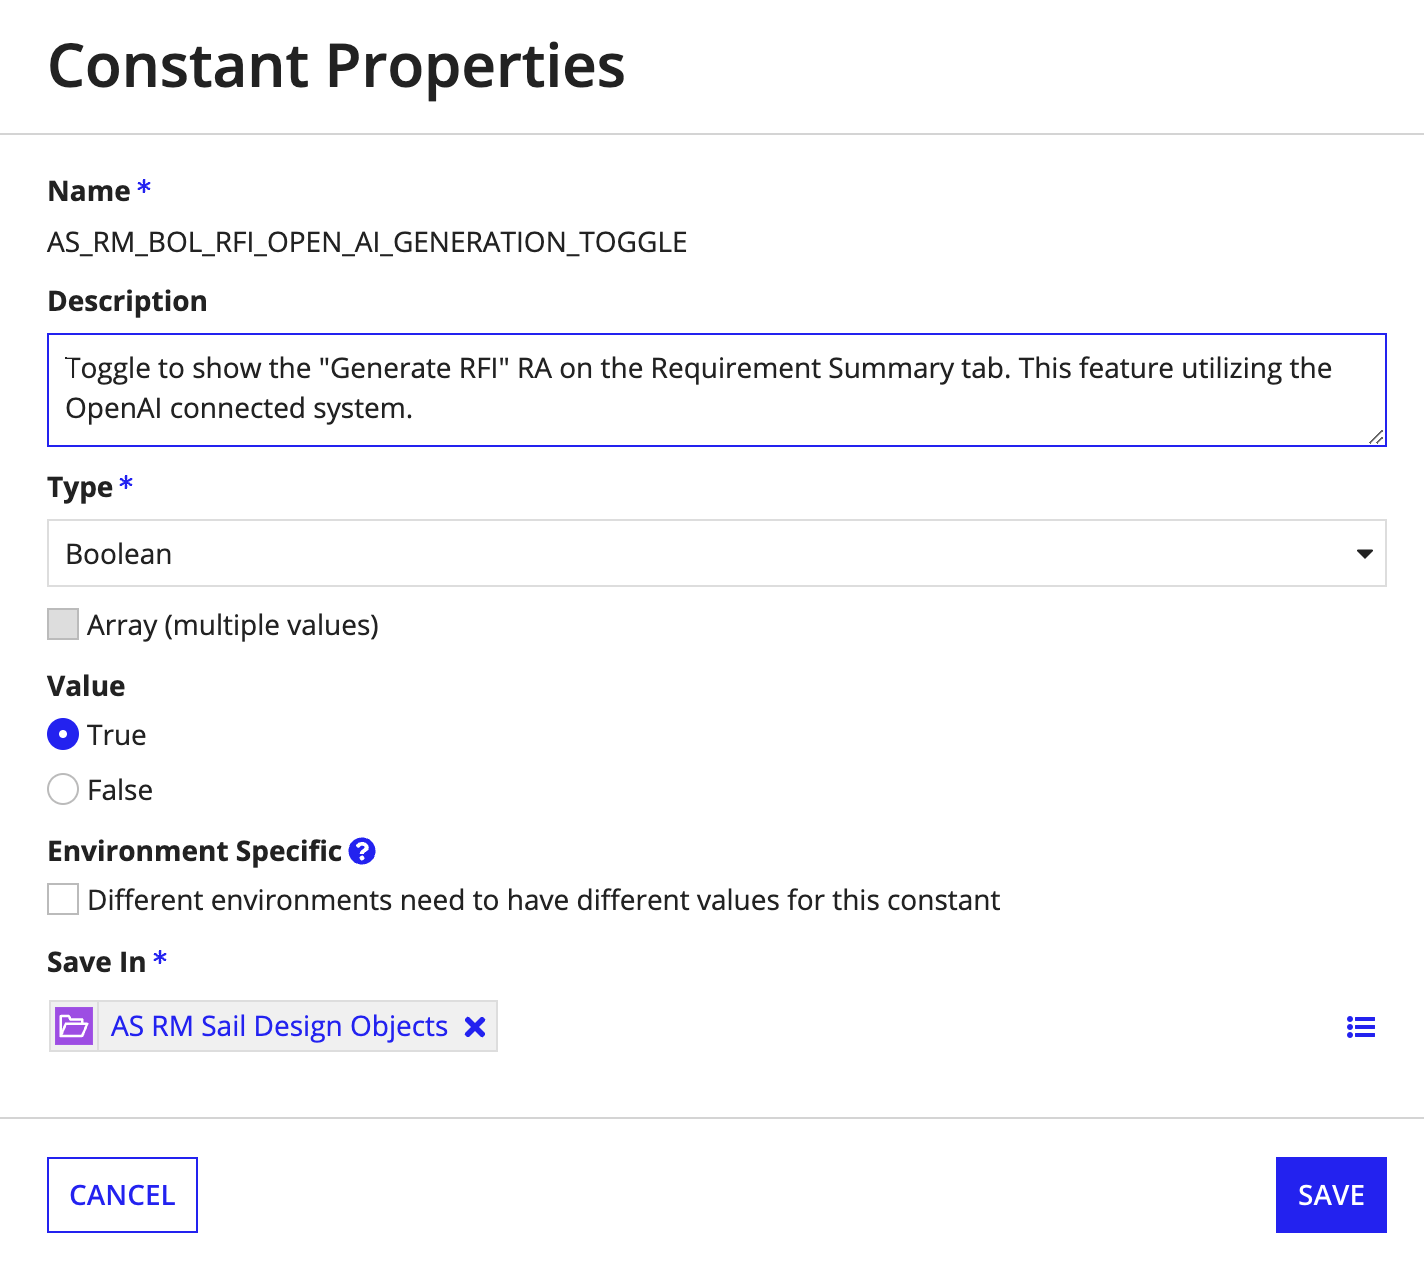
- Toggle the
AS_RM_BOL_RFI_OPEN_AI_GENERATION_TOGGLEconstant value toTrue. Users will now have the ability to generate an RFI using AI.
- Toggle the
AS_RM_MSG_BOL_THREAD_SUMMARY_TOGGLEconstant value toTrue. The thread summary will now be updated each time a message is added to a thread.
FeedbackCopy link to clipboard
Was this page helpful?
