| This content applies solely to Connected Underwriting, which must be purchased separately from the Appian base platform. This content was written for Appian 22.4 and may not reflect the interfaces or functionality of other Appian versions. |
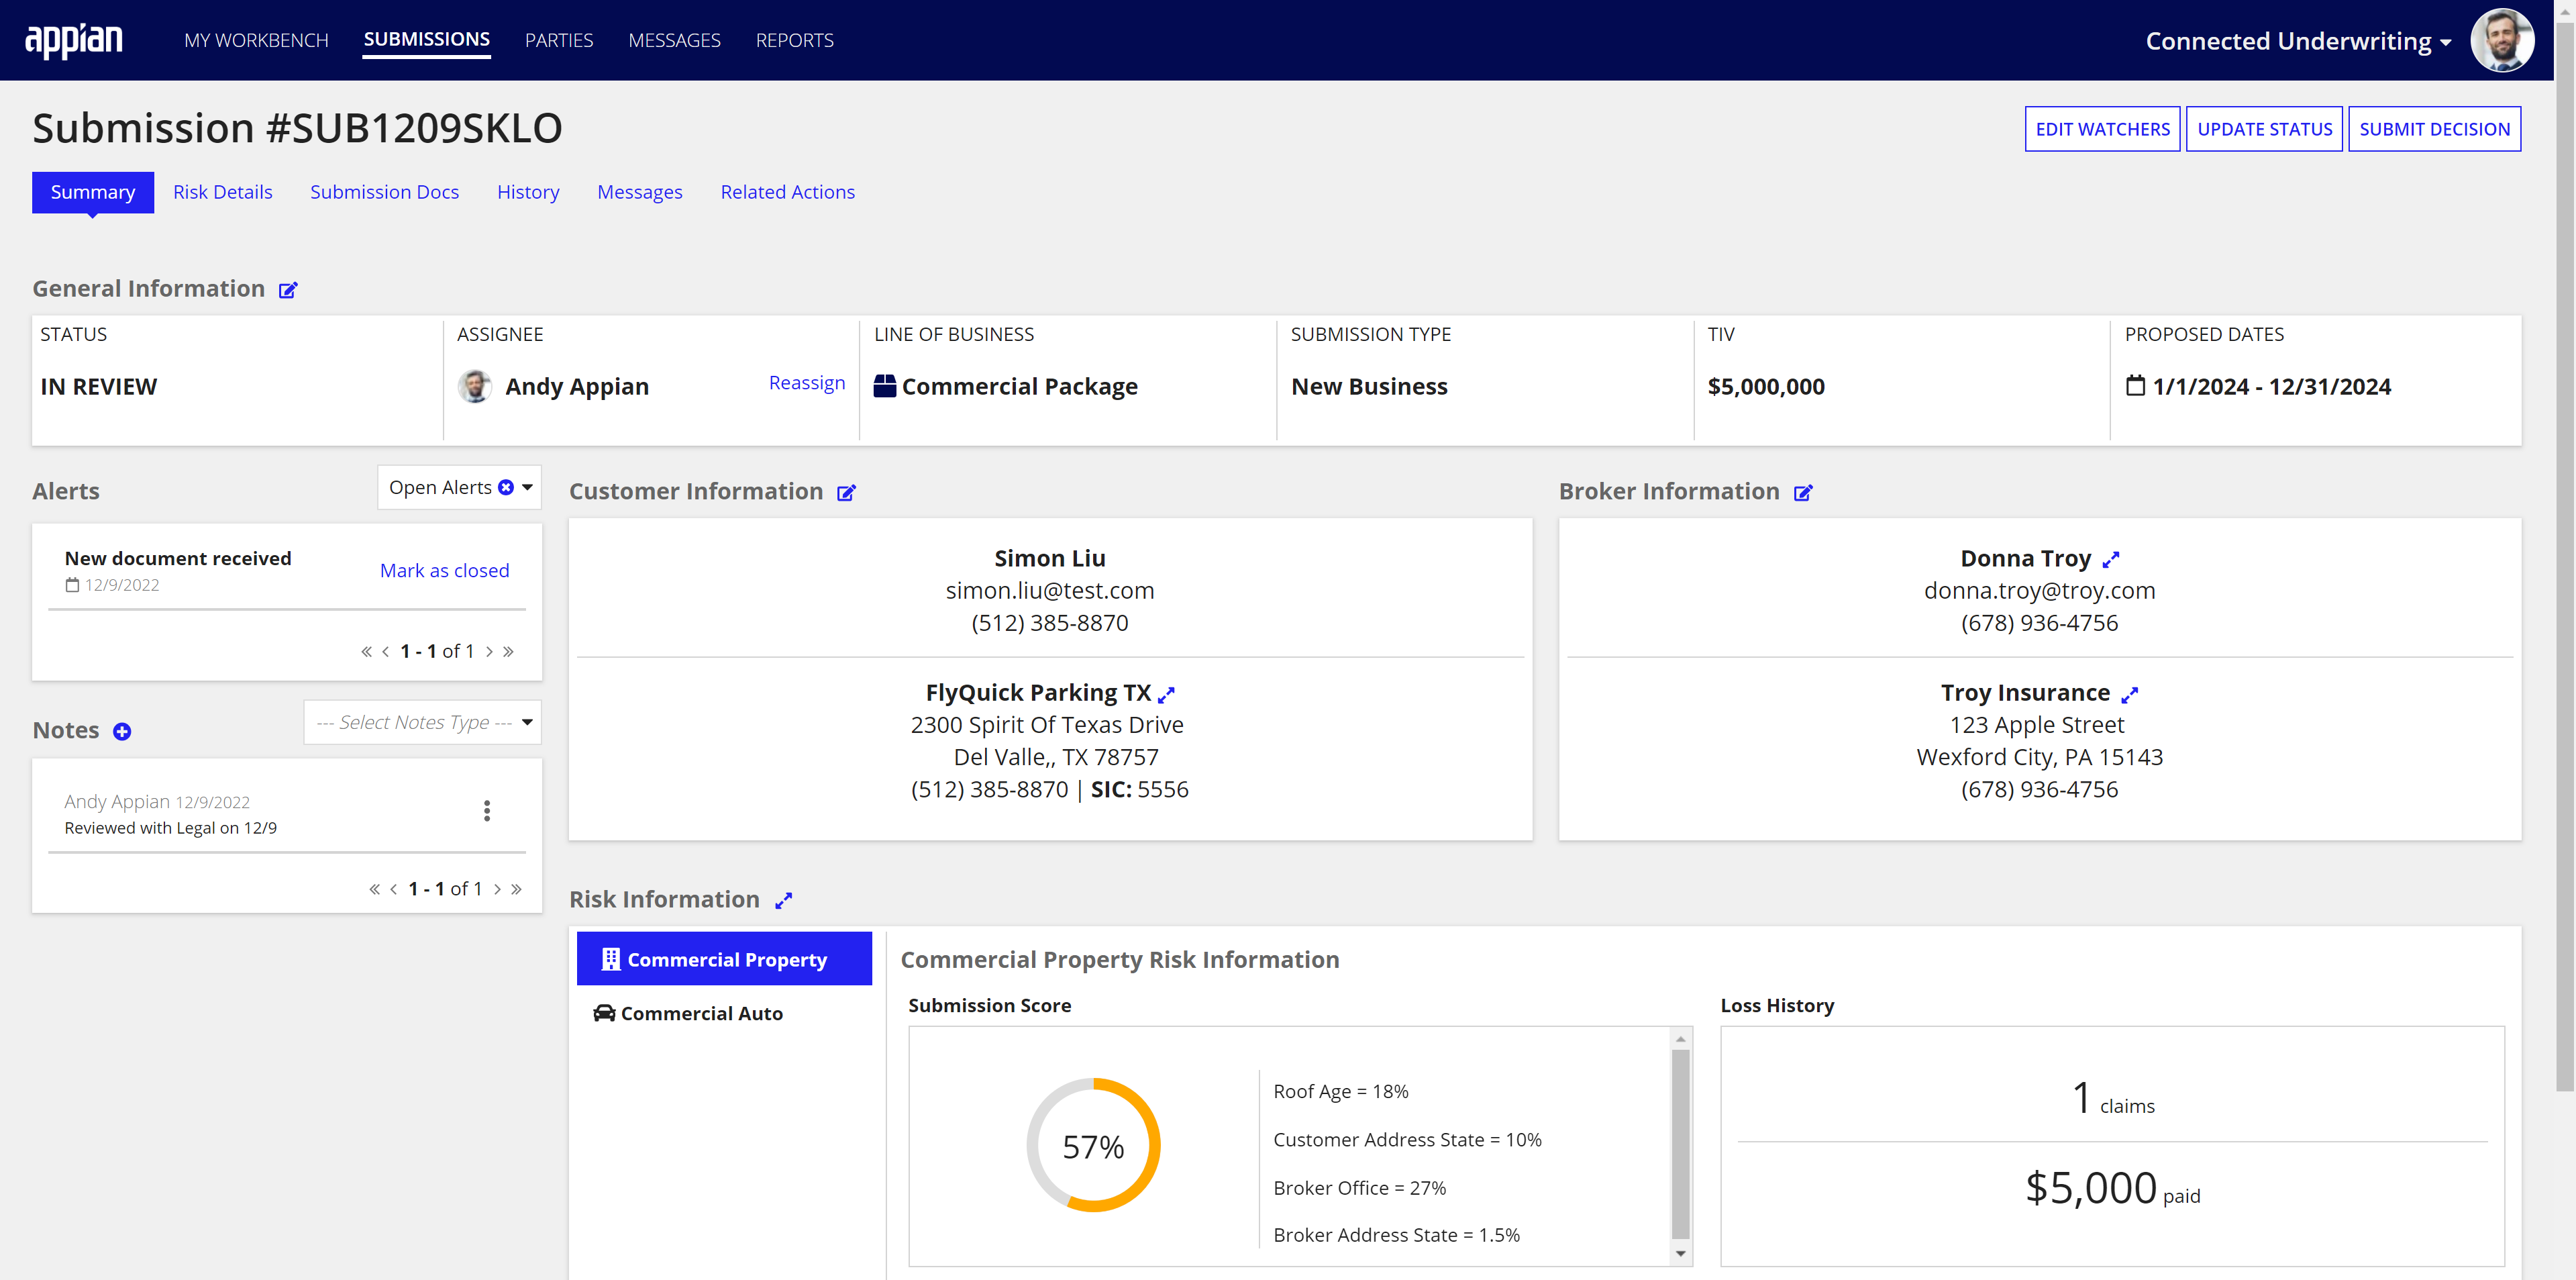
The key element in Connected Underwriting is the Submission. A Submission provides a user with a comprehensive view of the required information gathered by an insurance organization when determining inherent risk when insuring a potential customer.
This page provides instructions for creating a new submission. Instructions for managing existing Submissions are available on the Managing Submissions page.
This guide provides instructions for creating a new Submission as it applies to the out-the-box configuration of Connected Underwriting. These steps will not be accurate if you have modified your application to deviate from standard configuration.
Connected Underwriting supports two ways to create new Submissions:
Note: Regardless of the way a Submission was created, all new Submissions will show in the ALL SUBMISSIONS table on the Submissions dashboard.
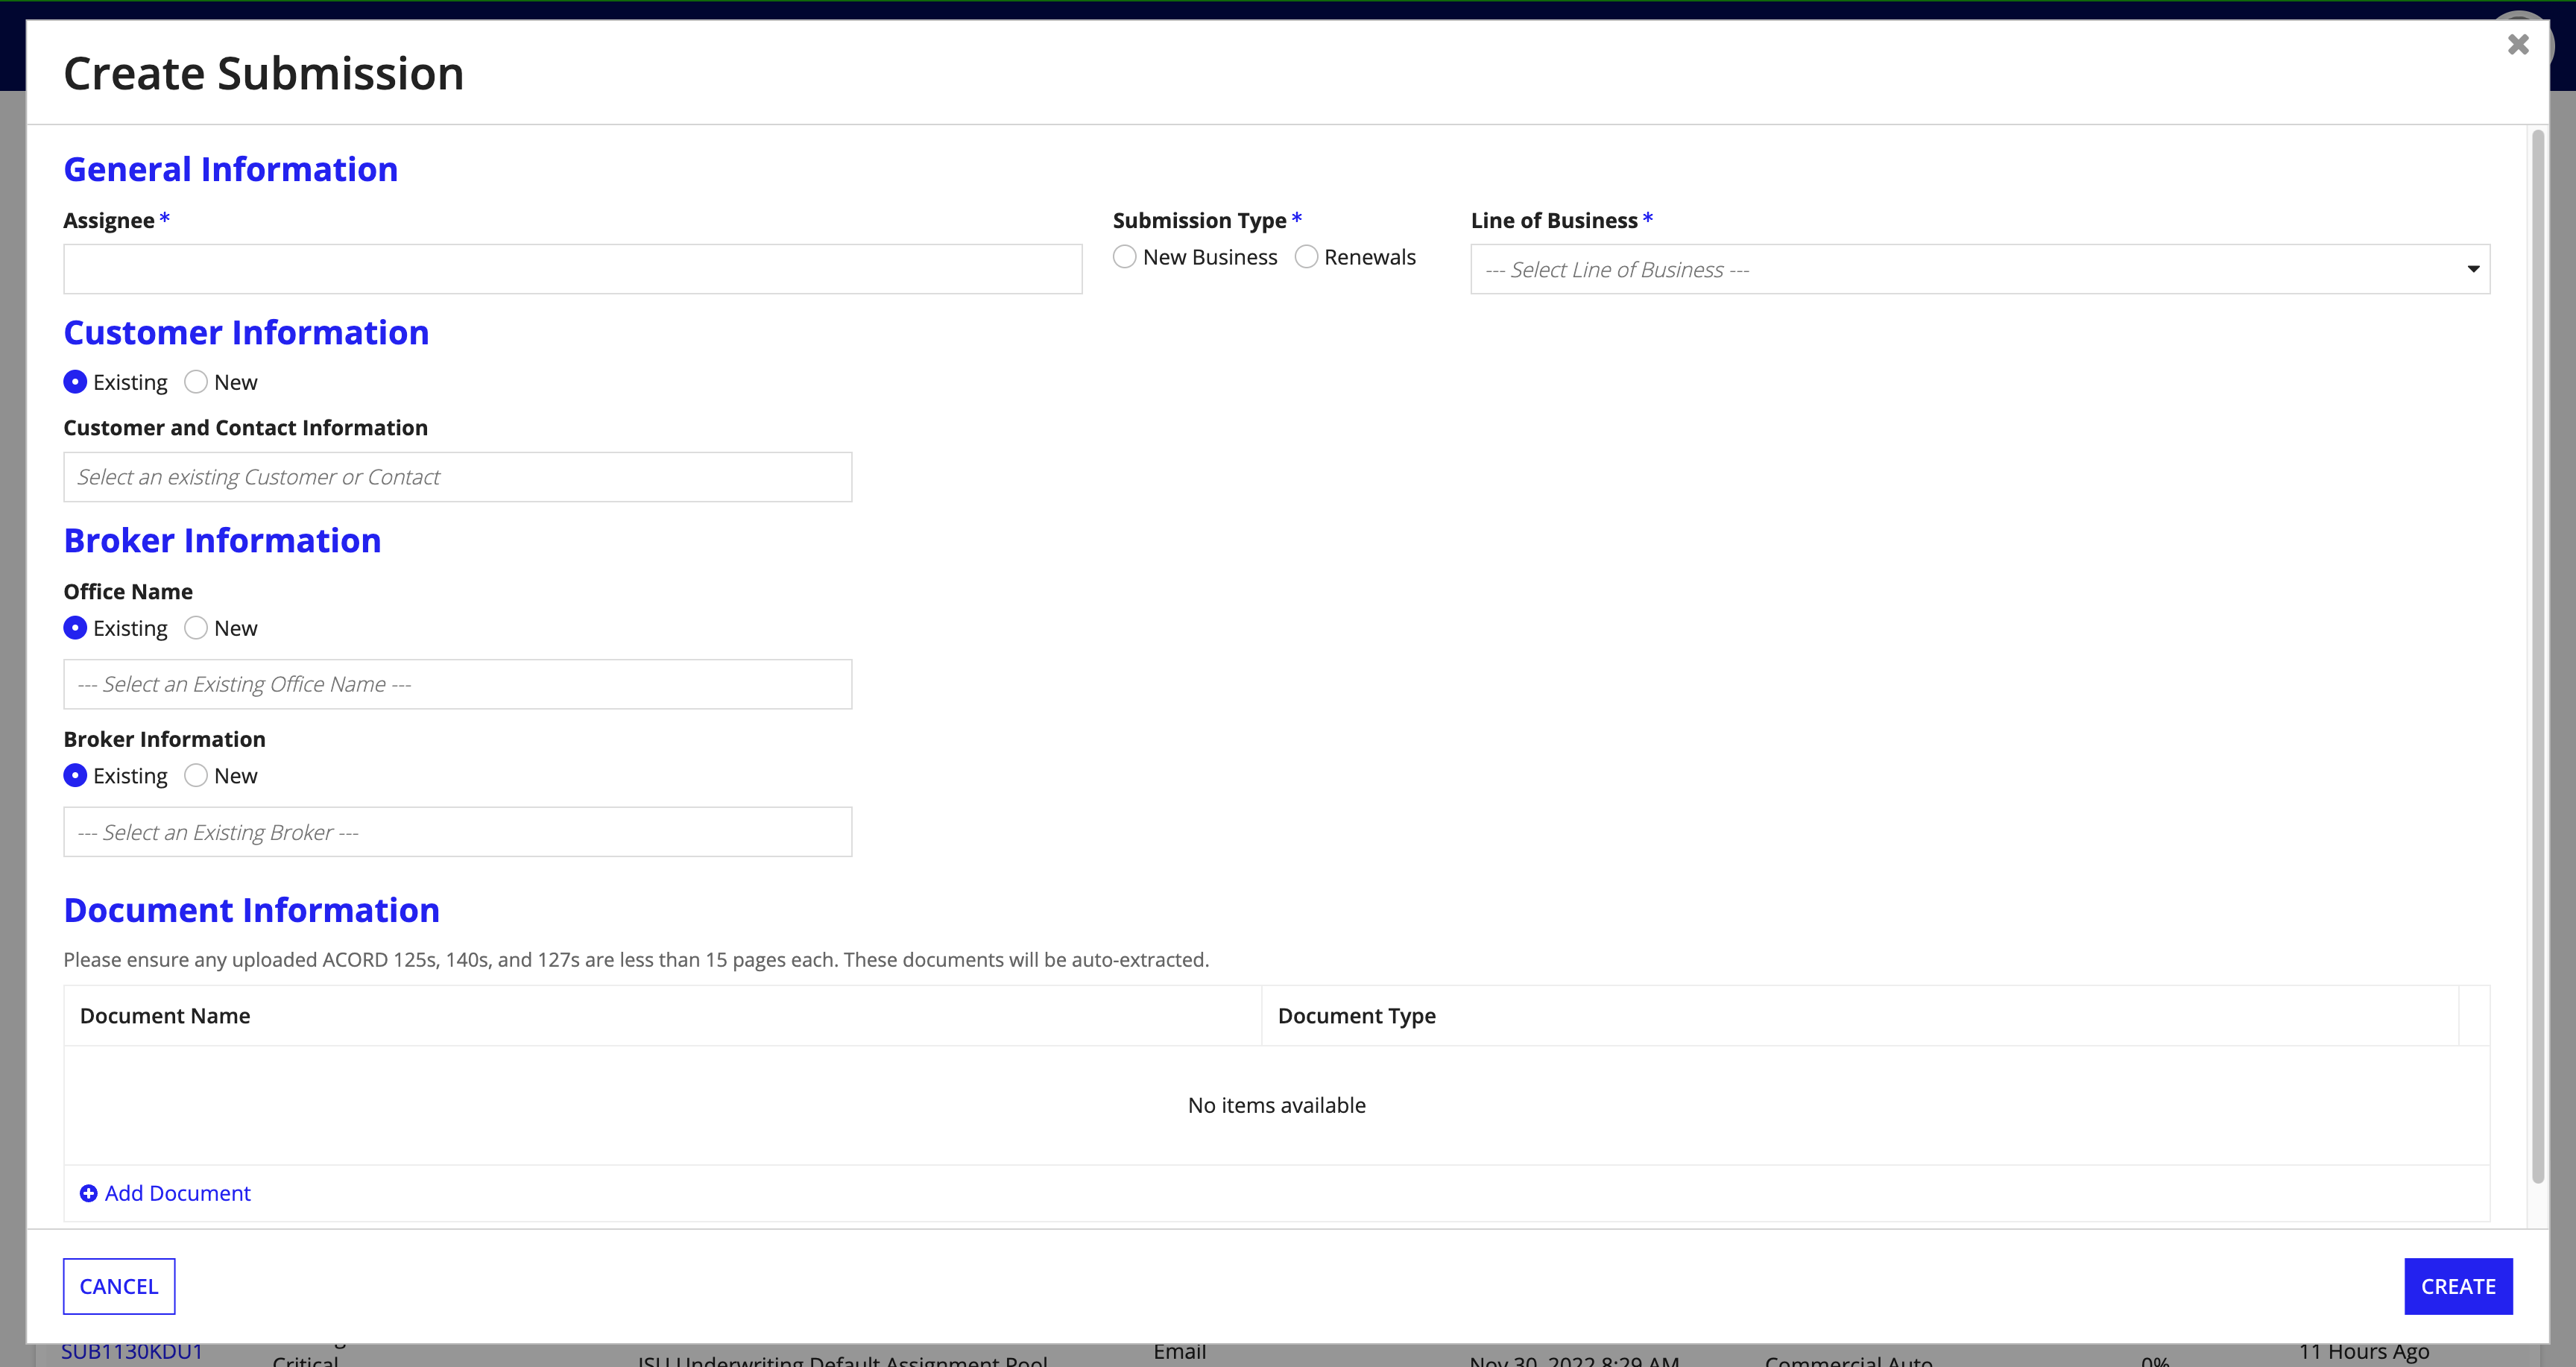
The following steps walk you through the process of manually entering Submission information pertinent to the underwriting process. The information entered on a Submission item will also inform connected items, like customers, brokers, and broker offices.
A new submission can be created from two locations:
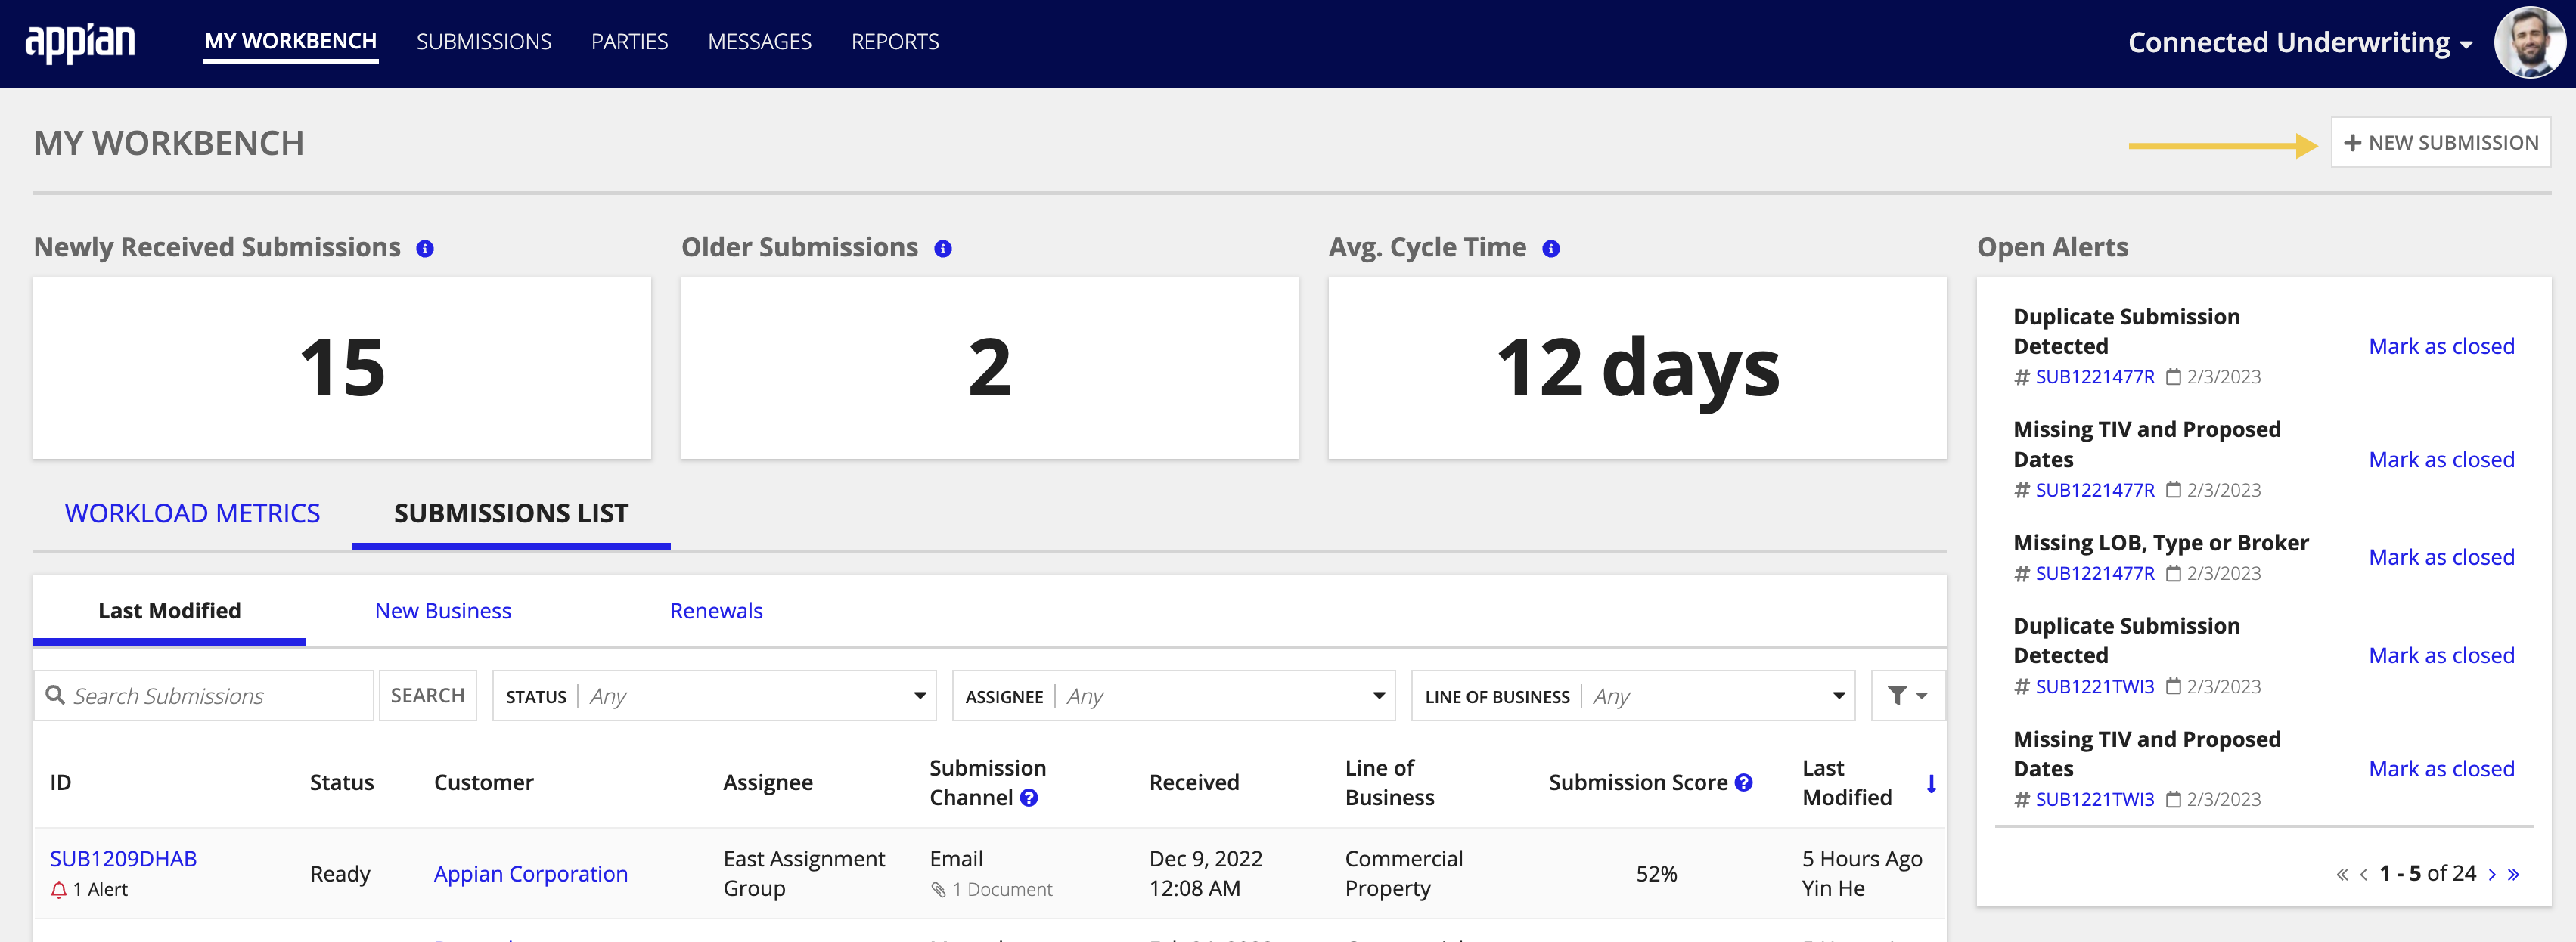
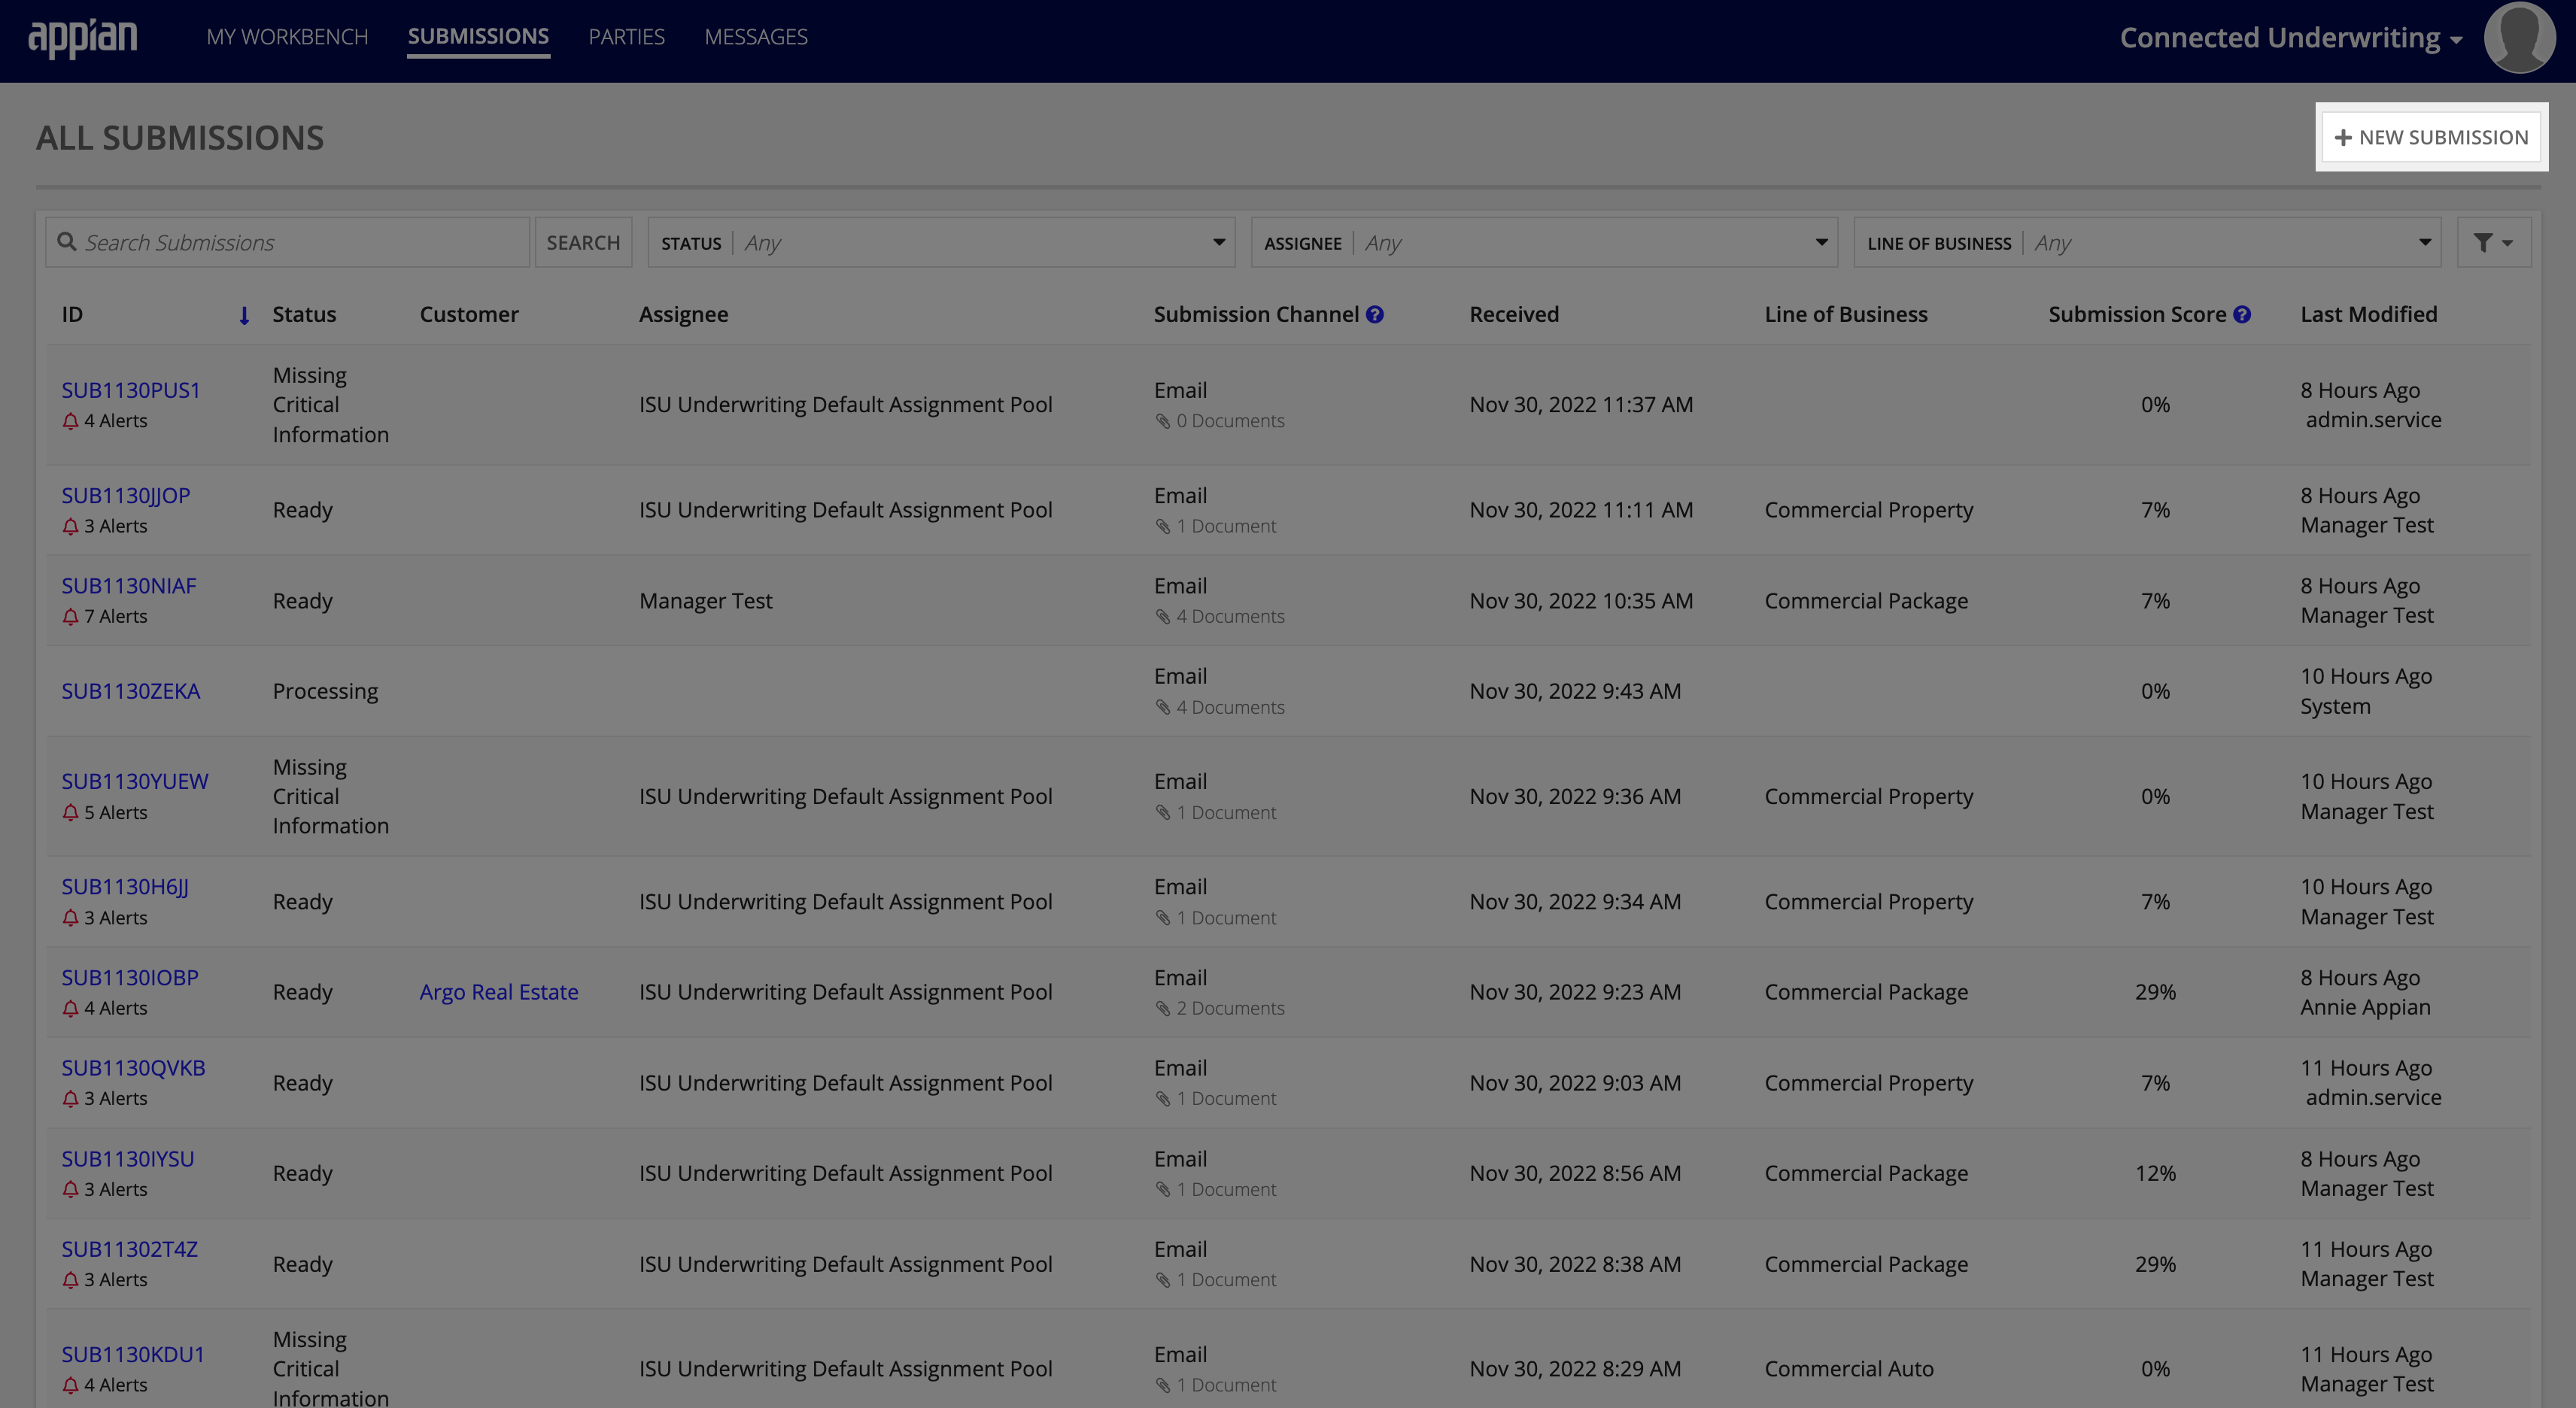
To create a new submission:

Often insurance organizations rely on a shared inbox to accept submissions emailed by brokers. If an organization has set up an email poller within Connected Underwriting to manage their incoming submissions, they can also create submissions automatically from incoming emails. Please see Installing Connected Underwriting for more information.
A new submission can be created from a shared box if an email adheres to the following properties:
If both of the above properties are true, Connected Underwriting will automatically create a Submission ID and email the broker with a confirmation email. The new submission proceeds to a Processing status.
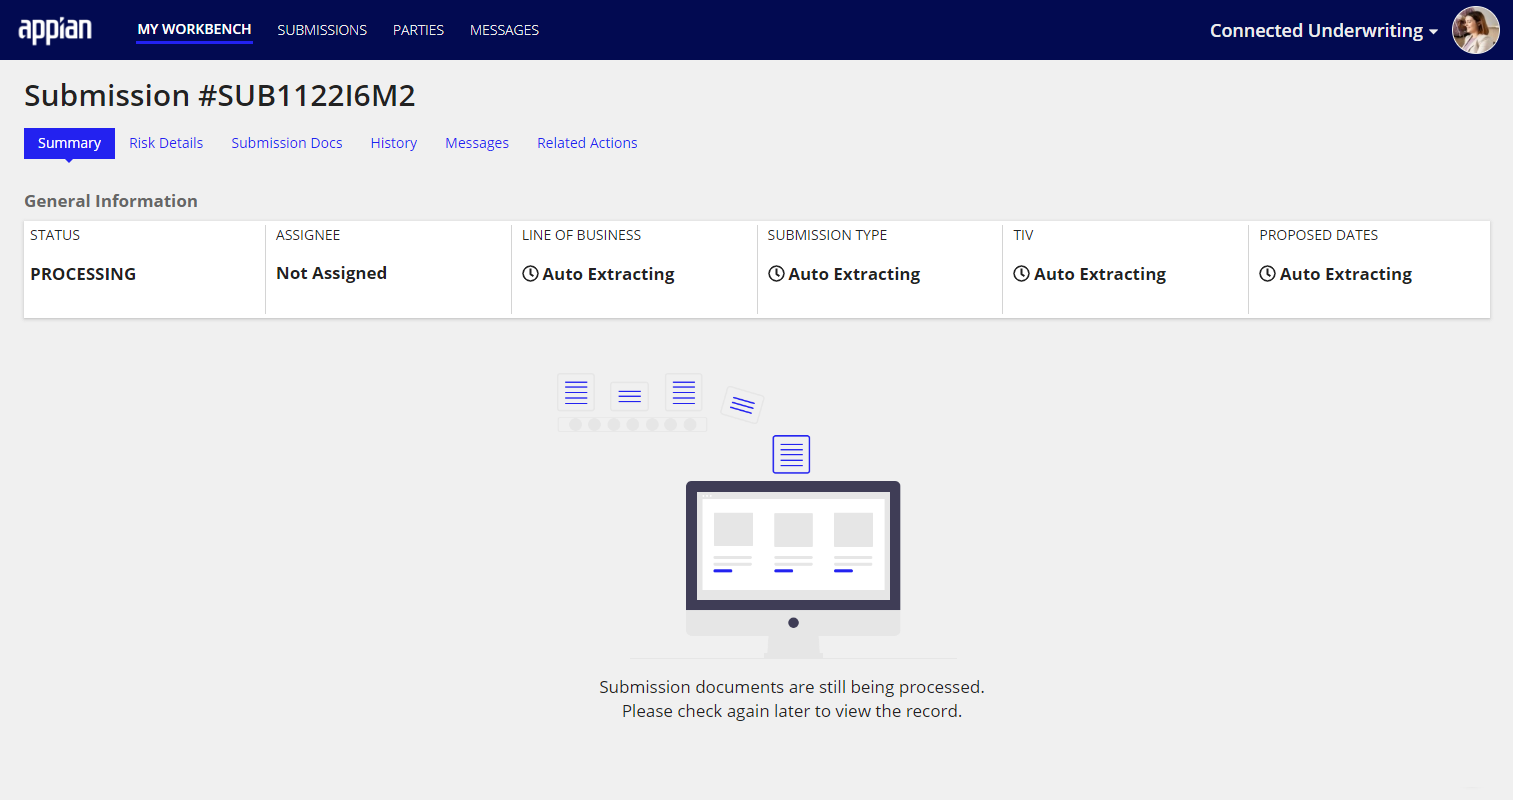
In order to continue to populate the newly-created Submission, proceed to the Workbench > Exception Queue > Reconciliation tab and reconcile the appropriate forms for that submission. For more information about document extraction reconciliation, visit the My Workbench page or IDP Reconciliation page.
Creating a New Submission
