| This content applies solely to Connected Underwriting, which must be purchased separately from the Appian base platform. This content was written for Appian 22.4 and may not reflect the interfaces or functionality of other Appian versions. |
Managing staffing changes can be a major pain point for many organizations. New team members, or team members with new responsibilities, need access to the tools needed to do their jobs. To ensure security, departing team members need to have their access revoked in a timely manner.
The Connected Underwriting Settings site allows business users with the appropriate access to quickly make the changes needed to keep business running securely.
Note: If you need to add new role or assignment groups, or modify group membership using Appian Designer, see the Modifying Groups page.
Within Connected Underwriting Settings, business users are able to add users to role groups, and create assignment groups and add users to them. So what are role groups and assignment groups?
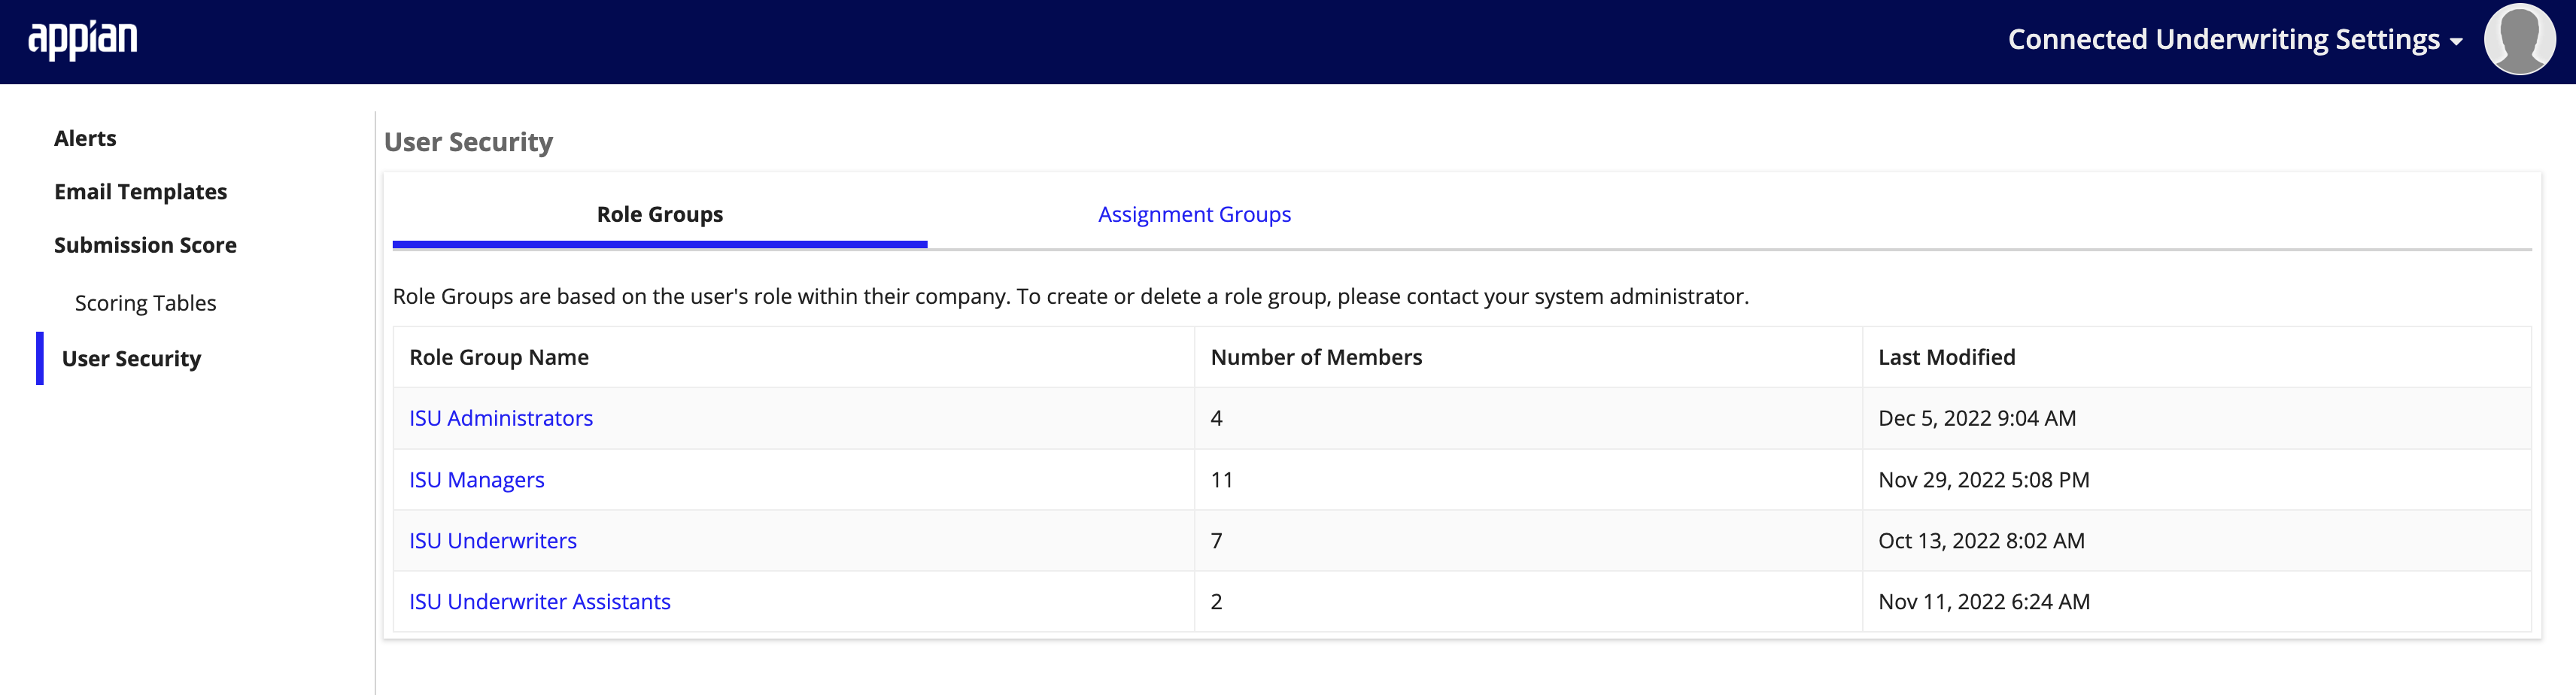
Role Groups are based on the user's role within their company and represent the different ways they will interact with the solution. This allows you to put certain teams into security groups to allow access to specific parts of the solution. To create or delete a role group, please contact your system administrator.
For example,
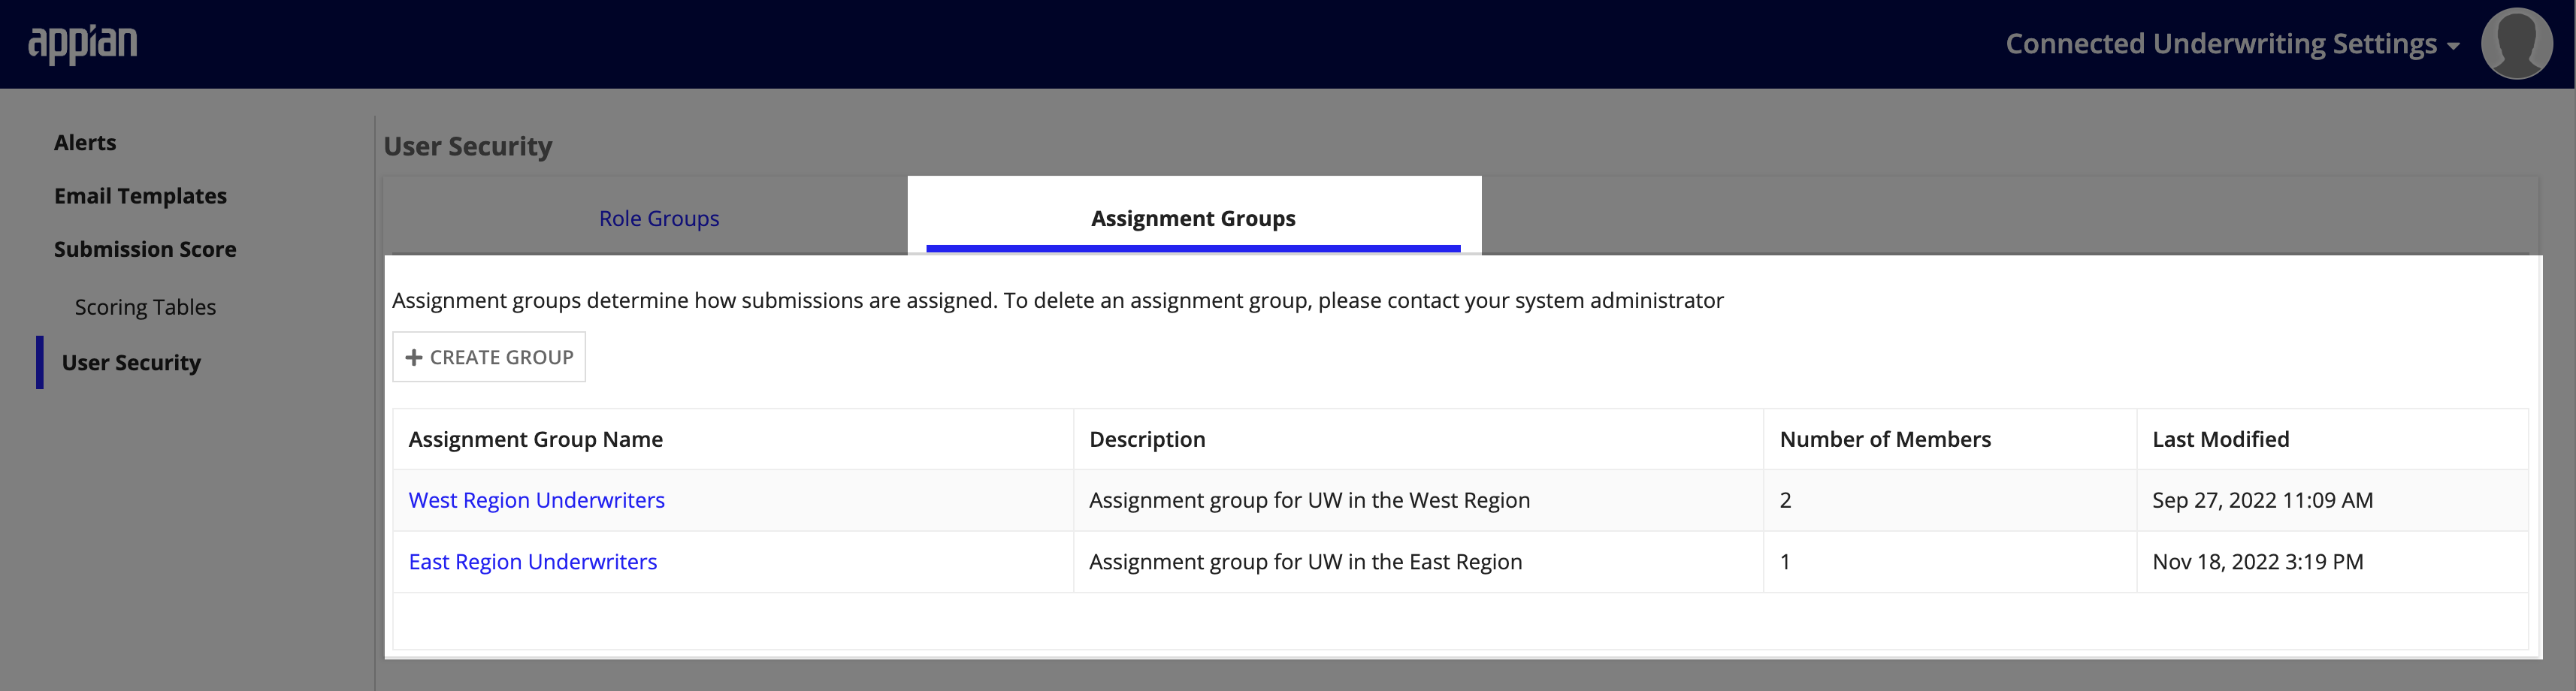
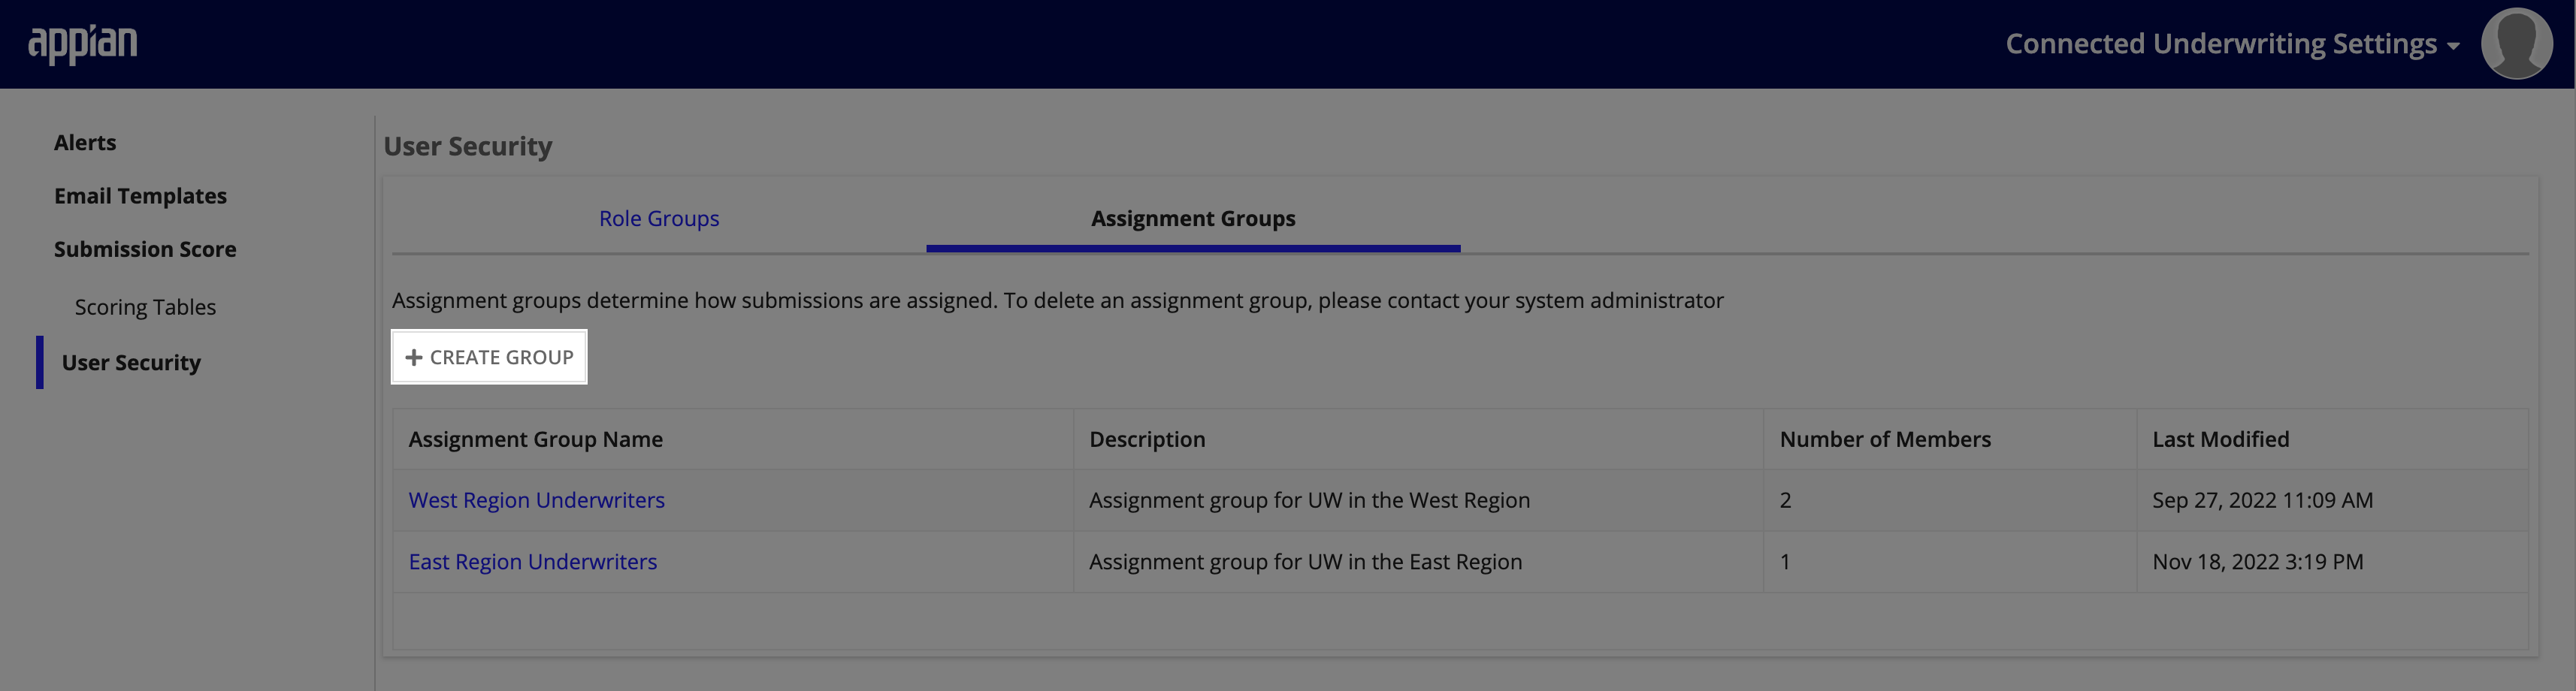
Assignment groups determine which users can be assigned Submissions. For example, an organization can have an assignment group focused on the West region and another focused on the East. If a Submission is assigned to the West Group, then users in that group are notified to work on that submission.
See Groups Reference Page for more information on what groups provide what access in the solution.
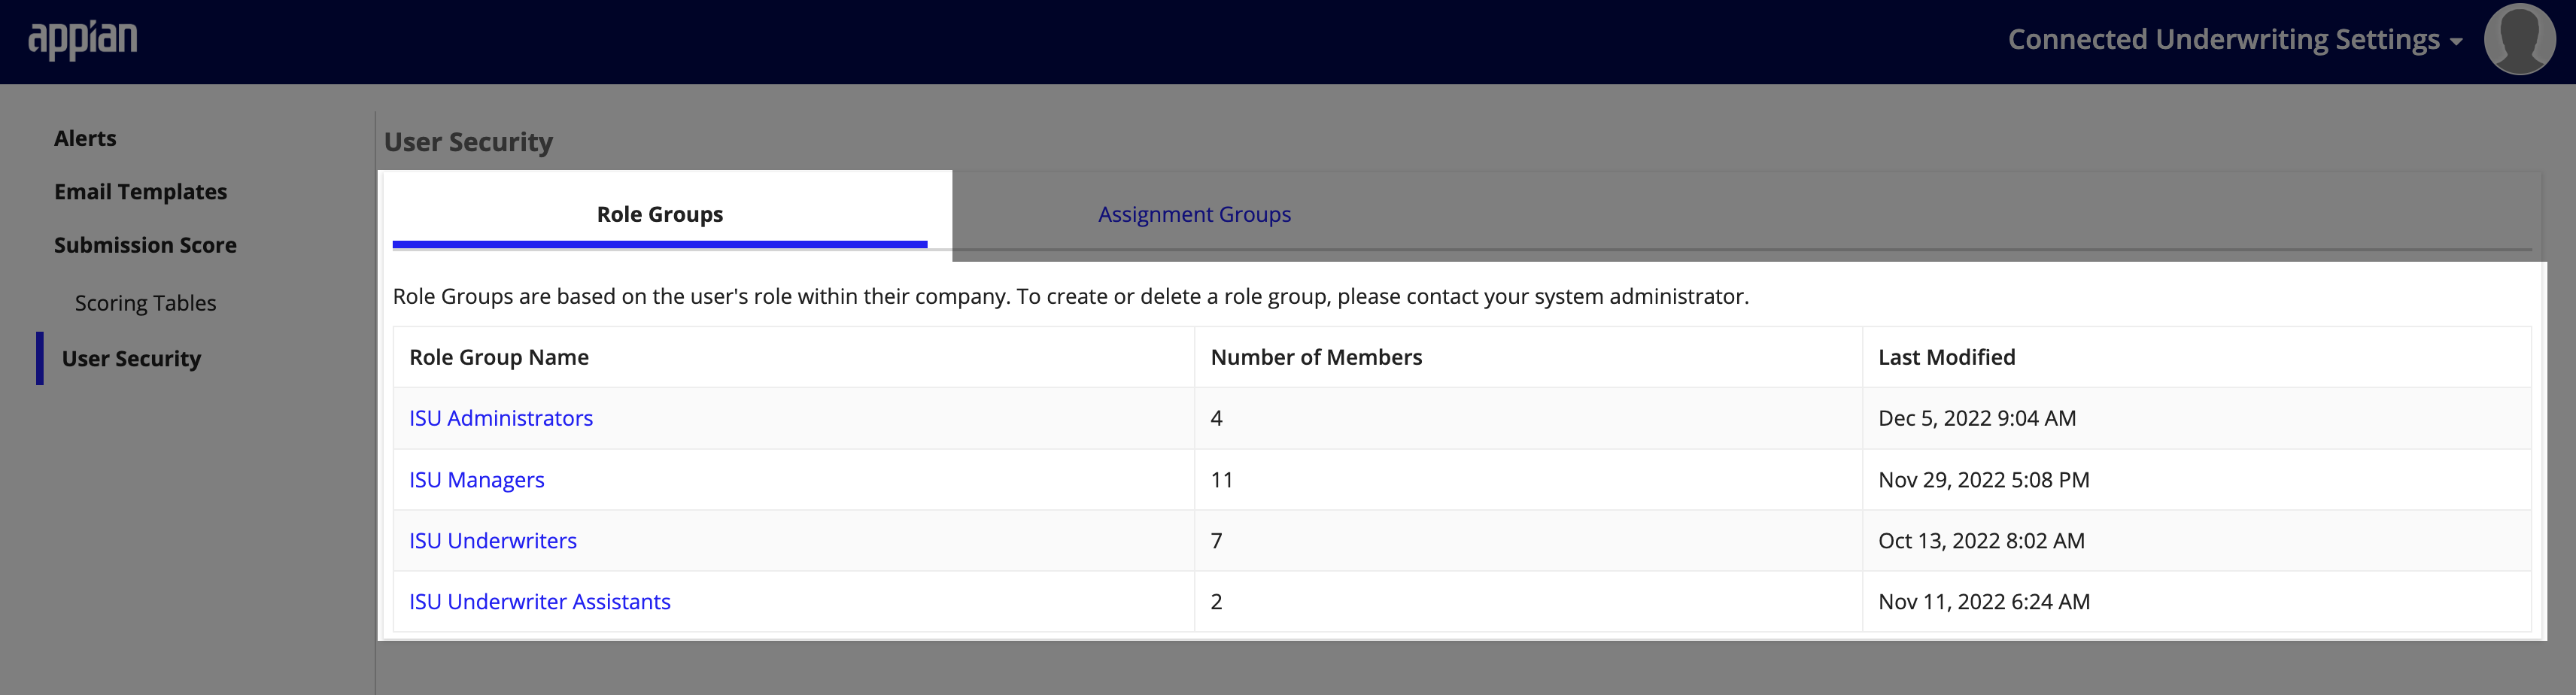
Business users with the appropriate group membership can easily view all groups and members in any group in your organization.
To view current groups:
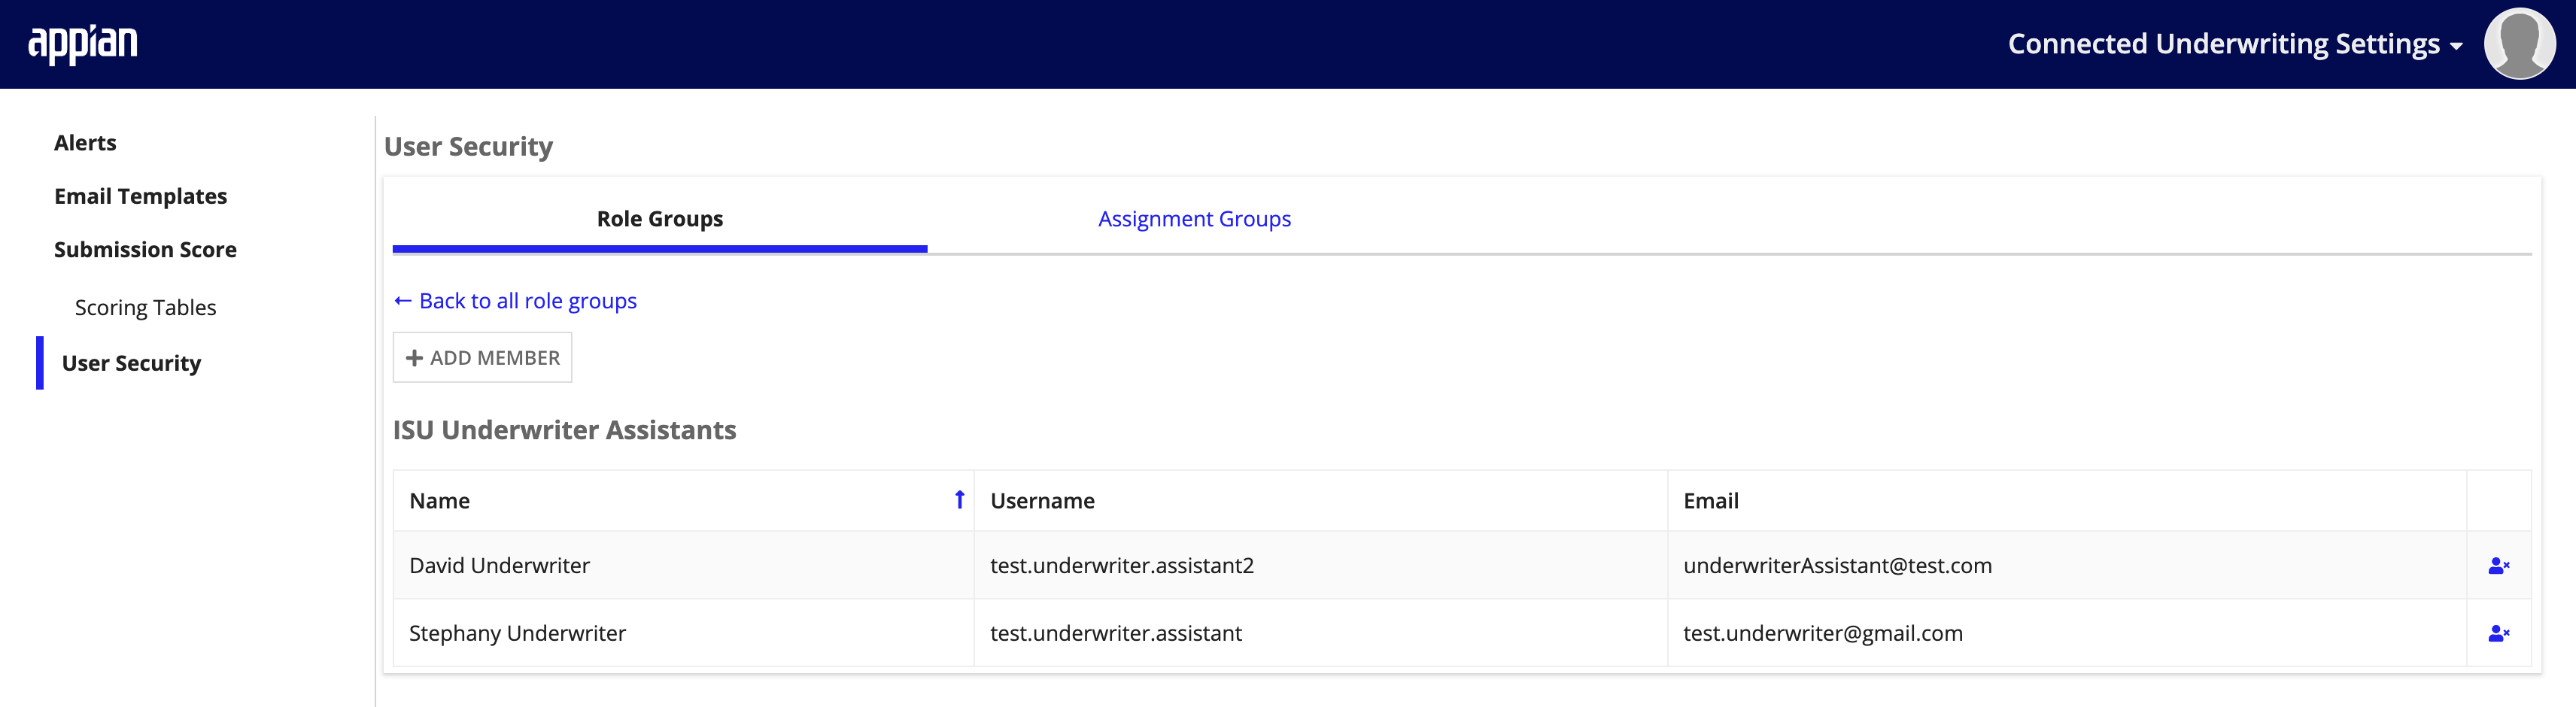
Managing group membership is easy. You can add existing users to a group, and remove members that no longer have access to a particular group.
To add an existing user to a group:
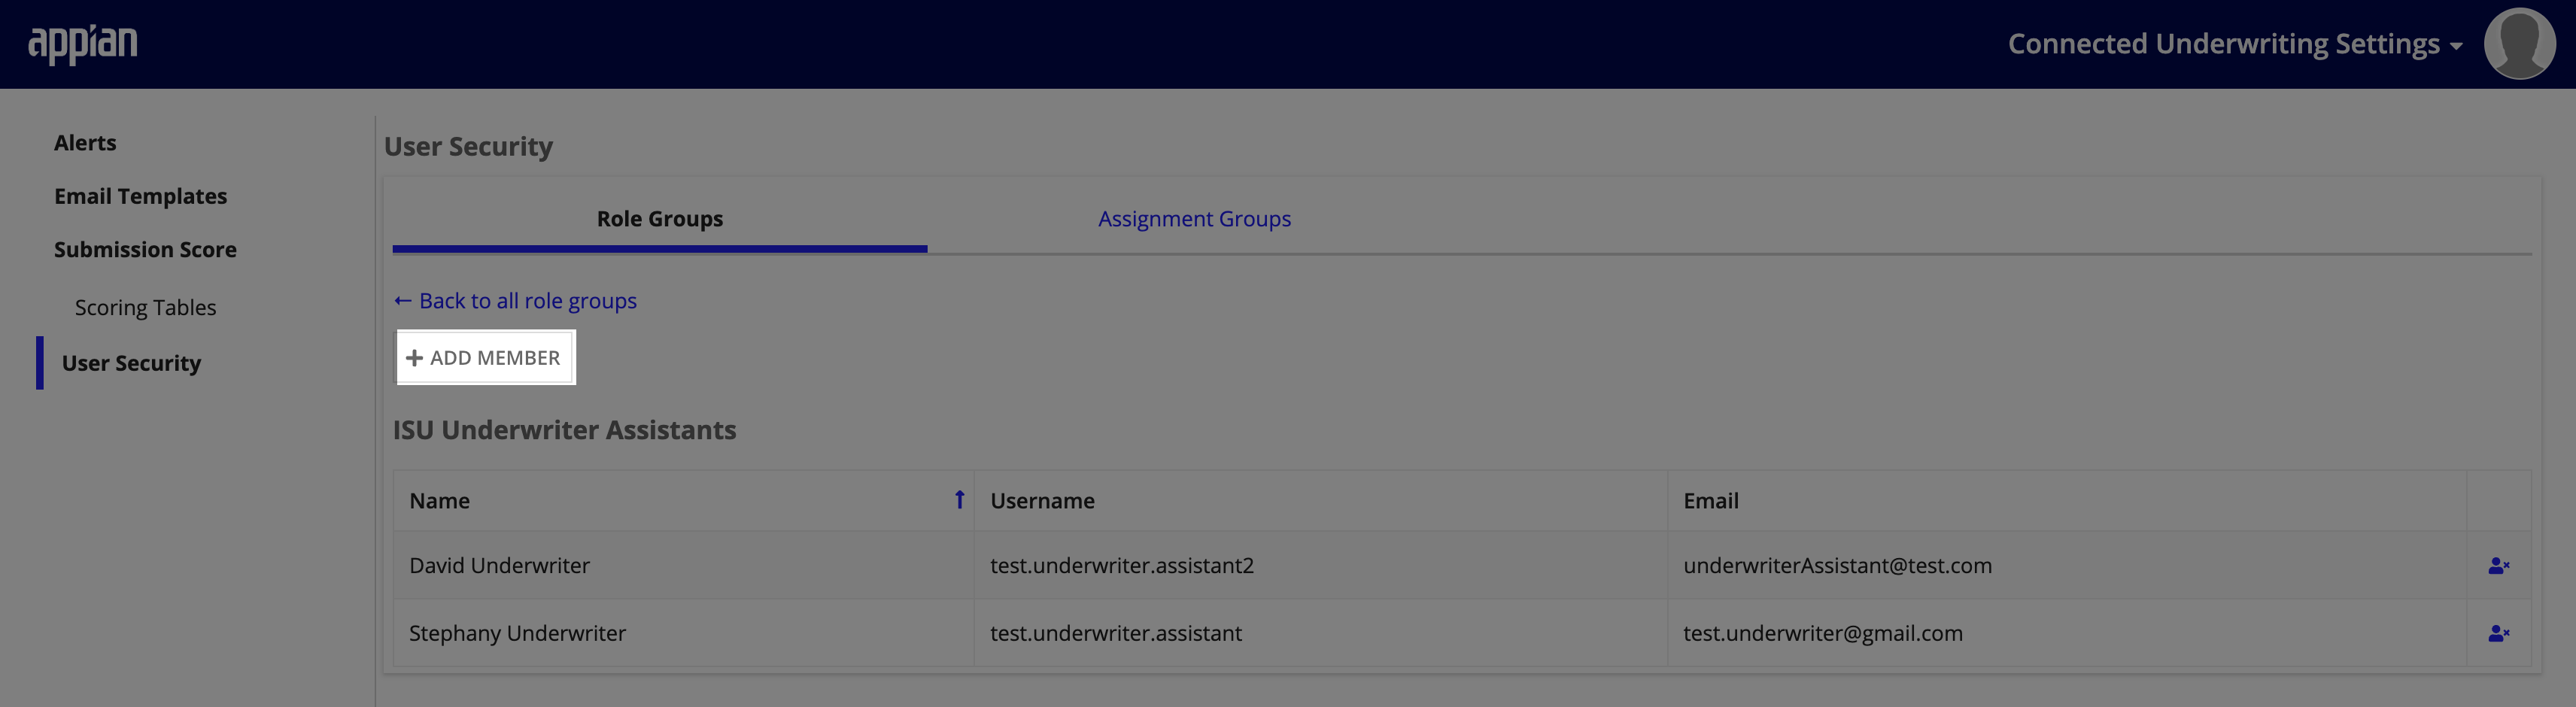
To remove a member from a group:
Assignment groups determine which users can be assigned submissions. Once created, assignment groups can be selected when reassigning submissions. The solution ships with an ISU Default Assignment Group.
To add an Assignment Group:
Configuring Users and Groups
