
| This content applies solely to Connected Underwriting, which must be purchased separately from the Appian base platform. |
IntroductionCopy link to clipboard
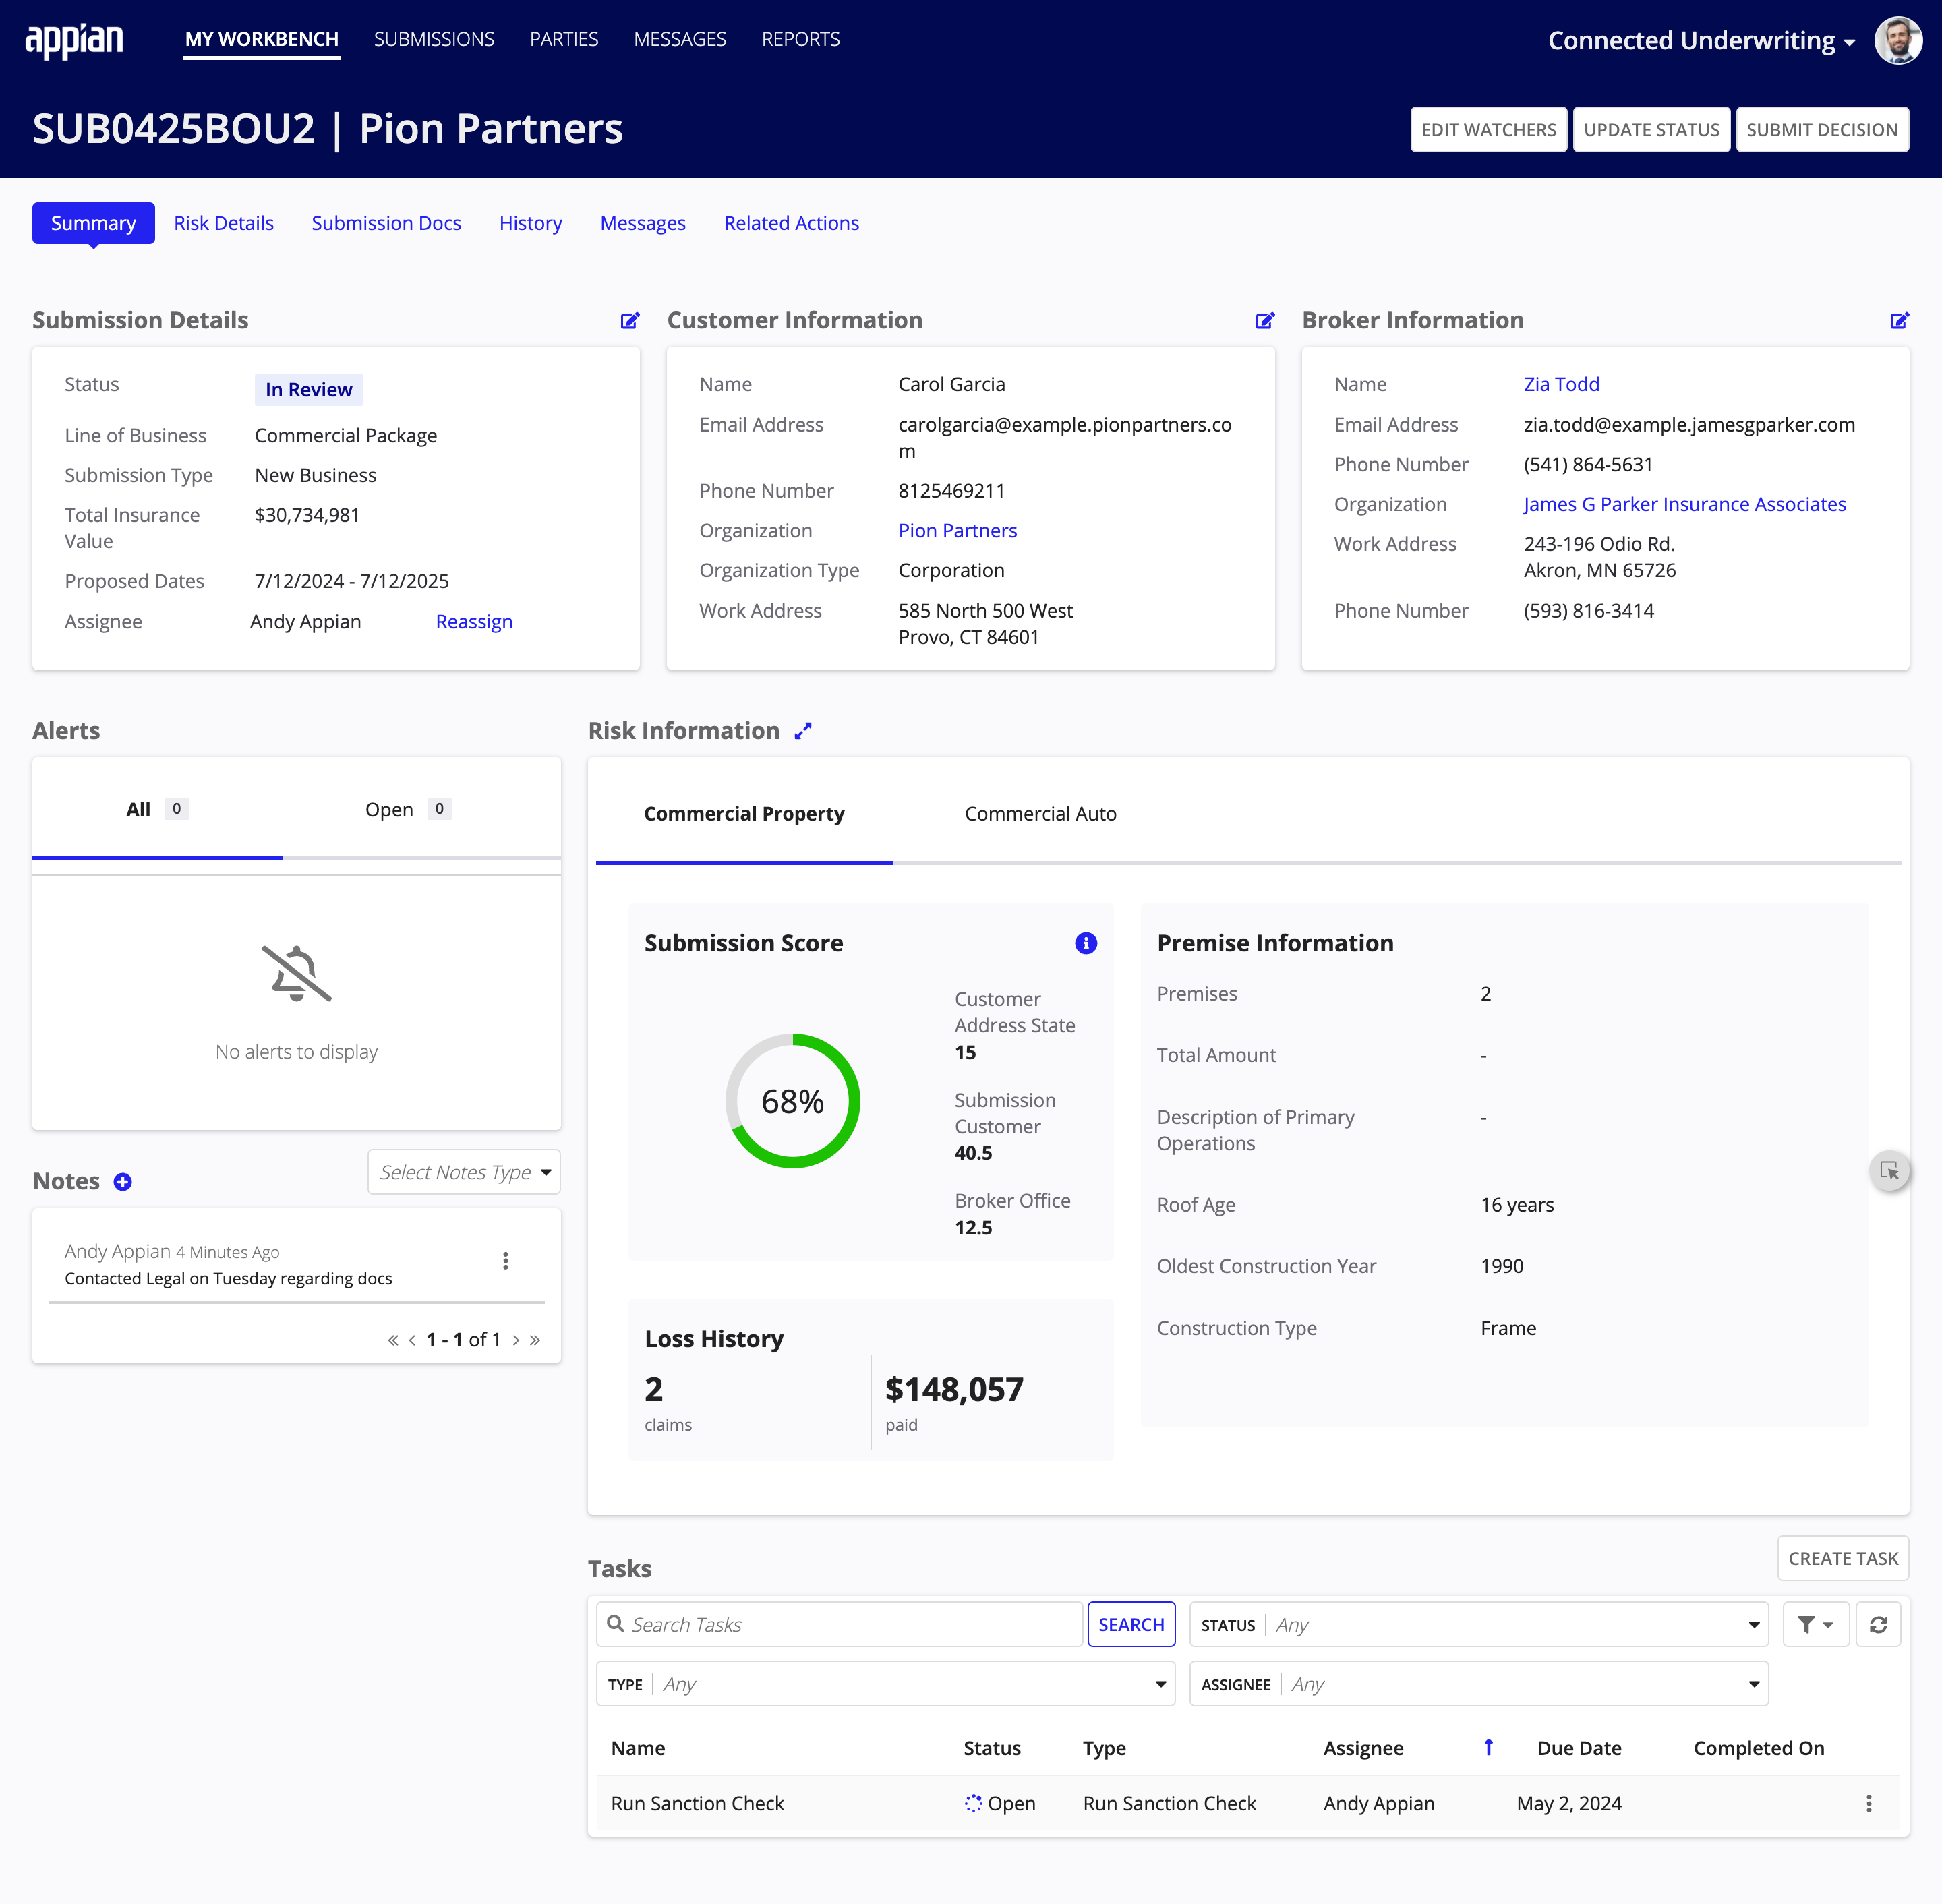
The key element in Connected Underwriting P&C is the Submission. A Submission provides a user with a comprehensive view of the required information gathered by an insurance organization when determining inherent risk when insuring a potential customer.
This page provides instructions for creating a new submission. Instructions for managing existing Submissions are available on the Managing Submissions page.
Creating a new submissionCopy link to clipboard
This guide provides instructions for creating a new Submission as it applies to the out-the-box configuration of Connected Underwriting P&C. These steps will not be accurate if you have modified your application to deviate from standard configuration.
Connected Underwriting P&C supports two ways to create new Submissions directly in the solution:
- Manually
- Via email
Moreover, installing and configuring the Authenticated Broker Portal to work with your Connected Underwriting P&C solution enables brokers to manually create Submissions in the portal.
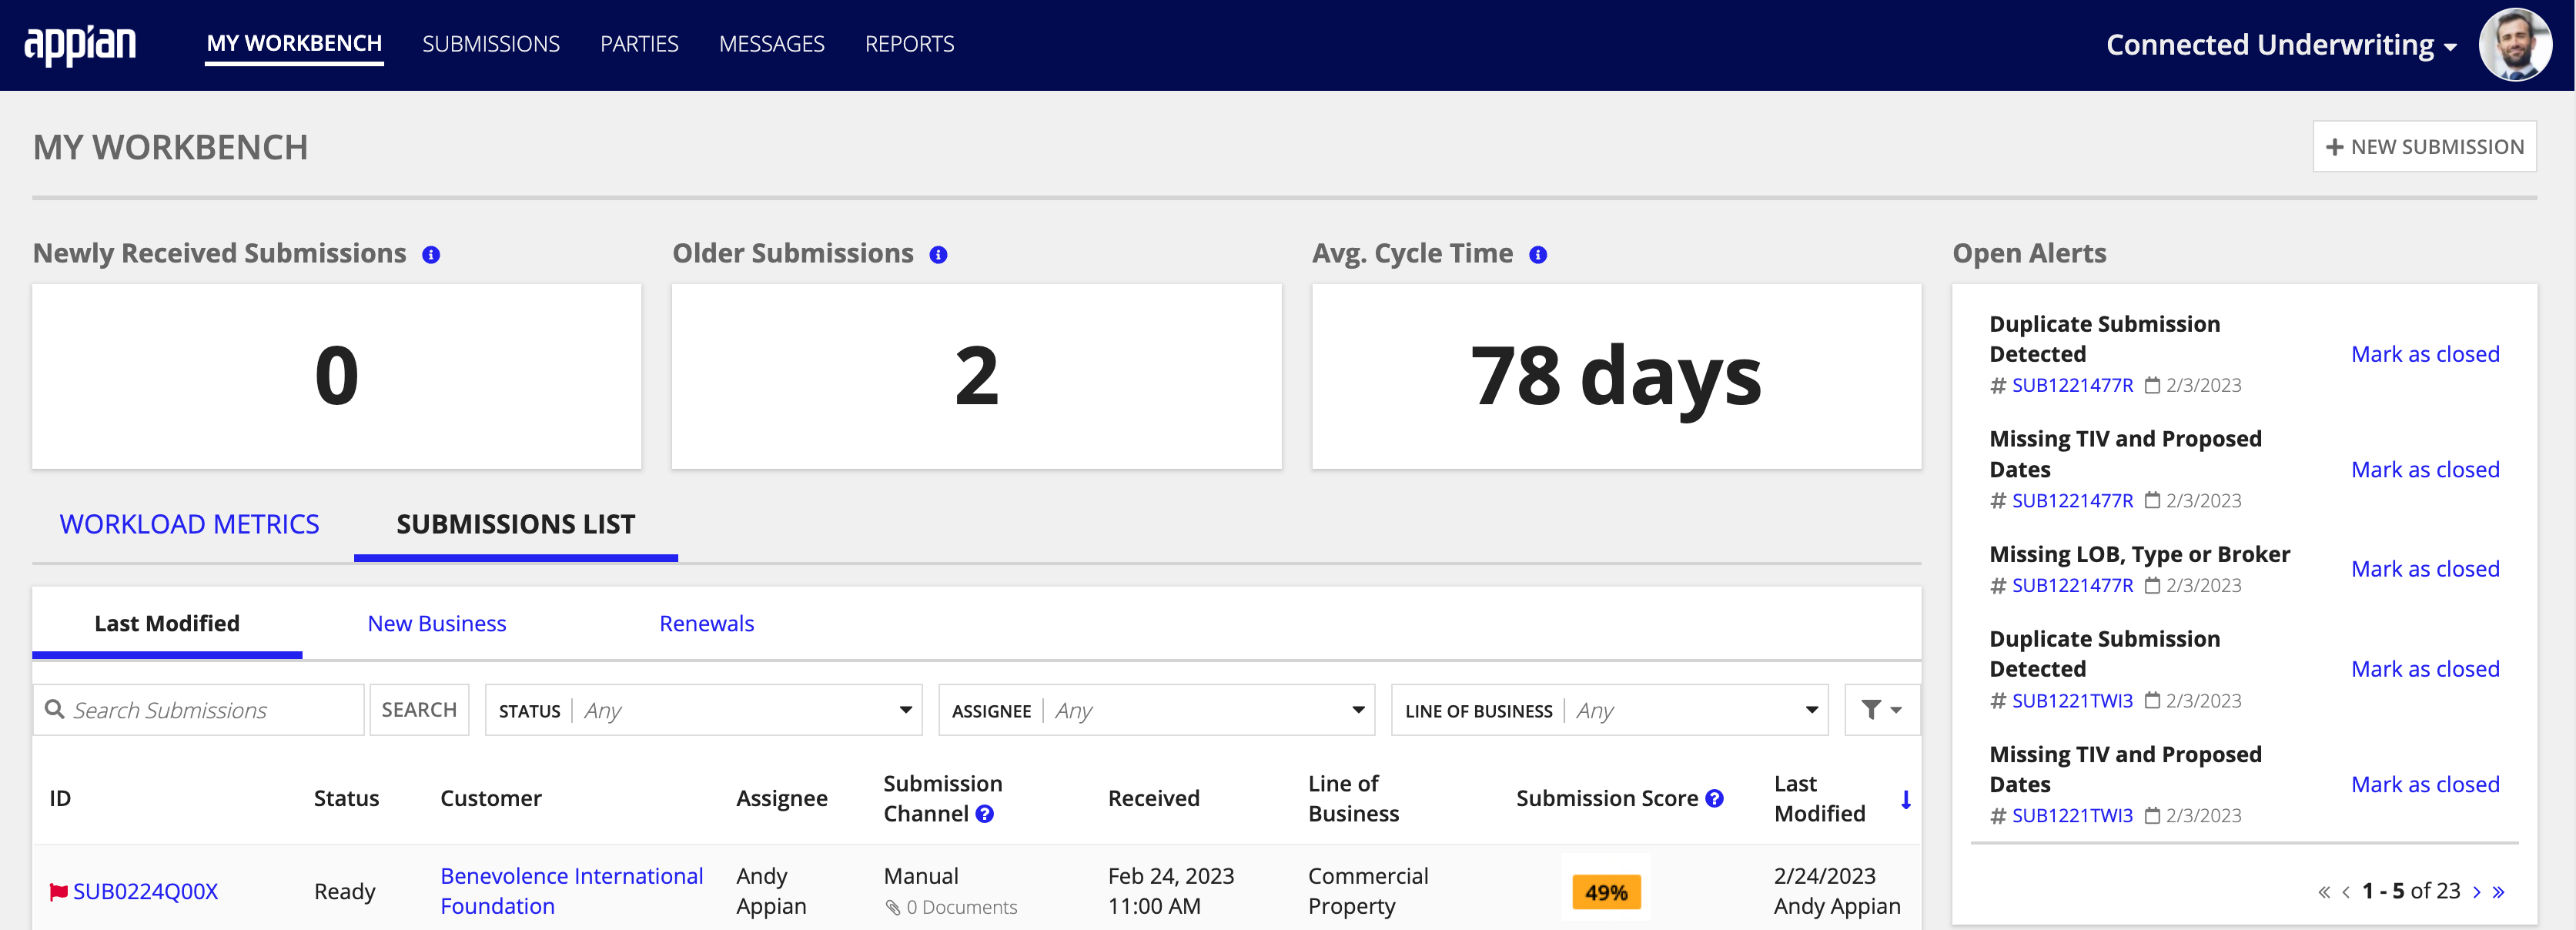
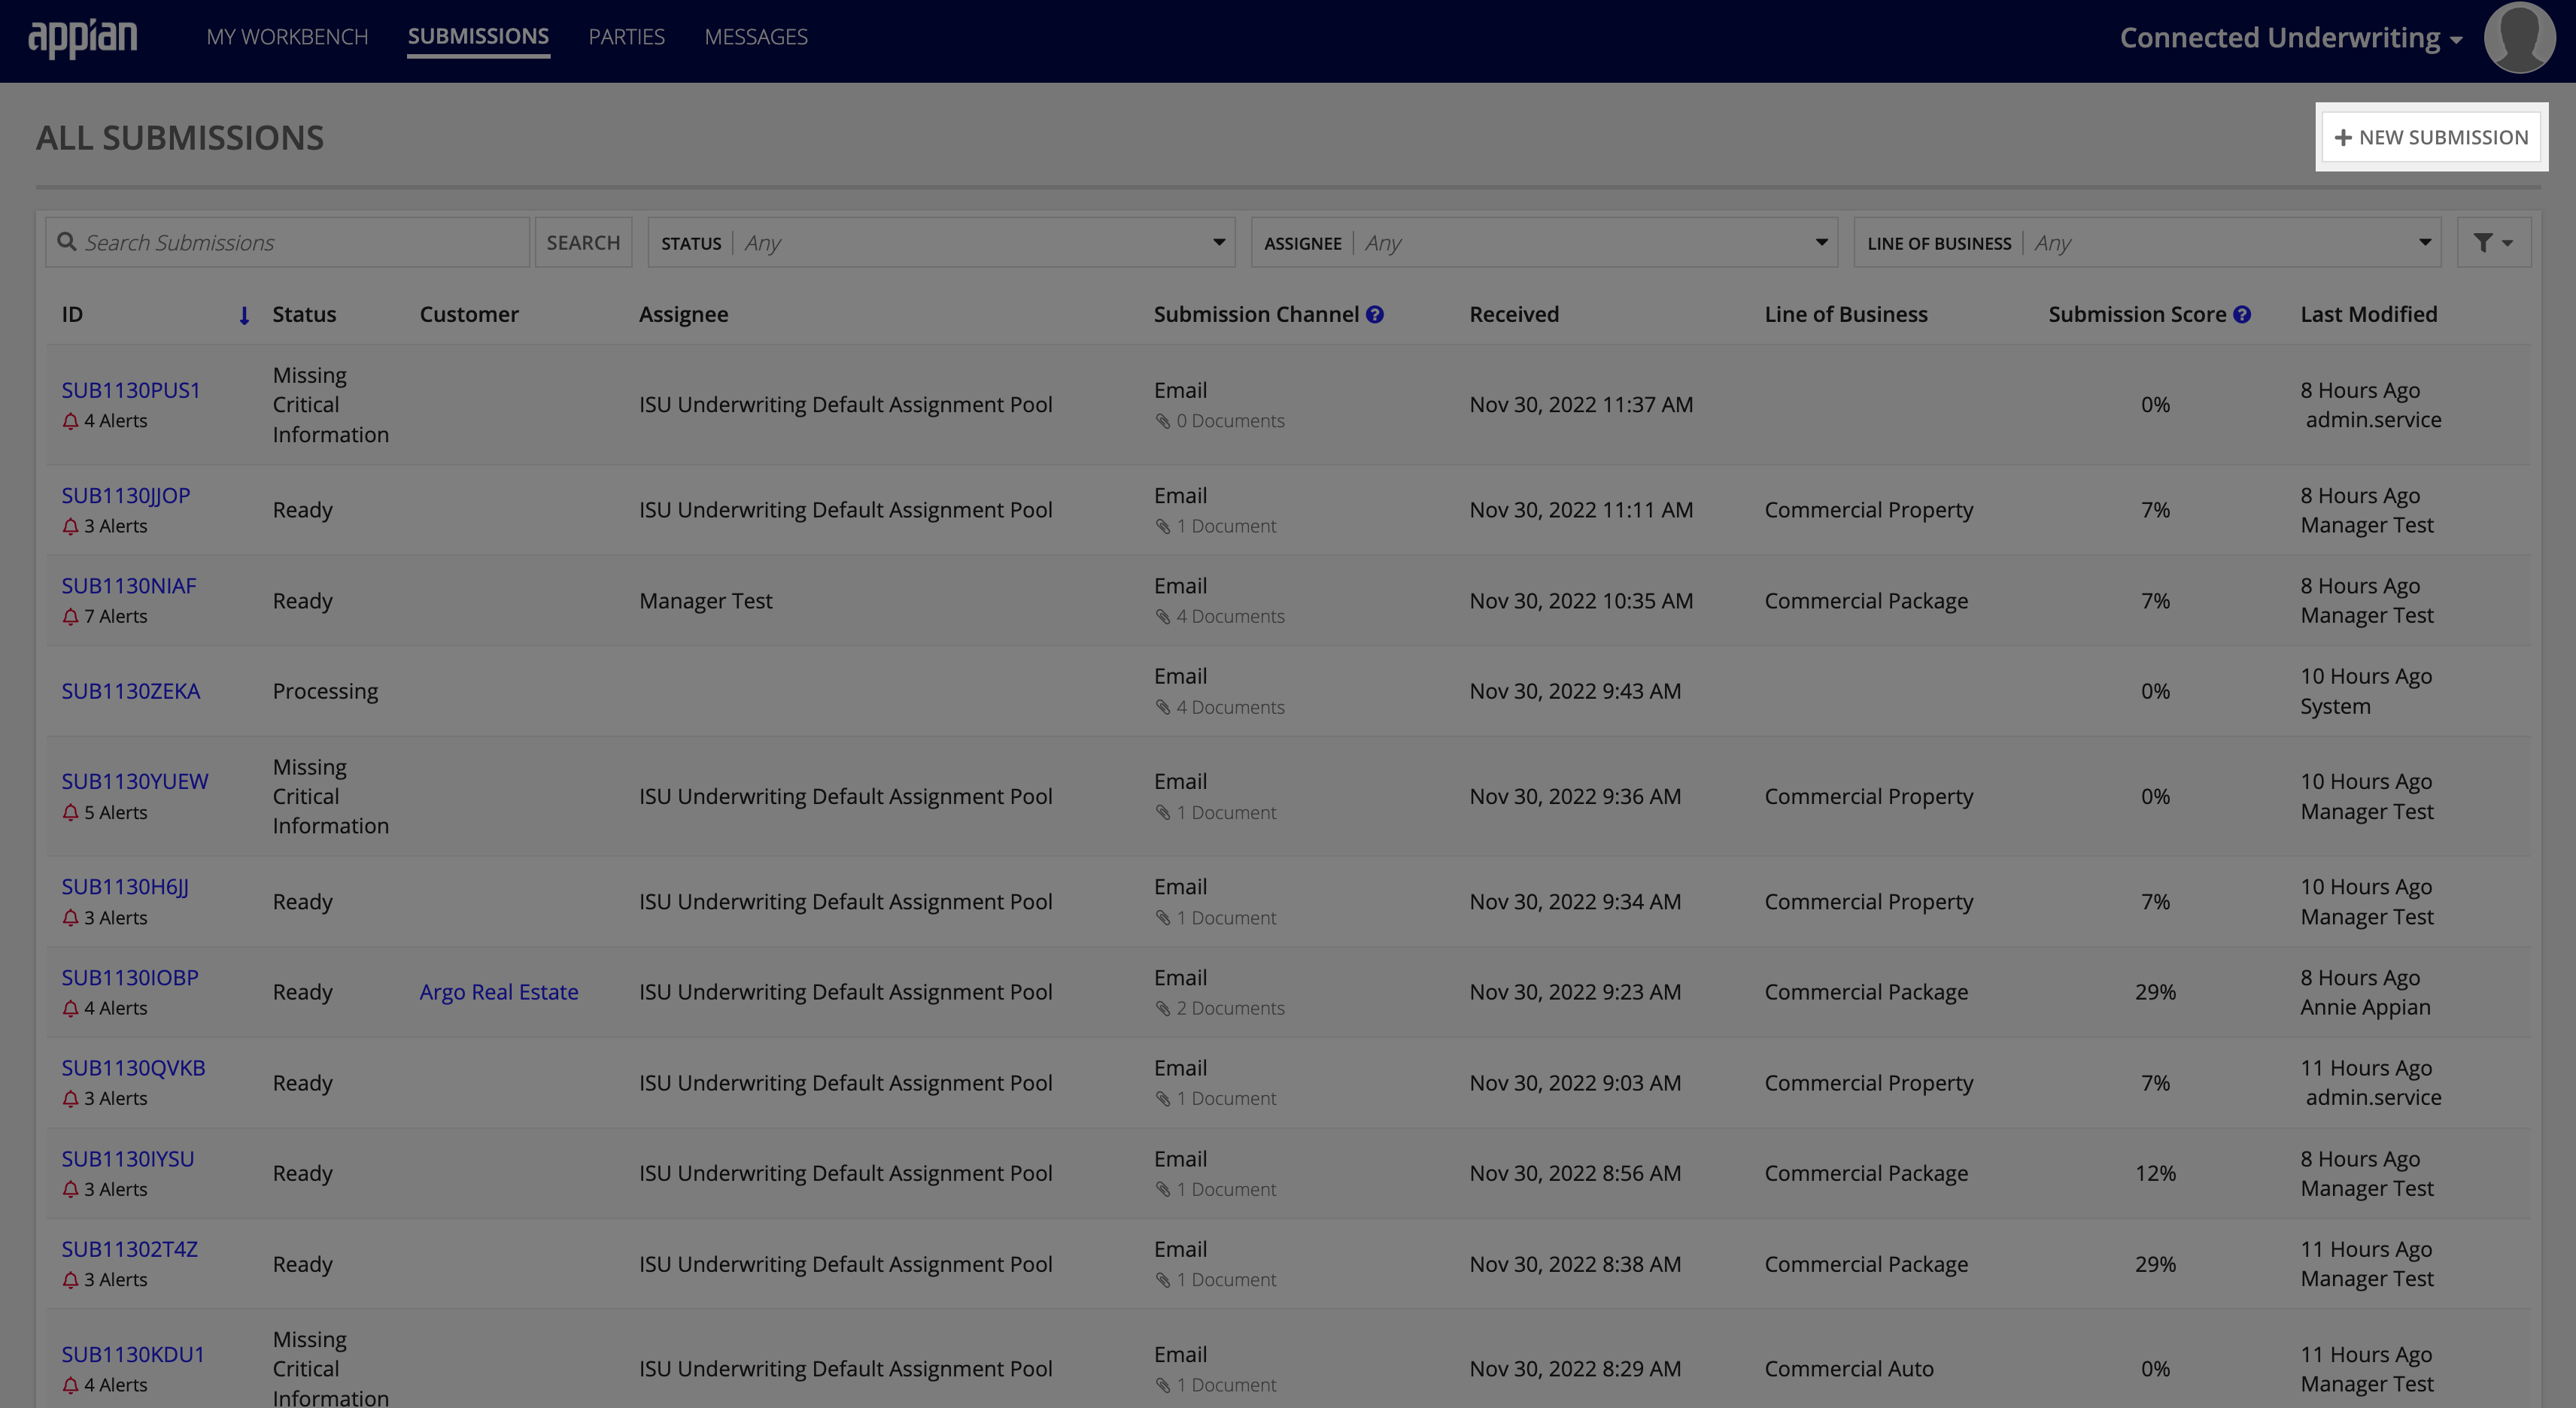
Note: Regardless of the way a Submission was created, all new Submissions will show in the ALL SUBMISSIONS table on the Submissions dashboard.
Manually creating a new submissionCopy link to clipboard
The following steps walk you through the process of manually entering Submission information pertinent to the underwriting process. The information entered on a Submission item will also inform connected items, like customers, brokers, and broker offices.
A new submission can be created from two locations:
- My Workbench: Click the NEW SUBMISSION button.
-
Submissions Dashboard: Click SUBMISSIONS on the navigation bar, then click the NEW SUBMISSION button.
To create a new submission:
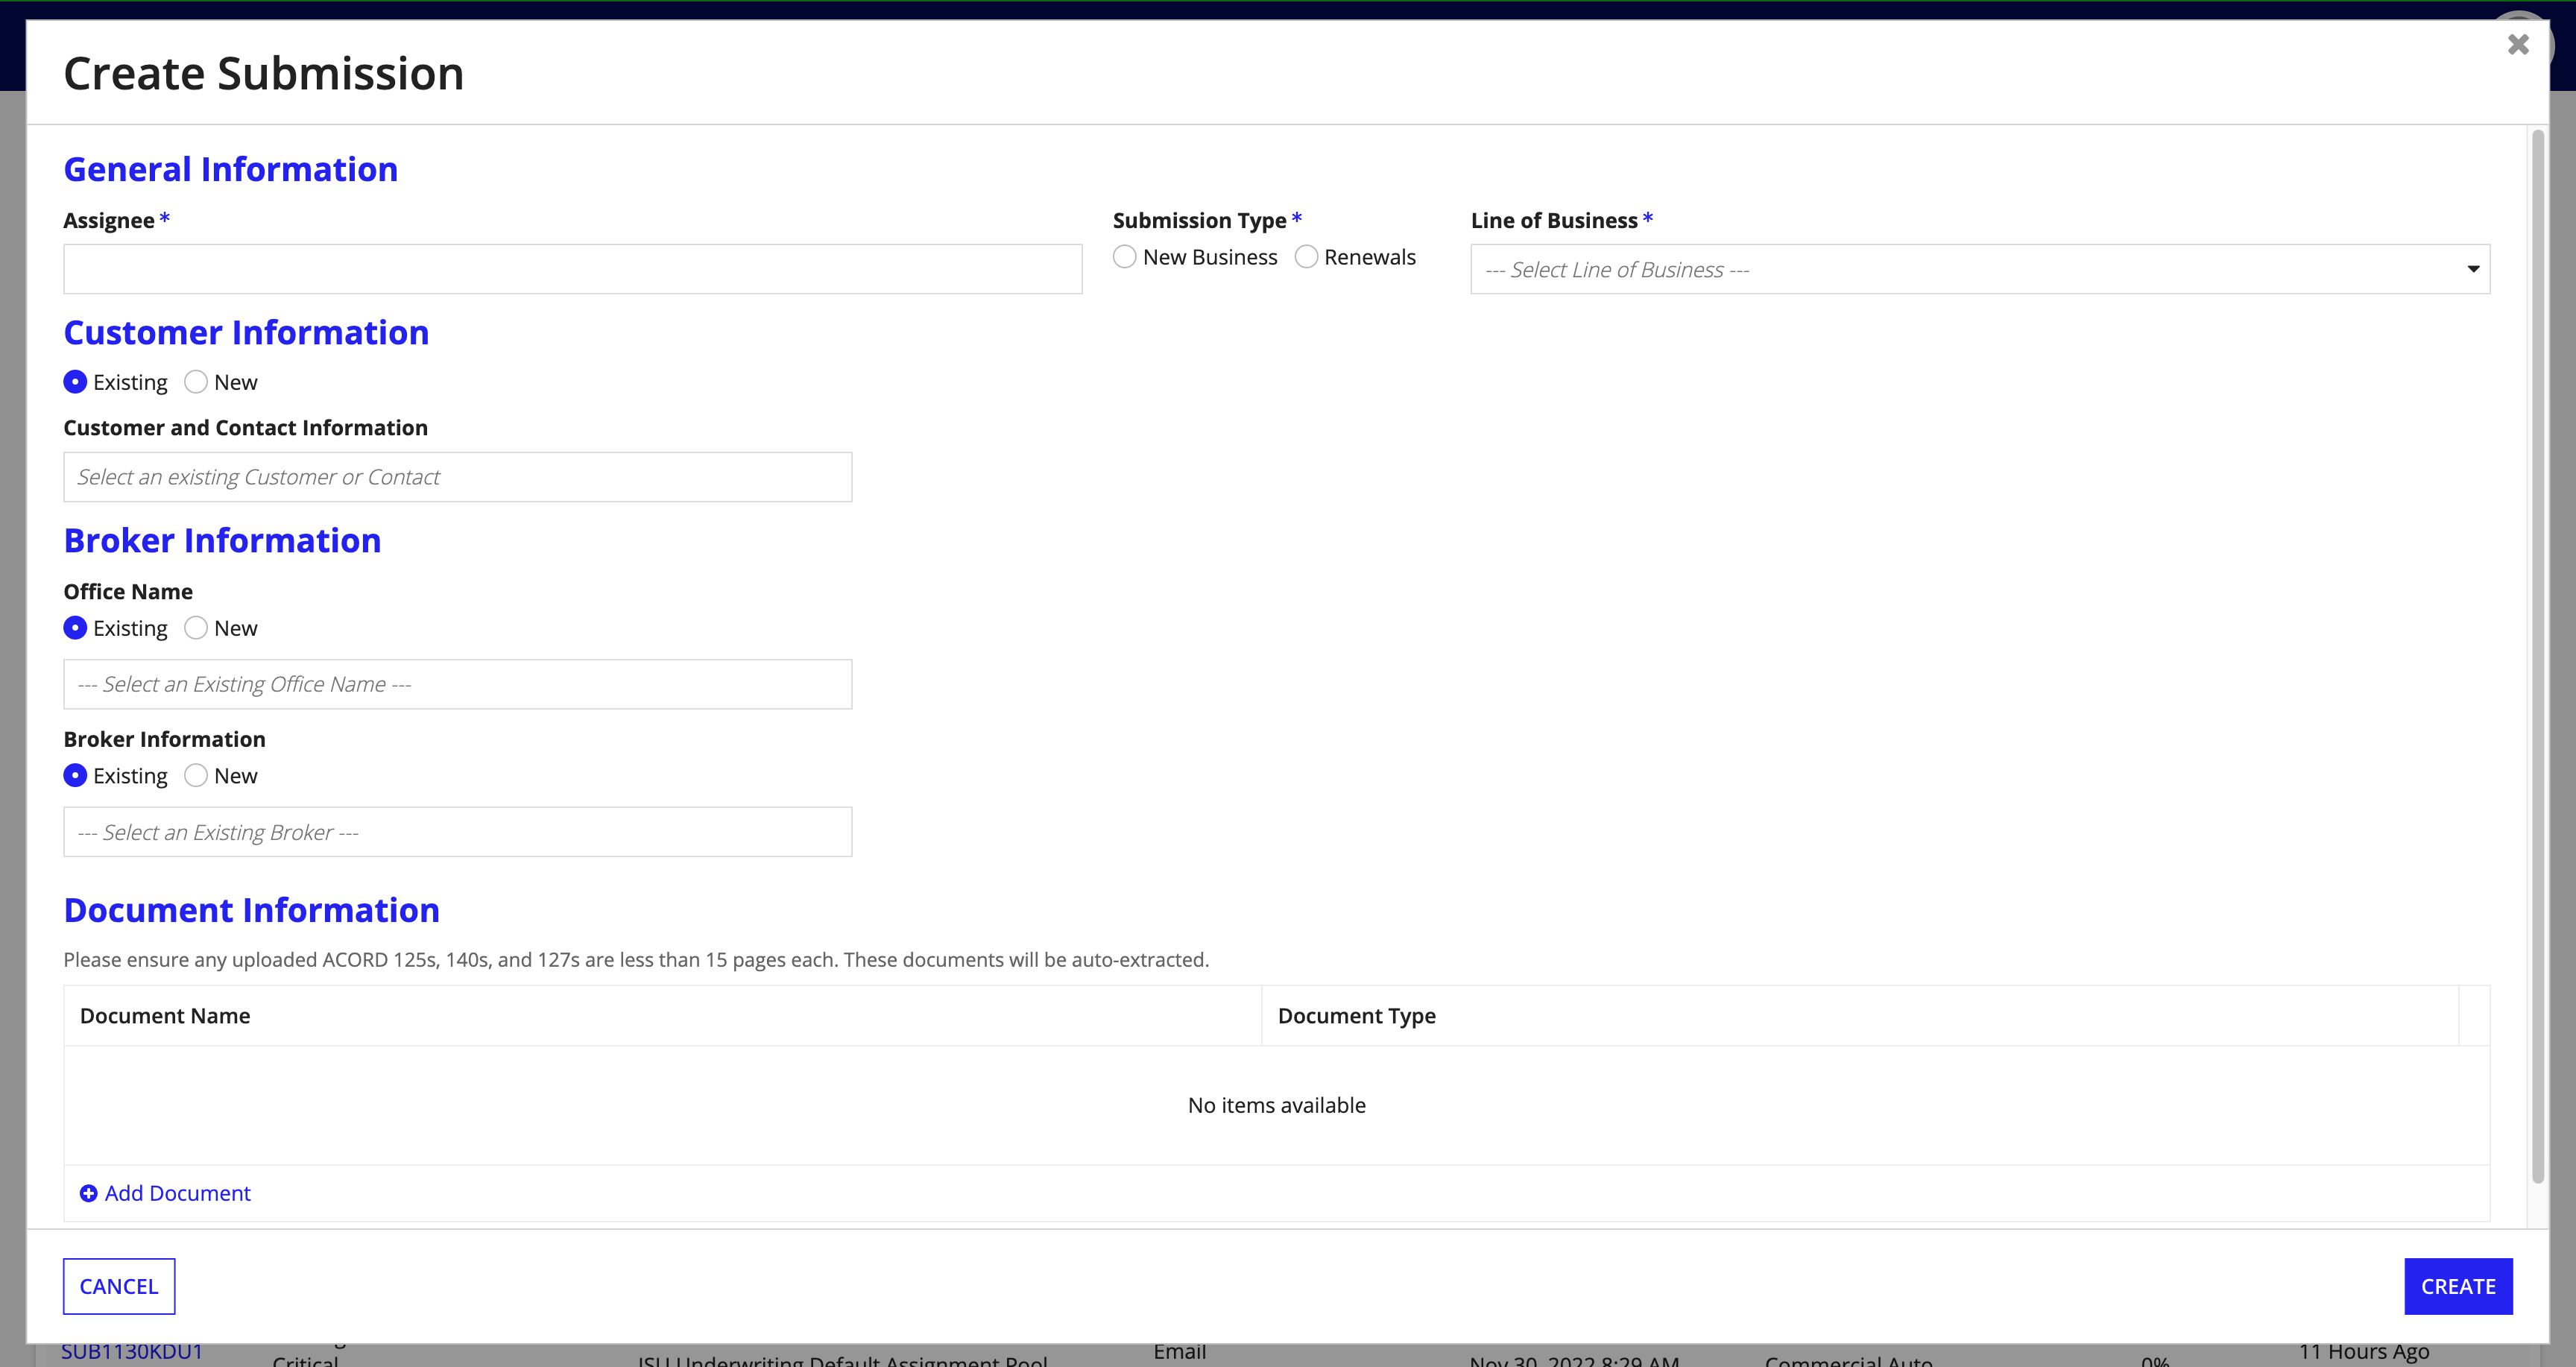
- From My Workbench or the Submissions dashboard, click NEW SUBMISSION. This will present the Create Submission form.
-
Complete the General Information section:
- Assignee: The user who will be responsible for completing the Submission.
- Submission Type: The type of Submission is either for a New Business or an existing business Renewal.
- Line of Business: The type of insurance coverage being applied for.
-
Complete the Customer Information section:
- Select whether a customer is new or existing. Existing customers will be available to select from the dropdown list.
-
Complete the Broker Information section.
- Select whether a broker and broker office are new or existing. Existing brokers and broker offices will be available to select from the dropdown list.
- Upload any required documentation by clicking Add Document, then selecting the appropriate file and selecting the file type from the Document Type dropdown list.
- Click CREATE.
- The assignee and broker will receive a message confirming the Submission was created successfully. Click CLOSE.

Creating a new submission by emailCopy link to clipboard
Often insurance organizations rely on a shared inbox to accept submissions emailed by brokers. If an organization has set up an email poller within Connected Underwriting P&C to manage their incoming submissions, they can also create submissions automatically from incoming emails. See Installing Connected Underwriting P&C for more information.
A new submission can be created from a shared box if an email adheres to the following properties:
- The email does not contain a Submission ID in the subject line.
- The email contains an ACORD 125: Applicant Information section.
If both of the above properties are true, Connected Underwriting P&C will automatically create a Submission ID and email the broker with a confirmation email. The new submission proceeds to a Processing status.

In order to continue to populate the newly-created Submission, proceed to the Workbench > Exception Queue > Reconciliation tab and reconcile the appropriate forms for that submission. For more information about document extraction reconciliation, visit the My Workbench page or IDP Reconciliation page.