| This content applies solely to Connected Underwriting, which must be purchased separately from the Appian base platform. |
IntroductionCopy link to clipboard
Email Templates help underwriters quickly send frequently used messages to brokers about their Submissions. On the Connected Underwriting Settings page, business users can create and edit email templates that underwriters can access when replying to messages.
To configure email templates, access the Email Templates tab of the Connected Underwriting Settings site.

View email templatesCopy link to clipboard
The Email Templates page displays all email templates for Connected Underwriting P&C. To filter the alerts by status, select Active or Inactive in the navigation pane. Any email template that an underwriter can select is active, denoted by a “Yes” in the Active? column. Email templates marked as inactive are not selectable by the underwriter.

To find a specific email template, search by the email template name. You can also sort by the date last modified.

Create email templatesCopy link to clipboard
After installing Connected Underwriting P&C, new email templates will need to be added if users want underwriters to have access to them.

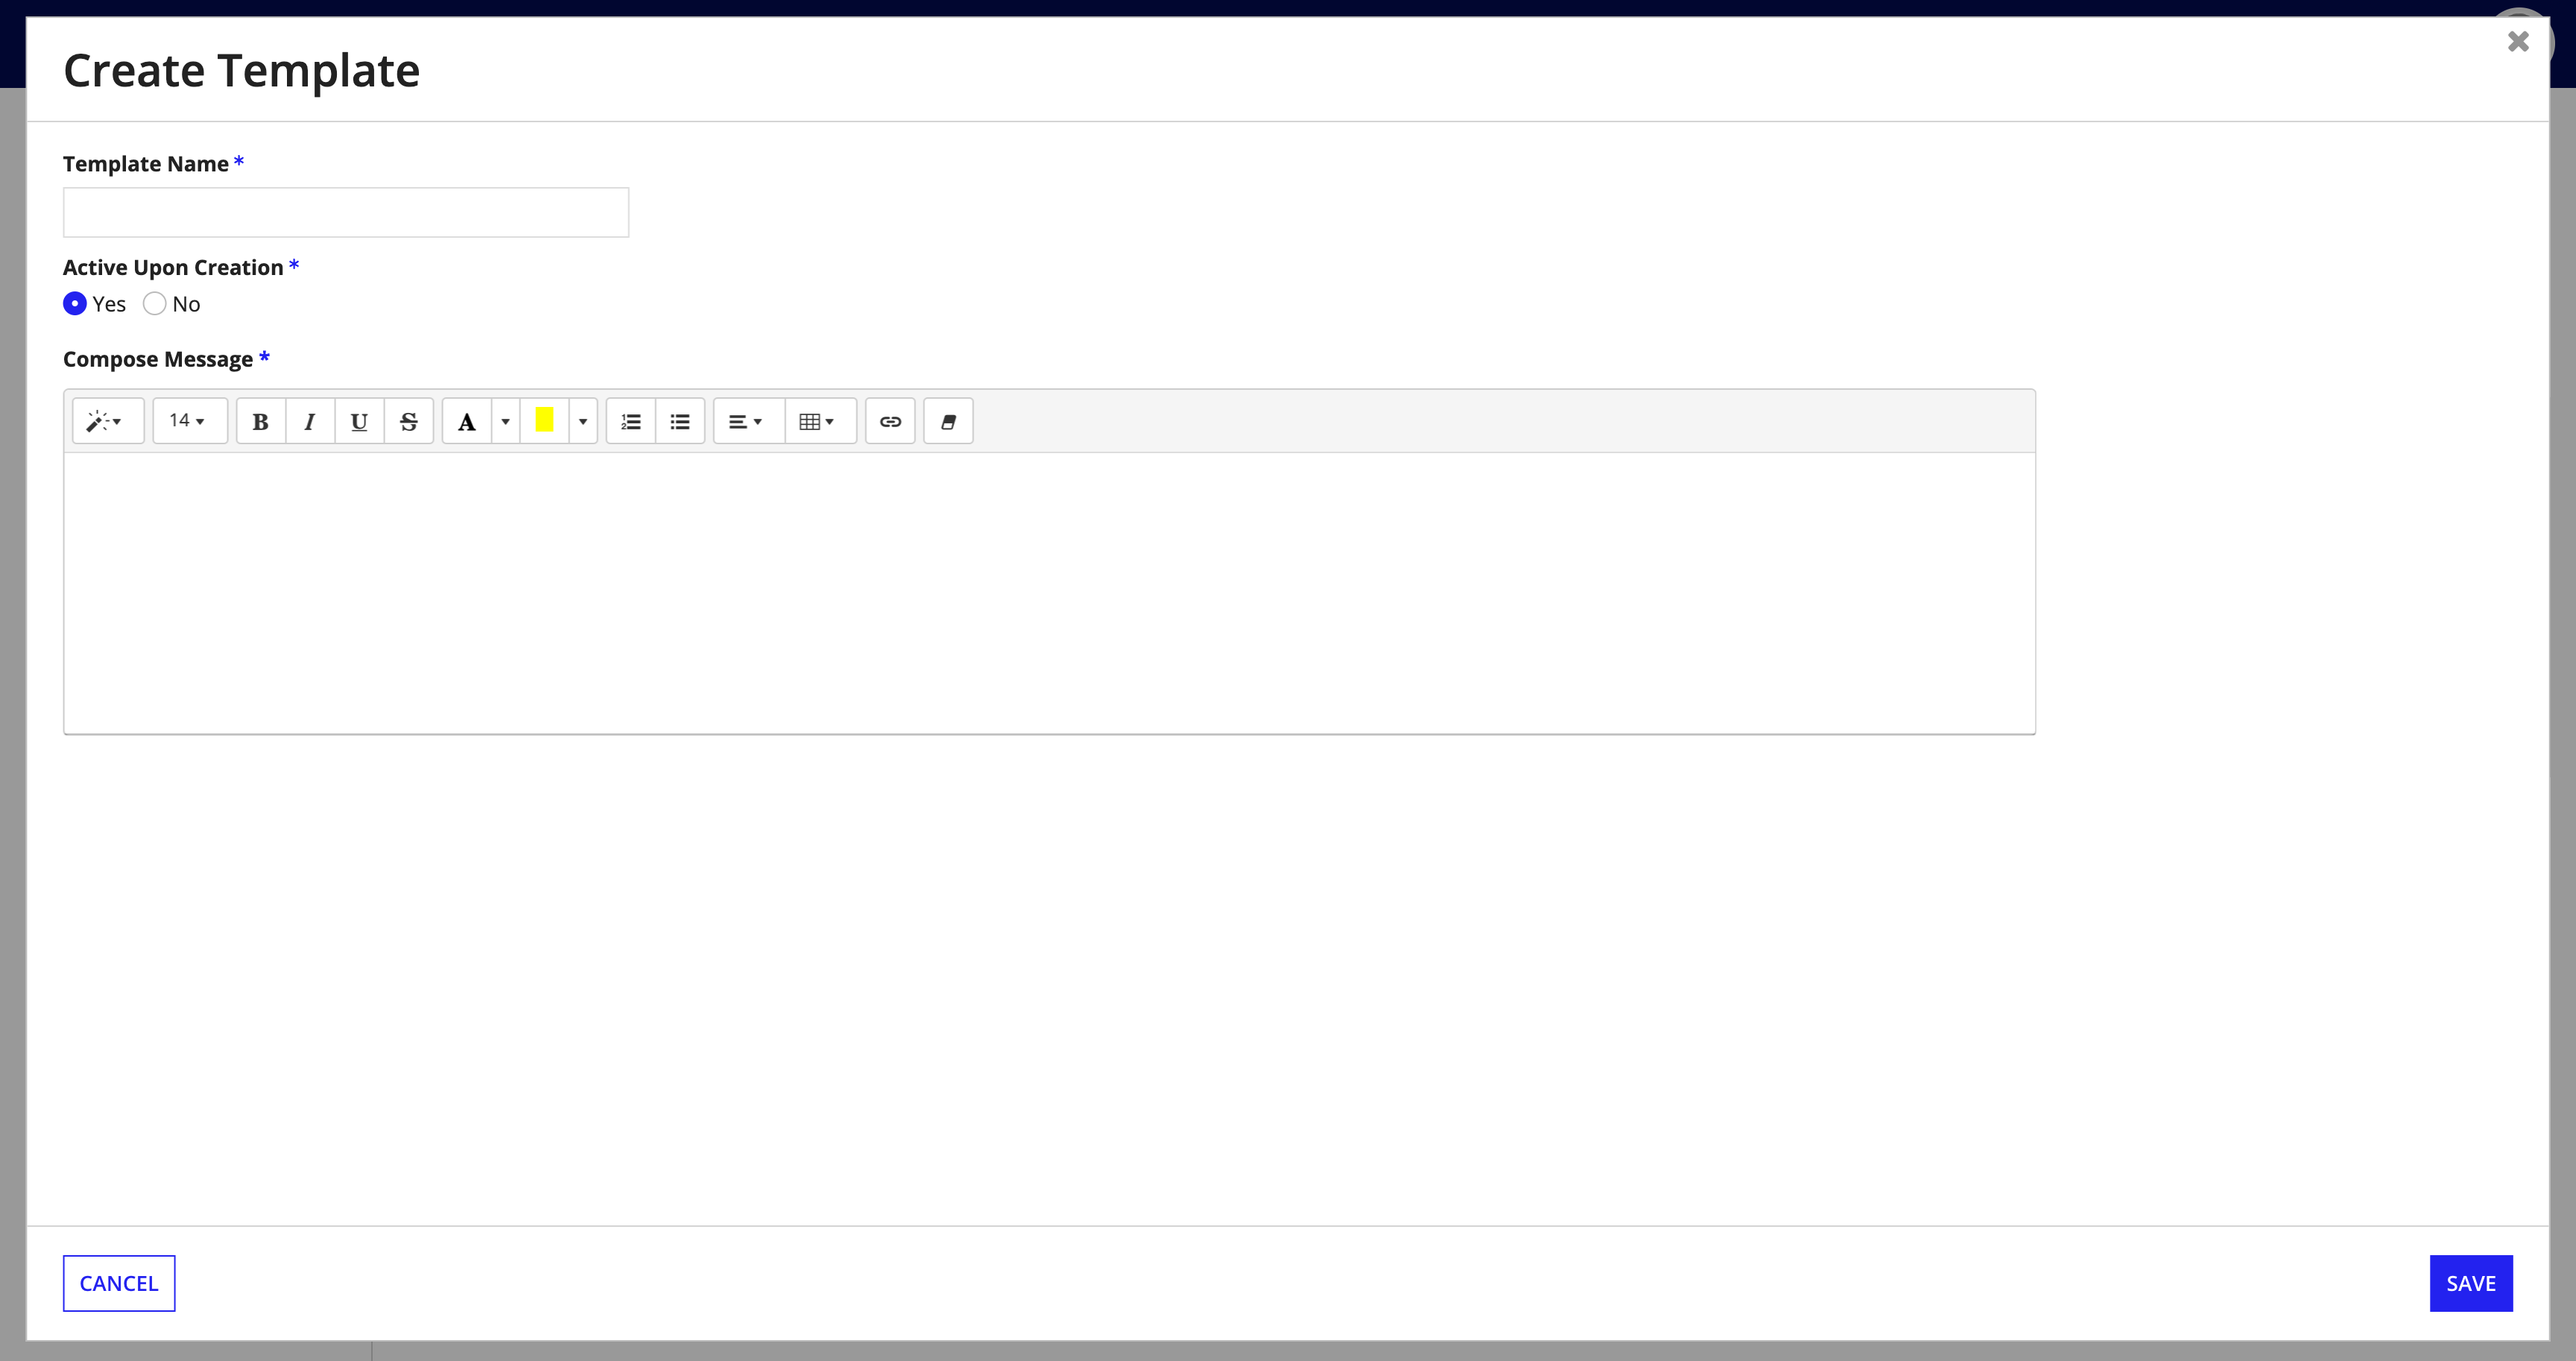
To create a new email template:
- From the Email Templates page, click CREATE TEMPLATE.
- Enter a Template Name
- Select whether the template will be Active Upon Creation.
- Enter a message in the Compose Message field.
- Click SAVE.

Manage email templatesCopy link to clipboard
Managers and admins can update, clone, delete, and mark templates as active or inactive from the record action menu.

To perform an action on an email template:
- On the email template you want to impact, click
- Select Update Template, Clone template, Mark as active/inactive, or Delete template.
-
Depending on your selection, complete the following action:
- Update Template: Edit the Template Name and message, as needed. Click SAVE.
- Clone template: Edit the Template Name and message as needed. Click SAVE.
- Mark as active/inactive: No further action required.
- Delete template: Click DELETE to confirm deletion.
