| This content applies solely to Connected Onboarding, which must be purchased separately from the Appian base platform. This content was written for Appian 23.1 and may not reflect the interfaces or functionality of other Appian versions. |
After installing Connected Onboarding, there are several configurations you will likely perform to customize the solution for your organization's processes. In order to make sure your solution remains flexible, scalable, and aligns with best practices, we have provided instructions to guide you through some of the most common configurations.
This page outlines the order we recommend for configuring the default solution to work for your organization after completing the installation process. However, all of these instructions can be used to modify the solution at any time.
Note: Updates in Appian Designer should be done with caution by someone familiar with Appian development.
To make sure you always have the default interfaces, expression rules, and process models to refer back to, we suggest performing the following steps if you need to customize the solution:
AS_IO_FM_OnboardingSummary_CUSTOM.Tip: Do not create copies of the CDTs. This would require you to update every reference to the CDT in the application. Instead, just modify the default CDTs provided in the application.
Following this paradigm will reduce the time and effort required to upgrade or add an additional Connected FS solution to your environment.
Configuring user groups and security is a good place to start.
You will need to know:
For more information on how to configure groups and security, see the following pages:
The following solution behaviors can be configured by simply updating certain constants:
The create a new Onboarding process consists of the following data-entry steps:
These steps can be modified to fit your organization's processes and data requirements by configuring onboarding values, fields, labels, and validations.
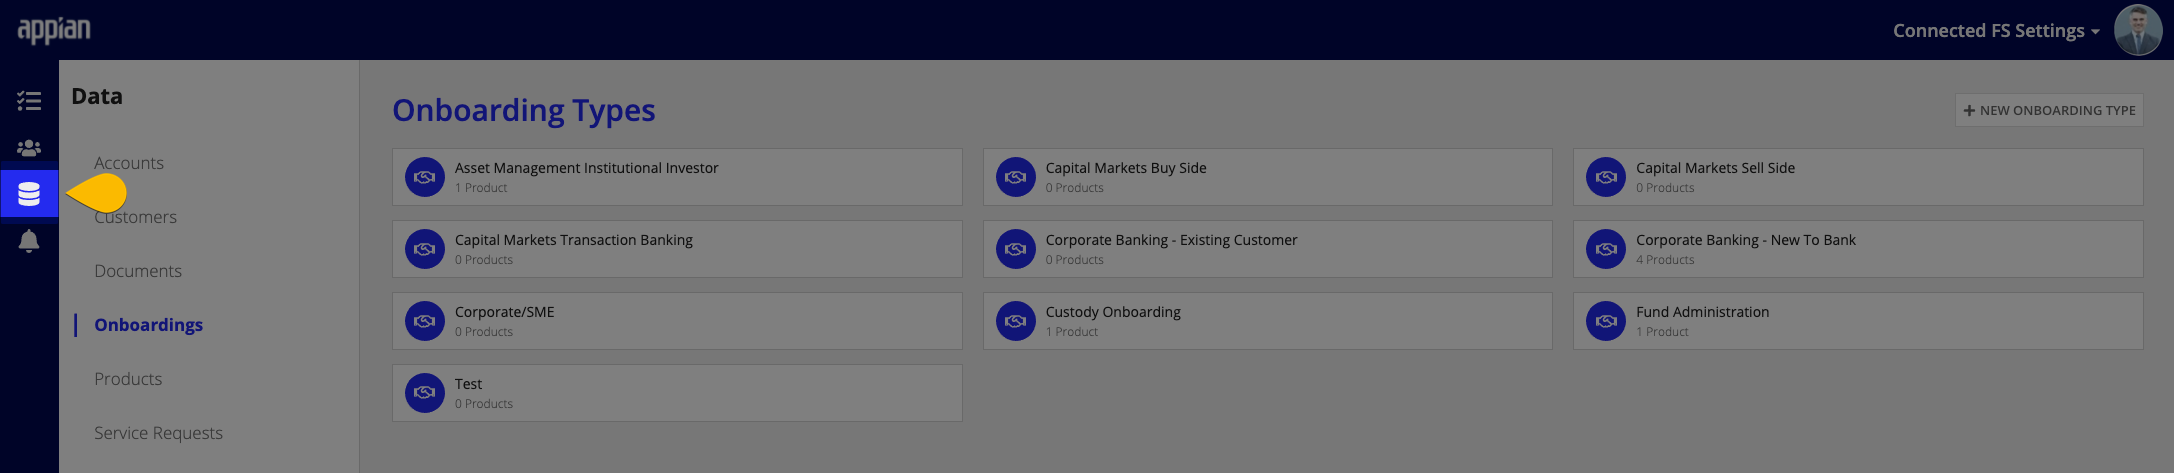
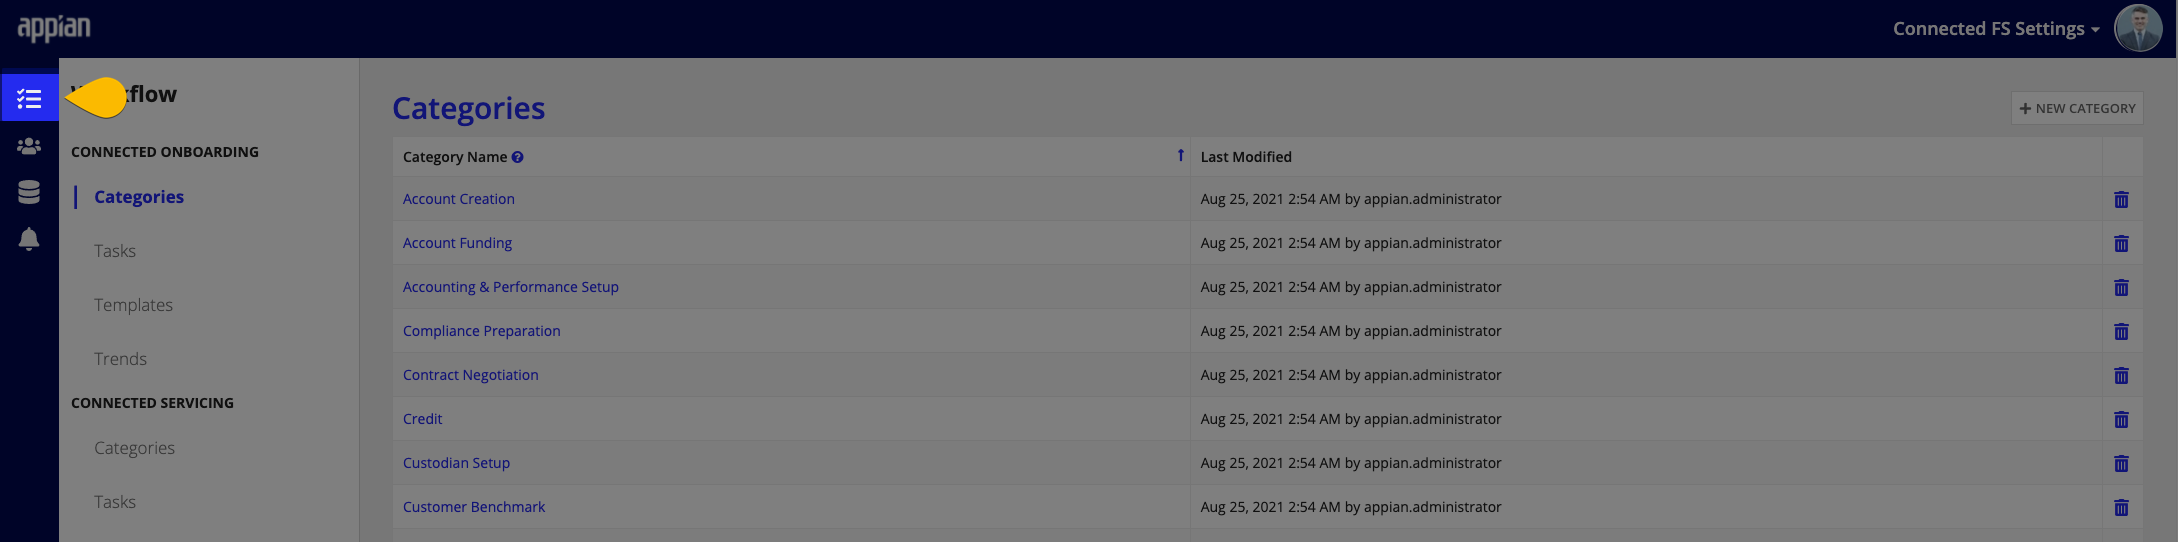
The Create New Onboarding form includes several key dropdown values that allow you to tailor the solution's Onboarding process to match your organization's requirements and needs. In order to adapt Connected Onboarding for your organization, a business user can easily set these values and relationships in the DATA tab of the Connected Onboarding settings page.
A business user will be able to set up:
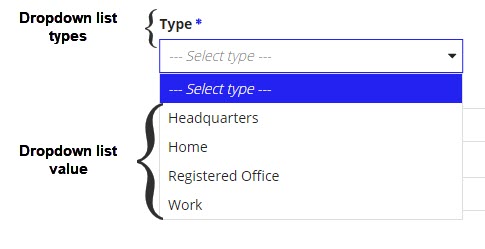
Most dropdown lists that are required for creating an Onboarding can be configured by a front end business user in the Connected FS Settings page. The dropdown lists that cannot be set in the Connected FS Settings page are stored in reference tables. A dropdown list type is how you group dropdown list values, such as Entity or Request Status. You can update these values by updating the reference data tables.
You will need to know:
As long as you haven't loaded any data into the application, deleting unnecessary dropdown list values from the reference data tables should not cause a problem. Solution setup is the only time you should delete any values from reference data tables, and you must do so with care. However, you should never delete the data from a shared table. These include:
AS_FS_R_COUNTRYAS_FS_R_CURRENCYAS_FS_R_DATAAS_FS_R_GLOBAL_INDUSTRY_CLASSAS_FS_R_M_CURRENCYAS_FS_R_REGIONAS_FS_R_STATEThese tables are shared within the Financial Services solutions, were built to work together. If your organization ever decides to use more than one Financial Solution solution, deleting rows from these tables could cause problems. However, adding or editing rows is fine. If you don't need a value from one of these tables, make the value inactive instead of deleting it.
Note: When setting up your solution, do not delete all of the values for a certain dropdown list type. If you do delete a dropdown list type, you will need to remove any references to that dropdown list type in the solution.
For instructions on how to modify these types of reference data, see the following pages:
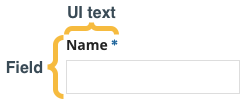
It is likely that the default fields and UI text throughout the create new Onboarding process will not exactly match your organization's requirements. You can configure them to meet your organization's needs.
For each of the create new Onboarding data-entry steps, you will want to know:
For instructions on how to modify fields and UI text, see the following pages:
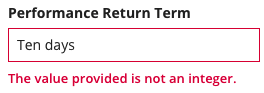
The create new Onboardings process includes many validations by default, including validations that:
Prevent invalid data from being entered into certain fields.
Ensure that all of the required information has been entered for an Onboarding.
The Modifying Field Validations page describes the default validations and how to modify these validations.
After you have configured your application, you can create the Onboarding process templates to be used during the create new Onboarding process. The Onboarding process templates determine which tasks will be assigned by default for each new Onboarding that is created.
You will need to understand your organization's current Onboarding processes including:
Before you create any templates, you will need to set up the attributes that will be used to select an Onboarding template. The out-of-the-box, Onboarding templates selected are based on the Onboarding Type and Region of the Onboarding. See the Solutions Hub User Guide for instructions on how to customize these attributes. See Template Selection Attributes.
You will also need to confirm which key dates the task due dates should be based on. By default, the task due dates are based off of the Onboarding's target due date. You can modify key dates that are available for calculating task due dates.
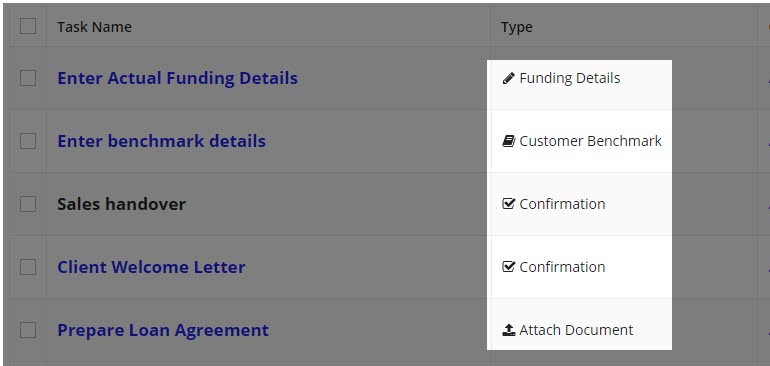
When users create new tasks, they can choose from attach document, review, confirmation. If you need different types of tasks, you can add new automated or data entry task types. See Adding a New Task Type for instructions.
See Setting Up Onboarding Workflows for more information, including how to manage task categories, tasks, and Onboarding templates.
You can migrate data into Connected Onboarding from other systems that your organization is using. This process is generally very unique and has its own nuances that depend on many factors.
Migrating Data provides the general steps to move customers, documents, accounts, and products into Connected Onboarding.
If your organization requires it, you can translate all of the text displayed in interfaces into multiple other languages using bundle files and reference data.
Before you begin, you will need translations for all of the text displayed in the UI.
See the Solutions Hub User Guide for instructions on how to modify UI text, including adding a new language.
Internationalizing the Connected Onboarding application includes:
After you complete the initial setup of the solution, you may want to take advantage of the various capabilities to extend the Connected Onboarding application.
You can use web APIs and integrations to automatically create new Onboardings, classify documents, pull in customer information, and collect signatures.
Many organizations will be able to create new Onboardings automatically by kicking off an Onboarding from another application, such as Salesforce.
See Create Onboarding Web API for information on the web API that is used to facilitate automatic Onboarding creation.
Several integrations are available to be used throughout Connected Onboarding. These integrations need some initial prerequisite set up and minimal configuration in the System Administration Center in order to be used. Using these integrations is completely optional.
The available integrations are:
After setting up your initial CDTs, you may want to go back and track specific fields. You can use auditing to automatically configure this in your solution.
How to Set Up Connected Onboarding
