|
| This content applies solely to Connected Onboarding, which must be purchased separately from the Appian base platform. This content was written for Appian 23.1 and may not reflect the interfaces or functionality of other Appian versions.
|
Introduction
The Tasks section of the Connected FS Settings site allows business users to tailor the tasks required for each Onboarding. This page describes how to manage categories, tasks, and templates.
Business users can:
Managing tasks
In order to add tasks to the workflow templates, you will need to create a library of tasks to choose from.
Task types
Tasks can be one of the following types:
- Confirmation: This type of task requires a user to select a checkbox that says the task has been completed.
- Document Upload: This type of task requires a user to upload a specific document.
- Review: This type of task requires a user to approve, reject, or make no decision on a task.
- Consolidated Screening Check: This is an automated task that uses an integration to verify new customers against the Trade.gov OFAC consolidated screening list API.
- Funding Details: This type of task requires a user to enter the actual funding details for an onboarding. The completion of the task will move the onboarding status from ACTIVE to FUNDED. This is a required task and cannot be removed from the process set up task nor be marked NOT NEEDED. Additionally, this task cannot be sent as an ad-hoc task once the onboarding has begun.
- Customer Benchmark: This type of task requires a user to enter the benchmark details for a customer.
- Conditional Task: This task requires the user to select from one of multiple configured values, with each selectable value leading to a different task in the onboarding workflow. Users can add up to 5 values for a conditional task.
- Northrow Risk Score Check: This task calls the Northrow integration to retrieve the risk score for a customer. This task is not available if the Northrow integration is not connected. This is a system task, therefore, no user action is needed to complete this task .
- Northrow Risk Score Error: This task is auto-generated when the Northrow integration fails. To complete this task, a user chooses to retry the integration or skip the task entirely.
- Collect DocuSign Signature: This task will request a signature through DocuSign. To complete the task, a user signs the document and the document becomes available on the DOCUMENTS tab of the onboarding.
To learn how to complete each of these task types, see Managing Tasks.
Viewing tasks
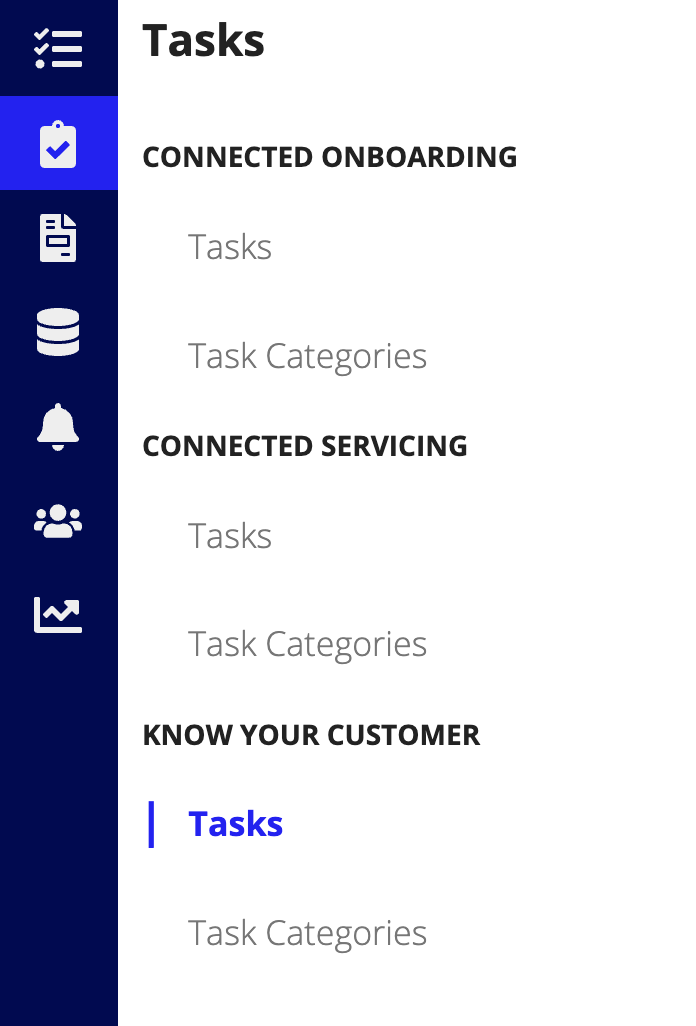
To view the tasks, from the Connected FS Settings site, click Tasks.
To filter the lists of tasks:
- Select a category from the dropdown list, or
-
Enter a search term into the Search Tasks box.

Adding an individual task
After creation, Connected Onboarding allows you to add new tasks to new and existing Onboarding templates.
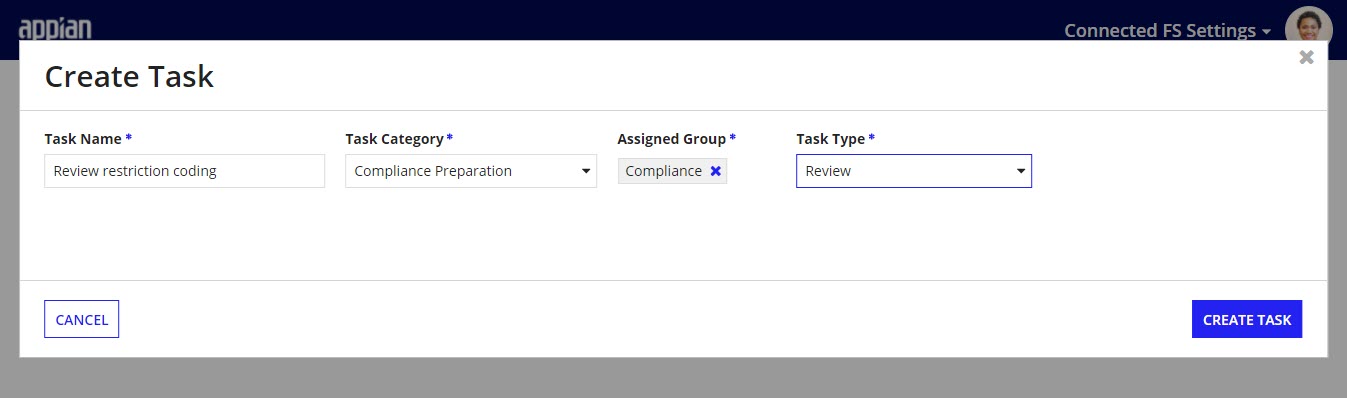
To add an individual task:
- From the Tasks page, click NEW TASK.
- Enter a Name.
- Select a Category.
- Use the Assigned Group picker to select the group that should be responsible for the task.
- Select the Type and click CREATE TASK.
- If the Type is a Conditional Task, go to the next section.
Additional conditional tasks configuration
By default, when you configure conditional tasks, the solution presents you with a question and two values or response rows. You can add up to 5 values.
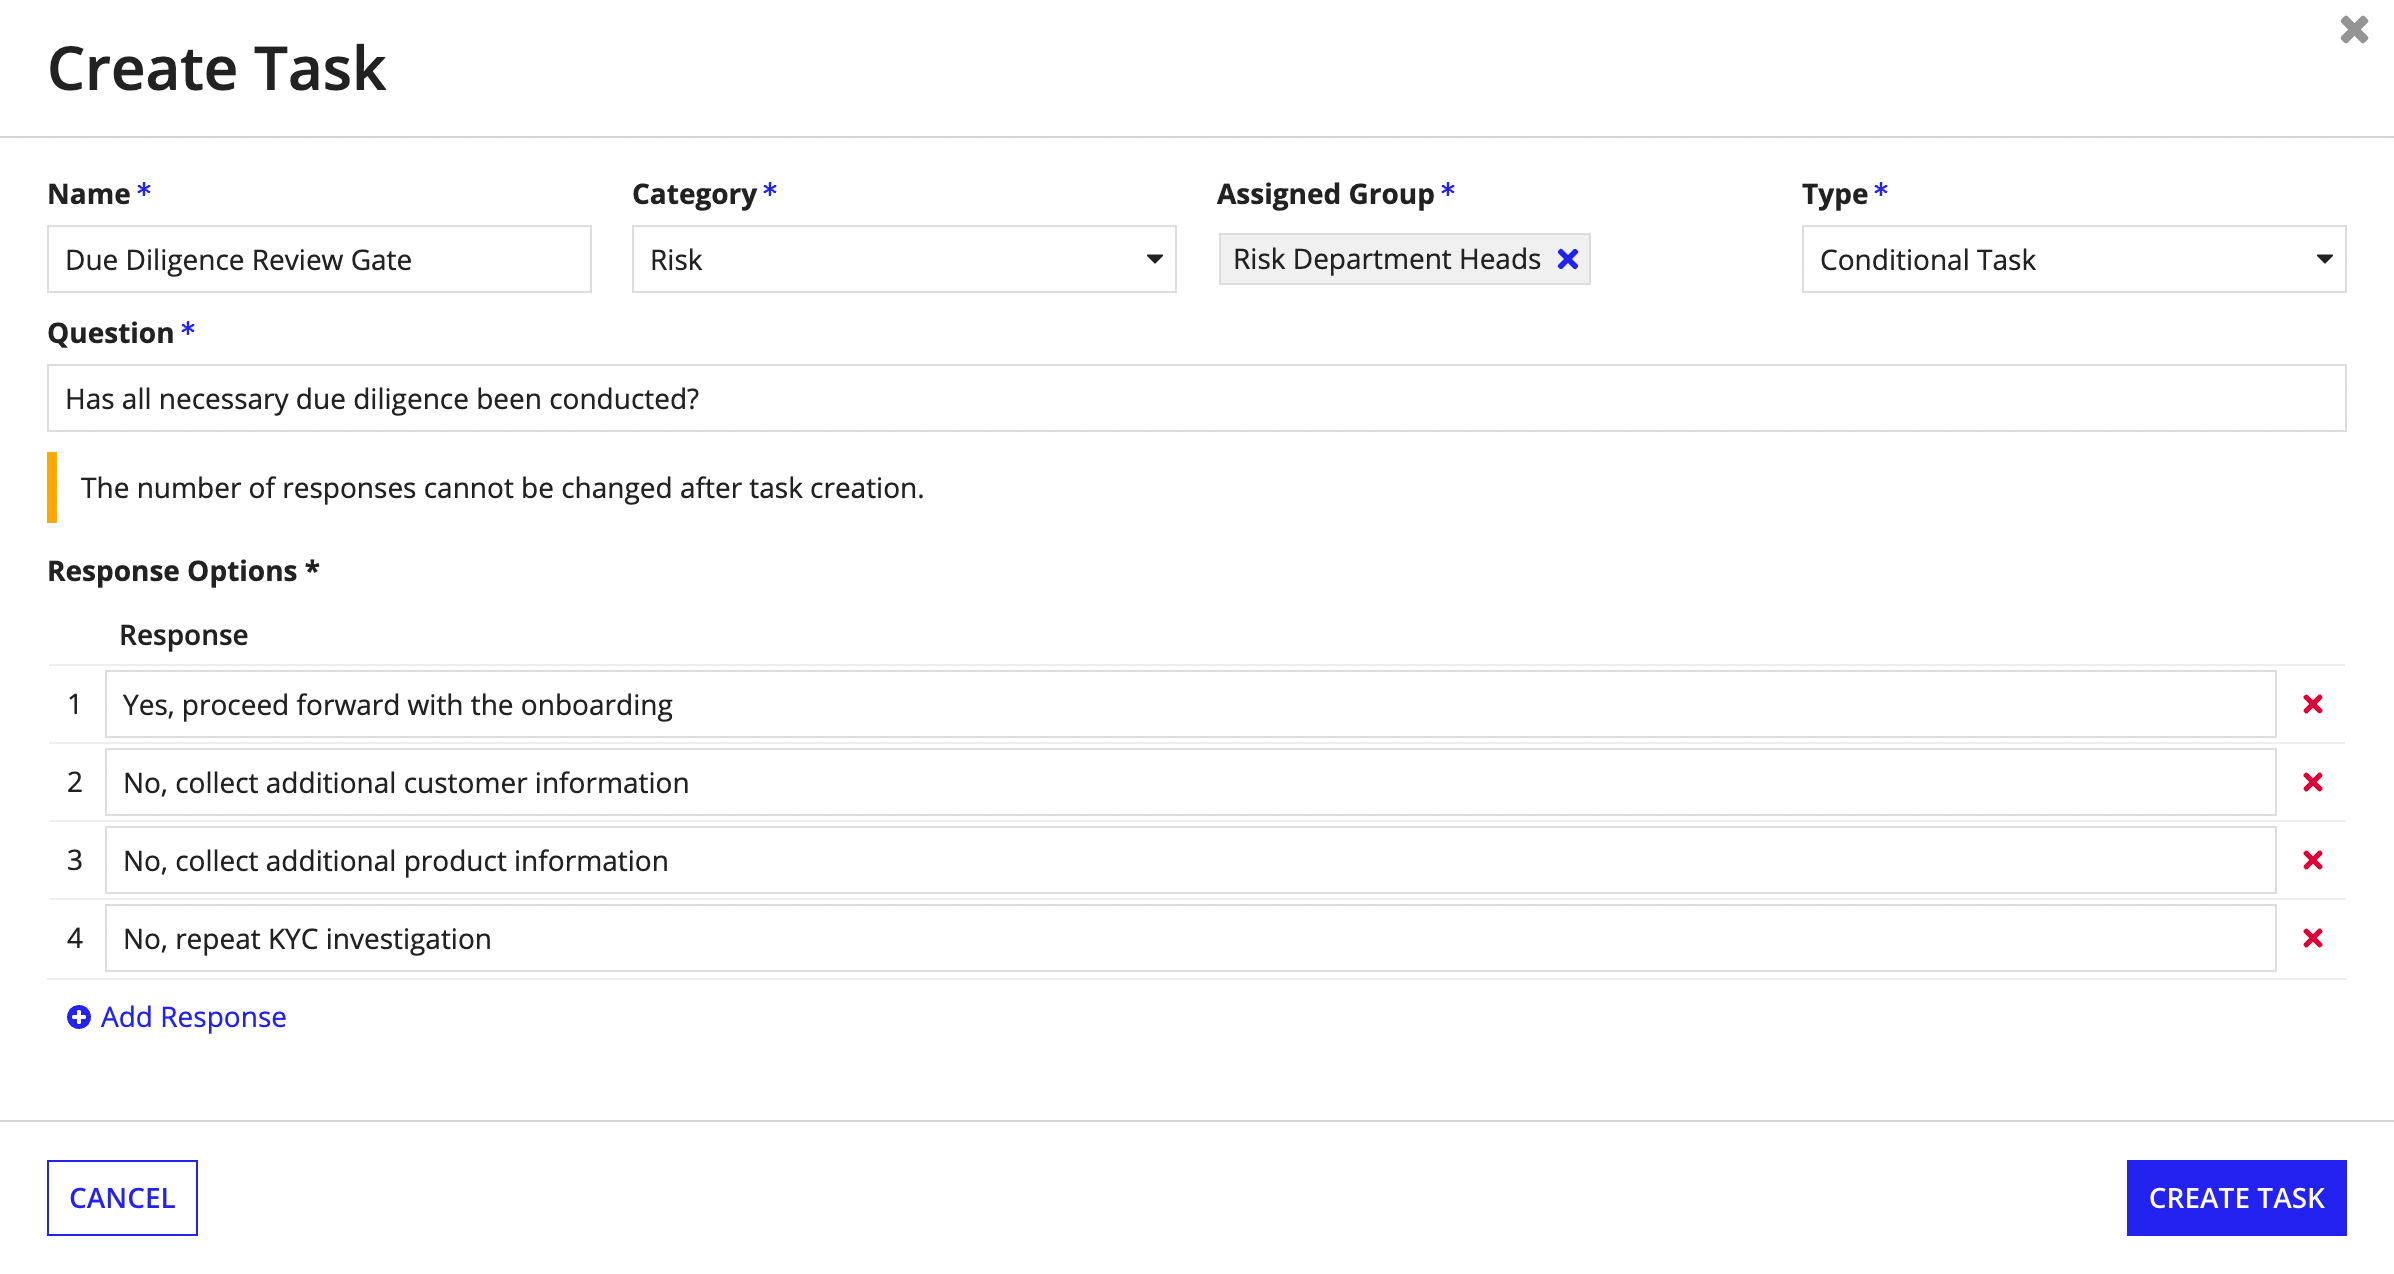
To finish creating a conditional task:
- Enter a Question.
- Enter a value for each Response Option.
- If needed, click Add Response to add and define up to 5 values.
- Click CREATE TASK.
When you add a conditional task to a Onboarding template, a Conditional Tasks step will appear and must be completed. The Conditional Tasks step allows you to map each response option to the appropriate dependent task in the workflow.
Adding multiple tasks by importing from Excel
If you want to add many tasks at once, you can import tasks from an Excel spreadsheet.
To add multiple tasks:
- From the Tasks page, click IMPORT TASKS.
- Download the Sample Import Excel File.
- Add multiple tasks to the spreadsheet, filling out the following fields:
- Task Name: The display name for the task. There is a 50 character limit. Task names must be unique, or the task won't be imported.
- Task Category: The category that the task should be grouped with. The valid values are any category listed on the Category page.
- Assigned Group: The group that will automatically be assigned the task. The valid values are all business groups that are in the Connected Onboarding application. See the Groups Reference Page for a list of the out-of-the-box business groups.
- Task Type: The type of task. Out of the box, the valid values are:
Confirmation, Review, and Consolidated Screening Check.
- Click UPLOAD and select the
Sample Task Import.xlxs file that you just modified.
- A list of the columns from the spreadsheet displays. Map the columns from the Excel sheet to the task fields. If you used the template without modifying the column headers, these should all match up automatically.
-
Click NEXT.

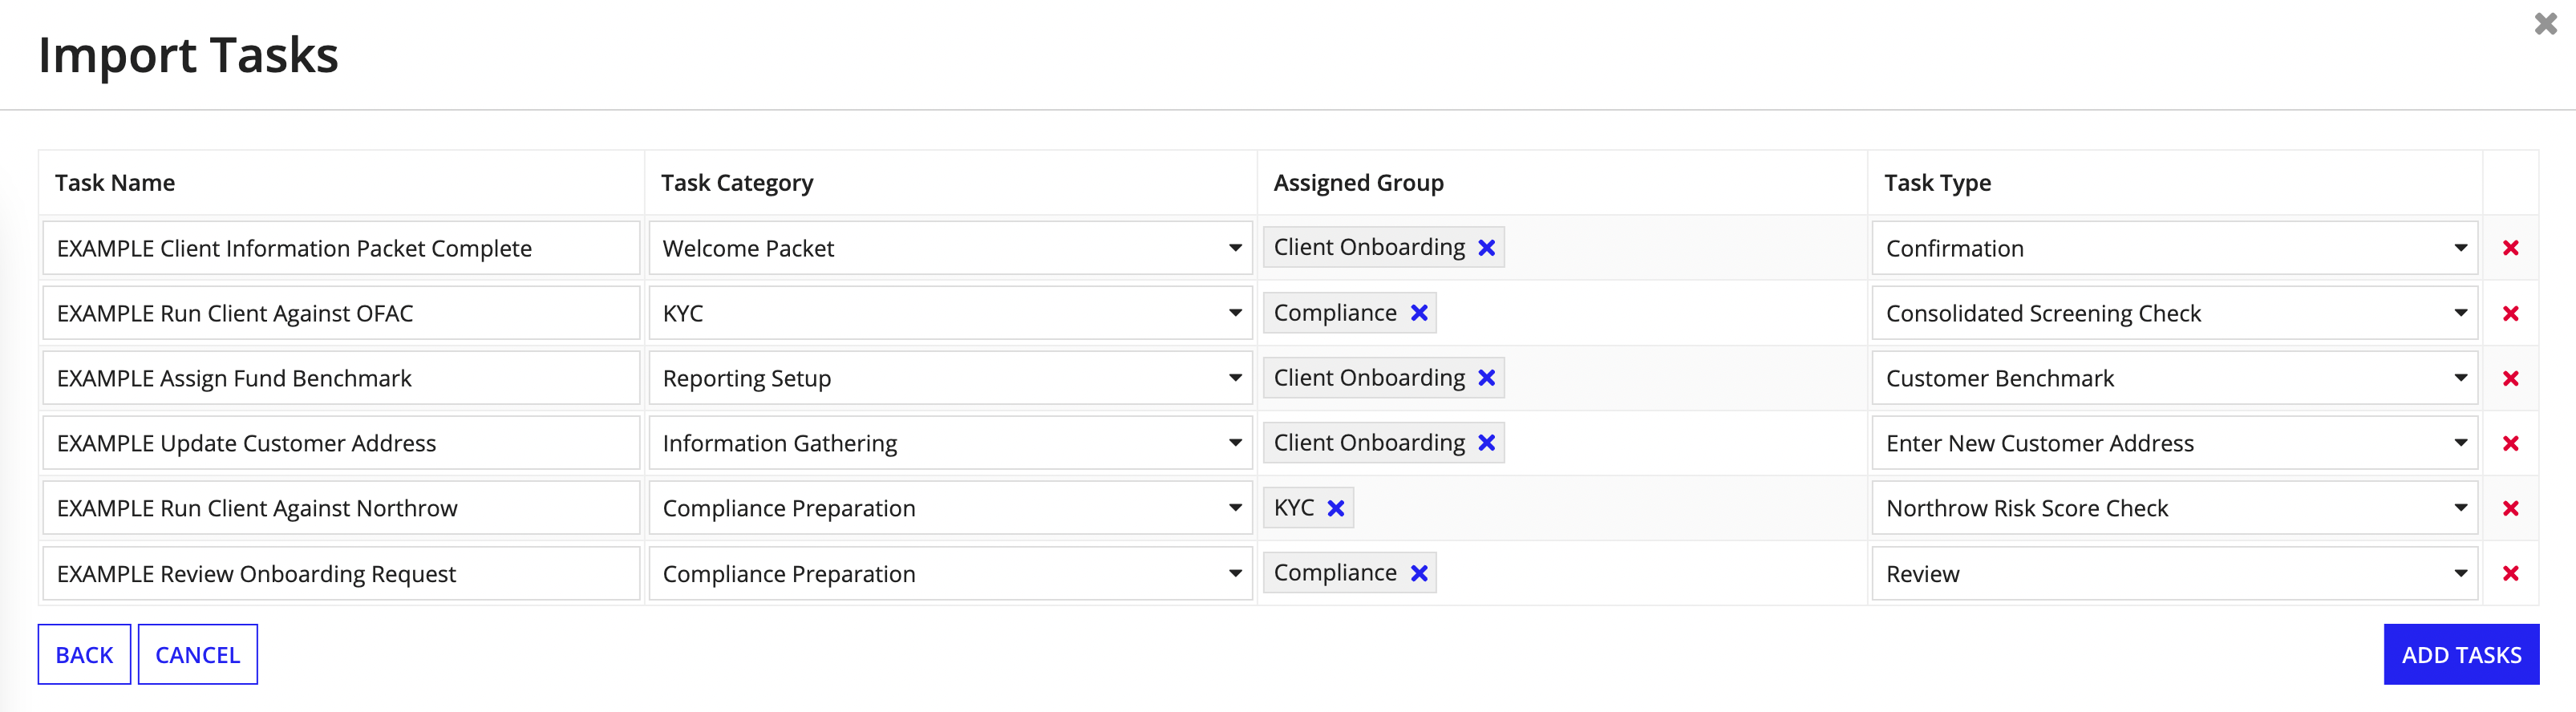
- The task fields that you entered display. Verify all of the fields are correct and there are no validation errors.
-
To add the tasks to the library of tasks, click ADD TASKS.
Editing tasks
If you ever need to update a task, you can edit it in the Connected FS Settings site.
To edit a task:
- From the Tasks page, click the name of the task you want to modify.
- Modify the following:
- Name
- Category
- Assigned Group
- Type
- Document Type
-
Click UPDATE.

All Onboarding templates that reference the task will be updated. Any Onboardings that are in progress will not be affected.
Managing categories
Categories group tasks together, usually by the function of the tasks or the group that performs the tasks. You can add these categories to meet the requirements and needs of your organization's Onboarding processes.
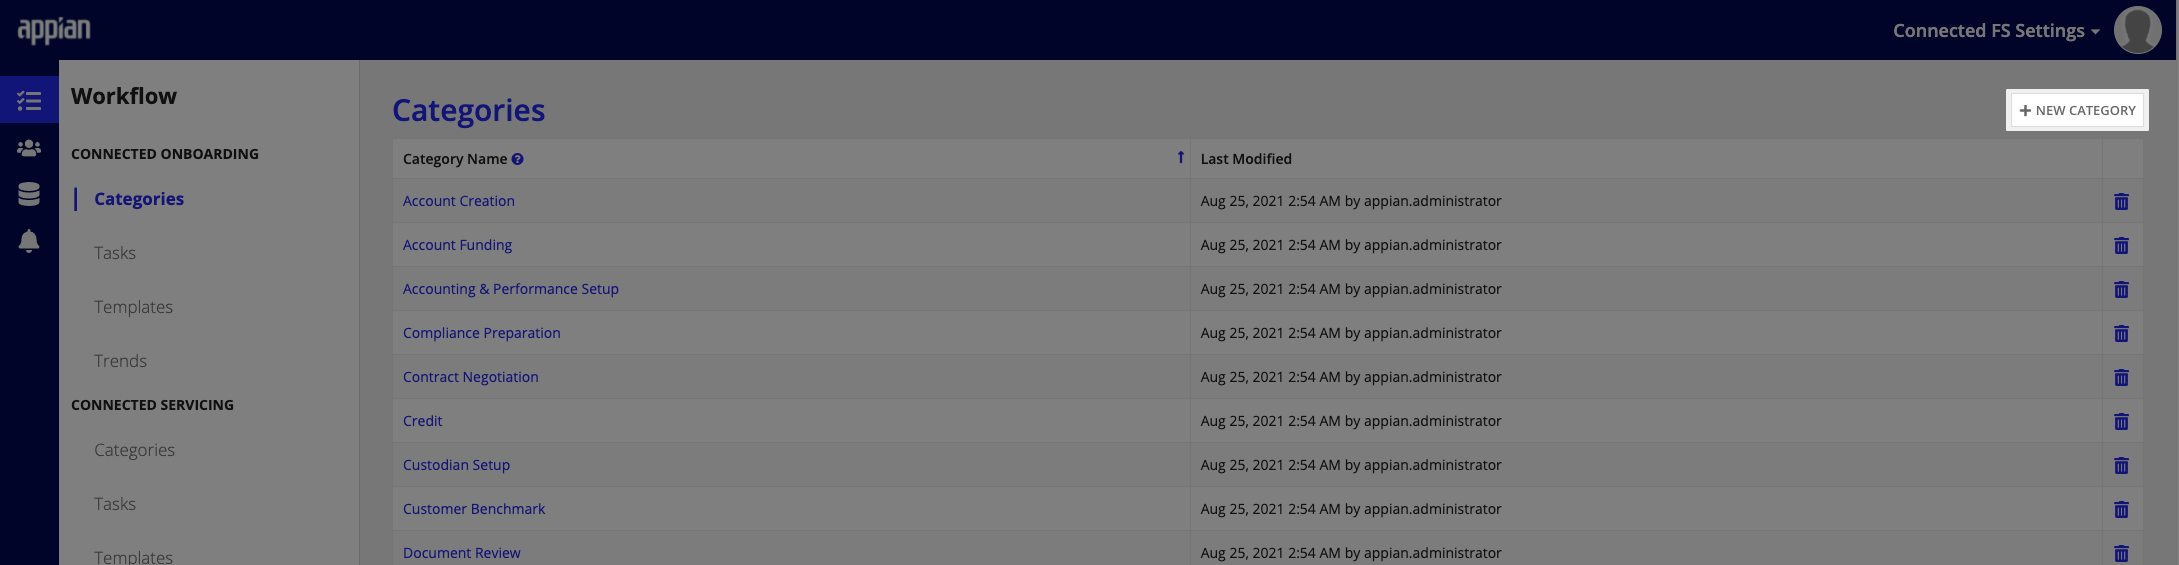
Viewing categories
From the Connected FS Settings site, you can view the categories by clicking Tasks. The Task Categories tab will display in the left menu pane.
Adding a category
You can create a new category whenever you need a new way to group tasks, such as adding a process that requires related tasks to be completed.
To add a category:
-
From the Task Categories page, click NEW CATEGORY.
-
Enter a Category Name and click CREATE CATEGORY.
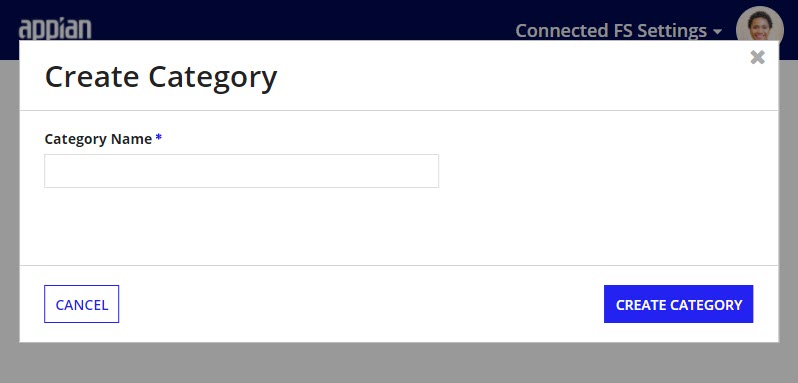
The new category will display in all new and existing Onboarding templates.
Removing a category
If you ever need to remove a category, you can do it from the Connected FS Settings site.
Note: If there are any tasks that reference the category, you will not be able to remove the category. A message will display to let you know that it cannot be removed. To remove the category, complete or cancel all tasks that reference the category.
To remove a category, click the delete icon associated with the category you want to remove.

The category will no longer display in Onboarding templates.
Editing a category name
If you need to update the name of a category, you can edit the name in the Connected FS Settings site.
To edit a category name:
- Select the name of the category you want to modify.
-
Enter a new Category Name and click SAVE CHANGES.
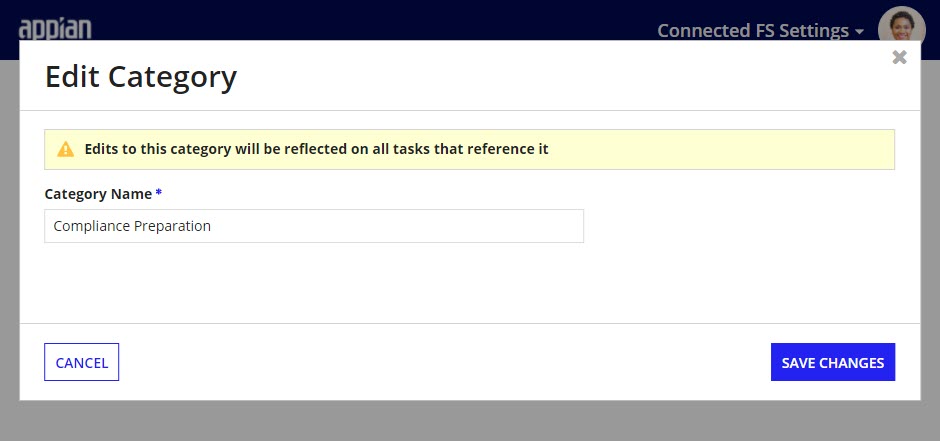
The new name will display in all new and existing tasks that reference it.
