| The capabilities described on this page are included in Appian's standard capability tier. Usage limits may apply. |
This page discusses how to create robot pools in Appian Designer.
If you are new to Appian RPA, see the Robot Pools topic in the Learn section for an introduction to robot pools.
Required role: Developer or Administrator
Robot pools are created in Appian Designer.
To add a new robot pool:
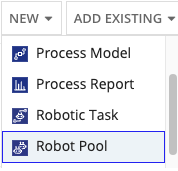
Configure the following properties:
| Property | Description |
|---|---|
| Name | Name to identify the robot pool. This value must be unique. Spaces are supported. It is a best practice to preface the name with the application specific prefix. |
| Description | Supplemental information about the robot pool that is displayed in the Appian Designer Objects view. |
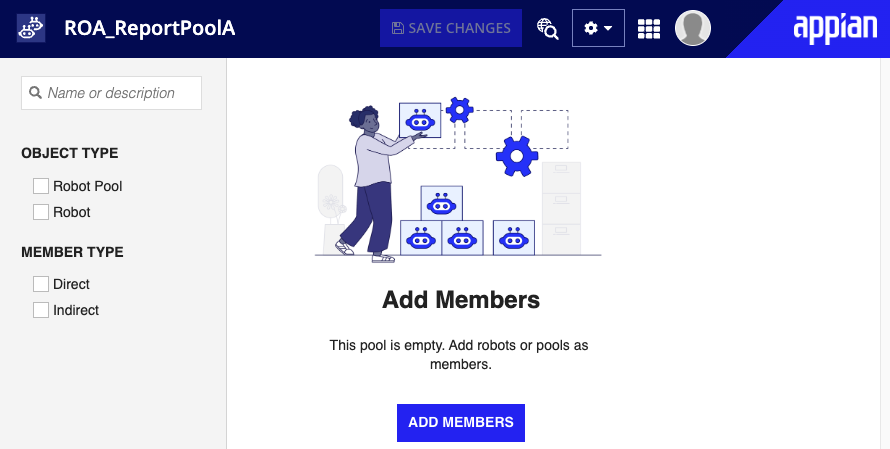
Complete the following steps to add or remove robot pool members:
Complete one of the following tasks.
| To… | Select… |
| Add members | the Add Members button. The add robot pool members dialog displays. Enter the name of the robot(s) and robot pool(s) you want to add then click ADD. You are brought back to the robot pool page and the robot(s) or robot pool(s) you added display in the list.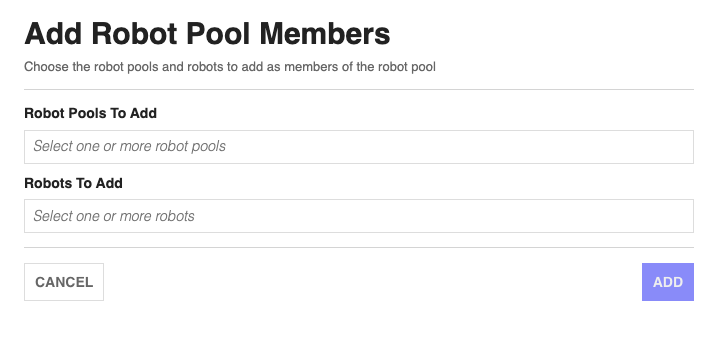 |
| Remove members | the checkbox(es) next to the robot(s) or robot pool(s) you want to remove then click the Remove Members button. The robot(s) or robot pool(s) are removed and do not display in the list.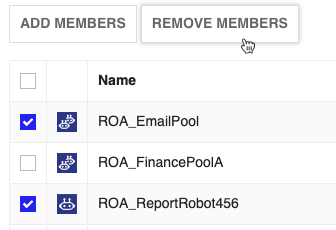 |
You can deploy your robot pools across environments like any other object. These instructions describe how to do this using Appian Designer.
Robot pools are imported and exported as part of a package in Appian Designer. Packages are a tool for building your applications and ensuring successful deployments.
When importing a Robot Pool into an environment where a pool with the same UUID already exists, all properties of the inbound object overwrite the properties in the destination object except for pool membership. Instead, the inbound pool and the target pool member lists are merged.
When importing into any environment, references to member pools that do not exist in the destination environment are discarded.
Learn more about the entire process of importing and exporting objects on the Deploy to Target Environments page.
Required role: Developer or Administrator
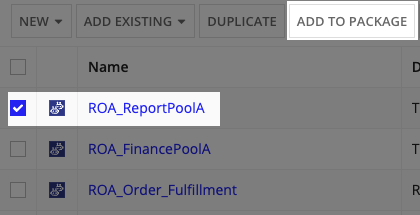
Before you can import a robot pool, you must export the existing robot pool as part of a package. To export a robot pool, complete the following steps:
Required role: Developer or Administrator
To import a robot pool that is part of a package, complete the following steps:
The security role map of a robot pool controls whether users can modify it and its properties. Unlike some other objects, Robot Pools never inherit security.
The following table outlines the actions that can be completed for each permission level in a robot pool's security role map:
| Actions | Administrator | Viewer |
|---|---|---|
| View robot pool membership | Yes | Yes |
| Add and remove robot pool members | Yes | No |
| View and modify robot pool security | Yes | No |
| Configure membership rules | Yes | No |
| Configure properties and attributes | Yes | No |
| Create a new pool as a child of the current pool | Yes | No |
| Delete the robot pool | Yes | No |
