To leverage Appian Record functionality, it all starts with a record type object. The record type is the design object that allows you to configure the source of your records, define record views, create a record list, and more.
This page explains how to create a new record type object and how to navigate the record type object after its creation. For a full, guided experience creating and configuring a record type, see the Records Tutorial.
Tip: With each Appian release, the record type object is improved with new components, features, and functions. To use these new enhancements, update your existing record type objects created in 20.2 or earlier.
Record types are created in Appian Designer.
To create a record type:
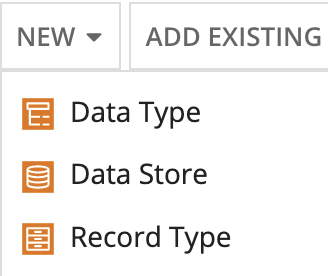
Click NEW > Record Type.
In Create Record Type, configure the following properties:
| Property | Description |
|---|---|
| Name | The name of the record type that is displayed in the Appian Designer. For example, Prospective, Customer, or Support Ticket. Follow the recommended naming standard when creating this name. |
| Plural Name | The name of the record type in plural form. This will be visible to end users in Tempo under the Records tab. For example, Prospectives, Customers, or Support Tickets. |
| Description | The description of the record type shown both in Tempo under the Records tab and in Appian Designer. |
Directly after creating your record type, you need to add the record type object security. Once you save the object security, the record type will open in a new tab by default.
As you continue to modify and define your record type, you may encounter guidance. Appian design guidance reinforces best practice design patterns that should be implemented in your objects. Guidance is calculated while you're editing expressions within the record type or when you update a precedent of the record type.
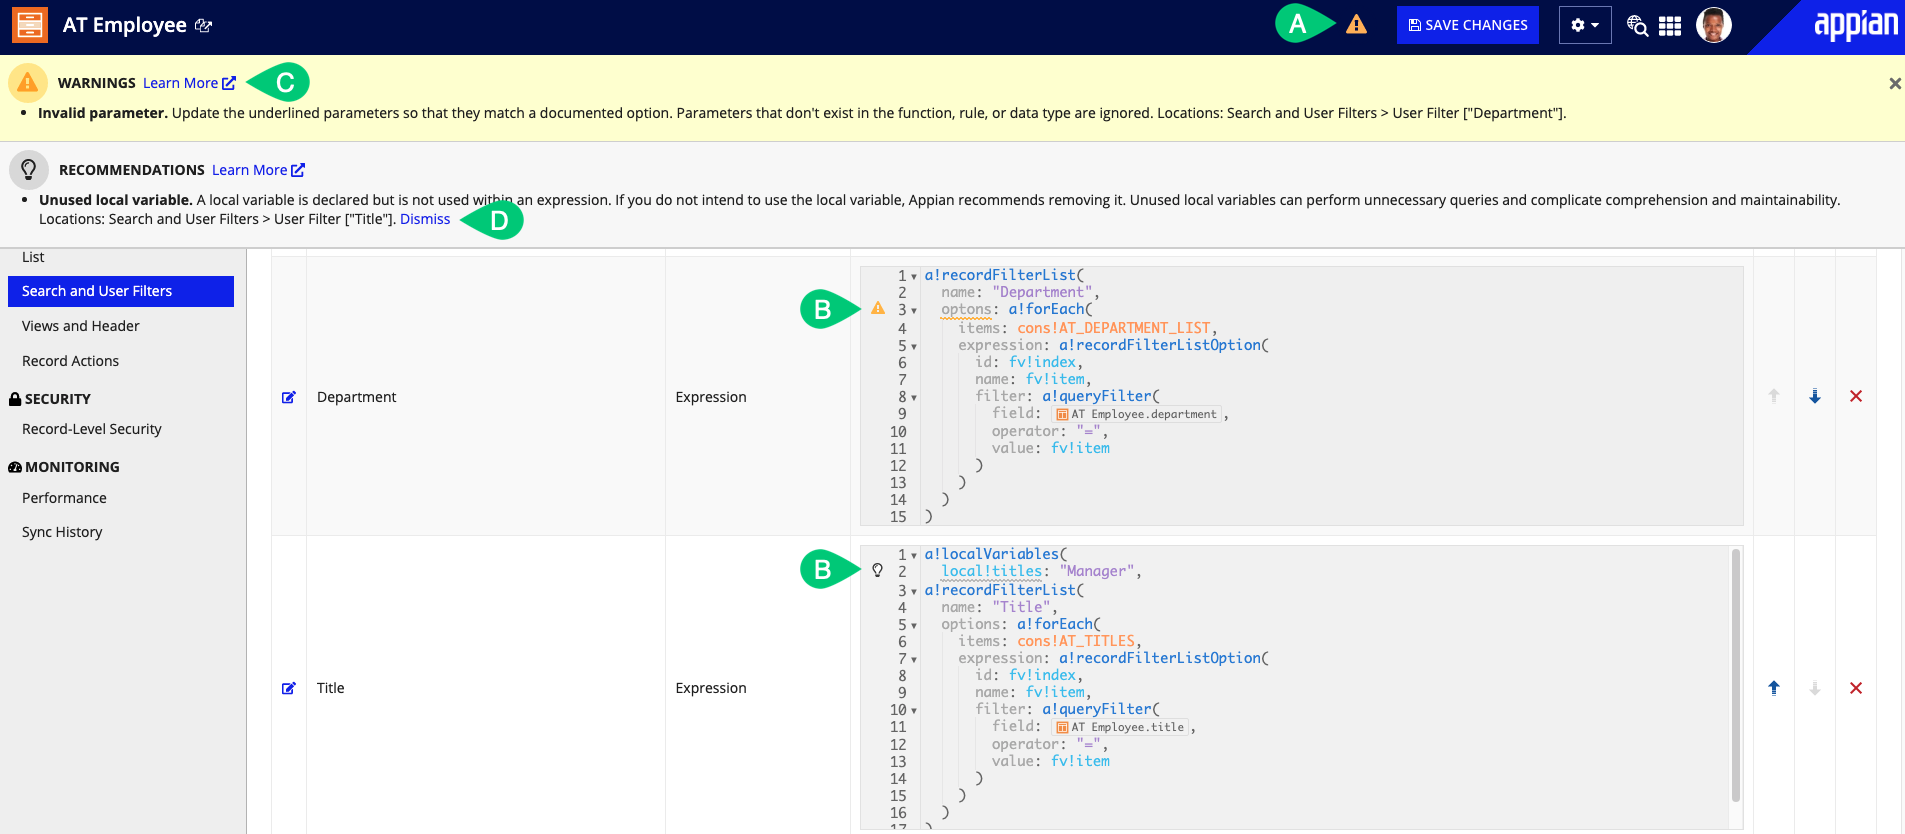
When a recommendation or warning is triggered, you'll see an indicator icon in the header (A) and next to the corresponding line in the expression editor (B).
Click on the icon in the header to learn more about the suggested guidance (C) and how it can be addressed.
If a recommendation is not applicable to your use case, you can Dismiss (D) that individual recommendation for that record type. Learn more about recommendation dismissal. Warnings cannot be dismissed and should always be addressed to avoid complications when the logic in the object is executed.
Record type design guidance is also visible on the Health Dashboard.
See design guidance for the full list of possible guidance.
Tip: Appian design guidance is not available for the User record type.

Each time you modify and save a record type, a new version is created. All objects that use the record type will use the latest version. All versions are accessible to developers who can view the record type, and a record type can be reverted back to a previous version at any time.
For information on how to manage object versions, see Managing Object Versions.
After you create the record type object, you will configure the record type.
Appian recommends configuring the record type in four phases: (1) define the source data, (2) configure your record list and list actions, (3) create your record views and related actions, and (4) configure your record-level security.
The first element you'll want to configure is the record data. Your record data is a combination of data from a data source and filters on the data source.
To configure the record data, you will:
You'll use a guided experience to define the source of data for your record type.
To connect your record type to an existing source, you can choose one of the following:
Alternatively, you can generate a source from the record type itself.
As you configure the source of your record type, you can choose whether or not to enable data sync. By default, data sync is enabled since it allows you to query your data faster, and unlocks powerful sync-enabled features that can help you build your applications faster.
If you leave data sync enabled, then you'll have access to low-code data modeling capabilities like record type relationships and custom record fields. These features provide an easy way to relate your enterprise data–even across different sources–and transform existing data into new insights for your users.
Tip: There are some data structures that are better fit for data sync than others. Before enabling sync, review When to use data sync to ensure your data structure is a good fit.
Now that your record data is ready to go, you'll configure the record list.
The record list allows you to present a list of your records to end users so they can find and select the records they need. To allow users to more quickly find what they're looking for, you can add user filters to your list, and add record list actions so they can add new records.
To allow users to explore your data, you will:
The record list displays a list of records as either a grid-style or feed-style list. The record list itself is a responsive display of all of the records for a given record type. Depending on the style you choose, the way the records appear in the list will vary.
You can also enable users to export the record list to Excel.
Once your record list is configured, you can create interactive filters so users can determine which records appear on the list.
You can use a guided configuration or use an expression to create user filters. All user filters will be available to end users unless otherwise specified. Once you configure the user filters, they will appear above the record list so users can filter the list and even create their own saved-user filters.
Next, you'll want to add a record list action so users can add new records to the list. Optionally, you can add more record list actions to support your business needs.
A record list action is a link to a process model that the user can start directly from the record list.
Before you add a record list action, make sure you build a process model that can pass the record data. Learn how to create a process model.
If your record type has data sync enabled, Appian can generate common record list actions and the necessary process models using basic information you provide. A common record list action is to create a record. Learn how to generate record actions.
Once you have your process model and configure your record list actions, they will appear as buttons on the record list. You can also display record list actions on an interface using the record action component.
Now that users can navigate and find your records, it's time to configure the records themselves.
Each row of your enterprise data is represented as a record in Appian. But a record is more than just a row of data. Each record is made up of record views and related actions, which together create a more comprehensive view of your data.
To configure your records, you will:
Record views present information about a single record to your end users. You can have multiple record views to present information about a record in a variety of ways.
To define a record view, you'll call an interface object to display the record information. The layout and data that display for each record is determined by the expression used to define the views. As you build the interfaces for each record view, consider the different ways you want to present the record information. By default, each record type will have a Summary view.
If your record type has data sync enabled, Appian can help you quickly create a record view and generate an interface with the right data for your end users. Learn how to generate a Summary view.
Once you configure your record views, you can style the record header. The record header appears at the top of each record view as the background and contains the title, breadcrumbs, and related actions.
Now that your record can be analyzed from different perspectives using record views, it's time to add related actions.
Related actions are links to process models that the user can start directly from a record using information about that record. Related action process models are the same as any other process model. Before you add related actions, make sure you build a process model that can pass the record data. Learn how to create a process model.
If your record type has data sync enabled, Appian can generate common related actions and the necessary process models using basic information you provide. Common related actions include updating a record and deleting a record. Learn how to generate record actions.
Once you have your process model and configure related actions, they will appear in the Related Actions view on each record. You can also display related actions on individual record views using related action shortcuts or on an interface using the record action component.
In this last phase, you'll secure your records by adding record-level security.
Record-level security allows you to specify, in plain language, who can view which records. Create one or more security rules to easily configure your data security requirements.
Once you save your security rules, Appian will automatically apply them wherever the record type is referenced. This means that two users viewing the same record list or records-powered chart will only see the data they're allowed to see.
Create a Record Type
