| This content applies solely to Vendor Management, which must be purchased separately from the Appian base platform. This content was written for Appian 23.2 and may not reflect the interfaces or functionality of other Appian versions. |
As a Vendor, you will gain access to the Vendor Management self-service landing page after a contracting officer registers your account, or you have registered yourself through the vendor portal. Here you can review opportunities posted by the contracting officers of the Government Agency you are working with and submit a proposal when an opportunity looks like the right fit.
After you mark an opportunity as interested, you can work with the contracting officer or manager to:
The Vendor Management solution makes it easy to manage the entire opportunity proposal process in one place. This guide walks vendors through the most common views and actions you will use to view and manage your opportunities.
The Vendor Portal is set up on the contracting agency side and acts as a landing page for public users to browse or search for public opportunities and register themselves as vendors. After registering your vendor account, you can sign in and gain access to the secure vendor site, communicate with contracting officers, and take action on opportunities.
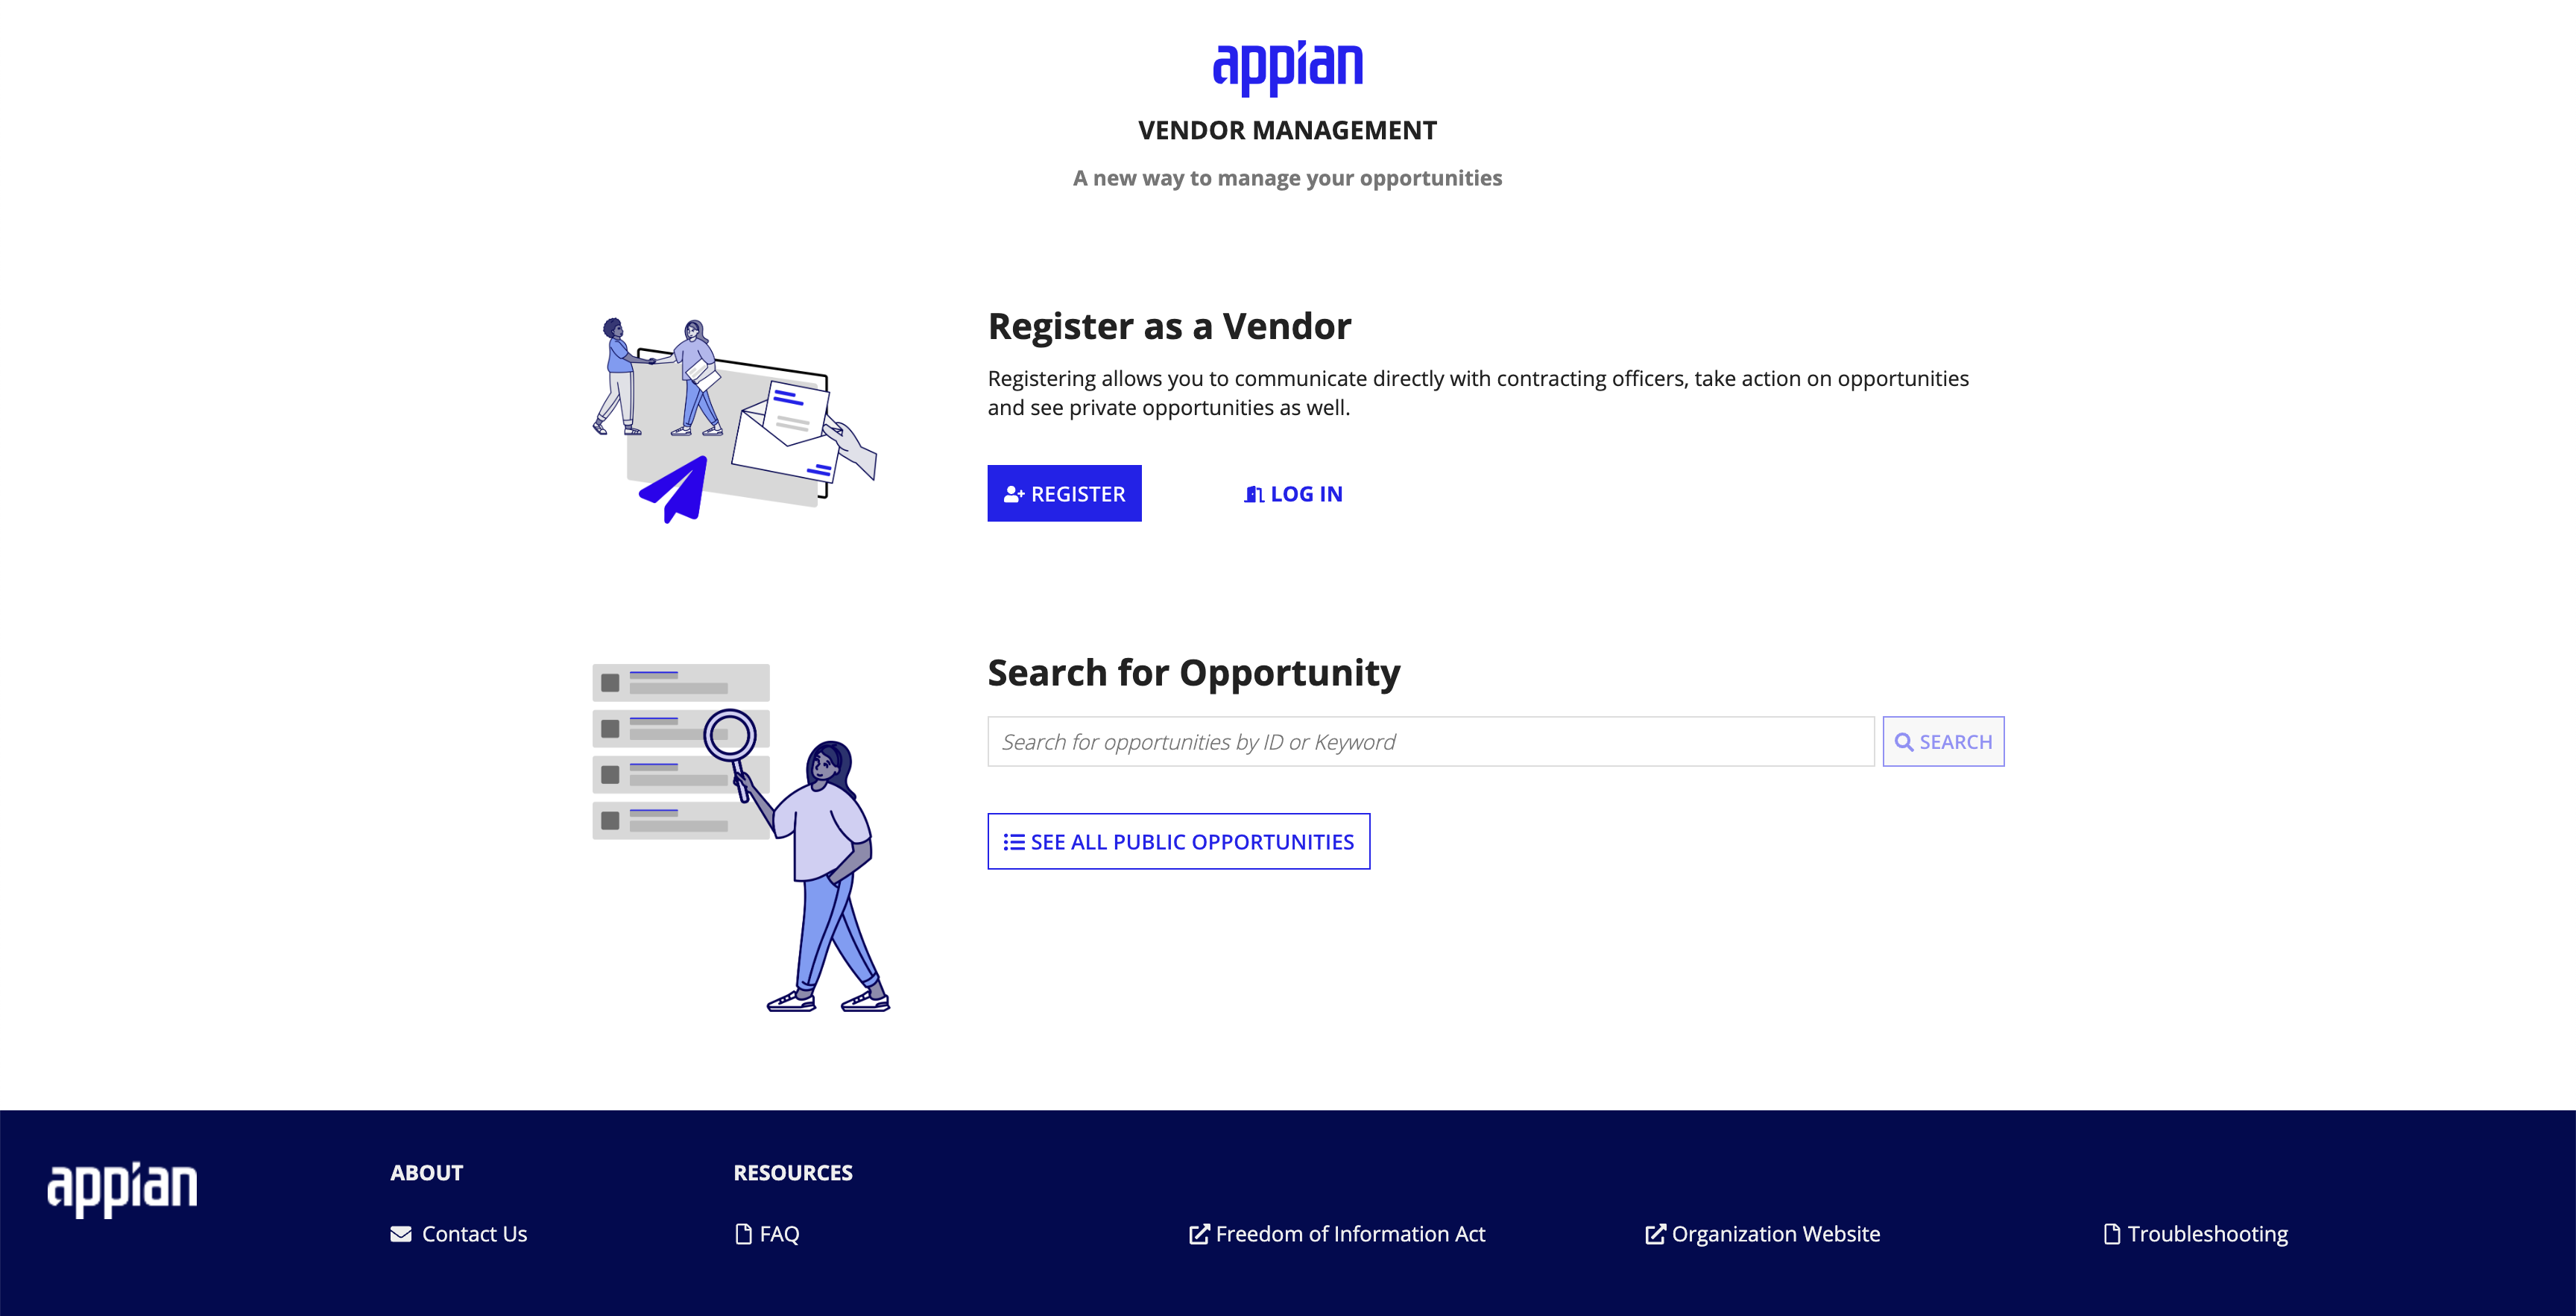
To register as a Vendor from the Vendor Portal:
Click +REGISTER.
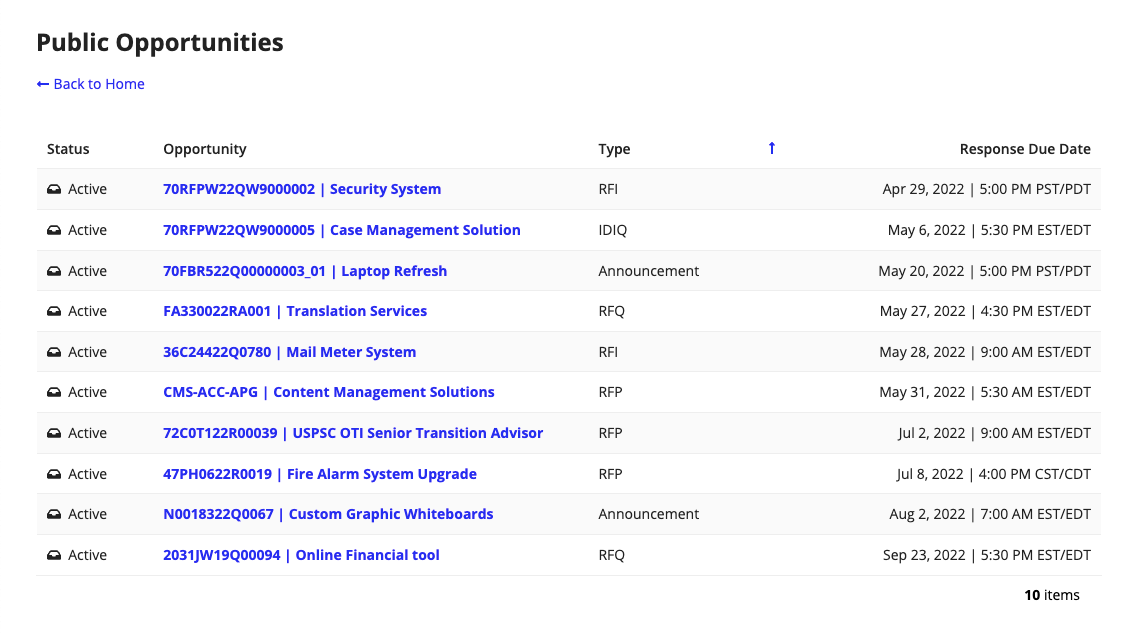
You can still view and search for public opportunities without being a registered vendor by searching the Opportunity ID or Keyword. You can also see all of the public opportunities posted by the agency by clicking SEE ALL PUBLIC OPPORTUNITIES.
After logging into your vendor account, you will see an overview of your ongoing opportunities. You can also check opportunity statuses at a glance and review any upcoming deadlines for opportunities you are involved in directly from HOME.
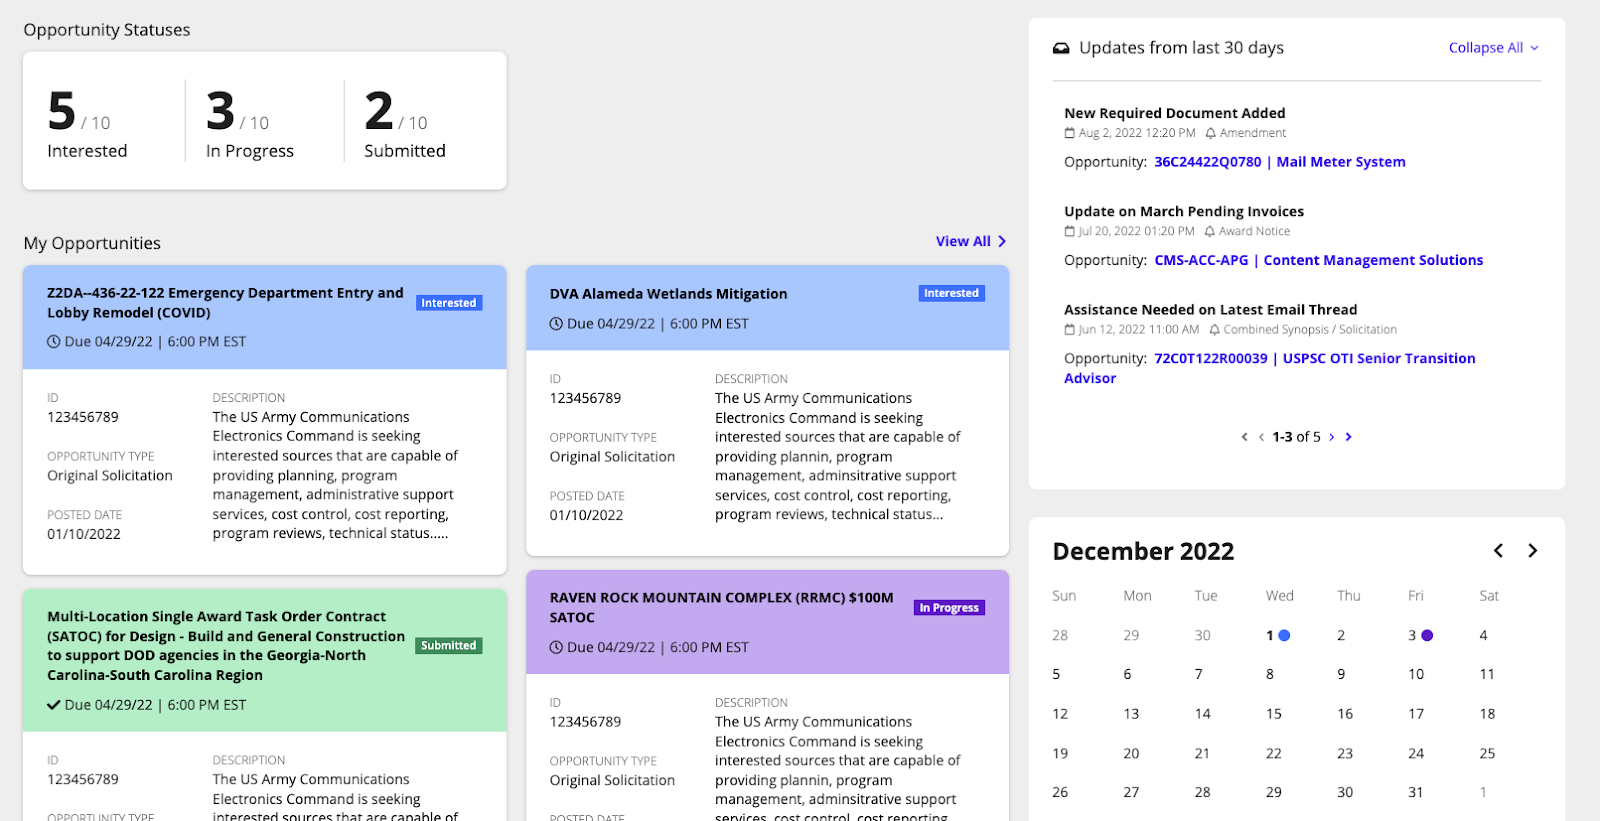
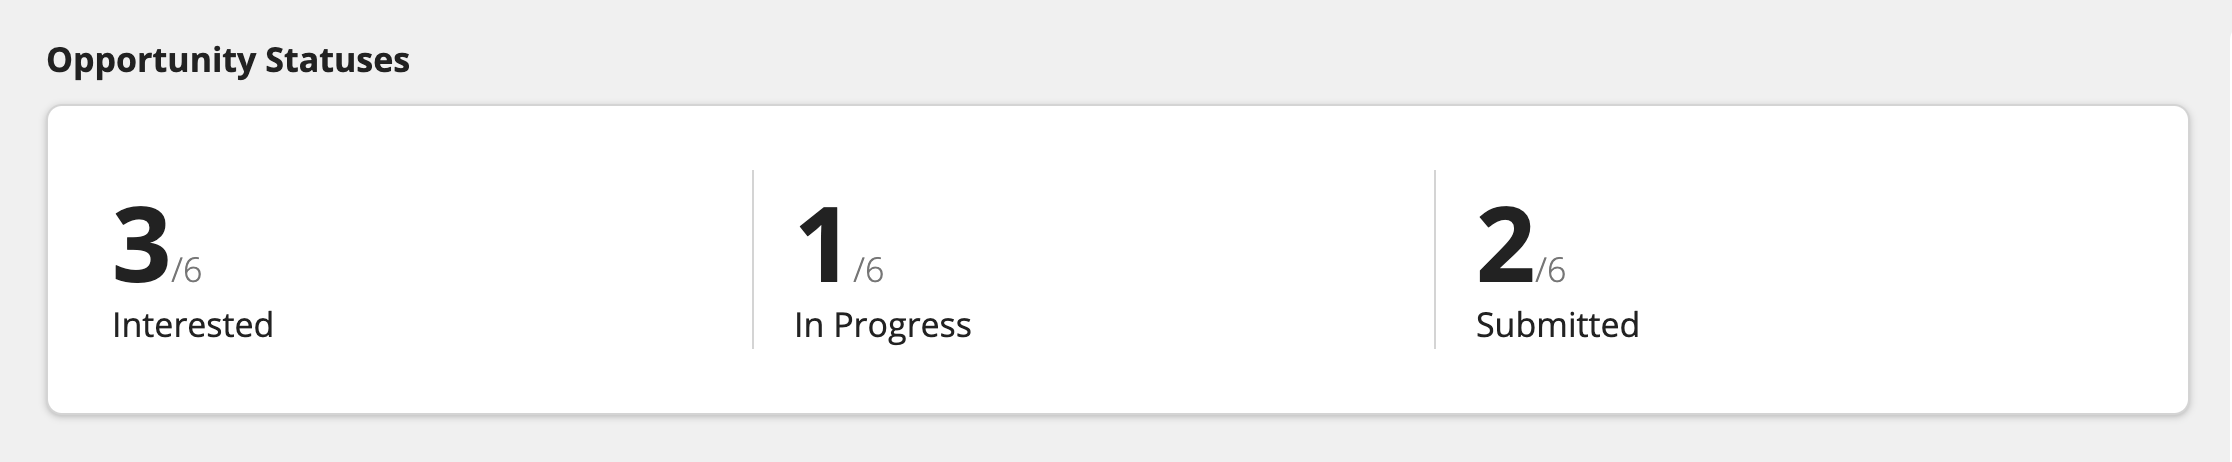
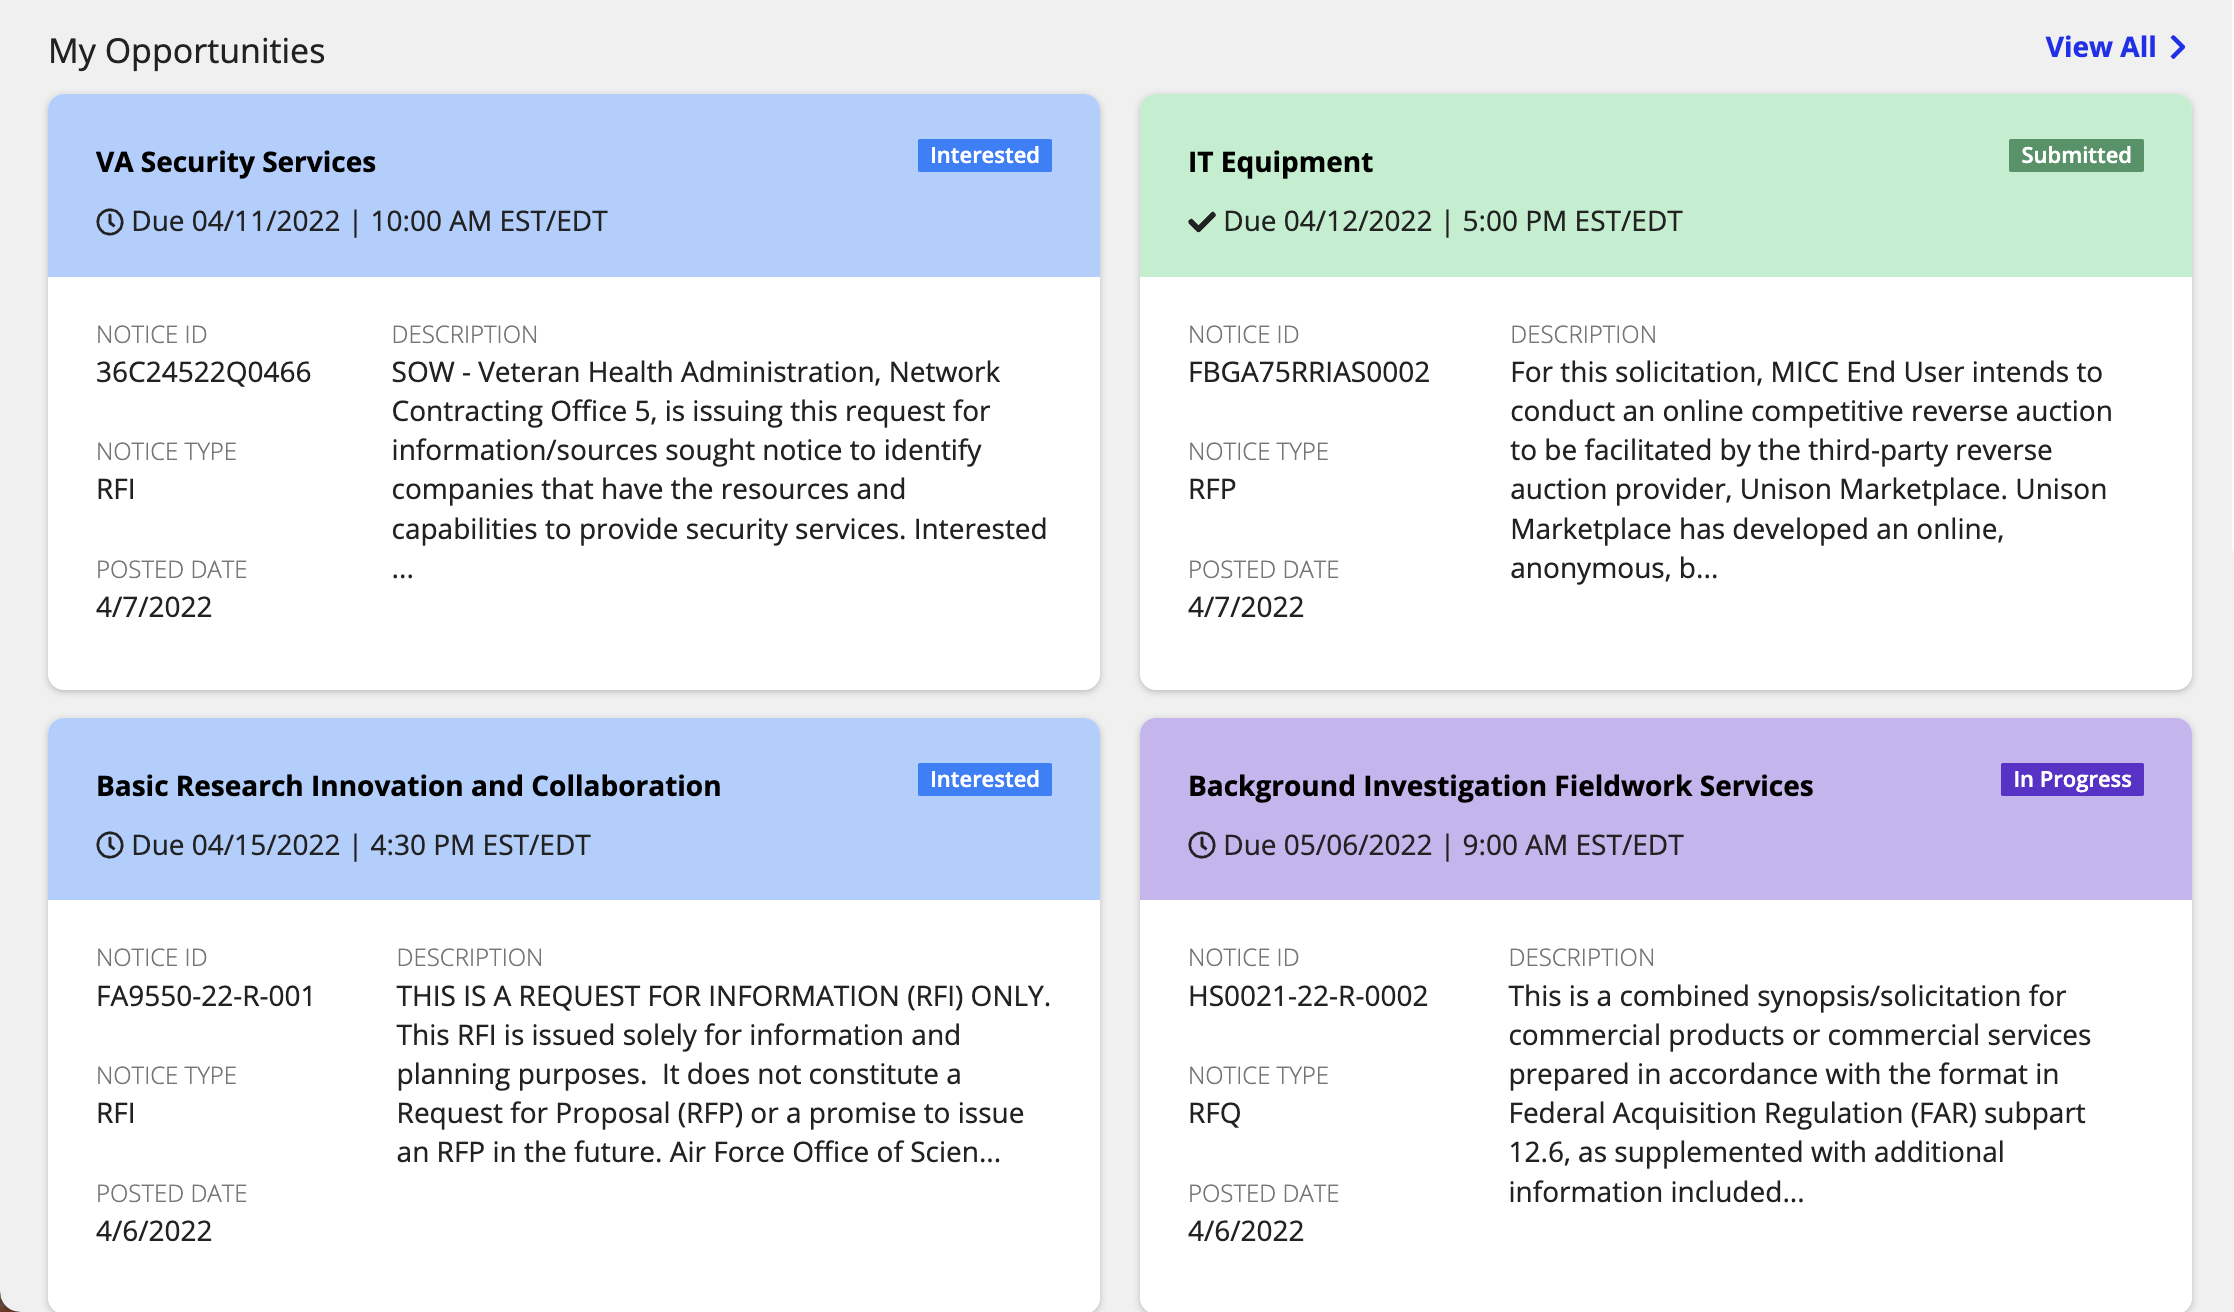
Under Opportunity statuses, you can view an overview of how many of your opportunities fall under the following statuses:
Under My Opportunities, you can view a detailed card for each opportunity you are currently involved in. Each opportunity card will be color coded and tagged by status.
Clicking View All will bring you to the opportunities list view and view all available opportunities.
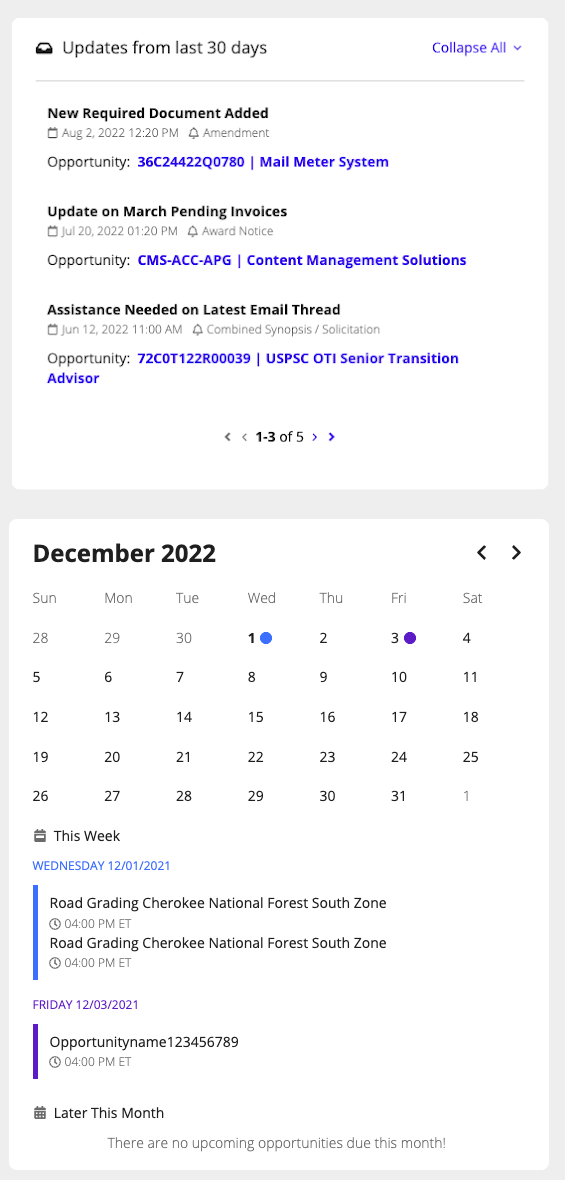
The updates section will show you updates from the last thirty days to any of the opportunities you are involved. The calendar will display any upcoming deadlines.
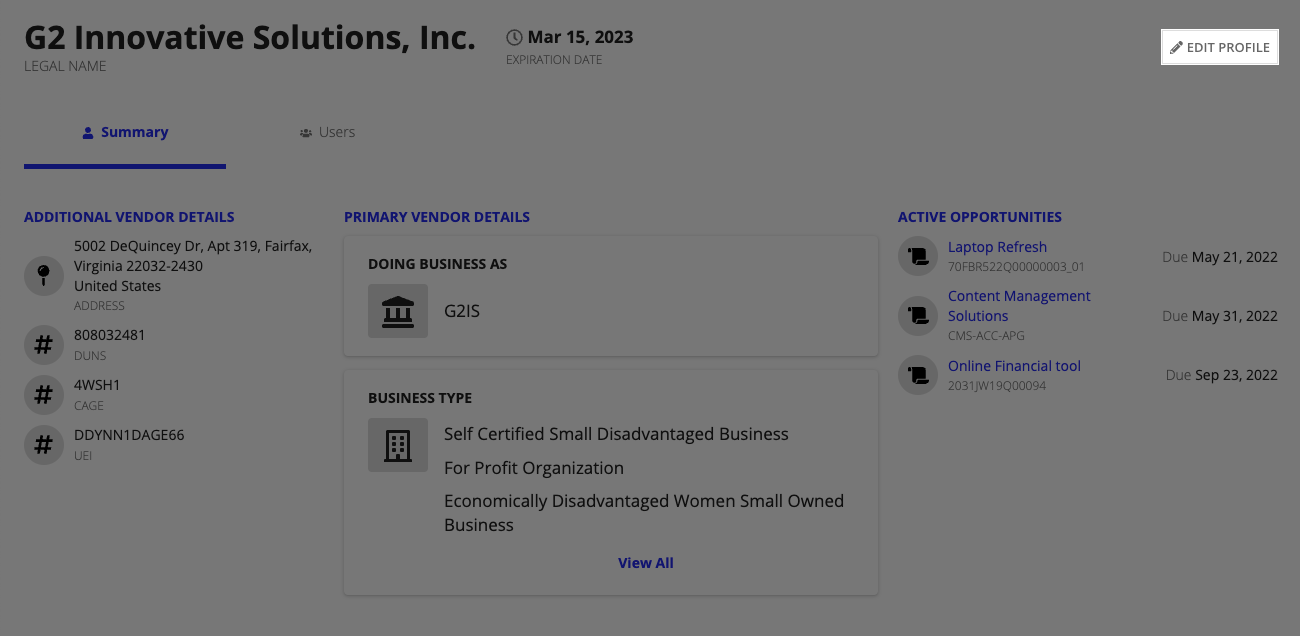
Click the Profile tab to go to your vendor profile page. From here, you can view information about your business, manage users, and see any ongoing opportunities.
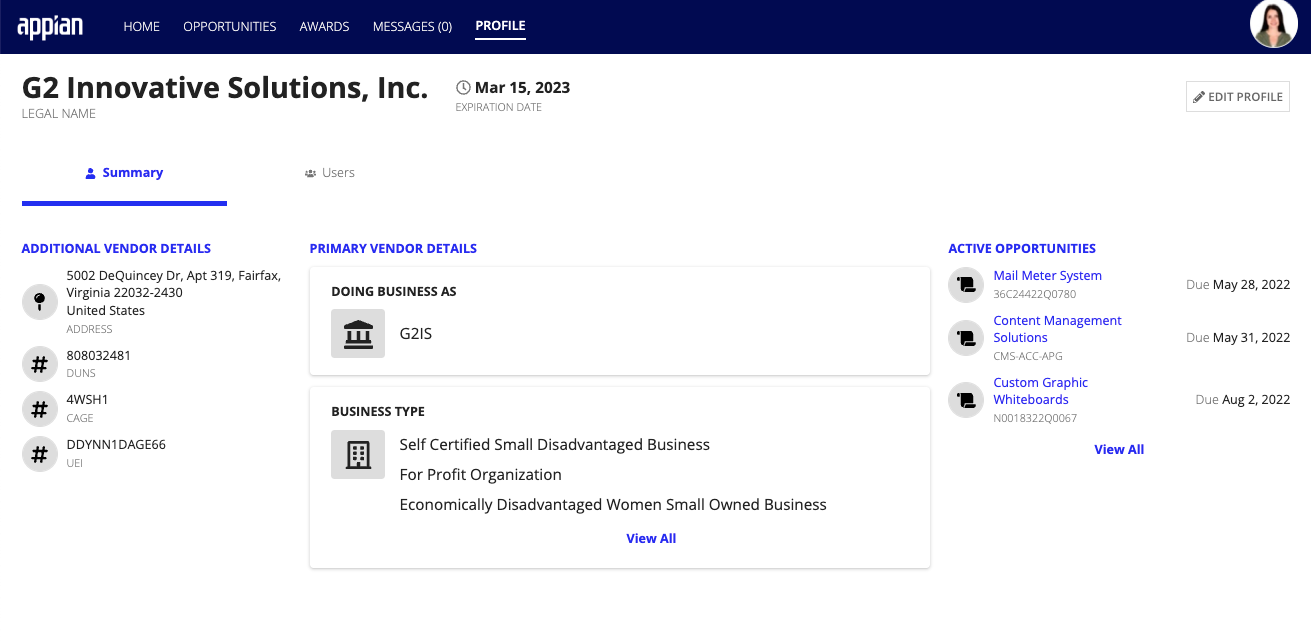
The Summary tab in the vendor profile summary view includes your profile information added during the registration process.
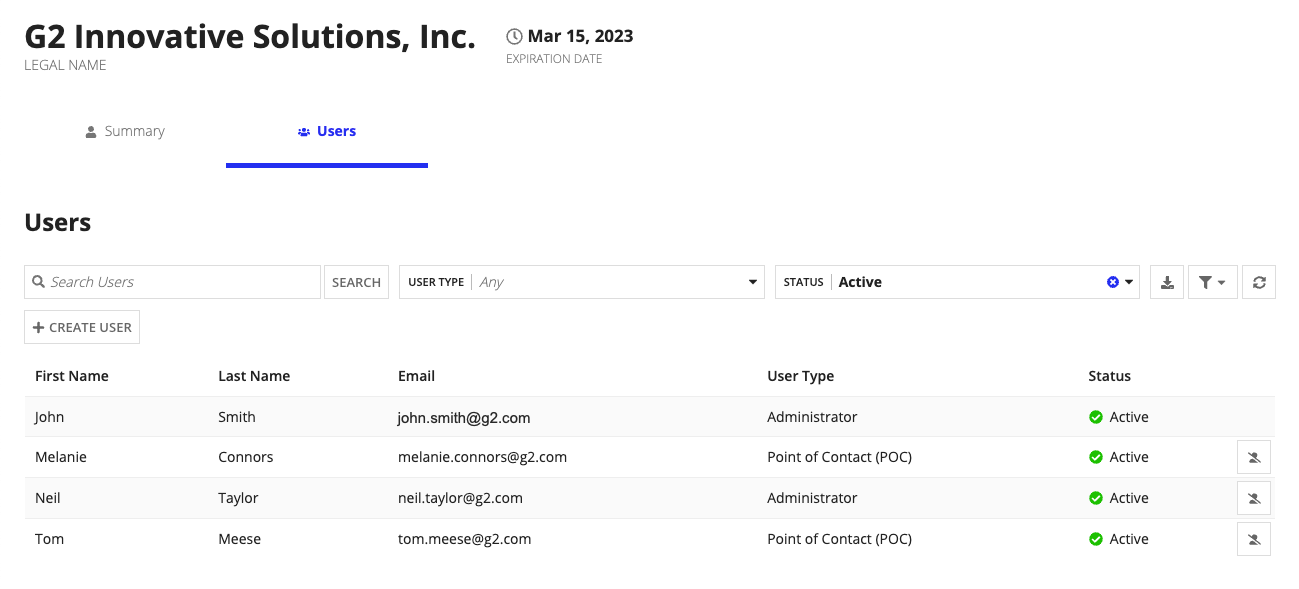
The Users tab displays a list of all users assigned to your vendor account. A user is either an administrator or a Point of Contact (POC).
Vendor admins can add additional users to the vendor account. To add a new user, click + CREATE USER and fill out the form with information about the user. The new user will receive an email with sign in instructions.
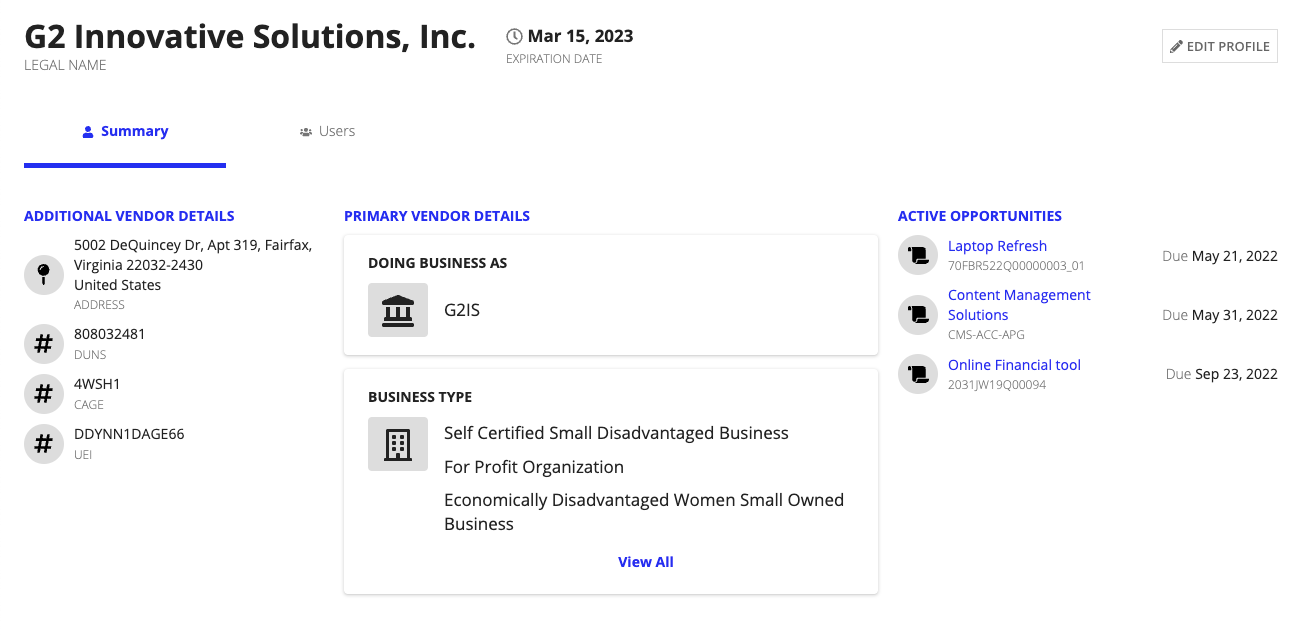
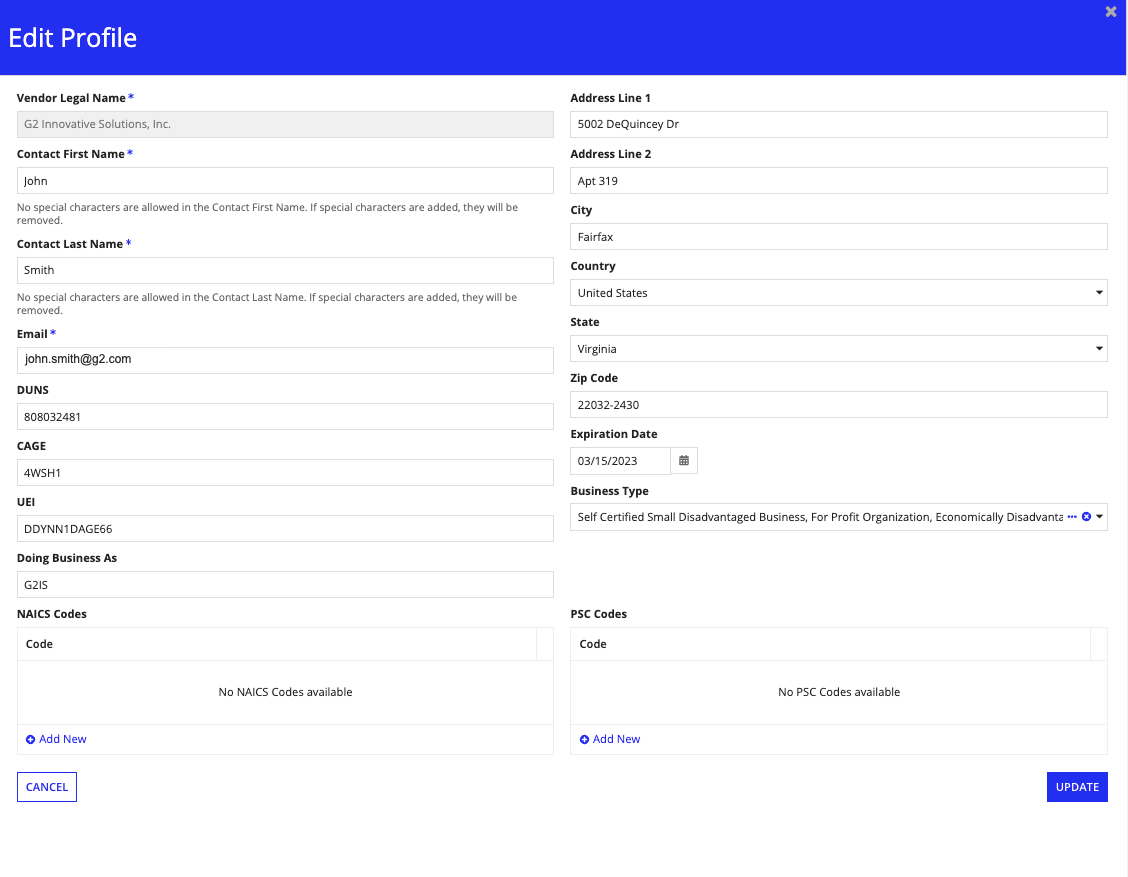
Vendor admin users can also edit vendor profiles if updates are needed. To edit your vendor profile, click Edit Profile and update or add to any fields.
Note that after completing the vendor registration process, you can no longer edit the Vendor Legal Name field. After completing all of your edits, click Update to confirm.
Vendor Management makes it simple and easy to view active opportunities and take action on individual opportunities. For example, you can mark an opportunity as interested or submit questions to the contracting officer. When you are ready to submit your proposal, you can view instructions and required documents clearly outlined on the opportunity summary page.
Go to the Opportunities tab to browse opportunities available to your business. You will see the following details about each opportunity:
You can filter by Opportunity status, My status, Type, and Due date to focus on what you are looking for.
To mark or unmark an opportunity as interested, click the checkboxes next to each opportunity and click Mark as Interested or Mark as Uninterested. To submit a proposal for an opportunity, you will need to mark it as interested.
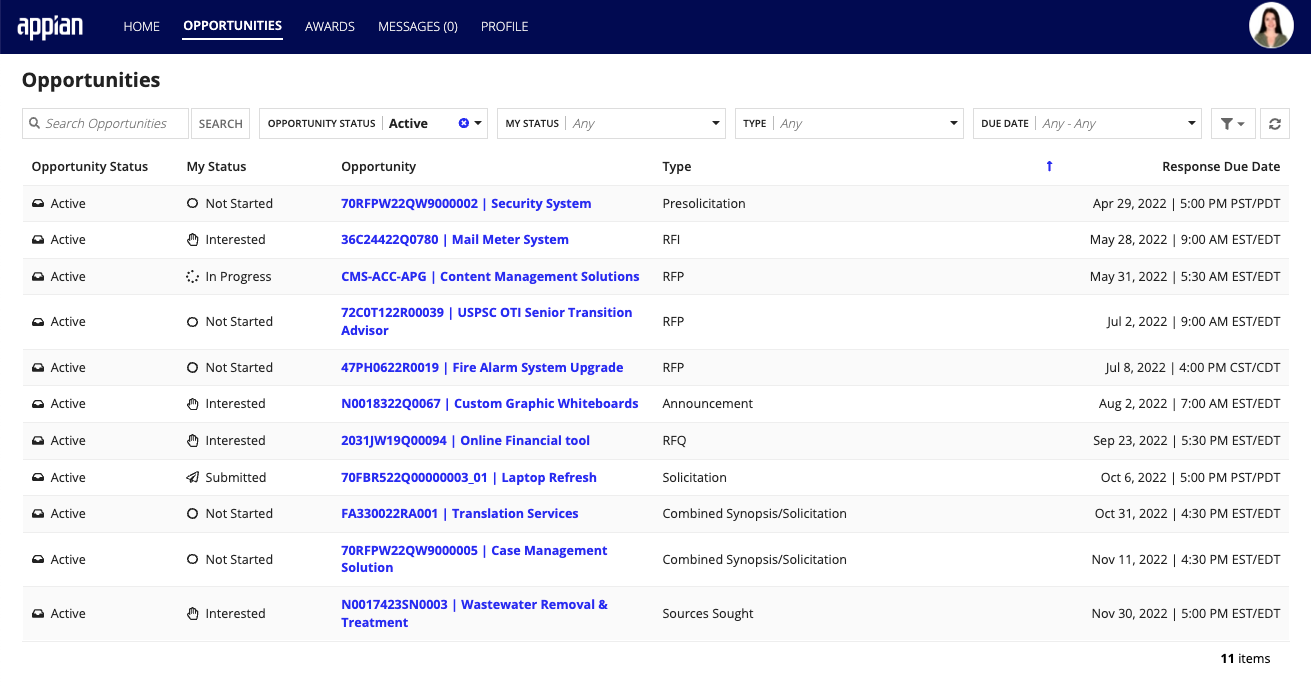
Click the opportunity name to drill through and learn more about that specific opportunity.
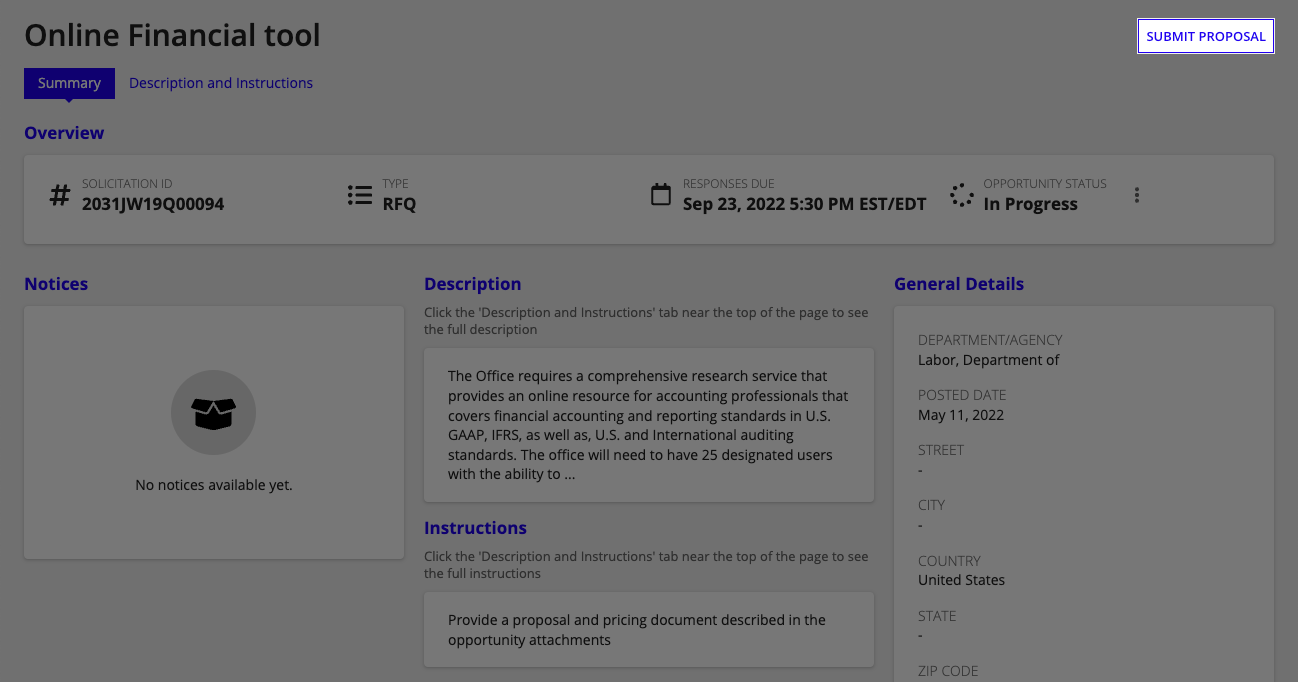
When you land on an opportunity summary view, you will see a detailed view of the opportunity's information including its description, instructions, required documents, and updates.
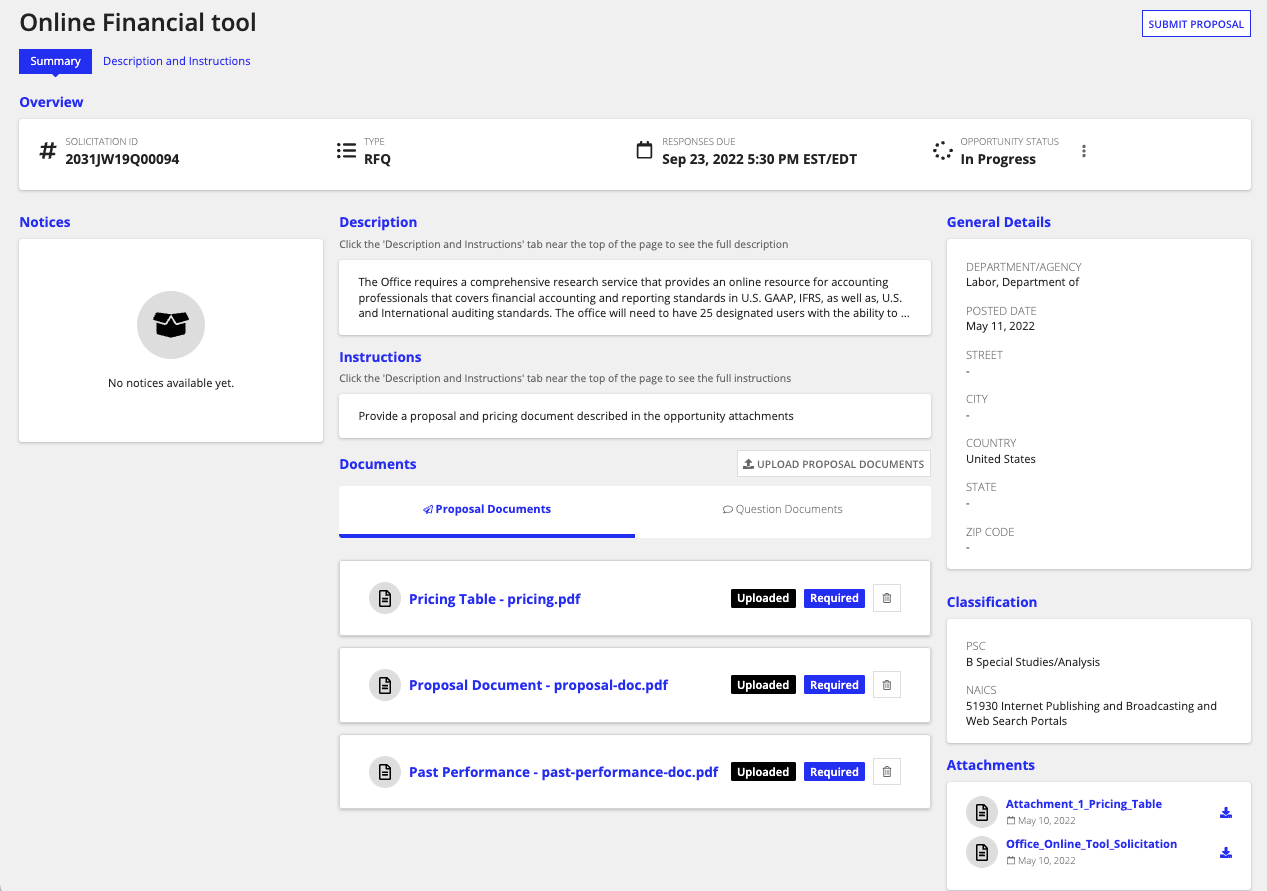
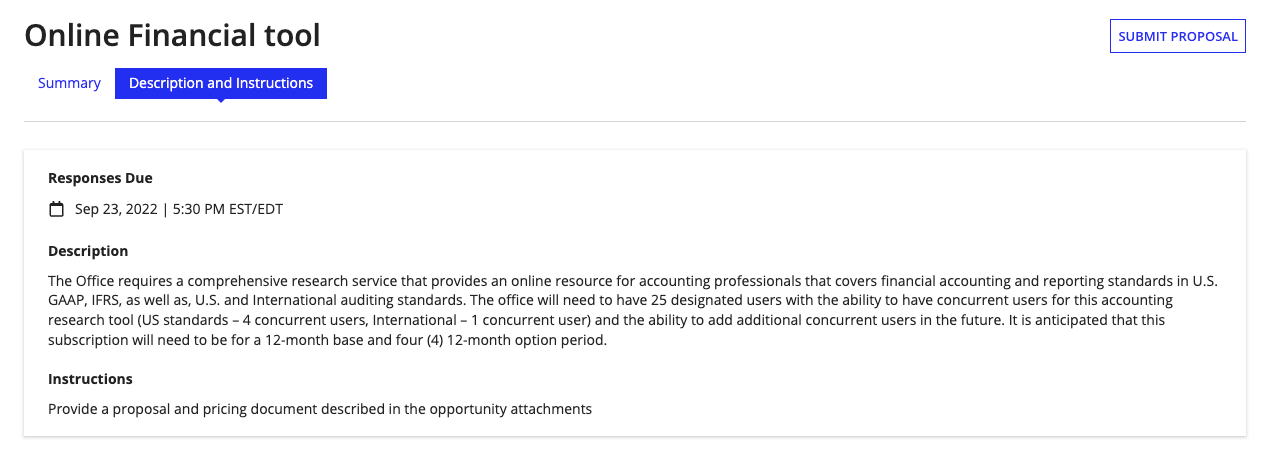
To see detailed instructions on how to successfully submit a proposal for this opportunity, click Description and Instructions.
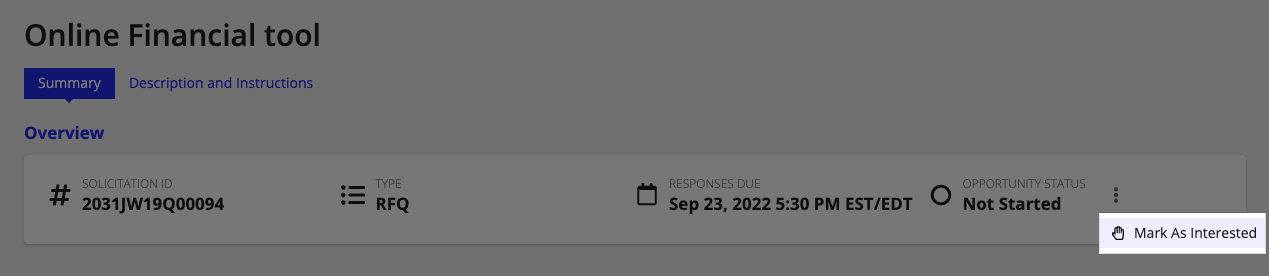
If you are interested in submitting a proposal for this opportunity, mark it as interested to initiate the process by clicking ellipse and Mark as Interested. Once you mark an opportunity as interested, you can submit question documents and required documents for your proposal.
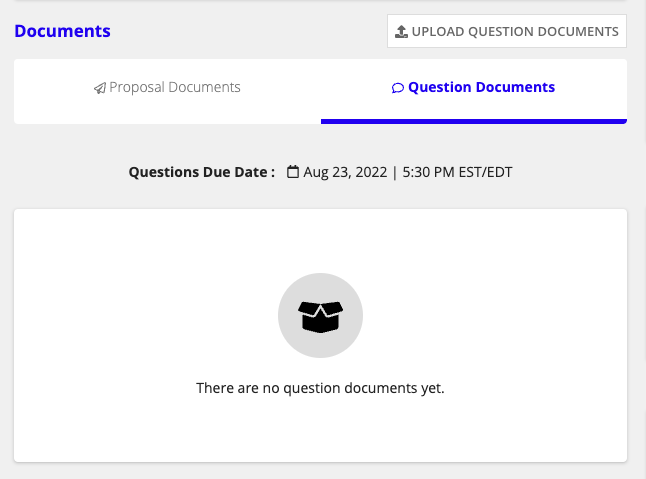
You can submit question documents about the opportunity until the questions due date. Question documents allow you to correspond with the opportunity manager and clarify any questions you have about the opportunity.
To submit a question document:
After the question documents are submitted, an update will be issued by the Contracting Officer or Manager managing that opportunity once a response is made.
In order to submit a proposal, all required documents need to be uploaded by the proposal deadline.
To view and submit required documents:
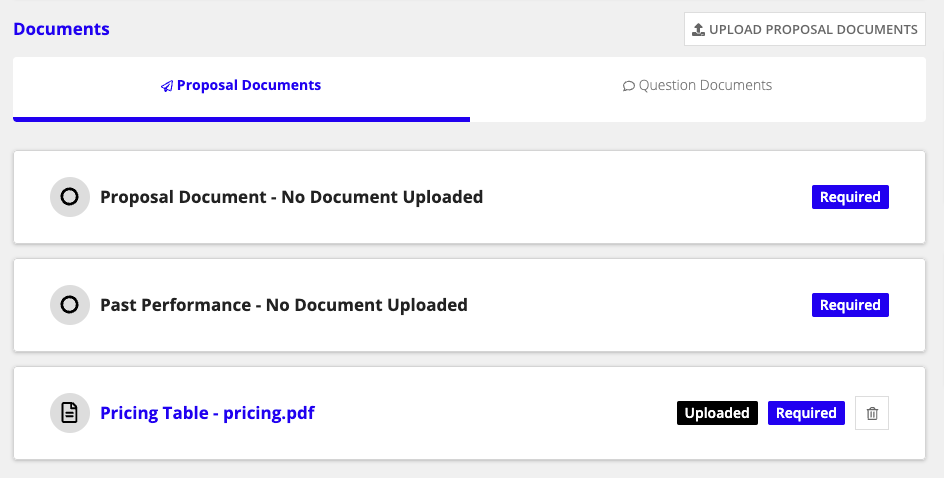
After uploading all of your required documents, you can submit your proposal to be reviewed by the contracting team by clicking SUBMIT PROPOSAL. You will receive an update with the result of your proposal once it has been viewed and processed by the contracting team.
You can see the awards allocated to your business from the Awards tab. From the list view, you can see the award name, status, vendor, and contract dates. Click the award name to drill down and learn more about that specific opportunity.
When you land on an award summary view, you will see a detailed view of the award's information including its description, award documents, funding, instructions, and updates. From the summary view, you can upload documents and correspond with the contracting officer about the award.
From the Messages tab, you can see ongoing correspondence with contracting officers or managers related to an opportunity or award. This functionality allows you to handle more of your workflow in one central location and associate existing data and documents with messages.
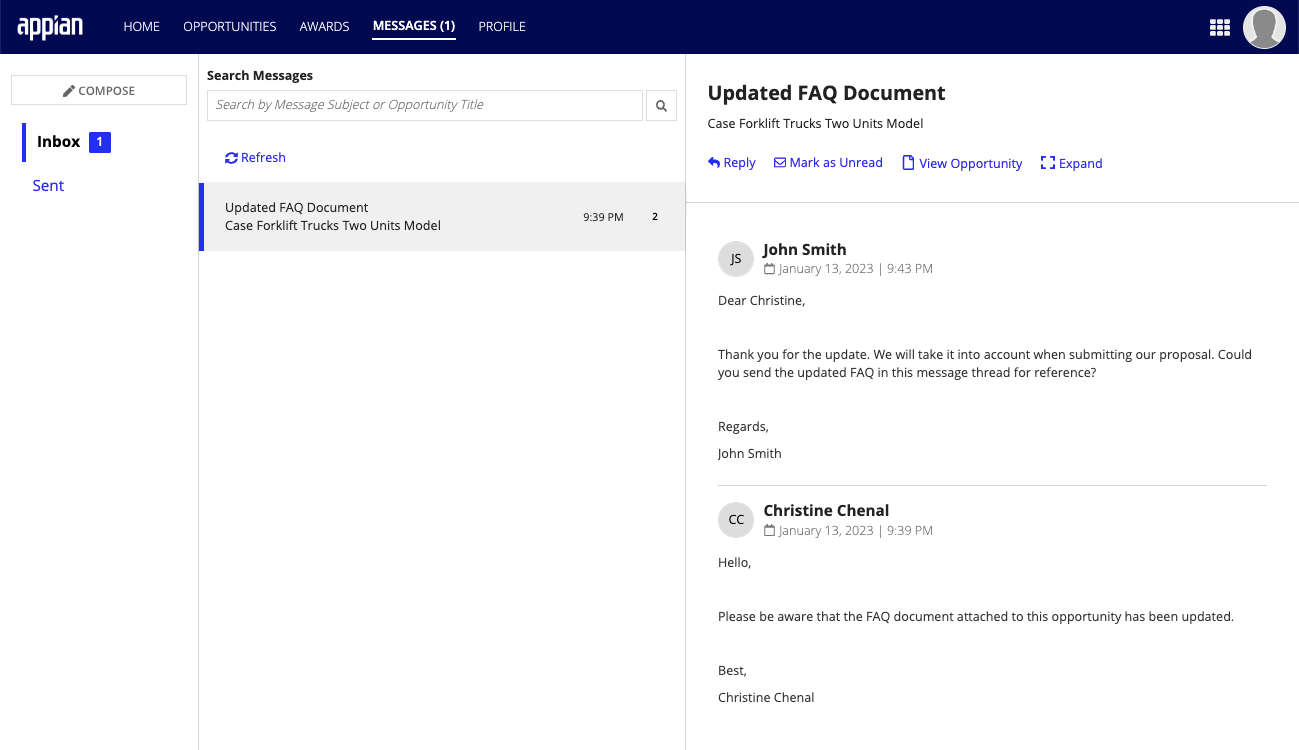
To compose a new message, go to Messages and click COMPOSE. Fill in the opportunity, subject, message, and attachments related to your message. Proposals should not be attached to a message but rather submitted through the opportunity.

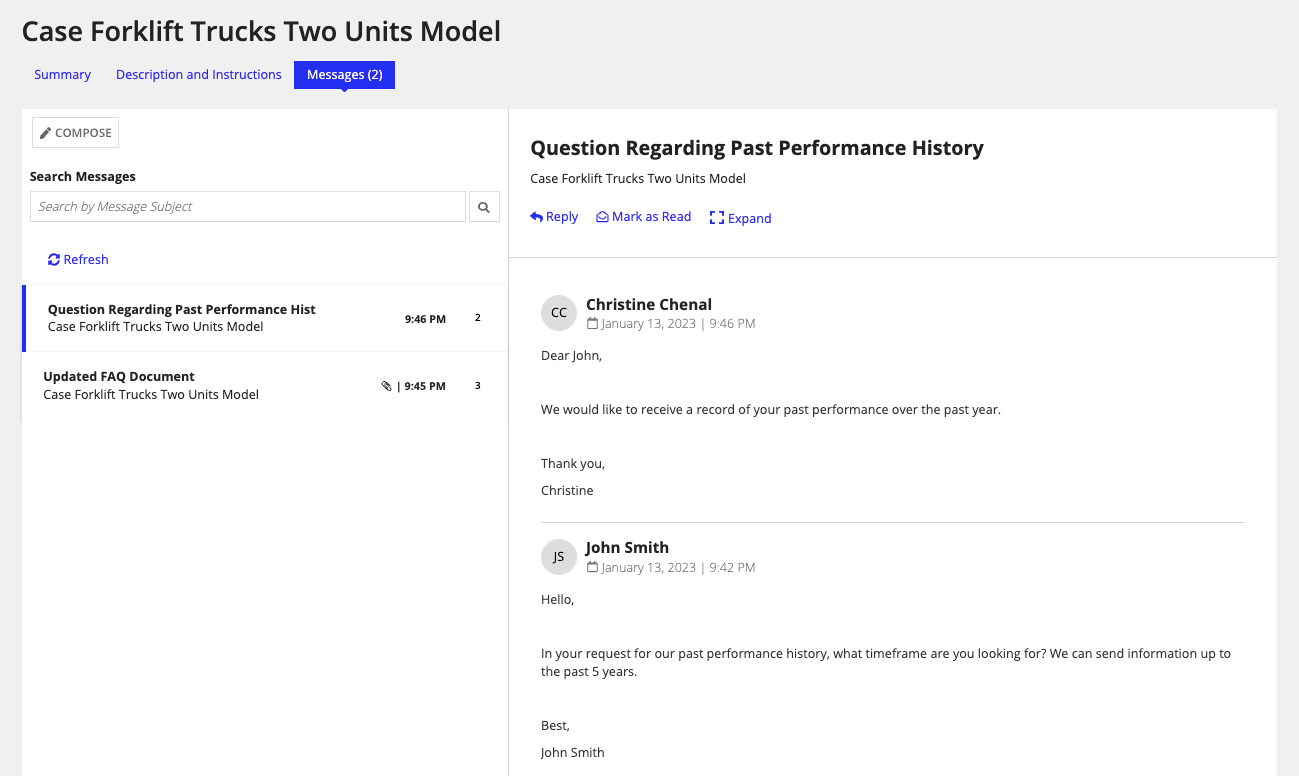
You can also view, compose, search for, and reply to opportunity specific messages from the opportunity summary page. To do so, click on an opportunity and go to the Messages tab.
Now that you have walked through this Vendor Management User Guide and understand some of the basic features and views, you can start using VM to set up your profile and browse opportunities.
Vendor Quick Start Guide
