
| This content applies solely to Connected Claims, which must be purchased separately from the Appian base platform. This content was written for Appian 24.2 and may not reflect the interfaces or functionality of other Appian versions. |
IntroductionCopy link to clipboard
The Appian Connected Claims solution transforms insurance claims management by integrating data across all systems on the Appian low-code platform, ensuring accuracy, efficiency, and superior customer experiences. This seamless integration offers a comprehensive view of each claim, streamlining processes and enhancing decision-making throughout the claims lifecycle.
This guide provides how-to instructions for installing the Connected Claims solution for the first time. If you already have Connected Claims 23.4 (version 2.0) installed in your environment, see Upgrading Connected Claims to upgrade your solution.
Before starting the installation process, review the System Requirements to ensure all minimum requirements are met and verify Appian version and database type.
When you are ready to install, perform the following steps in order:
- Requesting the software package.
- Deploying plug-ins.
- Creating database objects.
- Importing the application.
- Importing AI Skill packages
System requirementsCopy link to clipboard
- Appian platform running version 24.2 or greater.
- A supported version of MariaDB as a business data source.
- Note: Instructions below are for MariaDB databases. For use with other databases, the SQL script used in Step 3 for installing and upgrading will need to be modified.
- A supported web browser.
Verifying Appian version and database typeCopy link to clipboard
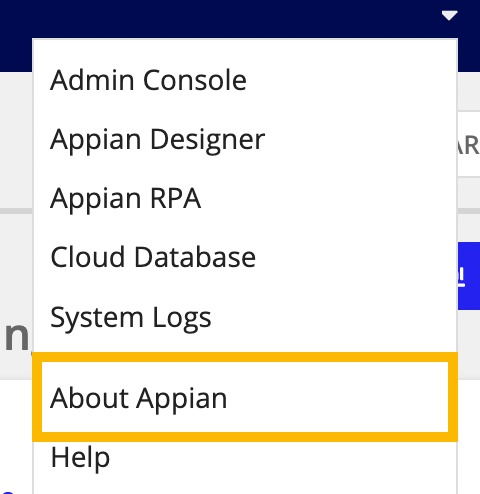
Click About Appian from the navigation bar to check the Appian platform version and database.
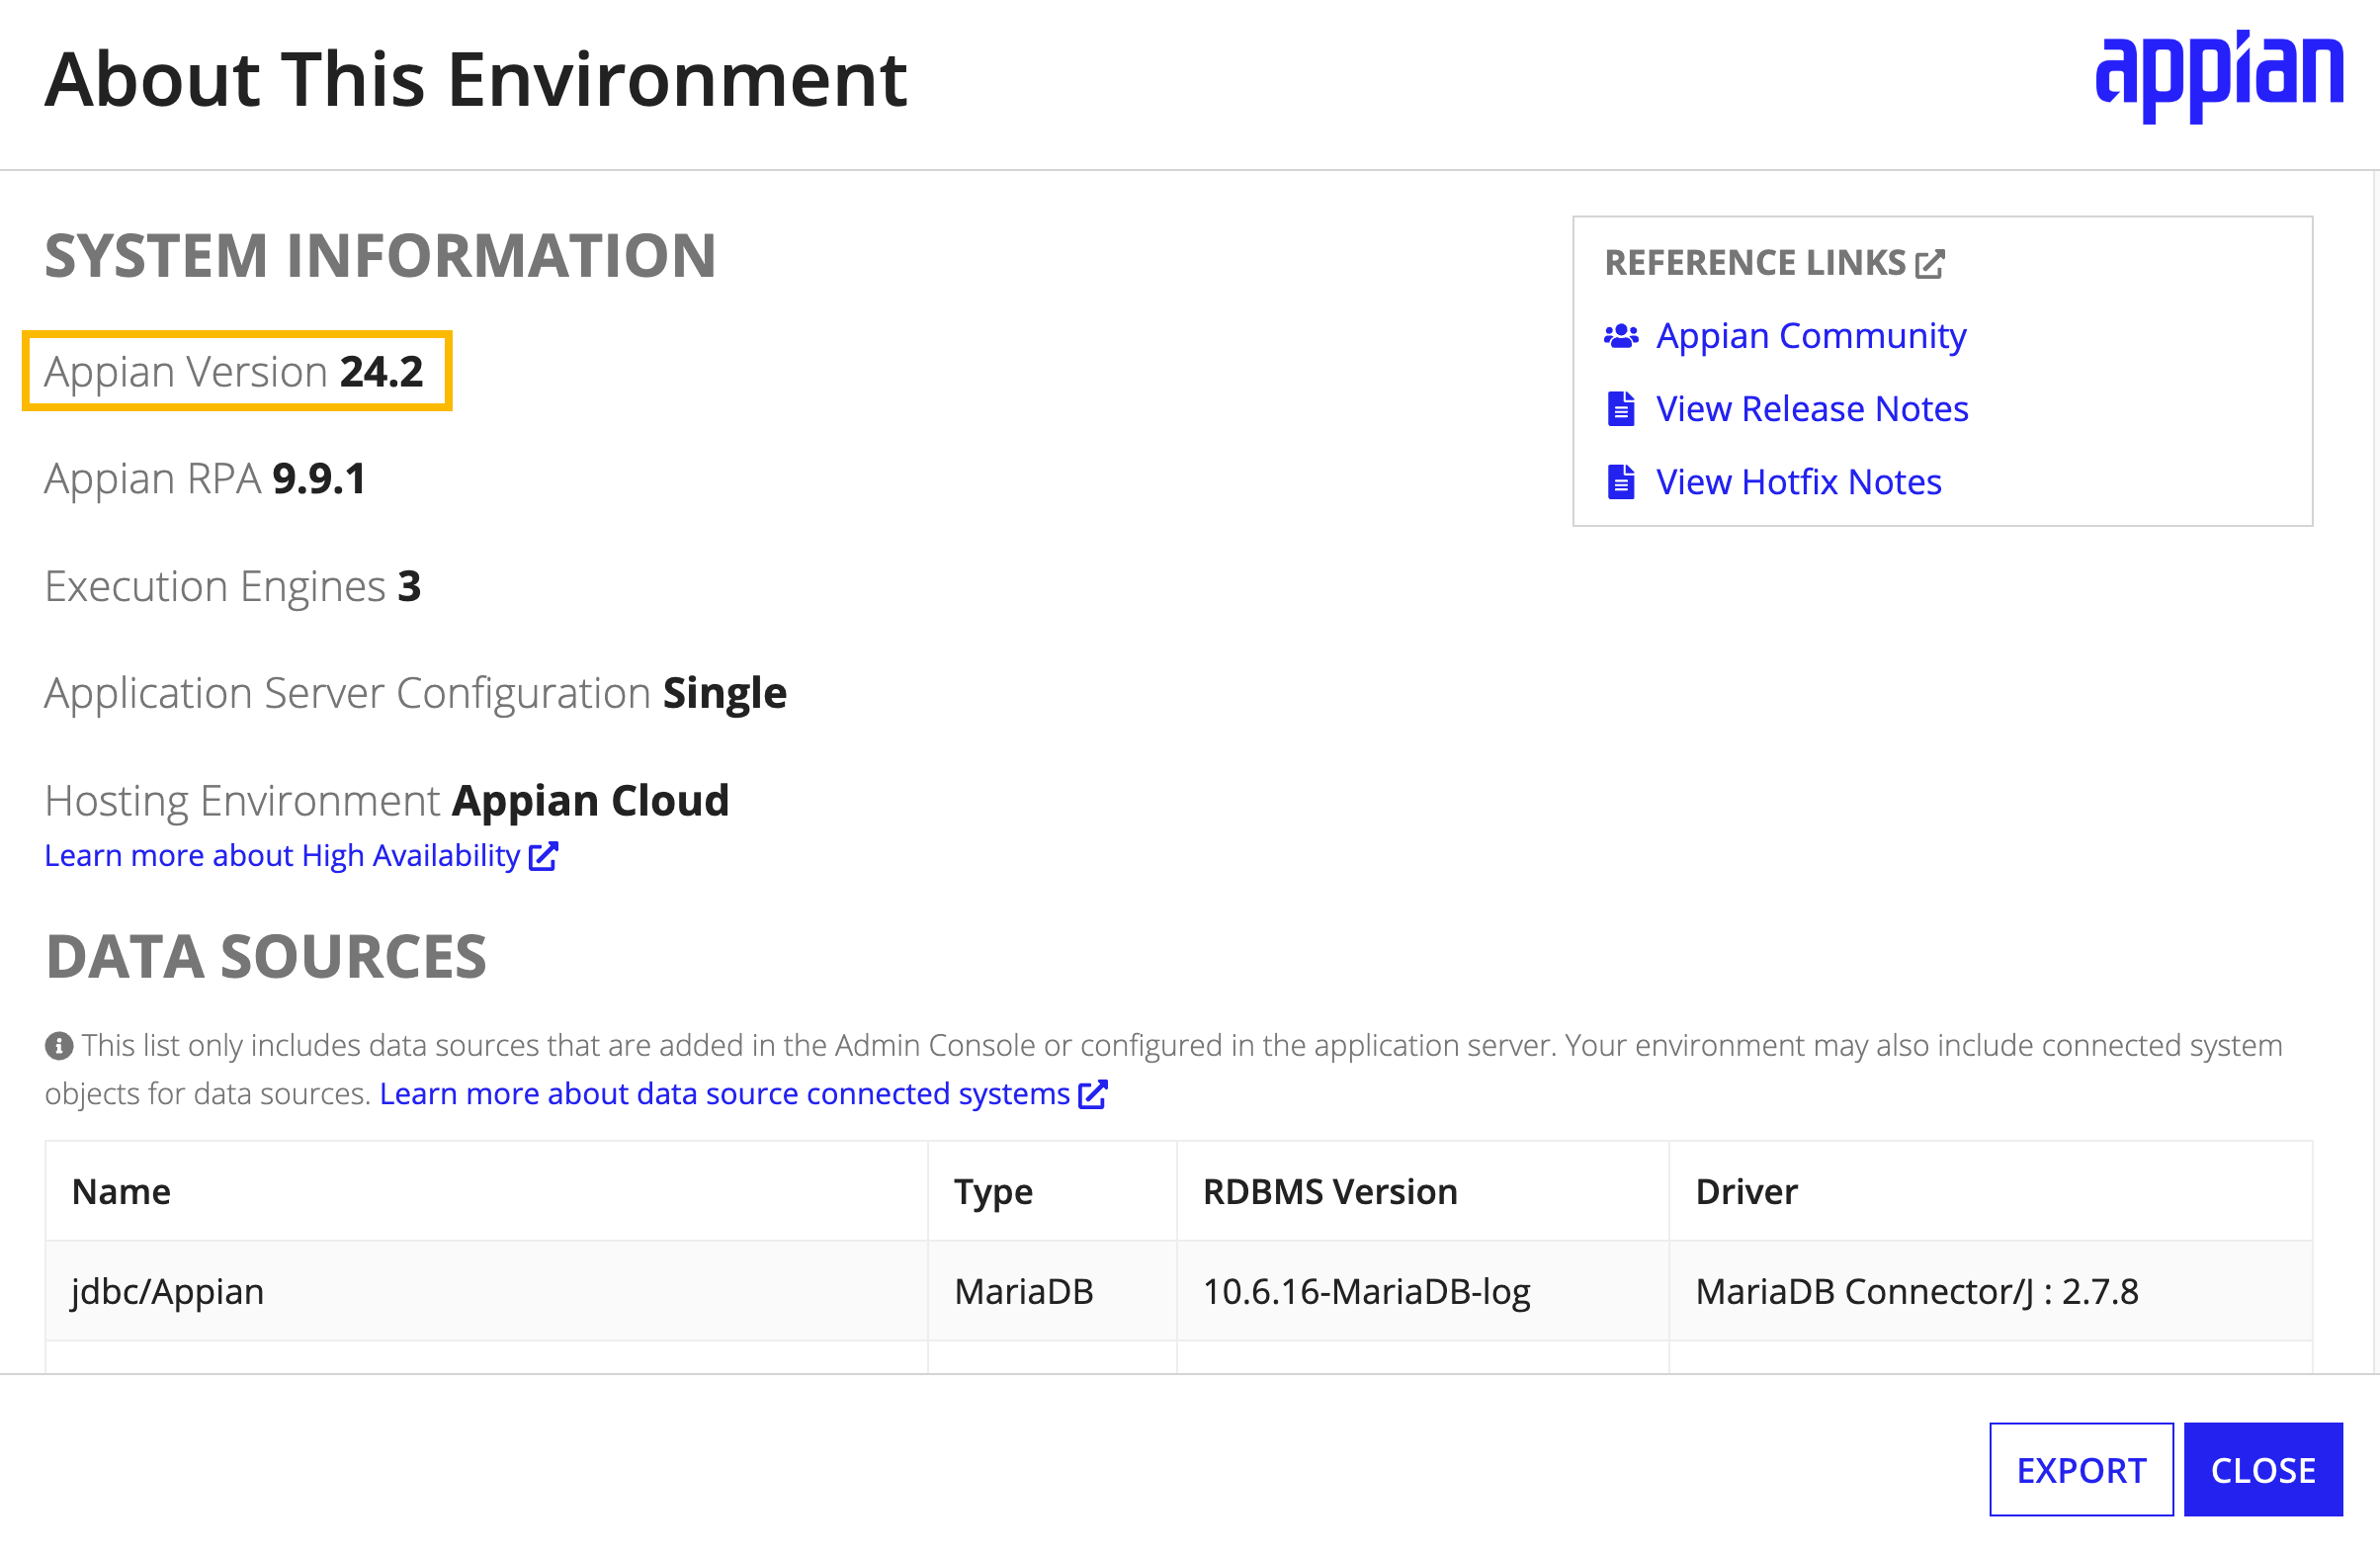
Refer to the Appian Version number under System Information.
To check the solution version, search for the ISU_TXT_APP_VERSION constant from Appian Designer.
Technical supportCopy link to clipboard
During the installation, if you experience any technical difficulty, log into Appian Community and open a support case. All users of Connected Claims can also email Appian Support at support@appian.com.
Step 1: Requesting the software packageCopy link to clipboard
The first step in installing Appian Connected Claims is to contact Appian Support at support@appian.com to request and obtain the software package containing the following files.
- Connected Claims 24.2.1.0.0 - Database Scripts.sql: SQL script for creating the database objects needed for the Connected Claims application.
- Connected Claims 24.2.1.0.0 - Insert Script and Constraints.sql: Database insert scripts and constraints.
- Connected Claims 24.2.1.0.0.zip: Application package to import into Appian.
- Connected Claims_24.2.1.0.0 - Demo Driver.zip: Demo driver to lead test and sample data and configuration files for logging claims and testing or demoing Connected Claims.
- Connected Claims 24.2.1.0.0.properties: Import customization file for configuring the solution package.
- ConnectedClaimsv24.2.1.0.0-AdminConsole.zip: Admin console package to import into Appian
- ConnectedClaimsv24.2.1.0.0-AdminConsole.properties: Import customization file for configuring the Admin Console imports.
- AI Skill packages:
- Connected Claims 24.2.1.0.0_AI Skill 1.zip
- Connected Claims 24.2.1.0.0_AI Skill 2.zip
- Connected Claims 24.2.1.0.0_AI Skill 3.zip
- Connected CLaims 24.2.1.0.0_AI Skill 4.zip
After you obtain the Connected Claims software package, you will unzip the files and use them in the remaining setup steps.
Step 2: Deploying plug-insCopy link to clipboard
Connected Claims relies on the following plug-ins to be deployed and configured in the target system before you can import the application files. Download the plug-ins from the Appian AppMarket.
|
|
Appian Cloud environmentsCopy link to clipboard
To deploy the plug-ins for an Appian Cloud environment:
- In the target environment, log in as the deployment user.
- Navigate to the Admin Console.
- On the left side of the console, click Plug-ins.
- Click ADD PLUG-INS.
- Search for and click
Appian Solutions. - Click DEPLOY.
- Search for and click on one of the plug-ins listed above.
- Repeat these steps to deploy each plug-in.
Self-managed environmentsCopy link to clipboard
To deploy the plug-ins for a self-managed environment:
- Download the plug-ins from the Appian AppMarket.
- Follow the Deploying Plug-ins instructions to deploy the plug-ins.
Step 3: Creating database objectsCopy link to clipboard
You will need to run a DDL script in your database to create the structure for the tables, views, and other objects that are a part of the Connected Claims application.
To create the database objects:
- In your MariaDB business database, import and run the
Connected Claims 24.2.1.0.0 - Database Scripts.sqlandConnected Claims 24.2.1.0.0 - Insert Script and Constraints.sqlDDL files you requested in Step 1.
Step 4: Importing the applicationCopy link to clipboard
Next, import the application files into the target environment.
To import the application:
- In the target environment, log in as the deployment user.
- Navigate to the Appian Designer.
- Click IMPORT.
- Click UPLOAD and choose the ConnectedClaimsv24.2.1.0.0.application.zip file you requested in Step 1.
- Select Include related import customization file and click UPLOAD. Select the ConnectedClaimsv24.2.1.0.0.application.properties file you requested in Step 1.
- Note: If you have credentials for any integrations, you may include them in the properties file.
- Click INSPECT To ensure that there will be no complications on import.
- Note: Inspection could take several minutes and may time out. If this occurs, the import will continue in the background.
- Click IMPORT.
- Note: The import may time out due to file size. If this occurs, the import will continue in the background.
- Review the import results.
Note: If the business database is not called Appian, a warning will occur when inspecting/importing the data stores. To fix this, open each data store object and update the Data Source after the import.
Step 5: Importing AI Skill packagesCopy link to clipboard
Next, import the AI Skill packages into the target environment.
To import a package:
- In the application, click IMPORT PACKAGE.
- Upload one of the following ZIP files.
- Connected Claims _ AI Skill 1.zip
- Connected Claims _ AI Skill 2.zip
- Connected Claims _ AI Skill 3.zip
- Click INSPECT and review the inspection results.
- Click IMPORT PACKAGE.
- Repeat these steps for each AI Skill package.
Next stepsCopy link to clipboard
Now that the solution is installed and the database is set up, you will want to configure the solution for your organization's needs. How to Configure Connected Claims outlines the steps you will need to take to modify the solution to work with your organization's requirements.
Additional specifications, such as branding and timezone, can be set in the Appian Admin Console.