| The capabilities described on this page are included in Appian's standard capability tier. Usage limits may apply. |
The Appian RPA console is the command center for your automation environment. This page describes how to find the areas in the console where you can complete common tasks.
When you log in to Appian, you're automatically logged in to Appian RPA. To access the Appian RPA console, navigate your browser to the following URL:
https://yoursite.example.com/rpa
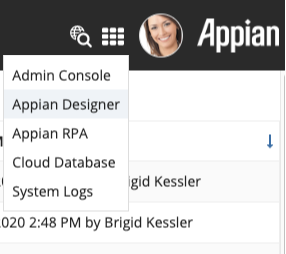
You can also access the console through the Appian navigation menu.
You'll see additional tabs in the Appian RPA console. Each tab shows information about your Appian RPA environment and allows you to take actions, detailed below.
You can create and manage robots from the Operations Console.
Tip: All timestamps shown in the console refer to the console's defined time zone (UTC -4) and not the user's local time.
Required role: Administrator
If your Appian RPA environment is undergoing maintenance or may not be available at a certain time, administrators can create a message to display to all users when they open the console.
To show or hide an information message:
Required role: Developer or Administrator
When performing maintenance, administrators can temporarily disable execution of all robotic tasks in Appian RPA.

To enable or disable the execution of robotic tasks:
Note: The Appian 23.3 release introduced the ability to create, manage, and deploy robotic tasks as design objects directly from Appian Designer. For more information, see the Migration Guide: Moving from Appian RPA Console to Appian Designer.
You can create a robotic task in the Appian RPA console from multiple tabs, including the Dashboard and the Robotic tasks tab. To get started, click the Create robotic task icon in the toolbar.
See Create a Robotic Task for more detailed instructions.
You may want to import a robotic task from another environment during development. Click the Import robotic task icon in the toolbar.
See Import a robotic task for more detailed instructions.
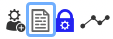
Once you create a robotic task, you need to configure the actions it takes, the order it should follow, and how data flows into and out of it. All of these details are determined in the robotic task configuration. You can access the robotic task configuration page by clicking the Configure icon wherever it appears for the robotic task, usually in lists or in the toolbar menu.

See Configure a Robotic Task for more detailed instructions.
You can start a new execution multiple places in the console. For example, to start an execution from the robotic task configuration page, click the Execute icon ![]() in the toolbar:
in the toolbar:

See Ways to Execute a Robotic Task for more information and additional execution options.
Required role: Administrator
The Repositories screen on the Robotic tasks tab allows you to manage the Maven repositories that robotic tasks use. During execution, the robotic task needs to download dependencies from these Maven repositories to successfully execute on the robot.
To get started, click the Repositories icon in the toolbar:

See Manage Repositories for more information about adding and deleting repositories.
You'll see many lists in the Appian RPA console: robotic tasks, executions, libraries, and repositories, just to name a few. Some of these lists contain valuable information and can be quite long.
To help you use this information outside of the console, you can filter the lists to show information you're interested in. Then, you can export the list to access the information in your chosen file format.
Export icons appear at the bottom of most lists, along with pagination options:
![]()
See Filter and Export Lists for details about managing lists.
On the Dashboard, you'll see the list of robotic tasks that are currently running or queued to run. This list is only available when there is at least one robotic task running.


Use any column to sort the list. By default, the list is sorted by execution priority. You'll see the following information in the list:
You can also see the execution's progress in this list. Use the pause button to pause a robotic task or the stop button to end it.
See View the execution log for more detailed instructions.
Credentials are a secure way to store usernames and passwords that robotic tasks might need to log in to external systems. You can use the Appian RPA console to store, reference, and update credentials.
In the toolbar on the Robotic tasks tab, click the Credentials icon to manage credentials:
See Manage Credentials for more detailed instructions.
A workflow library is a small piece of custom code that provides generic functionality. Libraries are useful because they provide actions that can be reused in a robotic task's workflow or source code to perform certain operations. For example, a library could establish a VPN or proxy connection. Learn more about how libraries are used in robotic tasks.
Appian RPA provides charts and reports to summarize information regarding executions and queue results.

See View Charts and Reports for more detailed instructions.
Required role: Administrator
To access Appian RPA customization and configuration, click Settings > Configuration in the left pane.
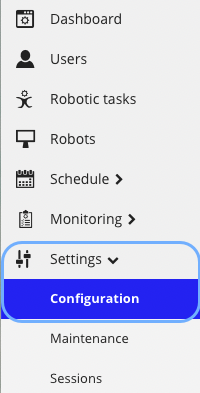
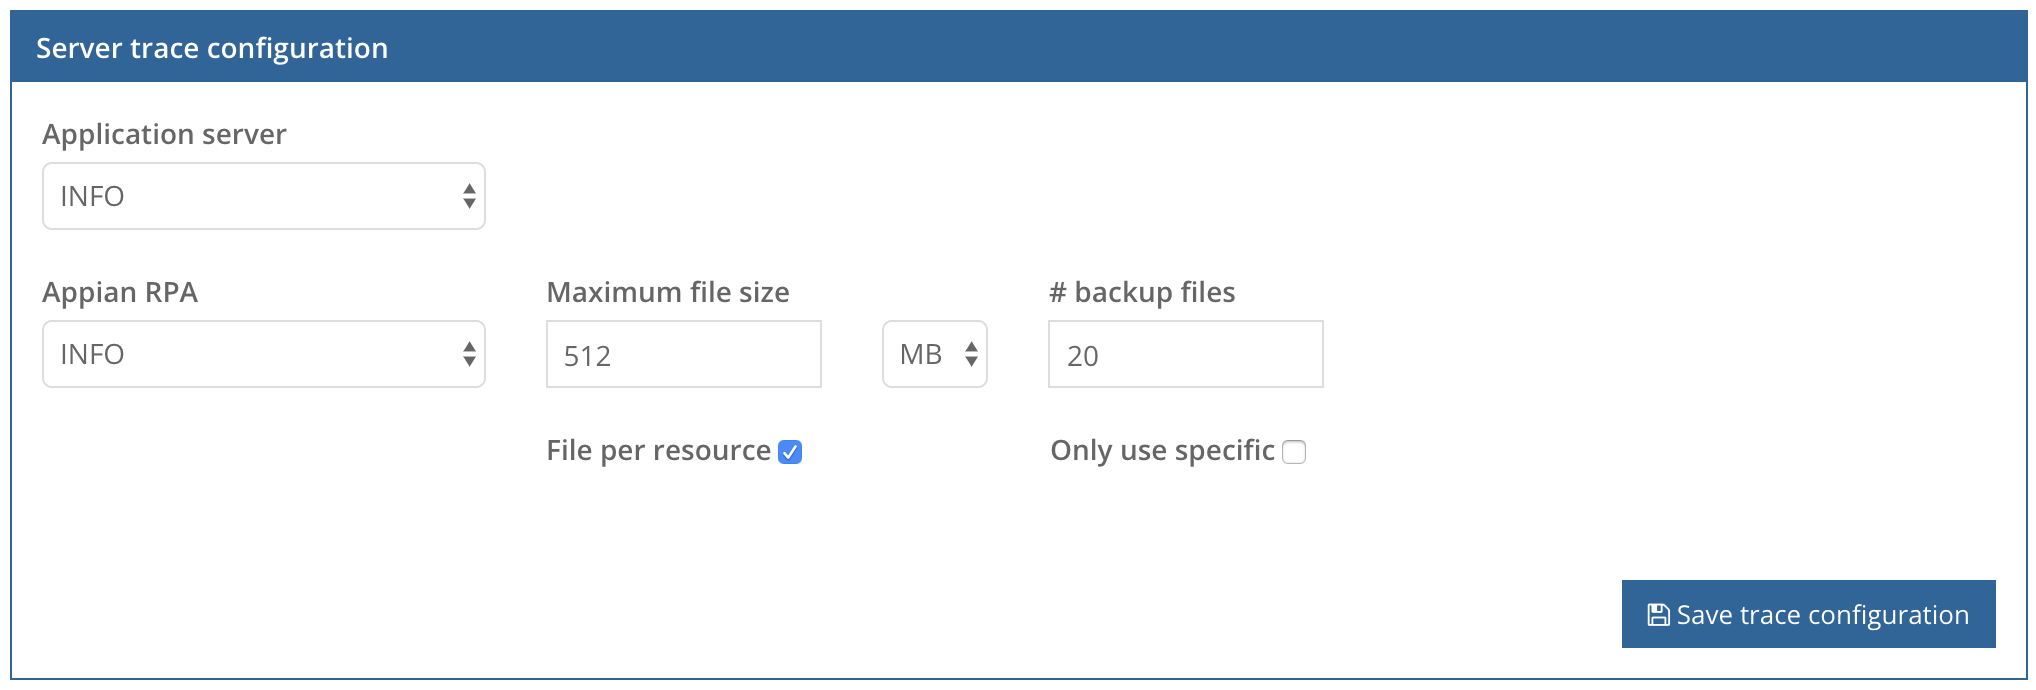
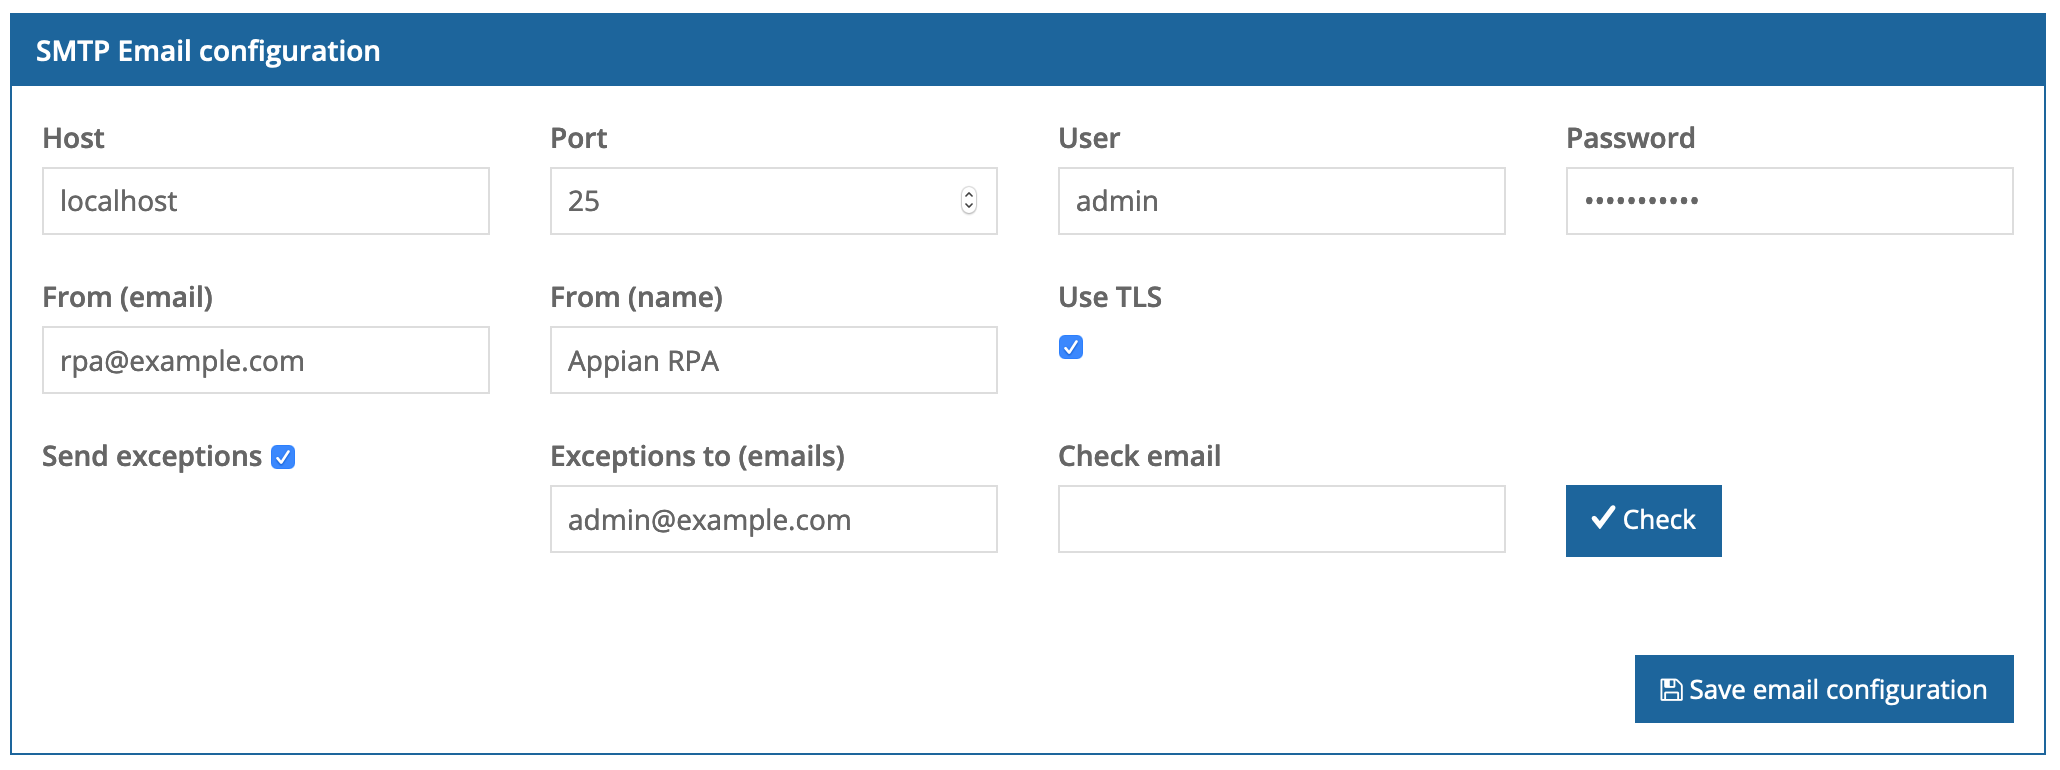
From here, you can view and manage things like the console license, customization, restart configuration, security policies, SMTP email configuration, server trace configuration, as well as other types of maintence.
See Console Configuration for more detailed information and instructions.
Under the Monitoring tab, you can manage actions and events in the Appian RPA console.
Actions are operational steps the console can take when certain criteria are met, using Events as the trigger. For example, you can configure the console to send an email to a person or group of people when a robotic task begins or ends.
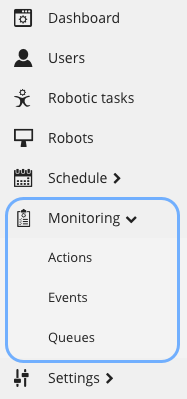
Events are used to launch actions, but they are also logged in the console so administrators have a comprehensive view of what actions occur and when.
The following table described each event that can be triggered within the console:
| Event | Description |
|---|---|
| API_FILE_INVOKED | The FILE API is called. This method isn't recommended because it was developed specifically for legacy systems not supporting REST API. It is strongly recommended to use the REST API whenever is possible. |
| API_INVOKED | The main methods of the console's REST API are invoked. |
| BACKUP_END | The backup process of the console ends. |
| BACKUP_START | The backup process of the console starts. |
| COMMAND_ON_SESSION | A remote control command is received, either activating the microphone in the browser (only for Chrome) or using the mobile application. |
| CONSOLE_LIVE | The console is started. |
| CONSOLE_LOW_FREE_HARD_DISK_SPACE | The free disk space is under the threshold defined for the console in Settings > Configuration. |
| EXECUTION_NEEDLESS | An execution is self-removed after it ends. |
| EXECUTION_ROBOT_FEATURE_DISABLED | The execution of robotic tasks is disabled on the console. |
| EXECUTION_ROBOT_FEATURE_ENABLED | The execution of robotic tasks is enabled on the console. |
| FORGOT_CREDENTIALS | A user asks for an email to reset credentials. |
| LOGIN_FORM | A user logs into the console. |
| LOGIN_FAILURE | A login attempt to the console is unsuccessful. |
| LOGOUT | A user logs out of the console. |
| NODE_CONTAINER_START | A container is started. |
| NODE_CONTAINER_STOP | A container is stopped. |
| NODE_DISABLED | A robot is disabled. |
| NODE_ENABLED | A robot is enabled. It occurs when it connects to the console and shows as Enabled. |
| NODE_LIMIT_MEMORY | A robot has reached its maximum specified memory. |
| NODE_LOCKED | A robot is locked (a user needs to log in). |
| NODE_LOW_FREE_HARD_DISK_SPACE | The free disk space for the robot is under the threshold defined in Robot detail page. |
| NODE_OFFLINE | The console detects that a robot has gone offline. |
| NODE_ONLINE | A specific agent instance is successfully registered. The agent is started on a robot and connects to the console. |
| NODE_UNLOCKED | A robot has been unlocked. |
| REMOVE_LOG_FILE | A user removed a log file through the maintenance page on the RPA console. |
| REPORT_FINISHED | A report was generated and is available for download. |
| ROBOT_ABORTED | A robotic task execution is aborted. |
| ROBOT_END | A robotic task ends its execution. |
| ROBOT_EVENT | This event is specifically triggered by the robots through the platform API. It allows you to monitor specific situations notified by the robots to the platform. |
| ROBOT_EXECUTION_DISABLED | An attempt was made to run a robotic task whose execution is disabled on setup, or that is out of its execution schedule. |
| ROBOT_SCHEDULE | A robotic task is queued for execution. |
| ROBOT_SCHEDULE_WITHOUT_NODE | An execution has been queued for more than a specific amount of time without being executed. |
| ROBOT_START | A robotic task starts its execution. |
| SCHEDULE | This event is generated at a specific configured time, being able to associate any action. |
Required role: Administrator
To access Appian RPA customization and configuration, click Settings > Configuration in the left pane.

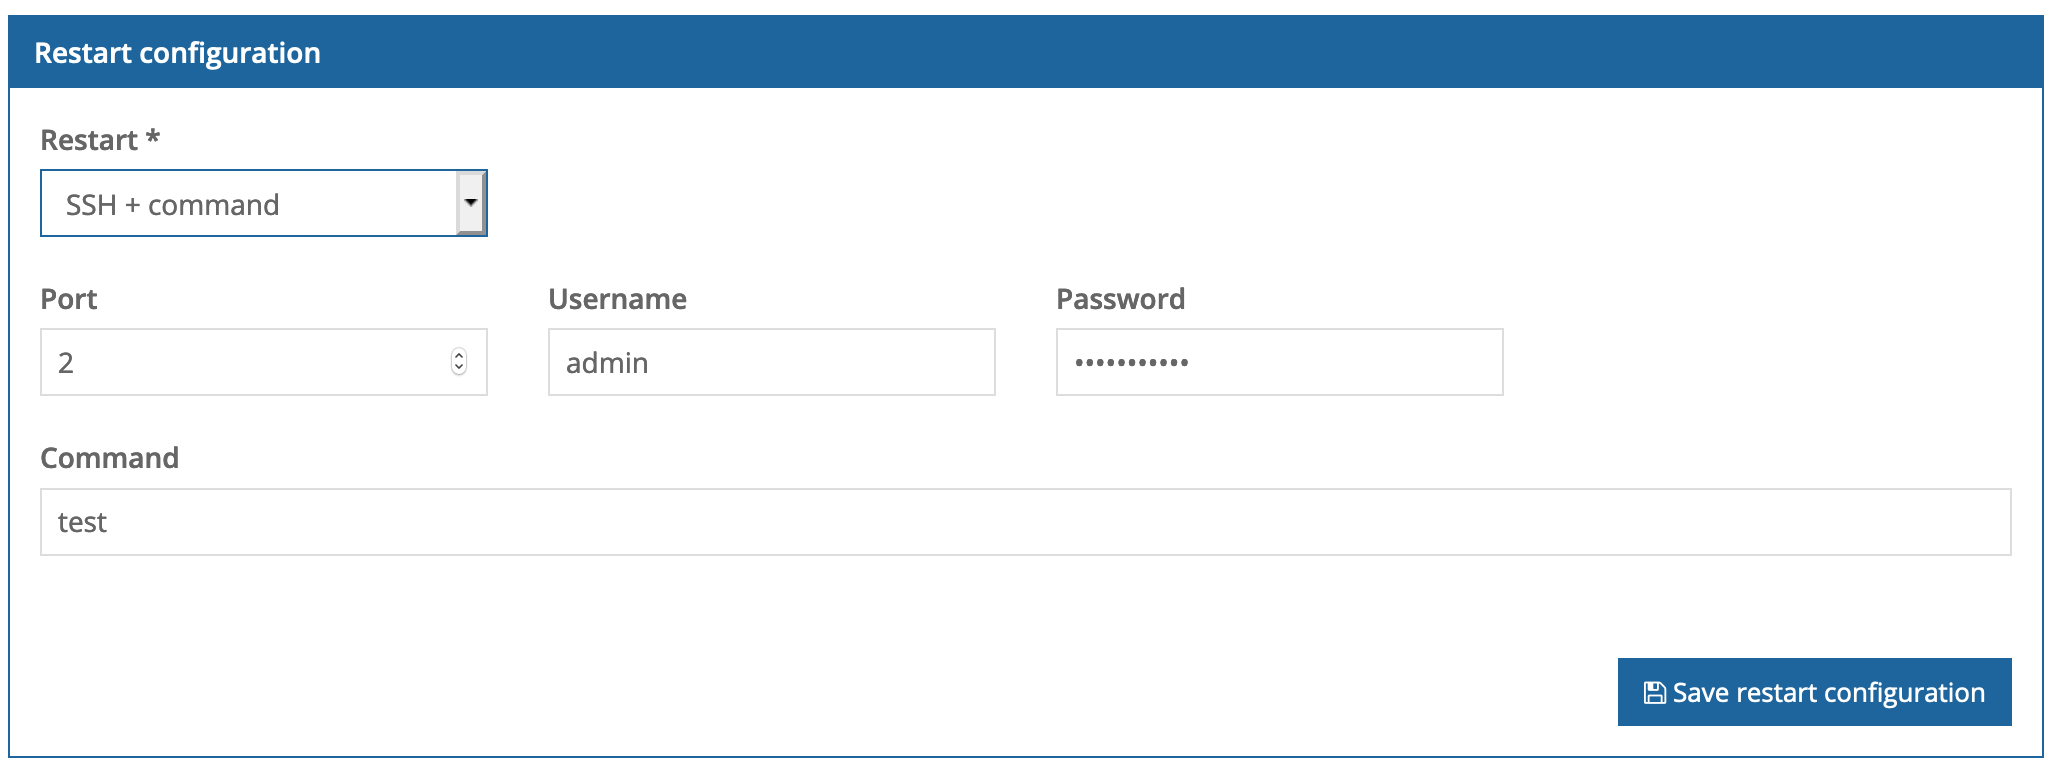
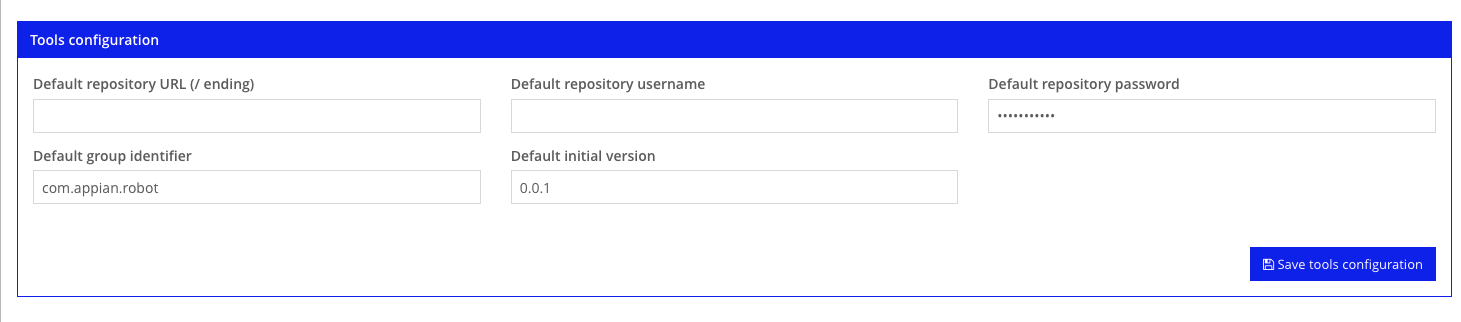
Tools configuration: This area shows information for the tools connected to Appian RPA to develop and execute robotic tasks, such as Maven.
Caution: The fields are populated with default information. Do not change these settings.