This page provides guidance on which data source option to select based on where your source data lives and how to configure the data source when you first create a record type.
Using data modeling concepts and a guided experience, the record type object makes it easy for you to bring in the data you need to create an application that simplifies and streamlines your business processes.

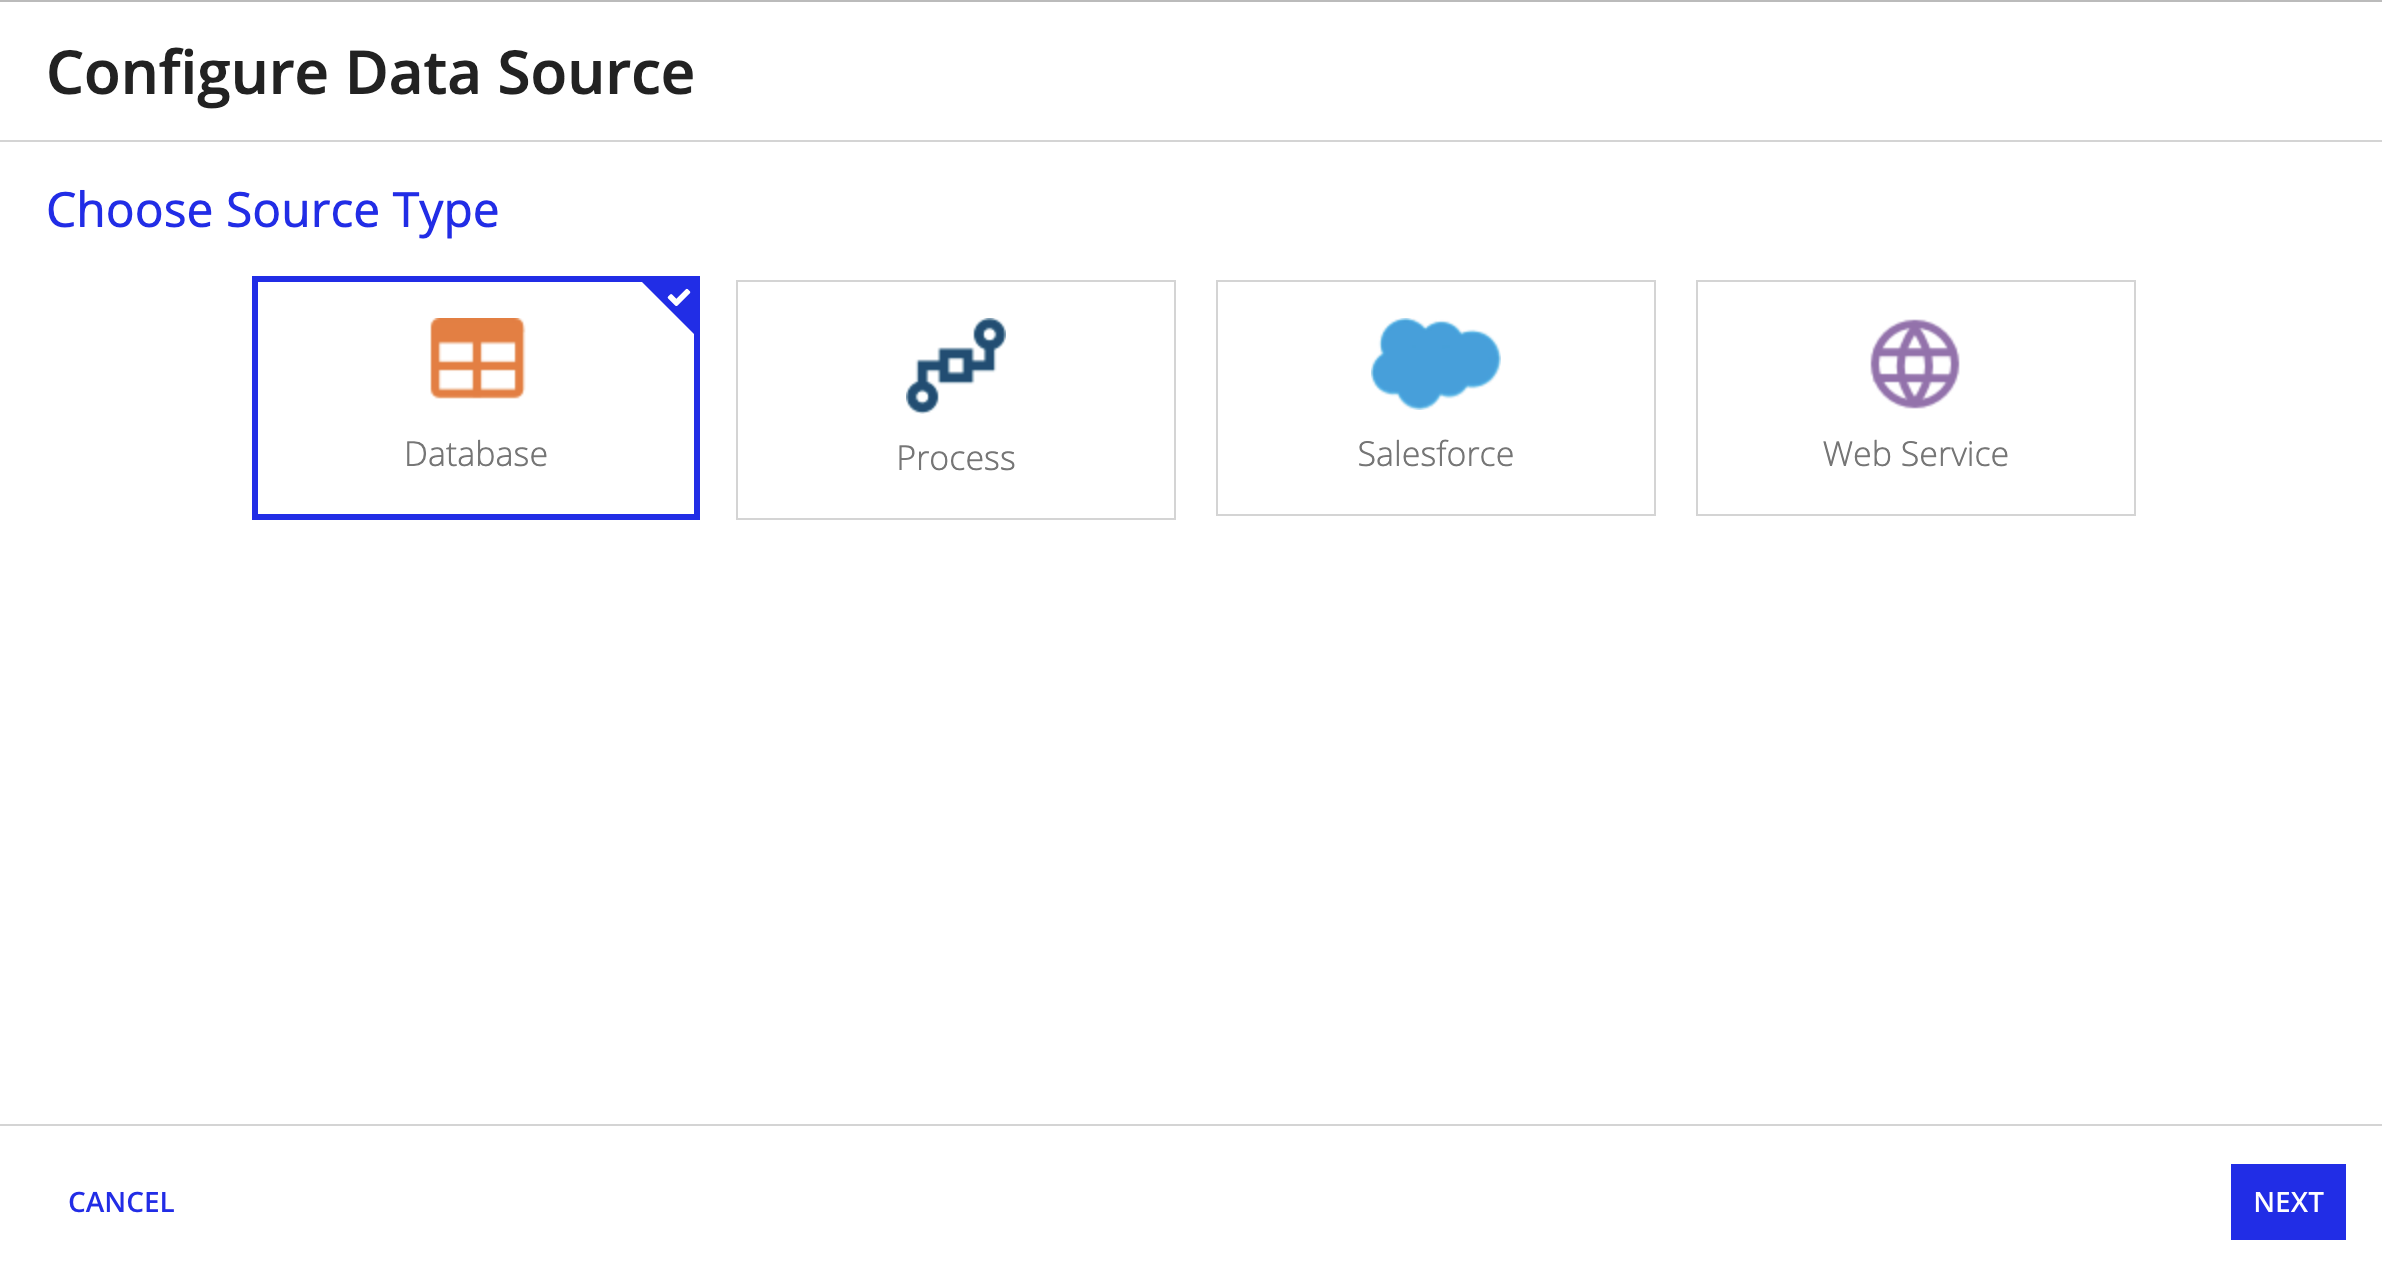
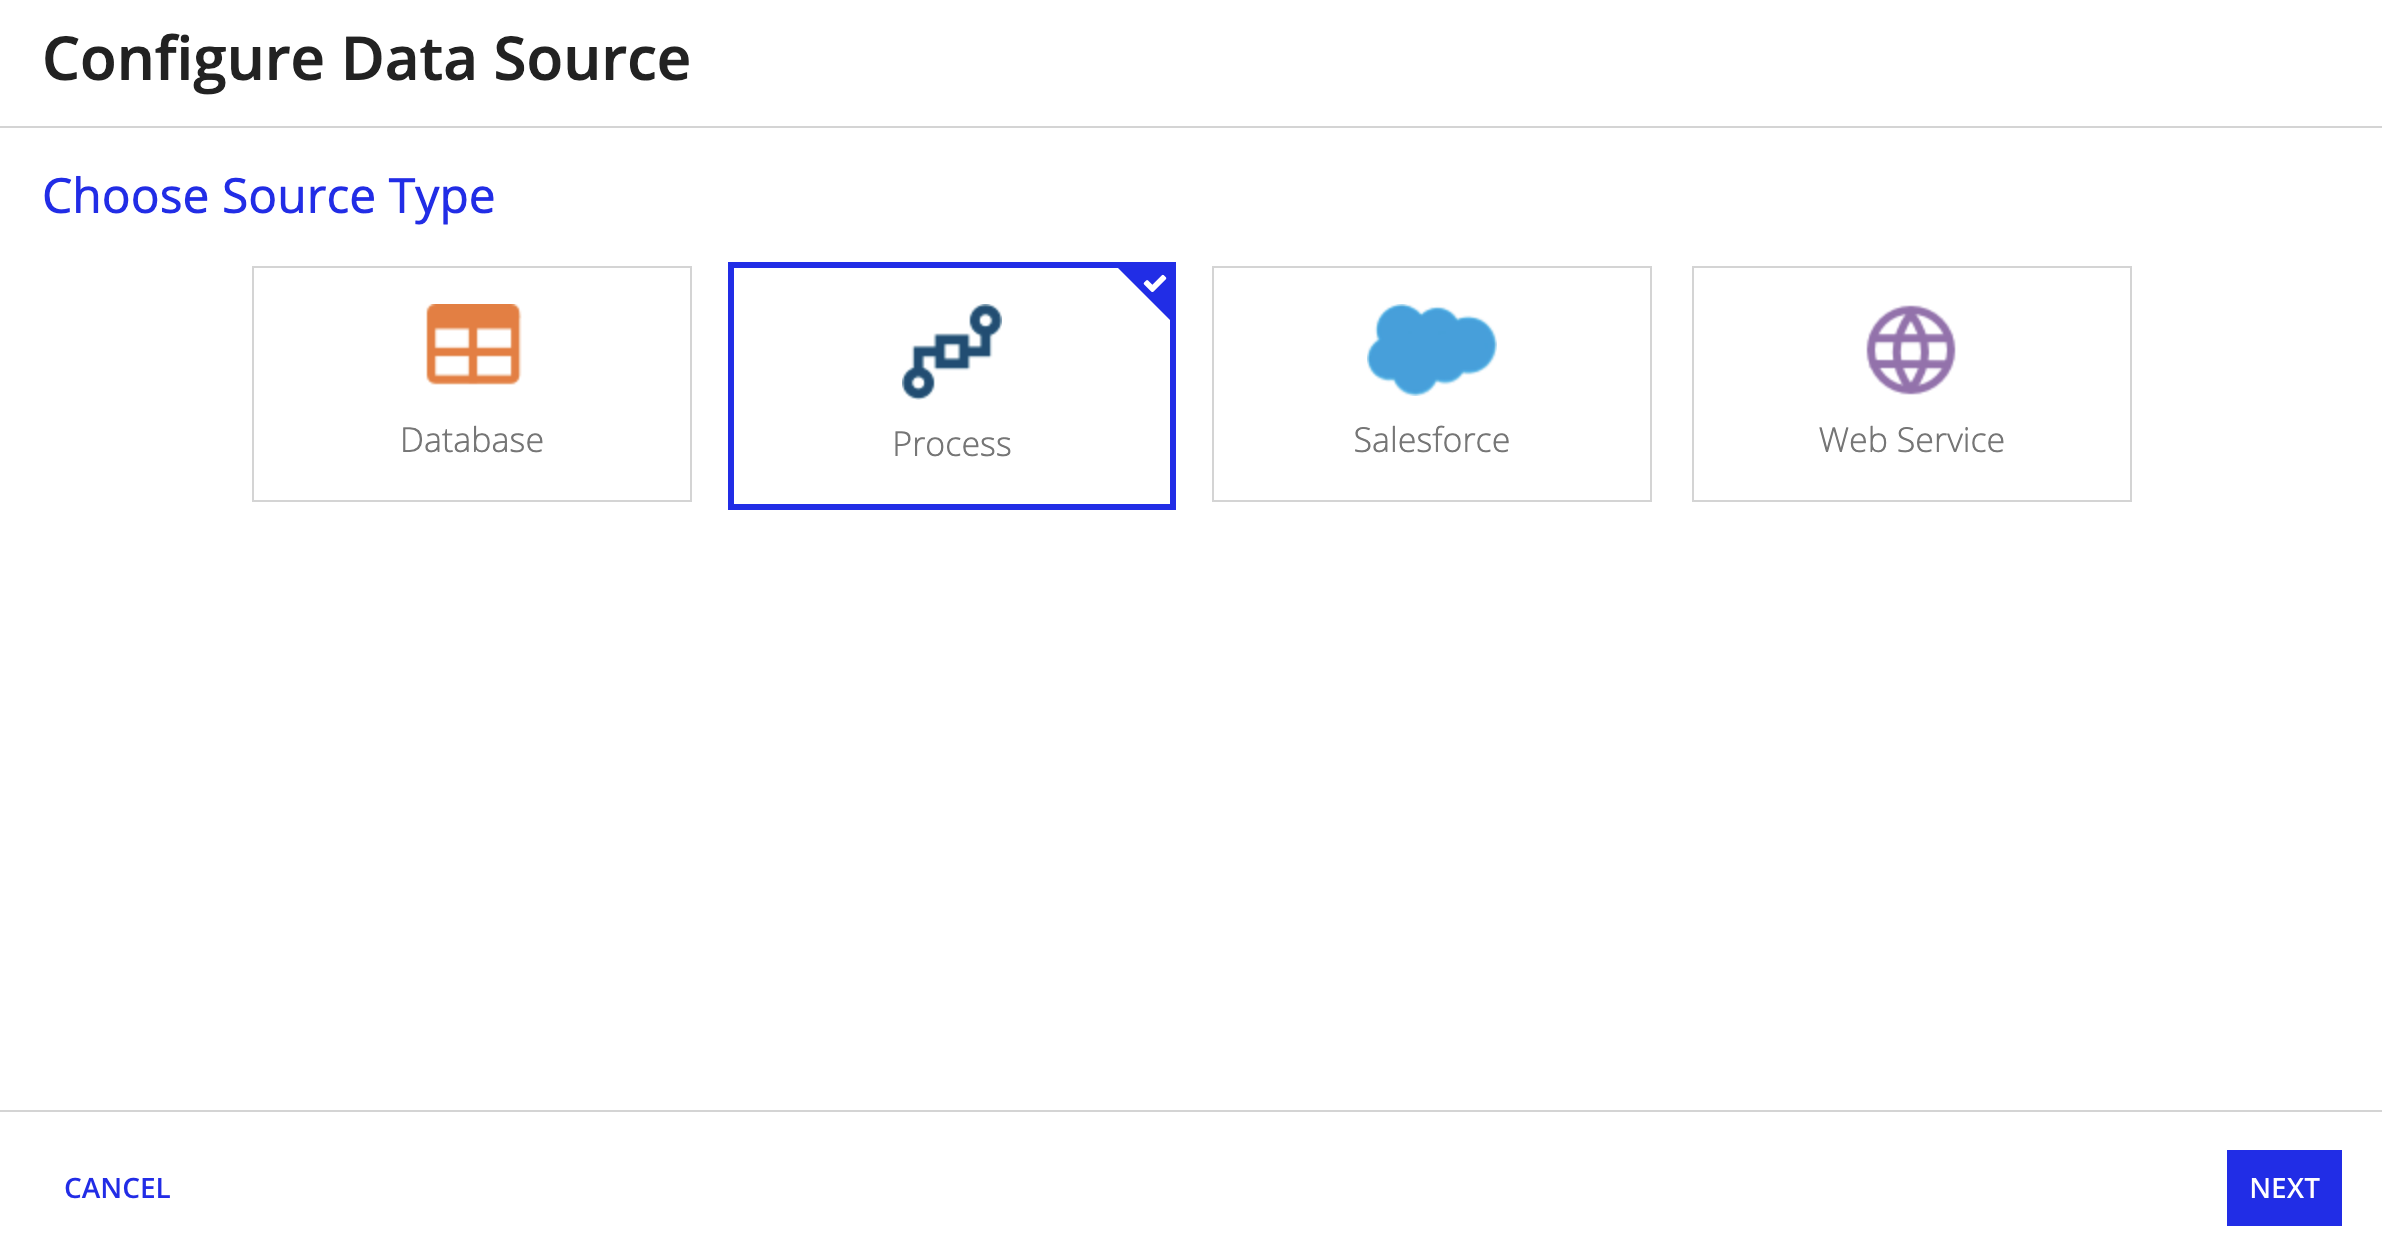
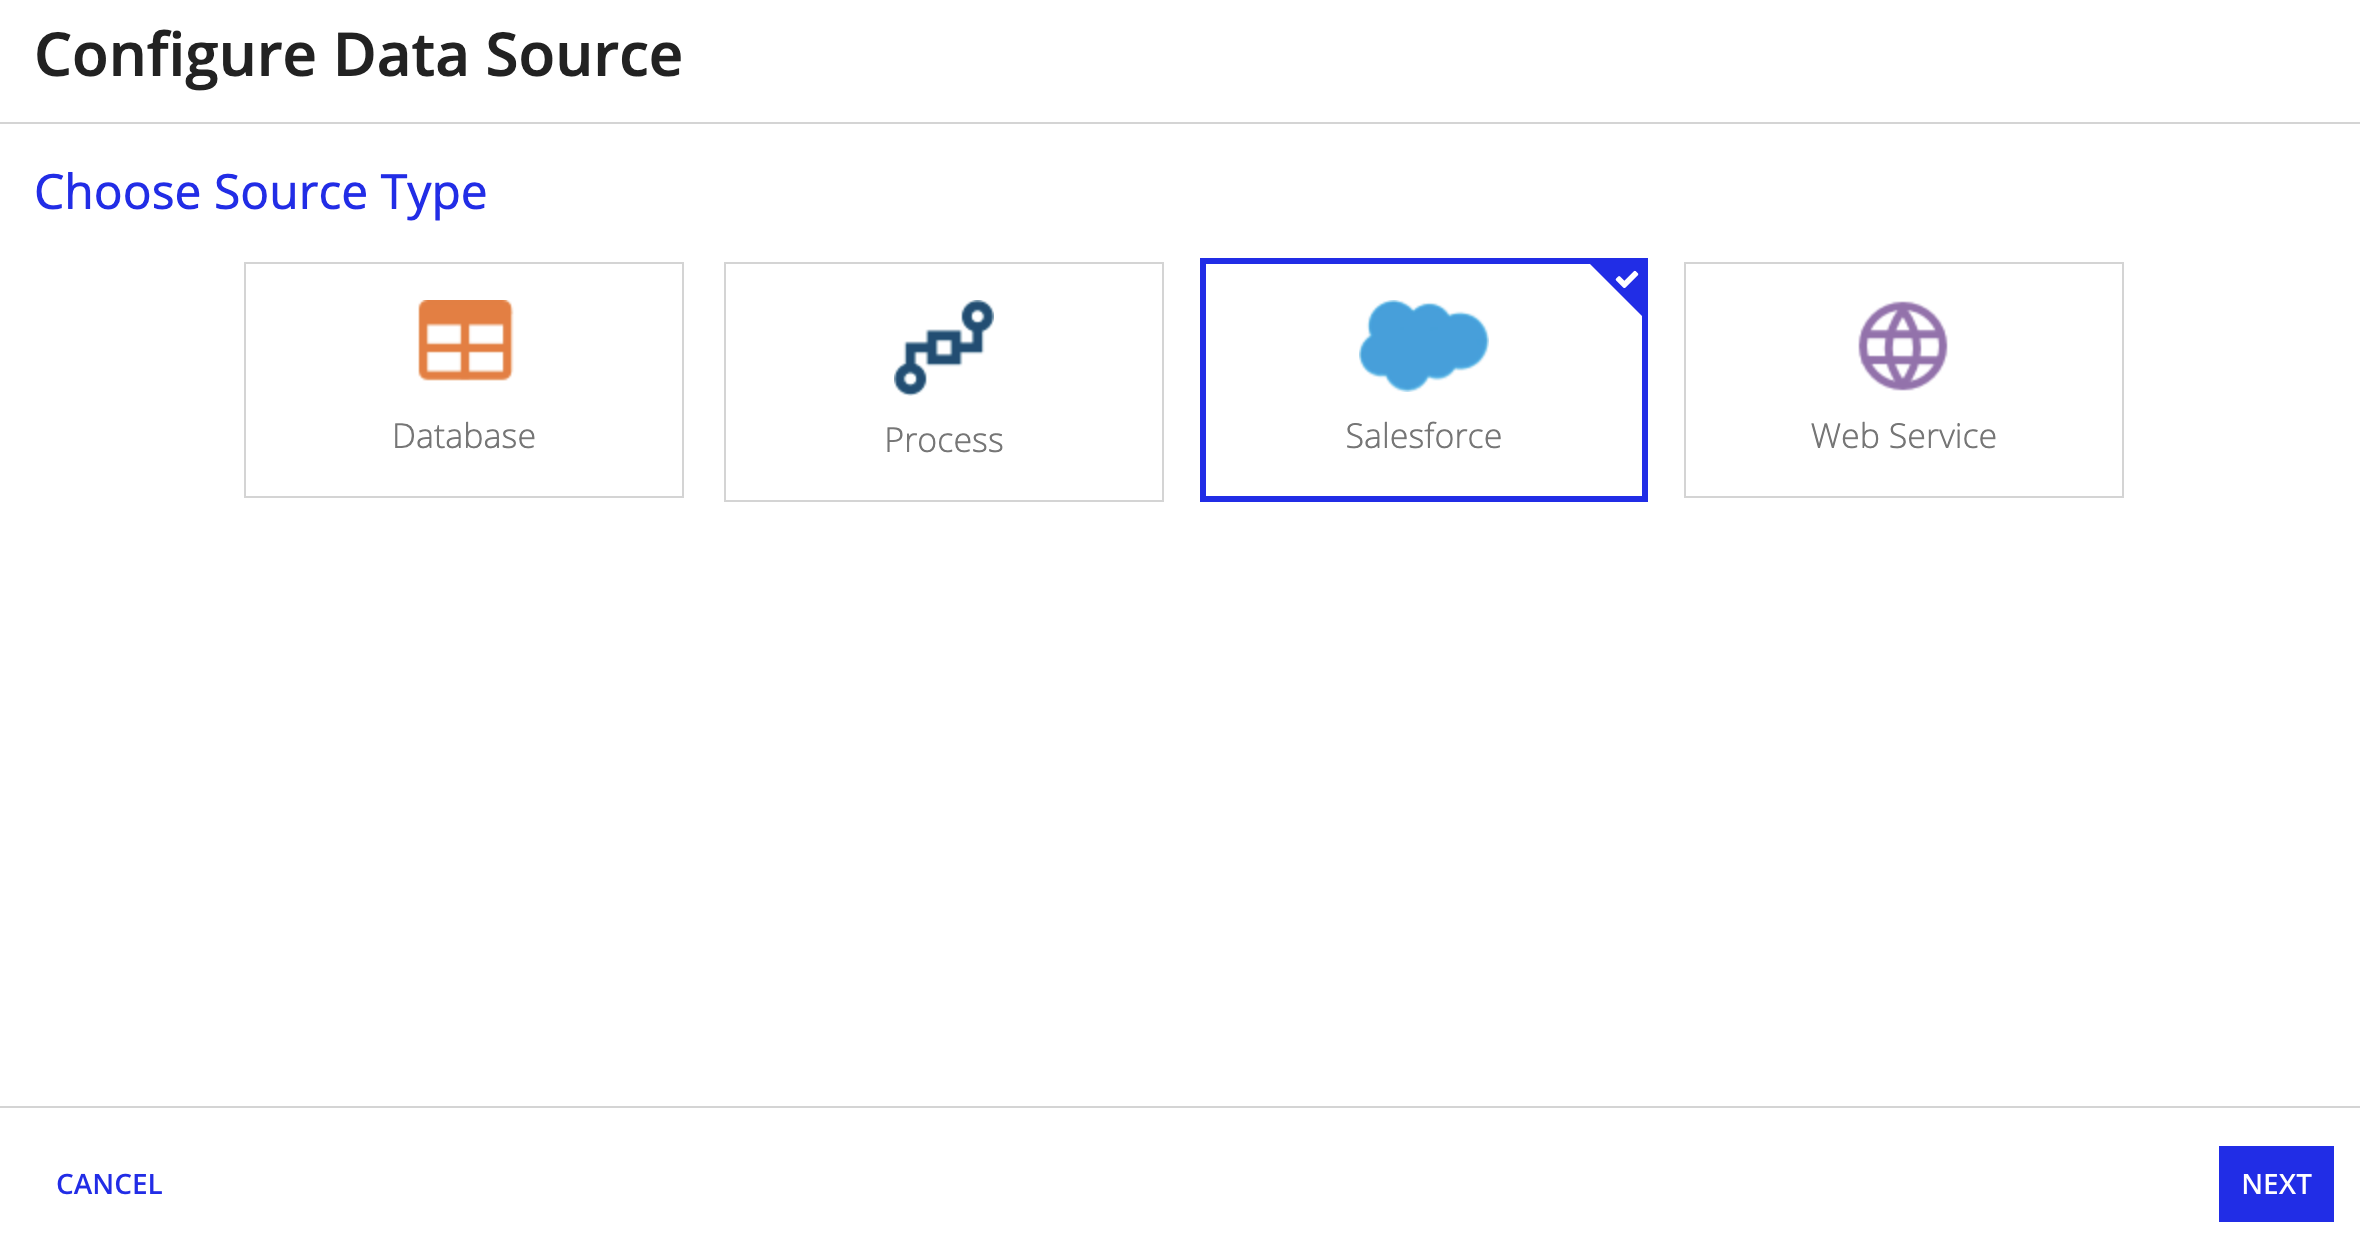
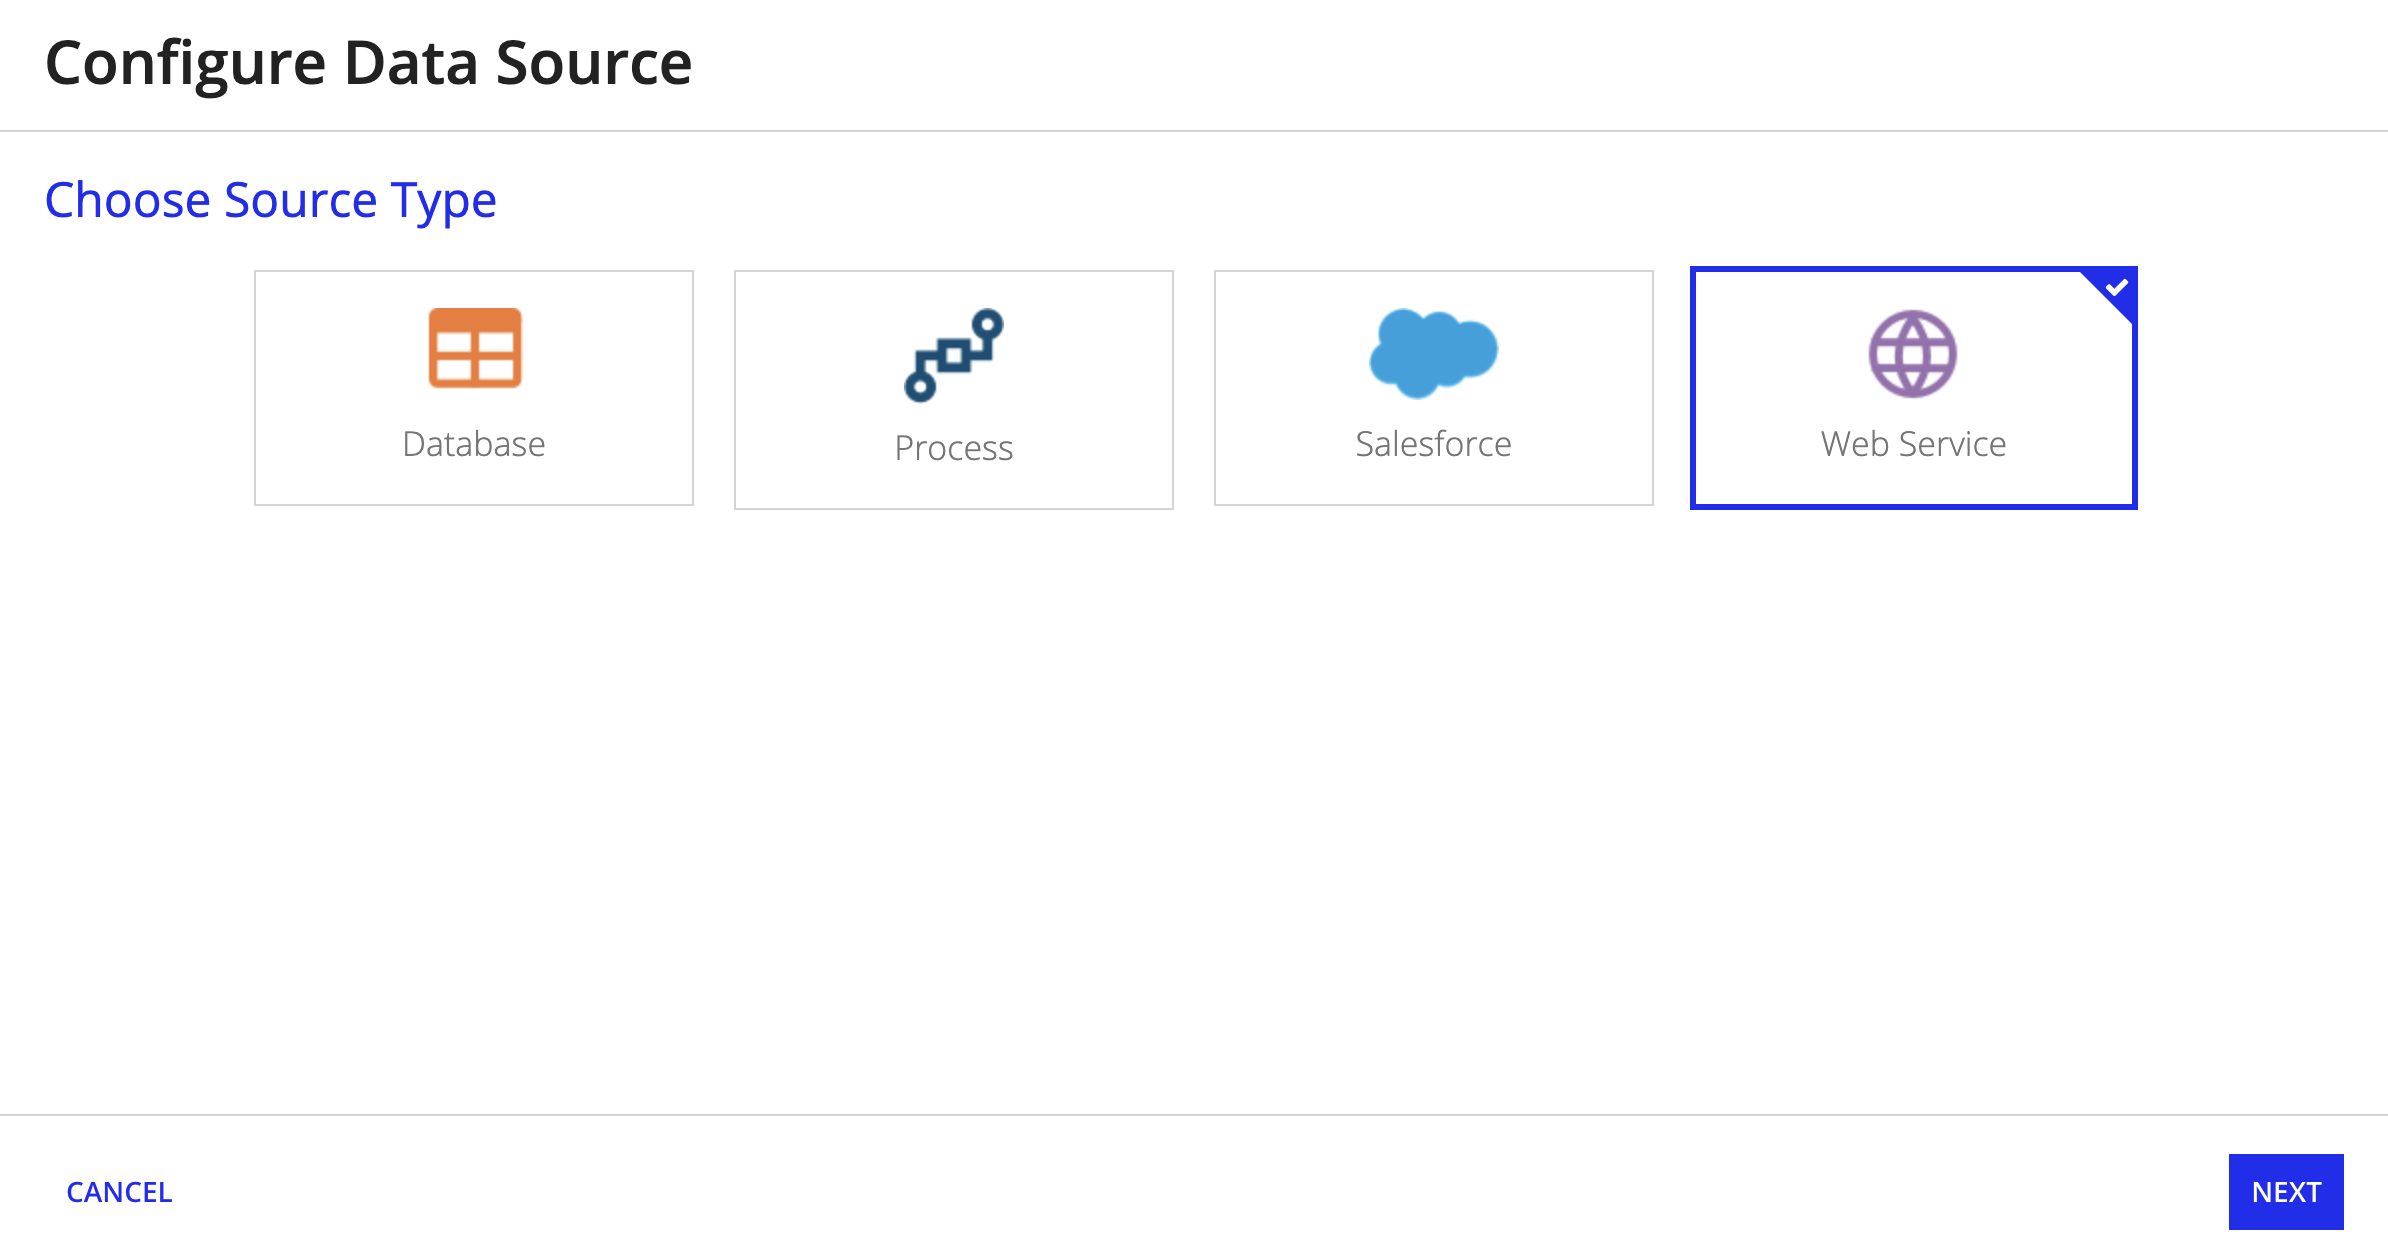
The Configure Data Source dialog displays four card options that allow you to select the right data source for your record type based on where your source data lives. You can choose one of the following source types:
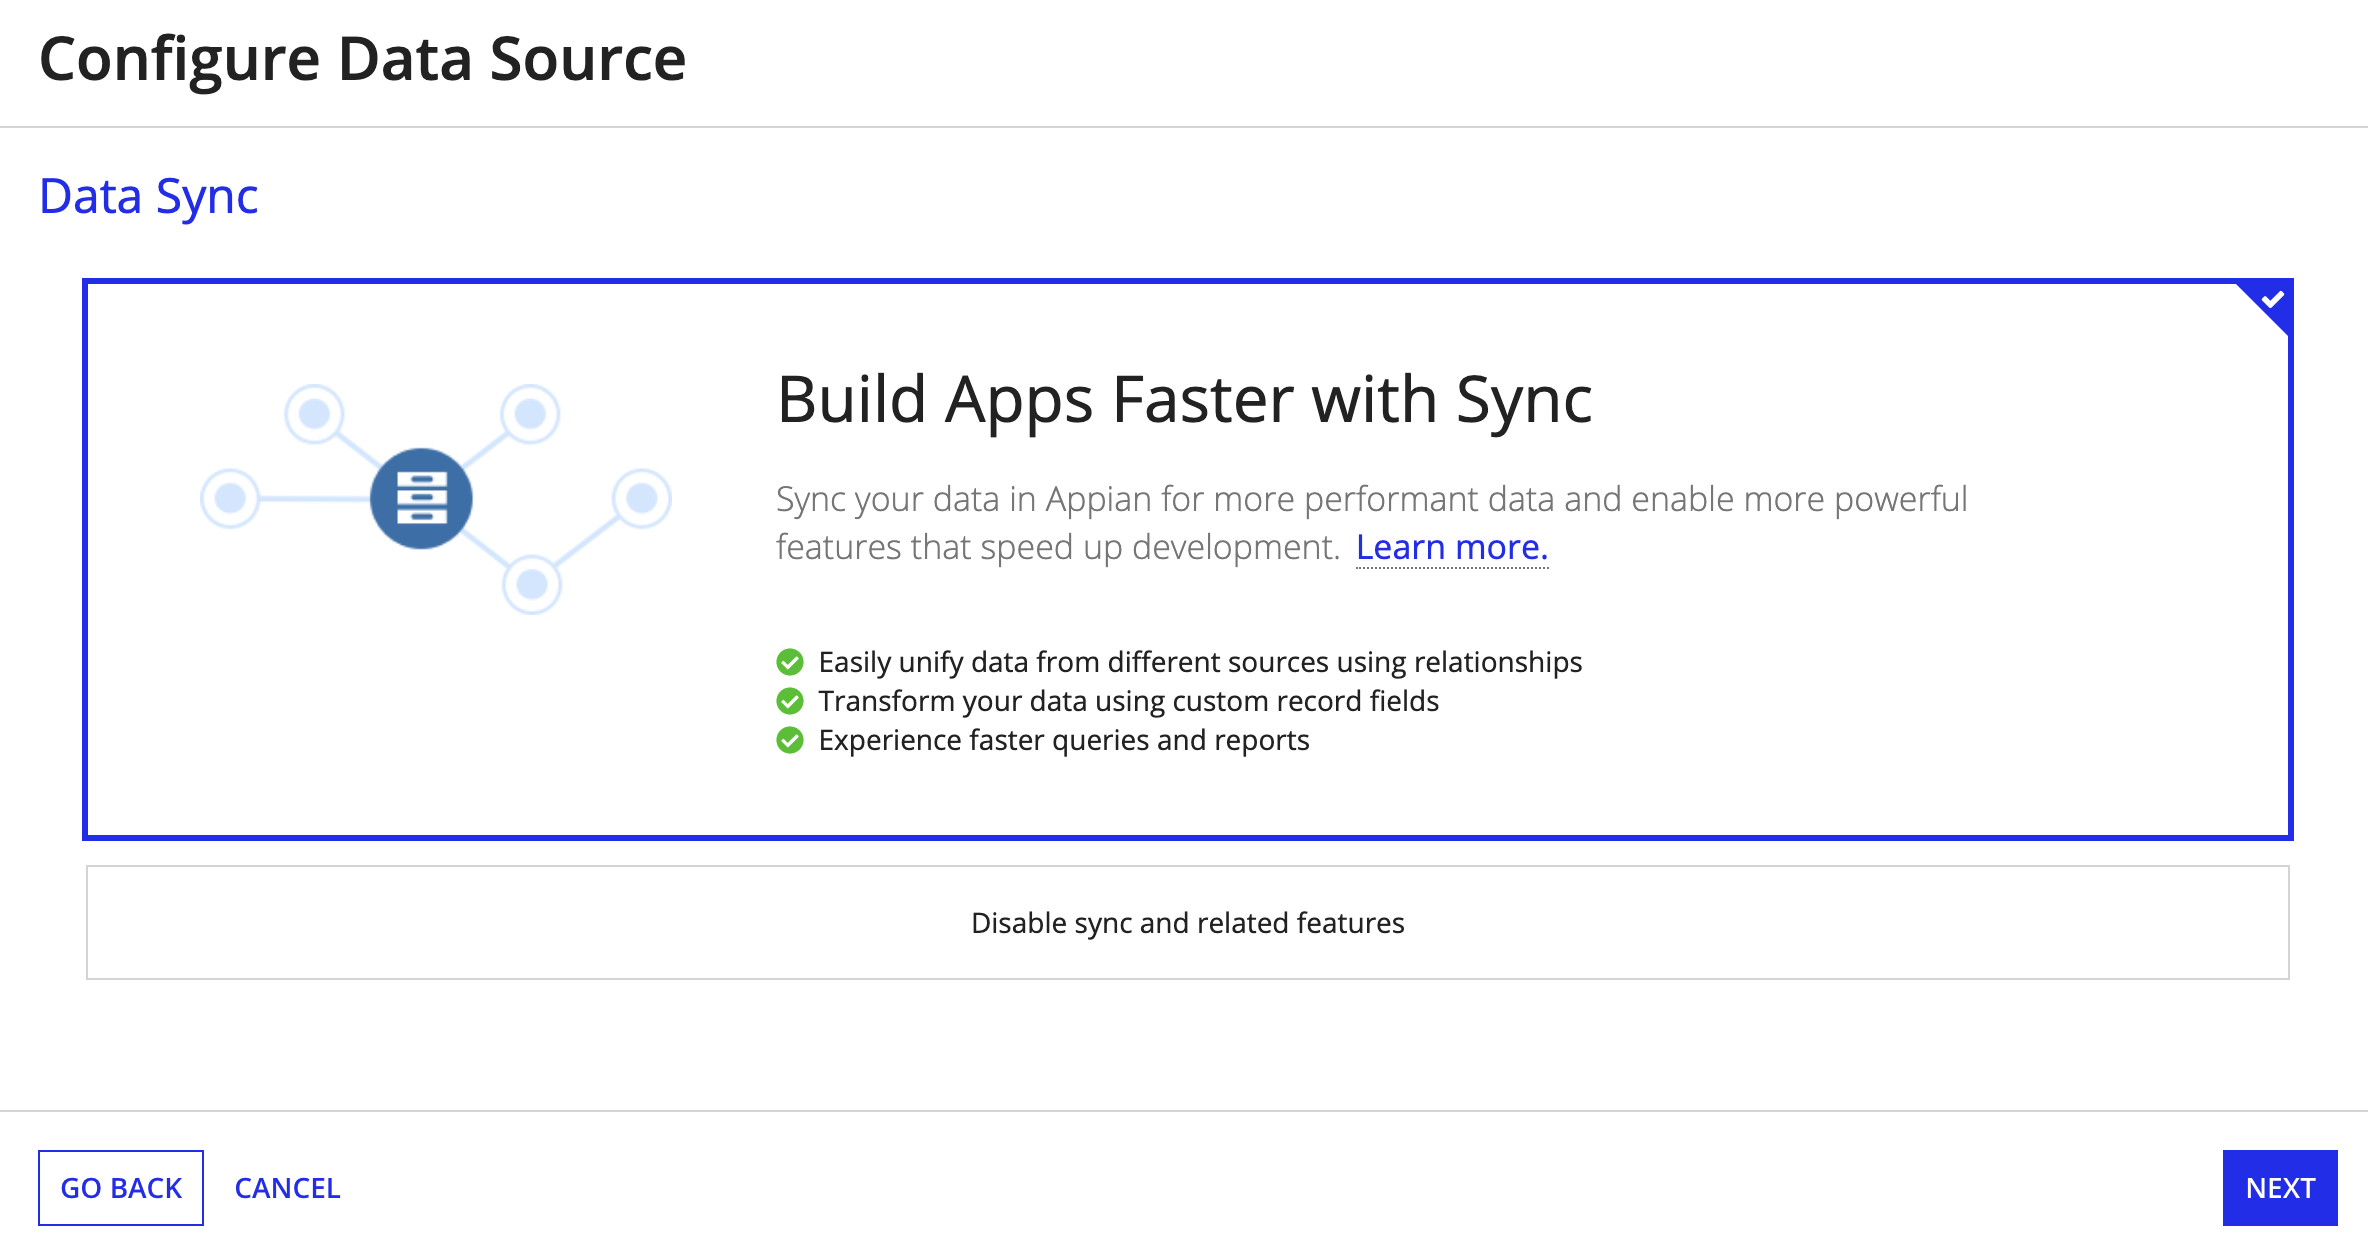
When you select a database, Salesforce, or a web service as the source your record type, you have the option to enable data sync.
When you enable data sync, your source is cached in Appian. Keeping this data synced, and close by in Appian, means Appian can execute queries against your data much faster. As a result, Appian can leverage this increased performance to not only give you more responsive queries and reports, but also enable a host of powerful features, like record type relationships and custom record fields.
The sections below explain how to configure a record type using the different sources, and how to enable data sync when you select a database, Salesforce, or a web service as the source.
A record type that uses a database as the source is the easiest and the most common to configure.
If your data lives in a relational database or a database table, the record type can access your source data through a data store entity (DSE) or from a cached copy of your database table if you sync your data in Appian. Learn more about data sync and when to use it.
Appian supports a range of data types in database sources, but there are some exceptions to be aware of. See Unsupported Database Columns in Synced Record Types for full details.
Tip: See the Records Tutorial for detailed guidance on configuring a record type that uses a database table as the data source.
To use a database table with data sync enabled as the source of your record type, you will:
The first step of the Configure Data Source guided experience is to select a source type.
To choose the source type:
For Choose Source Type, select Database.
For Data Sync, keep the default option Build Apps Faster with Sync.
After you select the source type, you will be prompted to configure source filters.
Source filters allow you to determine which rows from your data source are synced in Appian based on the conditions you specify. By applying source filters, you can sync data from large sources that exceed the 1,000,000 row limit on synced data, and focus your data so your record type only has data relevant to your business process.
If you expect the source to meet or exceed the row limit, consider applying one or more source filters to avoid reaching the 1,000,000 row limit or do not enable data sync.
To define source filters:
Click Add Filter.
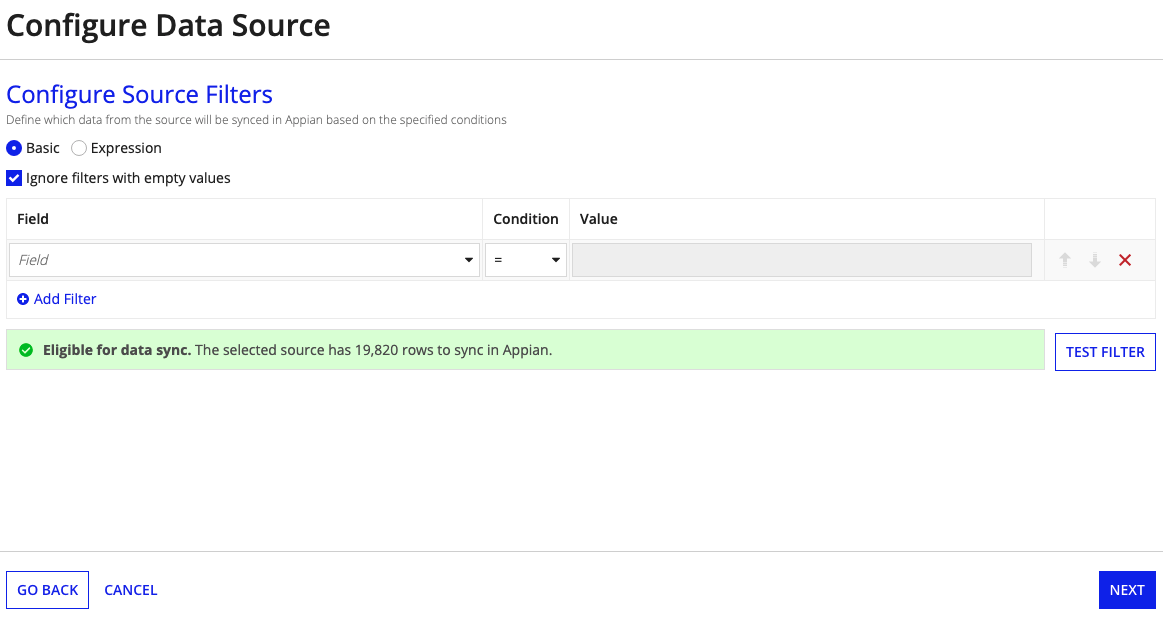
If you need more advanced filters or wish to use OR logic instead of AND when applying the filters, select Expression to create your filters manually.
For additional information on specifying filters as an expression, see a!queryFilter() or a!queryLogicalExpression(). For example of a source filter created in expression mode, see Filter the Record Type Source Data
Once you’ve selected the source type and set your source filters, the last step is to select and configure the record fields in your record type.
By default, Appian creates a mapping between the source schema and the record type schema. As a result, the names of your record fields will match the source field names, and the types of your record fields will be the Appian data types that correspond with the source field types.
To select and configure the record fields:
In Record Field Type, use the dropdown to select the record field type. You can change Text record field types to type User, and Number (Integer) record field types to type Group.
Tip: As a best practice, you should use User field types for fields that represent usernames and Group field types for fields that represent group identifiers. This allows you to reference these fields in your record-level security configuration.
If a change is made to the source schema, you will need to update the record type with the corresponding change, otherwise the record type will fail to sync. Learn how to resolve a schema mismatch.
To use a data store entity as the source of your record type:
For Choose Source Type, select Database.
Select an entity from the selected data store.
Note: The CDT that connects to the DSE must have a primary key.
You can use any process model as the data source for a record type. Each running instance of that process model will be treated as an individual record of your record type. This type of record is less common, and can be a little more challenging to configure.
To create a record type from a process model:
For Choose Source Type, select Process.
Now, each active (unarchived) process instance will appear as a record.
You may have external data in Salesforce that you want to use as your data source for your record type. Appian allows you to bring that data in through a Salesforce connected system and use it as the data source of your record type.
You can either select an existing Salesforce connected system or configure a new one, if none exist. When configuring a record type to use a Salesforce object, you have the option to enable data sync. By syncing your Salesforce data in Appian, you'll experience faster queries and enable more powerful features. Learn more about data sync and when to use it.
To use a Salesforce object with data sync enabled as the source of your record type, you will:
Note: Syncing 1,000 rows of data requires a single API call, so ensure the API limit on your Salesforce instance is large enough to support all Salesforce-backed record types with data sync enabled. Learn more about the row limit for record types with sync enabled.
The first step of the Configure Data Source guided experience is to select a source type.
For Choose Source Type, select Salesforce.
For Data Sync, keep the default option Build Apps Faster with Sync.
After you select the source type, you will be prompted to configure source filters.
Source filters allow you to determine which rows from your data source are synced in Appian based on the conditions you specify. By applying source filters, you can sync data from large sources that exceed the 1,000,000 row limit on synced data, and focus your data so your record type only has data relevant to your business process.
If you expect the source to meet or exceed the row limit, consider applying one or more source filters to avoid reaching the 1,000,000 row limit or do not enable data sync.
To define source filters:
Click Add Filter.
If you need more advanced filters or wish to use OR logic instead of AND when applying the filters, select Expression to create your filters manually.
For additional information on specifying filters as an expression, see a!queryFilter() or a!queryLogicalExpression(). For example of a source filter created in expression mode, see Filter the Record Type Source Data
Once you’ve selected the source type and set your source filters, the last step is to select and configure the record fields in your record type.
By default, Appian creates a mapping between the source schema and the record type schema. As a result, the names of your record fields will match the source field names, and the types of your record fields will be the Appian data types that correspond with the source field types.
To select and configure the record fields:
In Record Field Type, use the dropdown to select the record field type. You can change Text record field types to type User, and Number (Integer) record field types to type Group.
Tip: As a best practice, you should use User field types for fields that represent usernames and Group field types for fields that represent group identifiers. This allows you to reference these fields in your record-level security configuration.
If a change is made to the source schema, you will need to update the record type with the corresponding change, otherwise the record type will fail to sync. Learn how to resolve a schema mismatch.
To create a record type that uses a Salesforce object without data sync enabled:
For Choose Source Type, select Salesforce.
Your enterprise data may be spread across a number of different systems. With the power of Appian integrations, you can use a web service as the data source for a record type.
When configuring a record type to use a web service, you have the option to enable data sync. By syncing your external data in Appian, you'll experience faster queries and enable more powerful features. Learn more about data sync and when to use it.
To use a web service with data sync enabled as the source of your record type, you'll use the Configure Data Source guided experience.
In this wizard, you will:
To allow Appian to sync data changed in your web service, configure a Sync Expression after configuring your source.
The first step of the Configure Data Source guided experience is to select a source type.
For Choose Source Type, select Web Service.
For Data Sync, keep the default option Build Apps Faster with Sync.
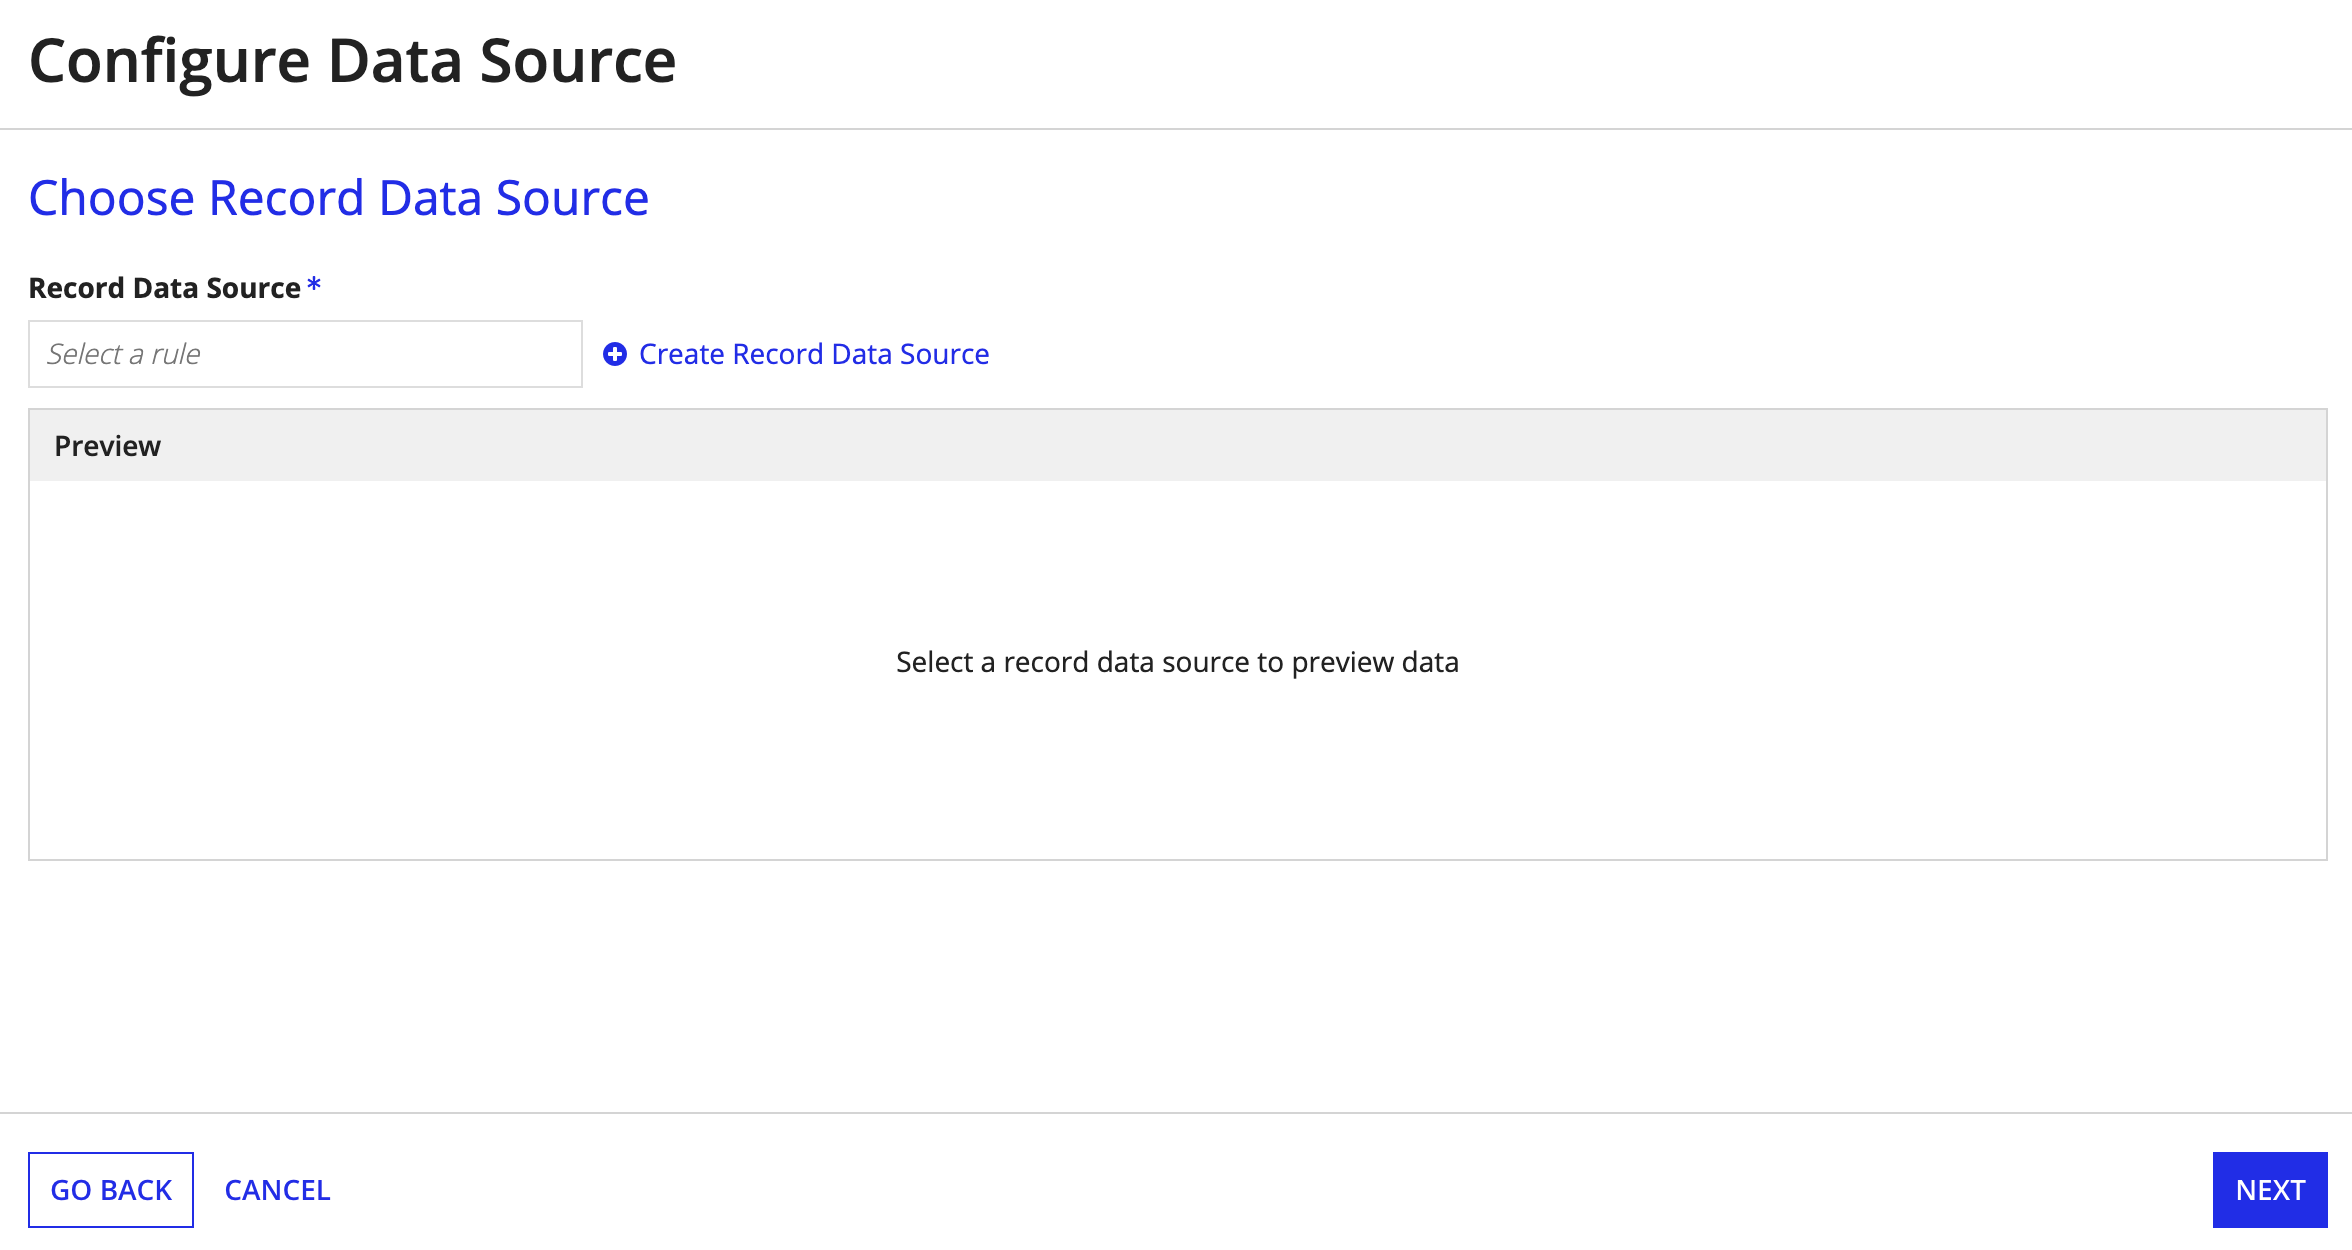
After selecting a web service as your source type, the next step is to choose the Record Data Source.
The Record Data Source is an expression rule that calls an integration and returns record data from the response body. This data needs to cast to a List of Map. This means you can return a List of Dictionary or a List of CDT as well. The response must have at least one field that's non-null for every entry, to act as the primary key for the record type.
To choose the record data source, you can enter the name of an existing expression rule that calls your integration, or click Create Record Data Source to create a new expression rule.
See the Service-Backed Record Type Tutorial for detailed guidance on configuring the record data source.
To create a new Record Data Source:
For CREATE EXPRESSION RULE, configure the following properties:
| Property | Description |
|---|---|
| Name | Enter the name of your expression rule. |
| Description | Enter a description for your expression rule. |
| Application | Specify the application where you want Appian to create the expression rule. |
| Save In | Specify the folder where you want to save the expression rule. |
To choose an existing expression rule:
For Choose Record Data Source, enter the name of the expression rule that calls your integration.
Note: The Record Data Source cannot use plugins, query rules, or any of the following functions: query, queryEntity, queryProcessAnalytics, queryRecordType.
Click NEXT.
By default, a record type can sync up to 1,000 records from a web service. To sync more than 1,000 records, you can sync data in batches. Syncing in batches allows Appian to execute the Record Data Source multiple times in order to pull back multiple batches of data. Each batch can contain up to 1,000 records.
To enable syncing in batches, the Record Data Source must have exactly one rule input of type Number (Integer). If the Record Data Source has no rule input, the record type will be limited to syncing 1,000 records. If the Record Data Source has more than one rule input or the rule input is any type other than Number (Integer), then it is invalid. You will need to update the expression rule to proceed.
Once you add the rule input to your expression rule, you must modify the underlying integration to apply the rule input too. This allows the expression rule to execute multiple times with sequential values {1,2,3...} being passed to the rule input. The expression will continue to execute until an empty set or null is returned.
If you do not modify your underlying integration, sequential calls will just pull back the same data and the sync will fail.
If the underlying API requires a Start Index, you can calculate it with the formula 1 + ((batchNumber - 1) * batchSize) = startIndex. For an example of how this works with a batch size of 1000, see the table below:
| Batch Number | Start Index |
|---|---|
| 1 | 1 + ((1 - 1) * 1000) = 1 |
| 2 | 1 + ((2 - 1) * 1000) = 1001 |
| 3 | 1 + ((3 - 1) * 1000) = 2001 |
| 4 | 1 + ((4 - 1) * 1000) = 3001 |
Note: While the example above uses a batch size of 1,000, Appian also supports fewer records per batch. For example, you could use a batch size of 100 if that's the largest number the web service can return in a single response.
An error will appear if the Record Data Source returns anything other than an empty set, a null, or something that casts to a List of Map (e.g. a List of Dictionary). An error will also appear if the same primary key shows up in a single batch more than once.
The last step is to select and configure the record fields in your record type.
By default, Appian creates a mapping between the source schema and the record type schema. As a result, the names of your record fields will match the source field names, and the types of your record fields will be the Appian data types that correspond with the source field types.
To select and configure the record fields:
In Record Field Type, use the dropdown to select the record field type. You can change Text record field types to type User, and Number (Integer) record field types to type Group.
Tip: As a best practice, you should use User field types for fields that represent usernames and Group field types for fields that represent group identifiers. This allows you to reference these fields in your record-level security configuration.
Once you configure the source of your record type, you can keep your synced data up to date with the data in your web service using different sync options.
When you trigger a full sync, Appian will use the Record Data Source expression to fetch and sync all of your data. If you want to sync data more frequently, you can configure a Sync Expression so that you can leverage the Sync Records smart service to sync changed data.
Note: A Sync Expression is only required when you want to use the Sync Records smart service to sync data in a record type that uses a web service as the source. You do not need this expression to sync data in a record type that uses a database or Salesforce as the source.
A Sync Expression is similar to a Record Data Source expression; the only difference is that you pass individual record identifiers to your Sync Expression to fetch and return a row or set of rows from the web service. This enables Appian to sync specific rows of data from the web service when you use the Sync Records smart service.
You can generate and configure a Sync Expression directly from the record type. Learn how to generate a Sync Expression.
To use a web service without data sync enabled as the source of your record type:
For Choose Source Type, select Web Service.
For Choose Record Data Source, select an expression that returns a list of records.
Note: See the Service-Backed Record Type Tutorial to walk through how to configure a record type that uses a web service as the data source.
After selecting a web service as your source type, the next part of the configuration is to use the rule picker for Record Data Source. This is where you'll configure the data for your record type.
The Record Data Source configuration section is where you'll configure the data for your record type. This allows you to configure the integration that pulls in your external data source, the expression rule that calls your integration, and the rule inputs that define your paging, searching, and filtering parameters. Learn how to create user filters for a web service.
You can either select an existing expression rule, or create a new one by clicking the Create Record Data Source link to launch a guided experience that helps you easily create and configure the objects you'll need.
The Single Record Source configuration section is where you'll configure the data for a single record view. This allows you to configure an integration that pulls in the data for a single record, the expression rule that calls in the integration, and the rule input that defines the record identifier for the record view that returns when the integration is called.

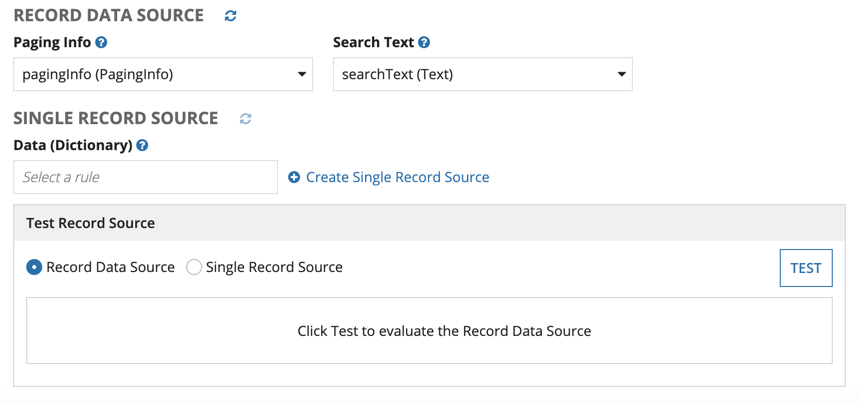
After configuring your record type to use a web service, you can enable paging and search for your record list by adding appropriate rule inputs to the record data source expression rule.
Add a rule input of type PagingInfo to the record data source expression rule to enable paging and sorting. Then, select the rule input from the Paging Info dropdown.
Similarly, to configure searching on your record, you must add a rule input of type Text and select the rule input from the Search Text dropdown in the record type.

To enable filtering on the record list, you must add a rule input for each user filter to the integration for your connected system and the Record Data Source expression rule for the record type.
Each rule input should correspond to the type that will be returned by the associated user filter dropdown. The selected value will then be passed to the Record Data Source expression rule, where the developer can apply it to the integration.
To learn more, see User Filters for Service-Backed Record Types.
After configuring the expression rules that call the integrations for your record type, you can use the Test Record Source box to verify that the data results returned for your Record Data Source expression and Single Record Data expression are correct.
Simply select the view for the source expression you want to verify and click the TEST button.
The results of your record data source expression will be cast to the data type you selected for your record type, and displayed in a grid.
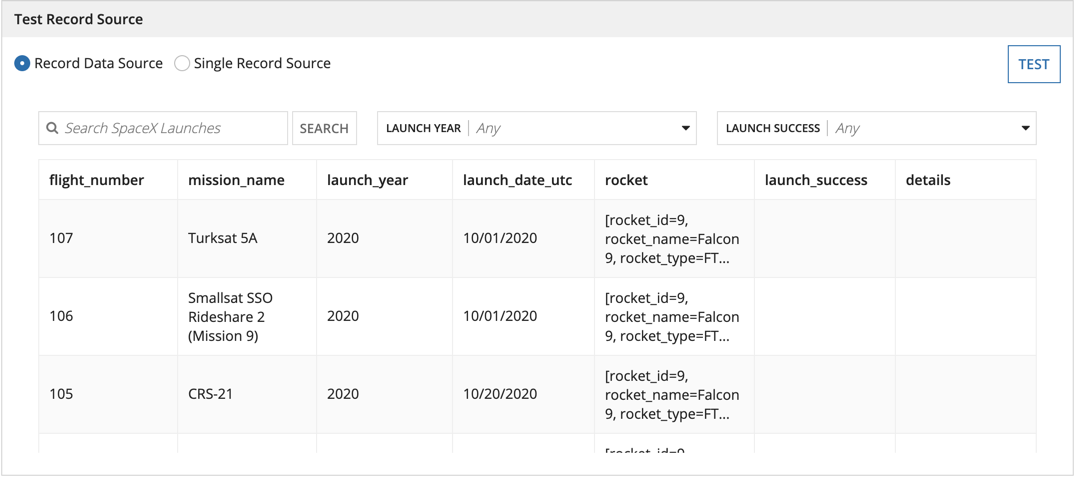
Although this view may look similar to the record list view you configured, it is not the same. Rather than showing your configured columns, the Test Record Source view will show you all of the fields on the data type that correspond to the record type. These record type fields can be used as inputs when configuring your record list. Note that in the record list you must use fv!row to reference the record fields values, not rv!.
You can also use this view to evaluate your rule inputs for paging, searching, and filtering. The rule inputs for these parameters apply to your record list view so you'll want to ensure they're working as expected.
When you select Single Record Source view, you will see the expression output cast to your selected data type. This displays all of the fields and values available for a single record. You can also choose how you want these record fields and values displayed in the view.

The Test Record Source pane displays the first 100 records of the DataSubset only.
Note: See the Appian 20.1 documentation for more information about service-backed record types, formerly called expression-backed record types, created with Appian 20.1 or earlier.
If you configured your record type with data sync enabled, you have the flexibility to update or change your data model at any point during the development process. For example, if you did not add a source filter while configuring the source of your record type, you can always add one later to filter out unnecessary data.
From the Data Model, you can change your record field names and data types, add or remove record fields, and modify your source filters.
If you need to change the name of a record field, or you want to change a field like username from type Text to User, you can easily change your record field configuration.
To change a record field name or data type:
In Record Field Type, use the dropdown to select the record field type. You can change Text and Number (Integer) record field types to type User or Group.
Tip: As a best practice, you should use User and Group field types for any fields that represent usernames or group Ids. This allows you to reference these fields in your record-level security configuration.
If you change the record field type, you will need to update any existing references to the field. See the Health Dashboard to quickly find all invalid field references.
If a new field is added to your source data, you'll also need to add that new field in your record type. Similarly, if a field is removed from your source data, you'll want to remove it from the record type as well.
To add or remove record fields from the record type:
Note: Source filters are not applicable for record types that use a web service as their data source.
If you didn't add source filters during the original record type configuration, or perhaps you need to update or remove your source filters, you can add or edit your source filters.
To add source filters after configuring the source of your record type, see Source filters.
To modify source filters:
