| The capabilities described on this page are included in Appian's standard capability tier. Usage limits may apply. |
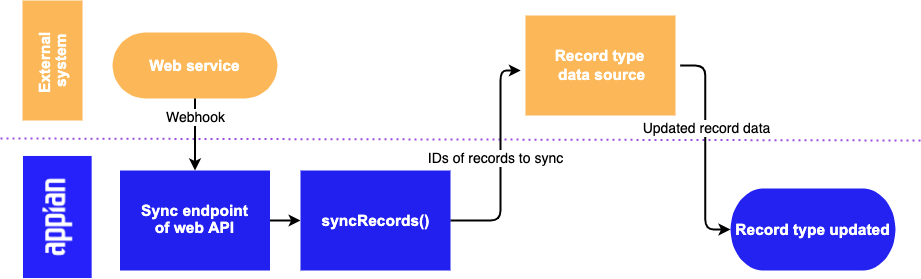
When your record type has data sync enabled, you can generate a web API to seamlessly sync changes made to your source data.
Data sync will automatically sync changes made by select smart services, but if changes are made by a third-party system or directly on your source, you can capture these changes using a web API that includes the a!syncRecords() function.
You can generate this web API directly from the record type, and it will be prepopulated with an expression that allows Appian to sync one or more records using their identifiers. You can modify the API as needed, and then add the web API's URL to your source system's webhook configuration. This allows the source to notify Appian of changed data so we can then sync those changes and reflect the latest data in your record type.
This image provides an overview of how sync updates flow from the source system and cause Appian to sync changes.
To use the a!syncRecords() function to sync records in a service-backed record type, you must first configure a Sync Expression. You will not be able to generate a web API until this expression is configured since the API depends on the expression to get updated data from the source when the API is called.
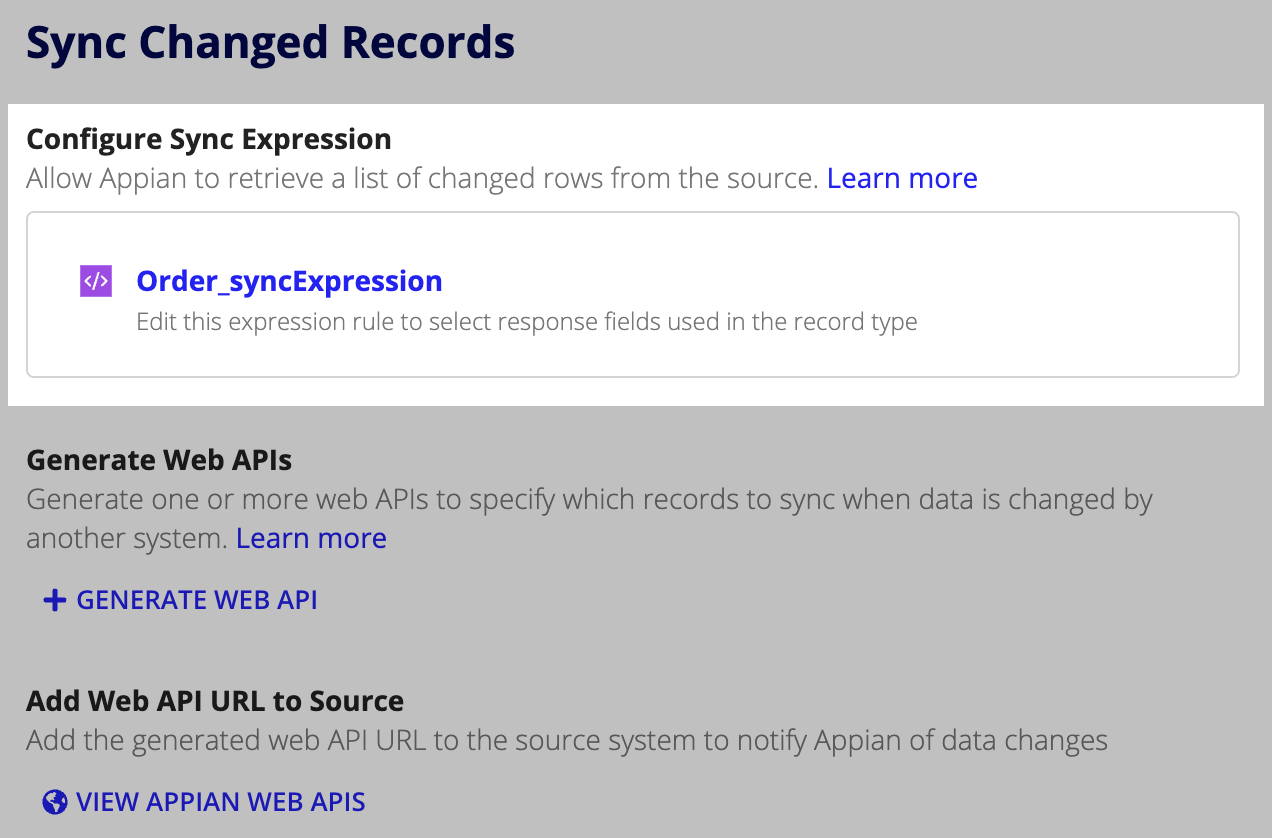
Tip: The web service you integrate with may return data in a nested structure that Appian cannot automatically parse. In those cases, you'll need to modify the generated expression to properly access the data you want synced in Appian.
Appian can automatically generate the web API object for syncing changes to your record type.
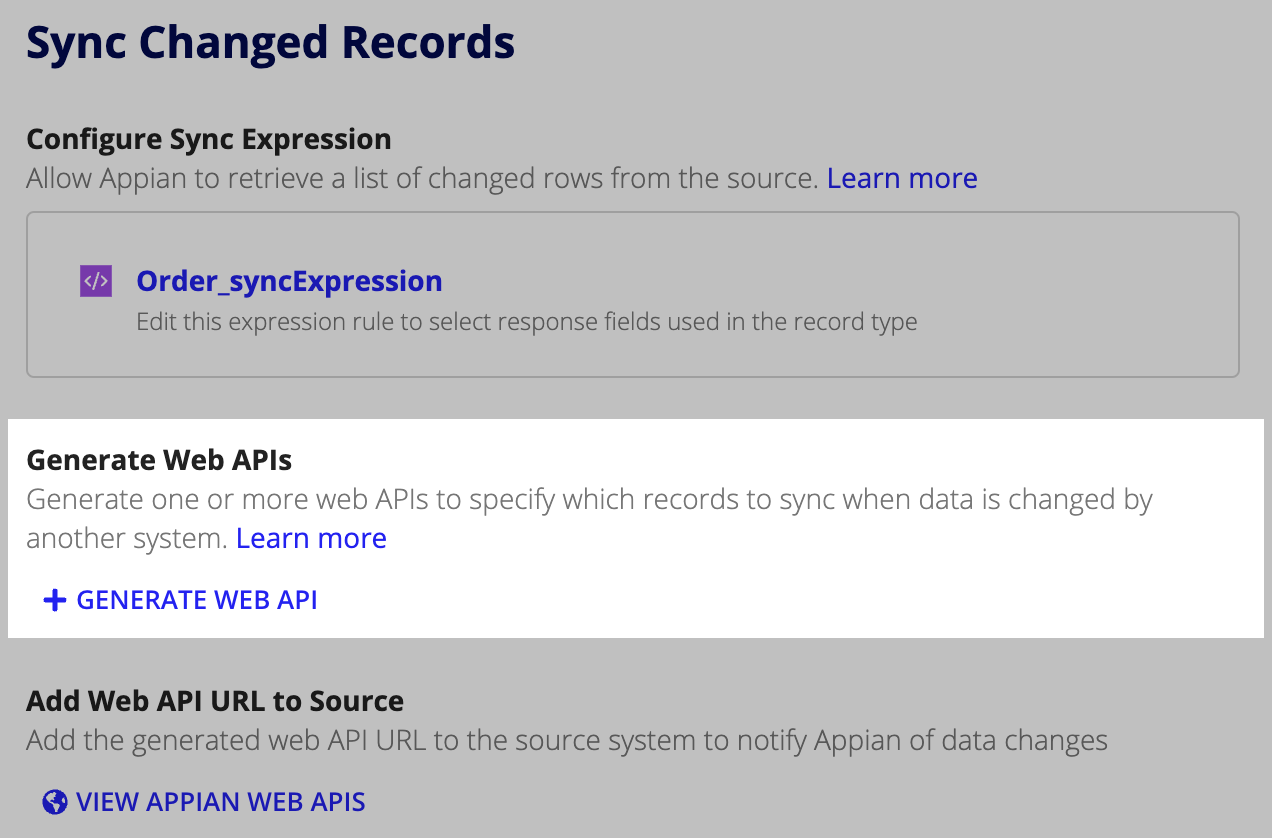
To generate a web API to sync records in a record type:


To view your generated web APIs, click VIEW APPIAN WEB APIS. This will display a list of web APIs that reference your record type.

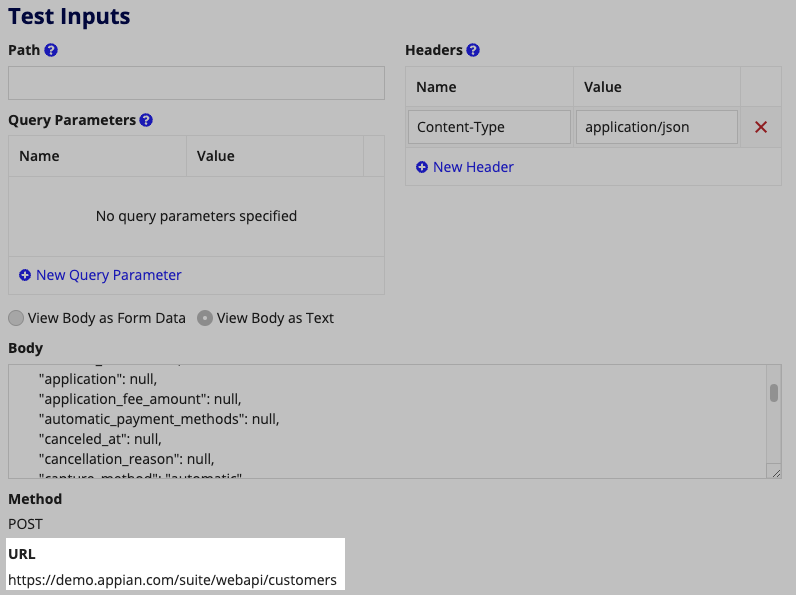
Once you've created the web API object, you can submit test requests and modify the API's a!syncRecords() expression to access the data in the webhook messages the API receives.
By default, the test inputs for the API include the URL, a Content-Type HTTP header specifying the message content as JSON, and a request body containing an empty identifiers array.
Many services send webhook messages in JSON format, so you'll only need to adjust the expression to extract the identifiers from the message.
For example, the generated expression's identifiers parameter expects that the webhook lists the IDs of updated records as a top-level property of the request body: a!fromJson(http!request.body).identifiers.
The webhook message would need to be structured similar to the following sample for the default value to work:
1
2
3
4
5
6
7
8
{
   "event": "update",
  "timestamp": 1650393950,
  "identifiers": [
    "17JVA6FE0860E",
    "2YPYEC8Y36JXE"
  ]
}
If your service's messages are structured so the identifiers are in a different location, you will need to modify the expression to match that structure. In the following example, the identifier is the value of a nested property called item_id:
1
2
3
4
5
6
7
8
9
{
  "event": "update",
  "timestamp": 1650393950,
  "data": {
    "item": {
      "item_id": "17JVA6FE0860E"
    }
  }
}
To use this value as a parameter of the expression, you would modify the default value of the identifiers parameter to correspond to the JSON structure:
1
2
3
a!syncRecords(
  recordType: 'recordType!Item',
  identifiers: a!fromJson(http!request.body).data.item.item_id,
The data source for a service-backed record type will send webhook messages with a unique structure. The web API's expression may need to be updated so it can retrieve the identifiers from the message.
To update your API for webhook processing:
for_user_id property.
1
2
3
4
5
6
7
8
{
 `"for_user_id": "2244994945",`
 "tweet_create_events": [
   {
   (Tweet Object)
   }
 ]
  }
That means the default value of the identifiers parameter needs to be modified to match that property name.
1
2
3
4
5
  a!syncRecords(
  recordType: 'recordType!Tweet',
  identifiers: a!fromJson(http!request.body).`for_user_id`,
  ...
  )
Web APIs calls from your external source must include authentication information (generally the API key for an Appian service account). After you generate the web API, you need to set up authentication to make the web API accessible to your source.
See Web API Authentication for more information about creating a service account and an associated API key.
After you generate the web API and set up authentication, you need to add the web API's URL to the source system. To do this, you'll configure the source system's webhook options with the web API's URL and authentication key so the source can notify Appian of data changes.
The details of these steps vary from service to service, so we'll outline what you need to do.
To configure the source system with the Appian web API:
In the Web API, copy the URL.
Tip: If you are configuring multiple webhooks, you can export an OpenAPI reference document with all of the application's endpoints. See Share Web API Documentation with OpenAPI for more information.
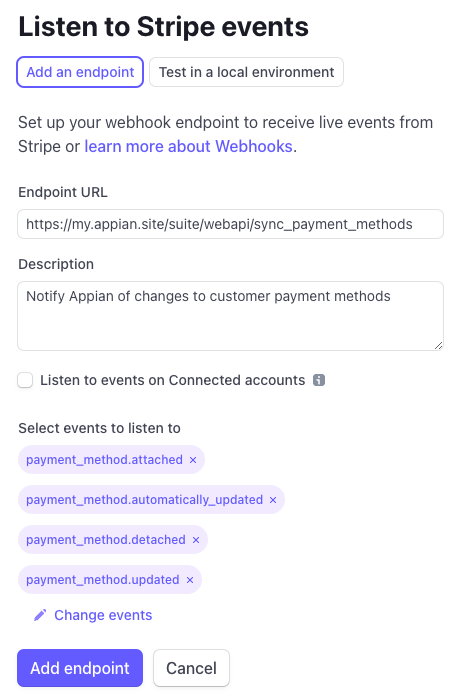
For example, the third-party Stripe platform's webhook configuration asks you to set an Endpoint URL and also select the events that will trigger a webhook message to that endpoint. This allows you to build a path for data updates to flow from the external system to Appian.
Webhook configurations vary from service to service, and you may need to troubleshoot problems as you set up or use your sync-enabled record type. The following table provides information about a couple common setup issues.
| Issue | Possible cause | Resolution |
|---|---|---|
| Webhook delivery fails with a 401 error | The POST request sent by the external service is not authorized to access the Appian endpoint | Verify that you are passing authentication information to the endpoint as described in Web API Authentication |
| Webhook delivery fails with a 500 error | The web API expression (or the Sync Expression) is not able to process the webhook message | Follow the steps in Modify the generated web API using a failed webhook payload as the request body |
