| This content applies solely to Government Clause Automation, which must be purchased separately from the Appian base platform. |
IntroductionCopy link to clipboard
Government Clause Management ships with a clause database that users can browse and update directly from the Clauses tab. When creating a clause set for a contract, users can search this clause database, identify and select specific clauses, and add them to a clause set.
Viewing clausesCopy link to clipboard
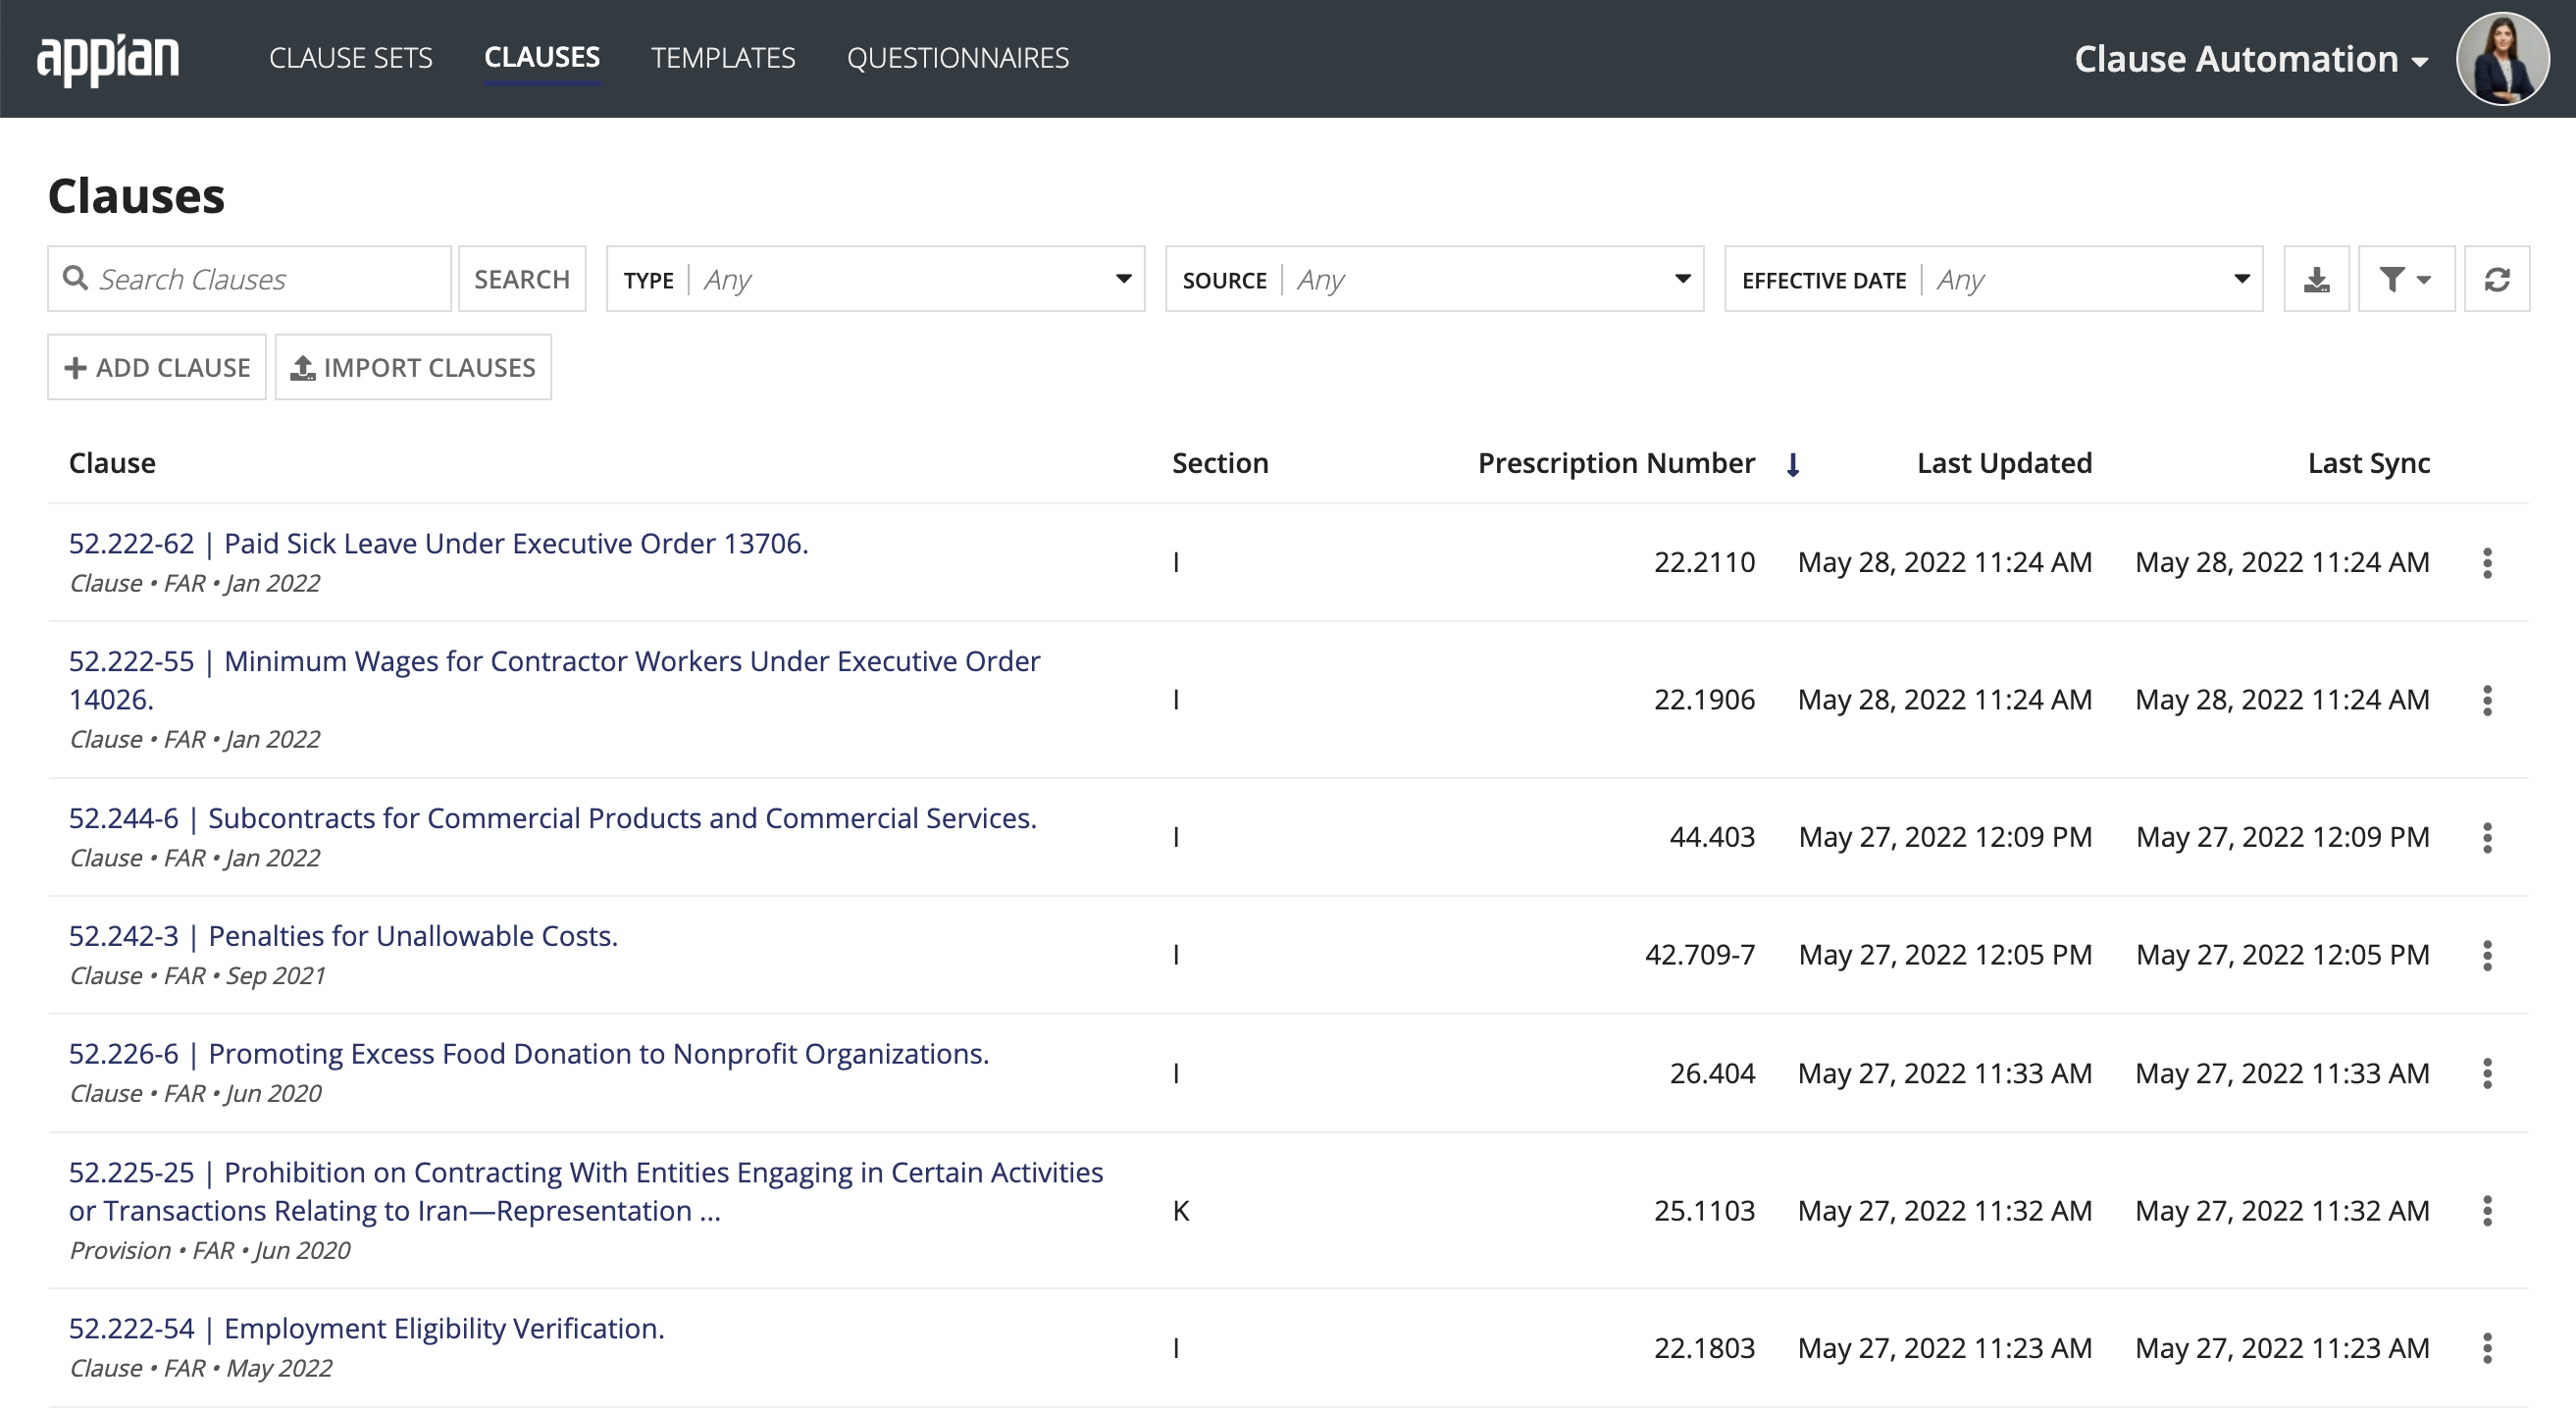
From the Clauses tab, you can view a list of all existing clauses for your organization, including the clause name, type, source, and effective date for each clause. You can also search and filter the clause list to find a specific clause or all clauses that match certain criteria.

Click on the clause name to drill through and learn more about that specific clause.
Clause summary viewCopy link to clipboard
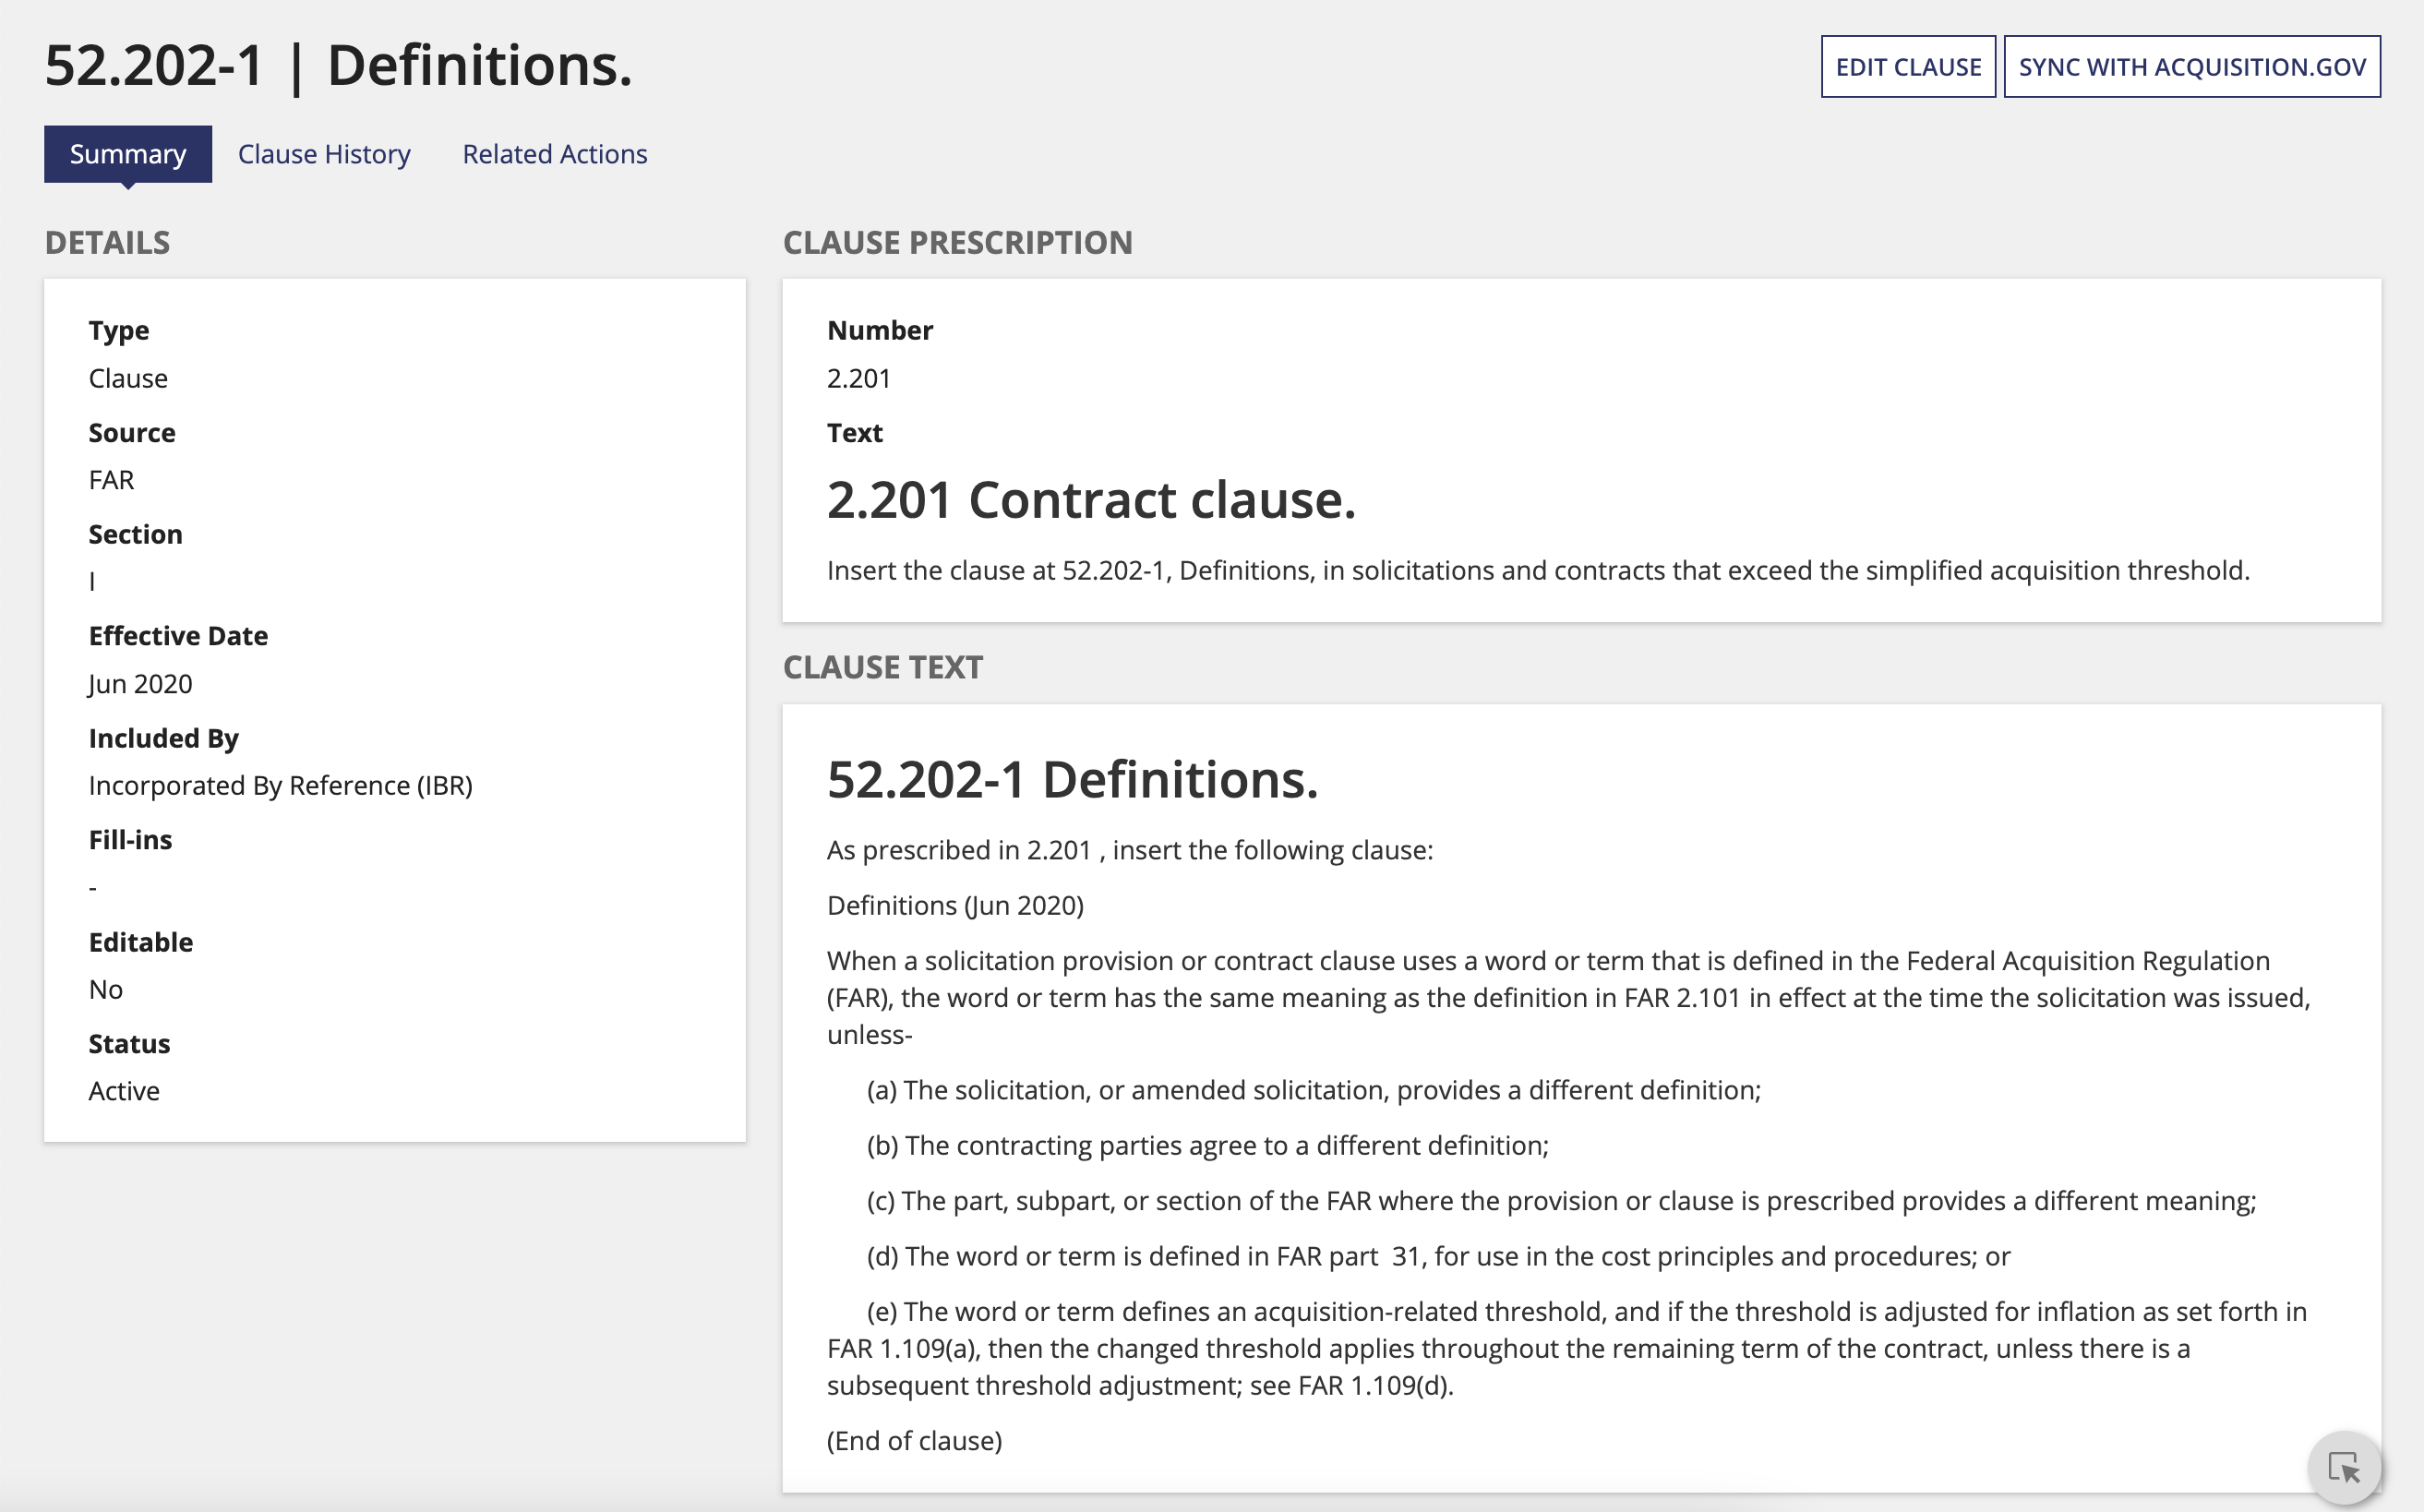
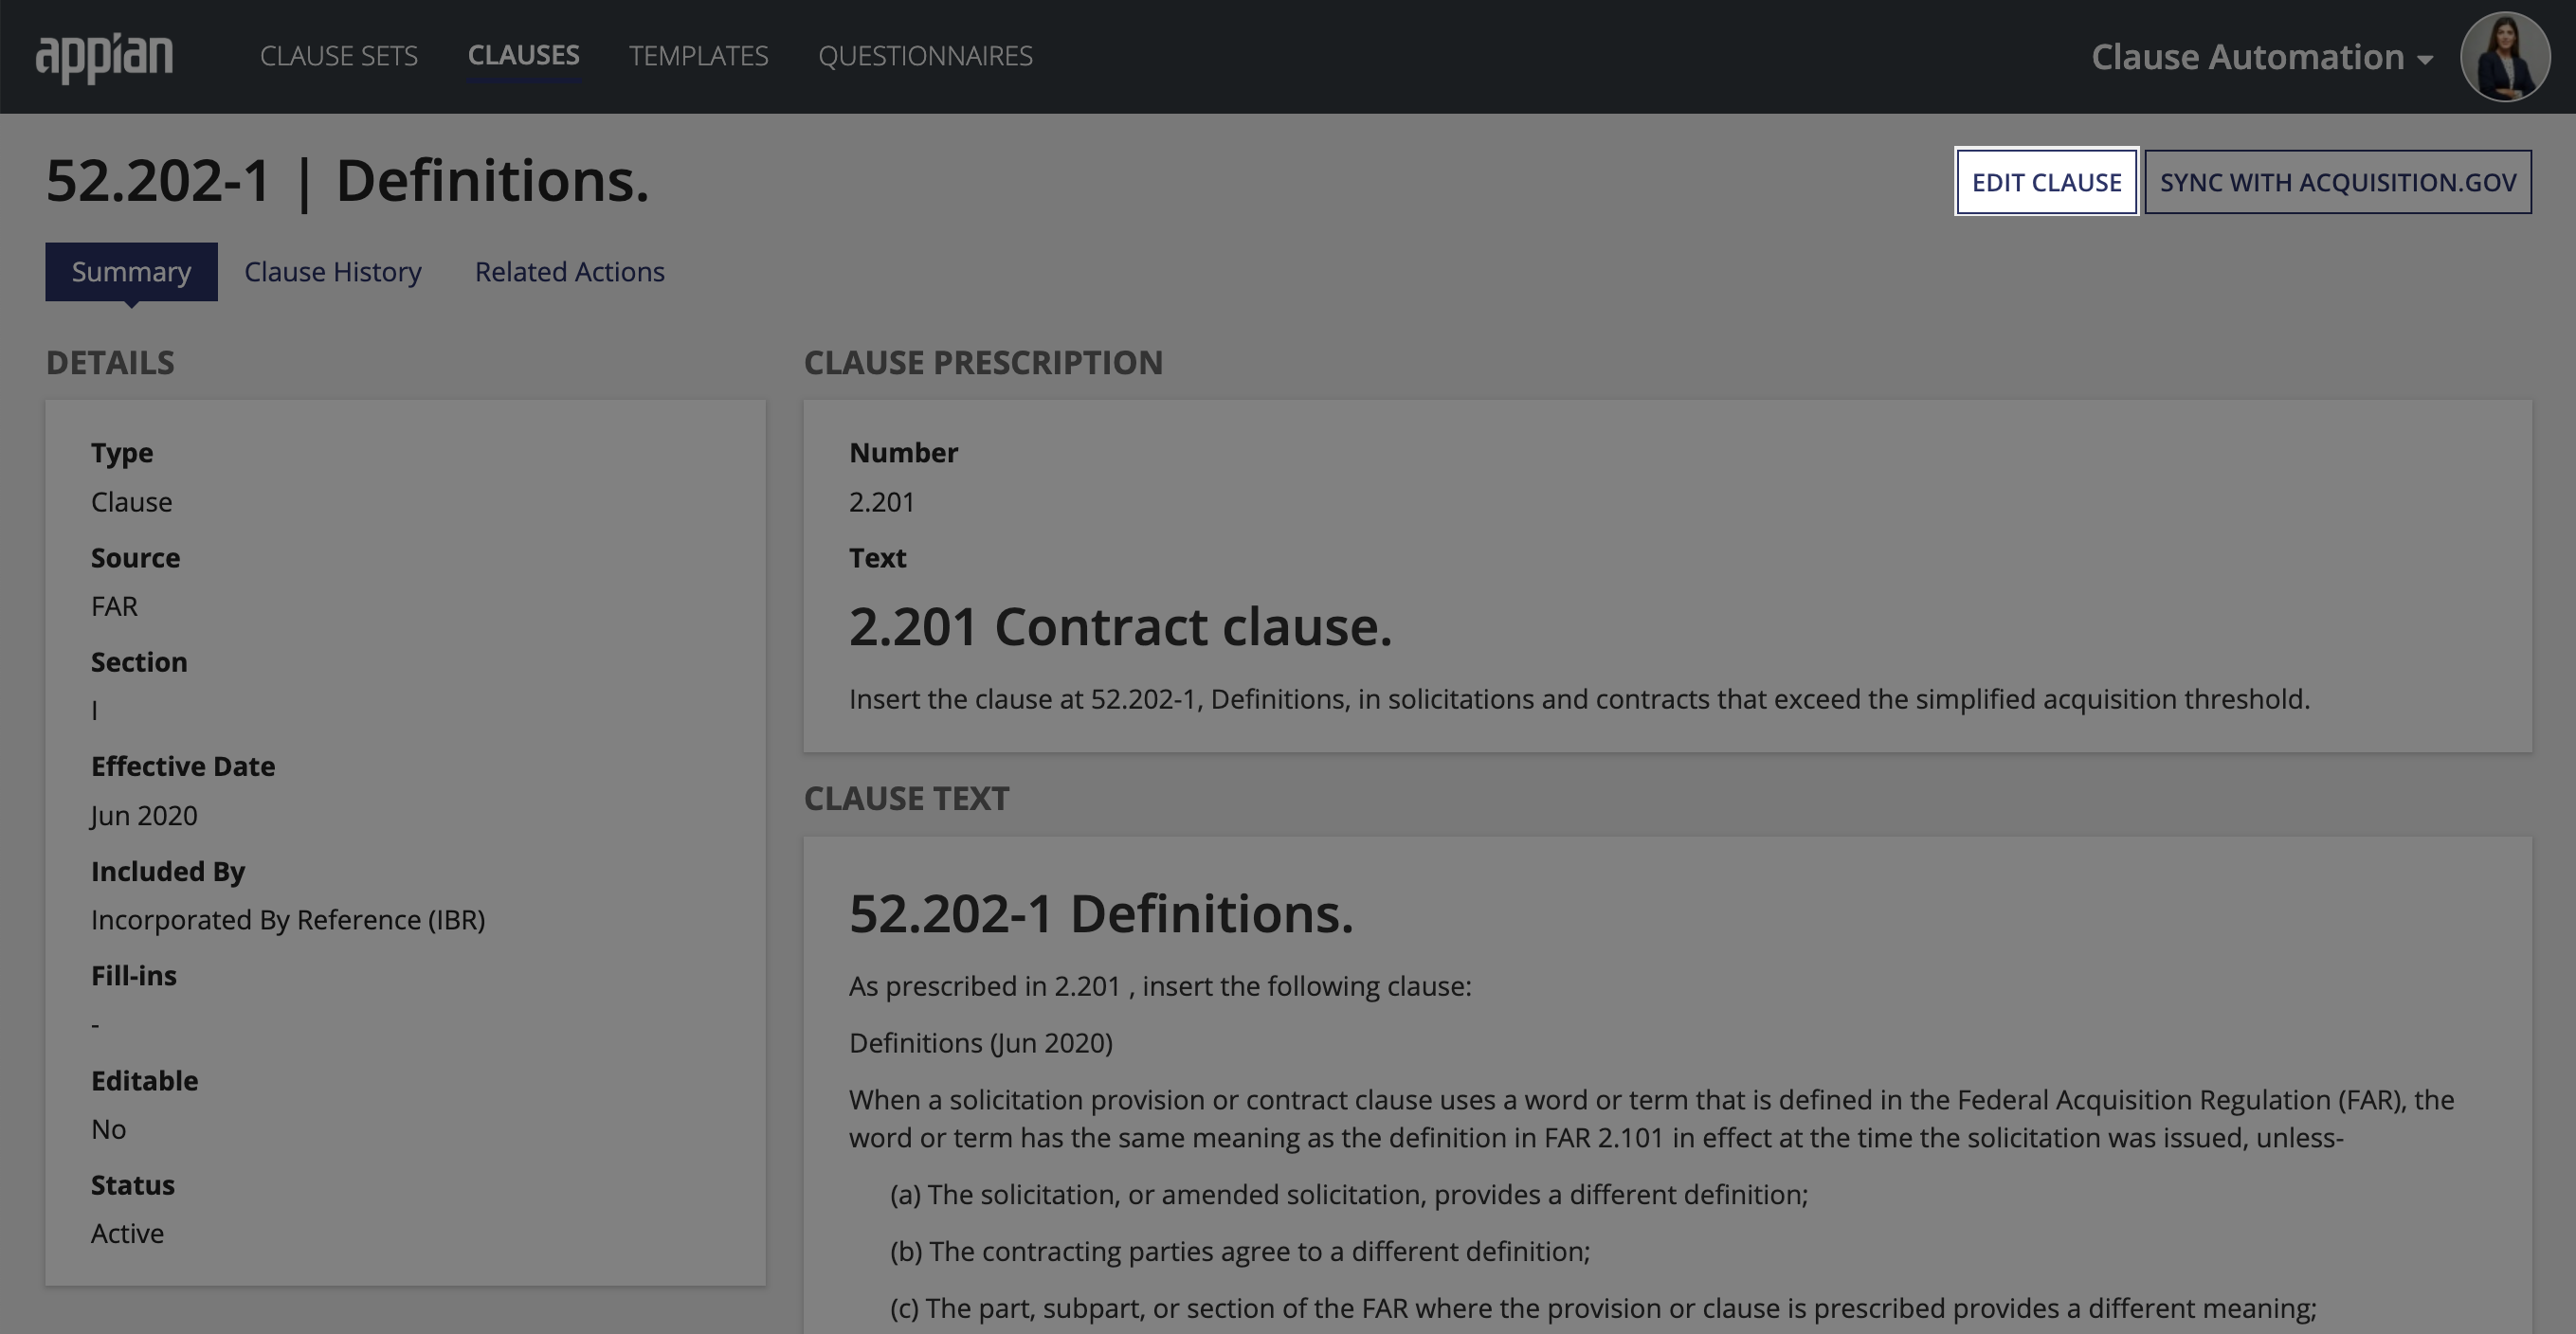
The clause summary view provides a detailed view of the clause, including details such as type, source, prescription, text, and history.
Clause historyCopy link to clipboard
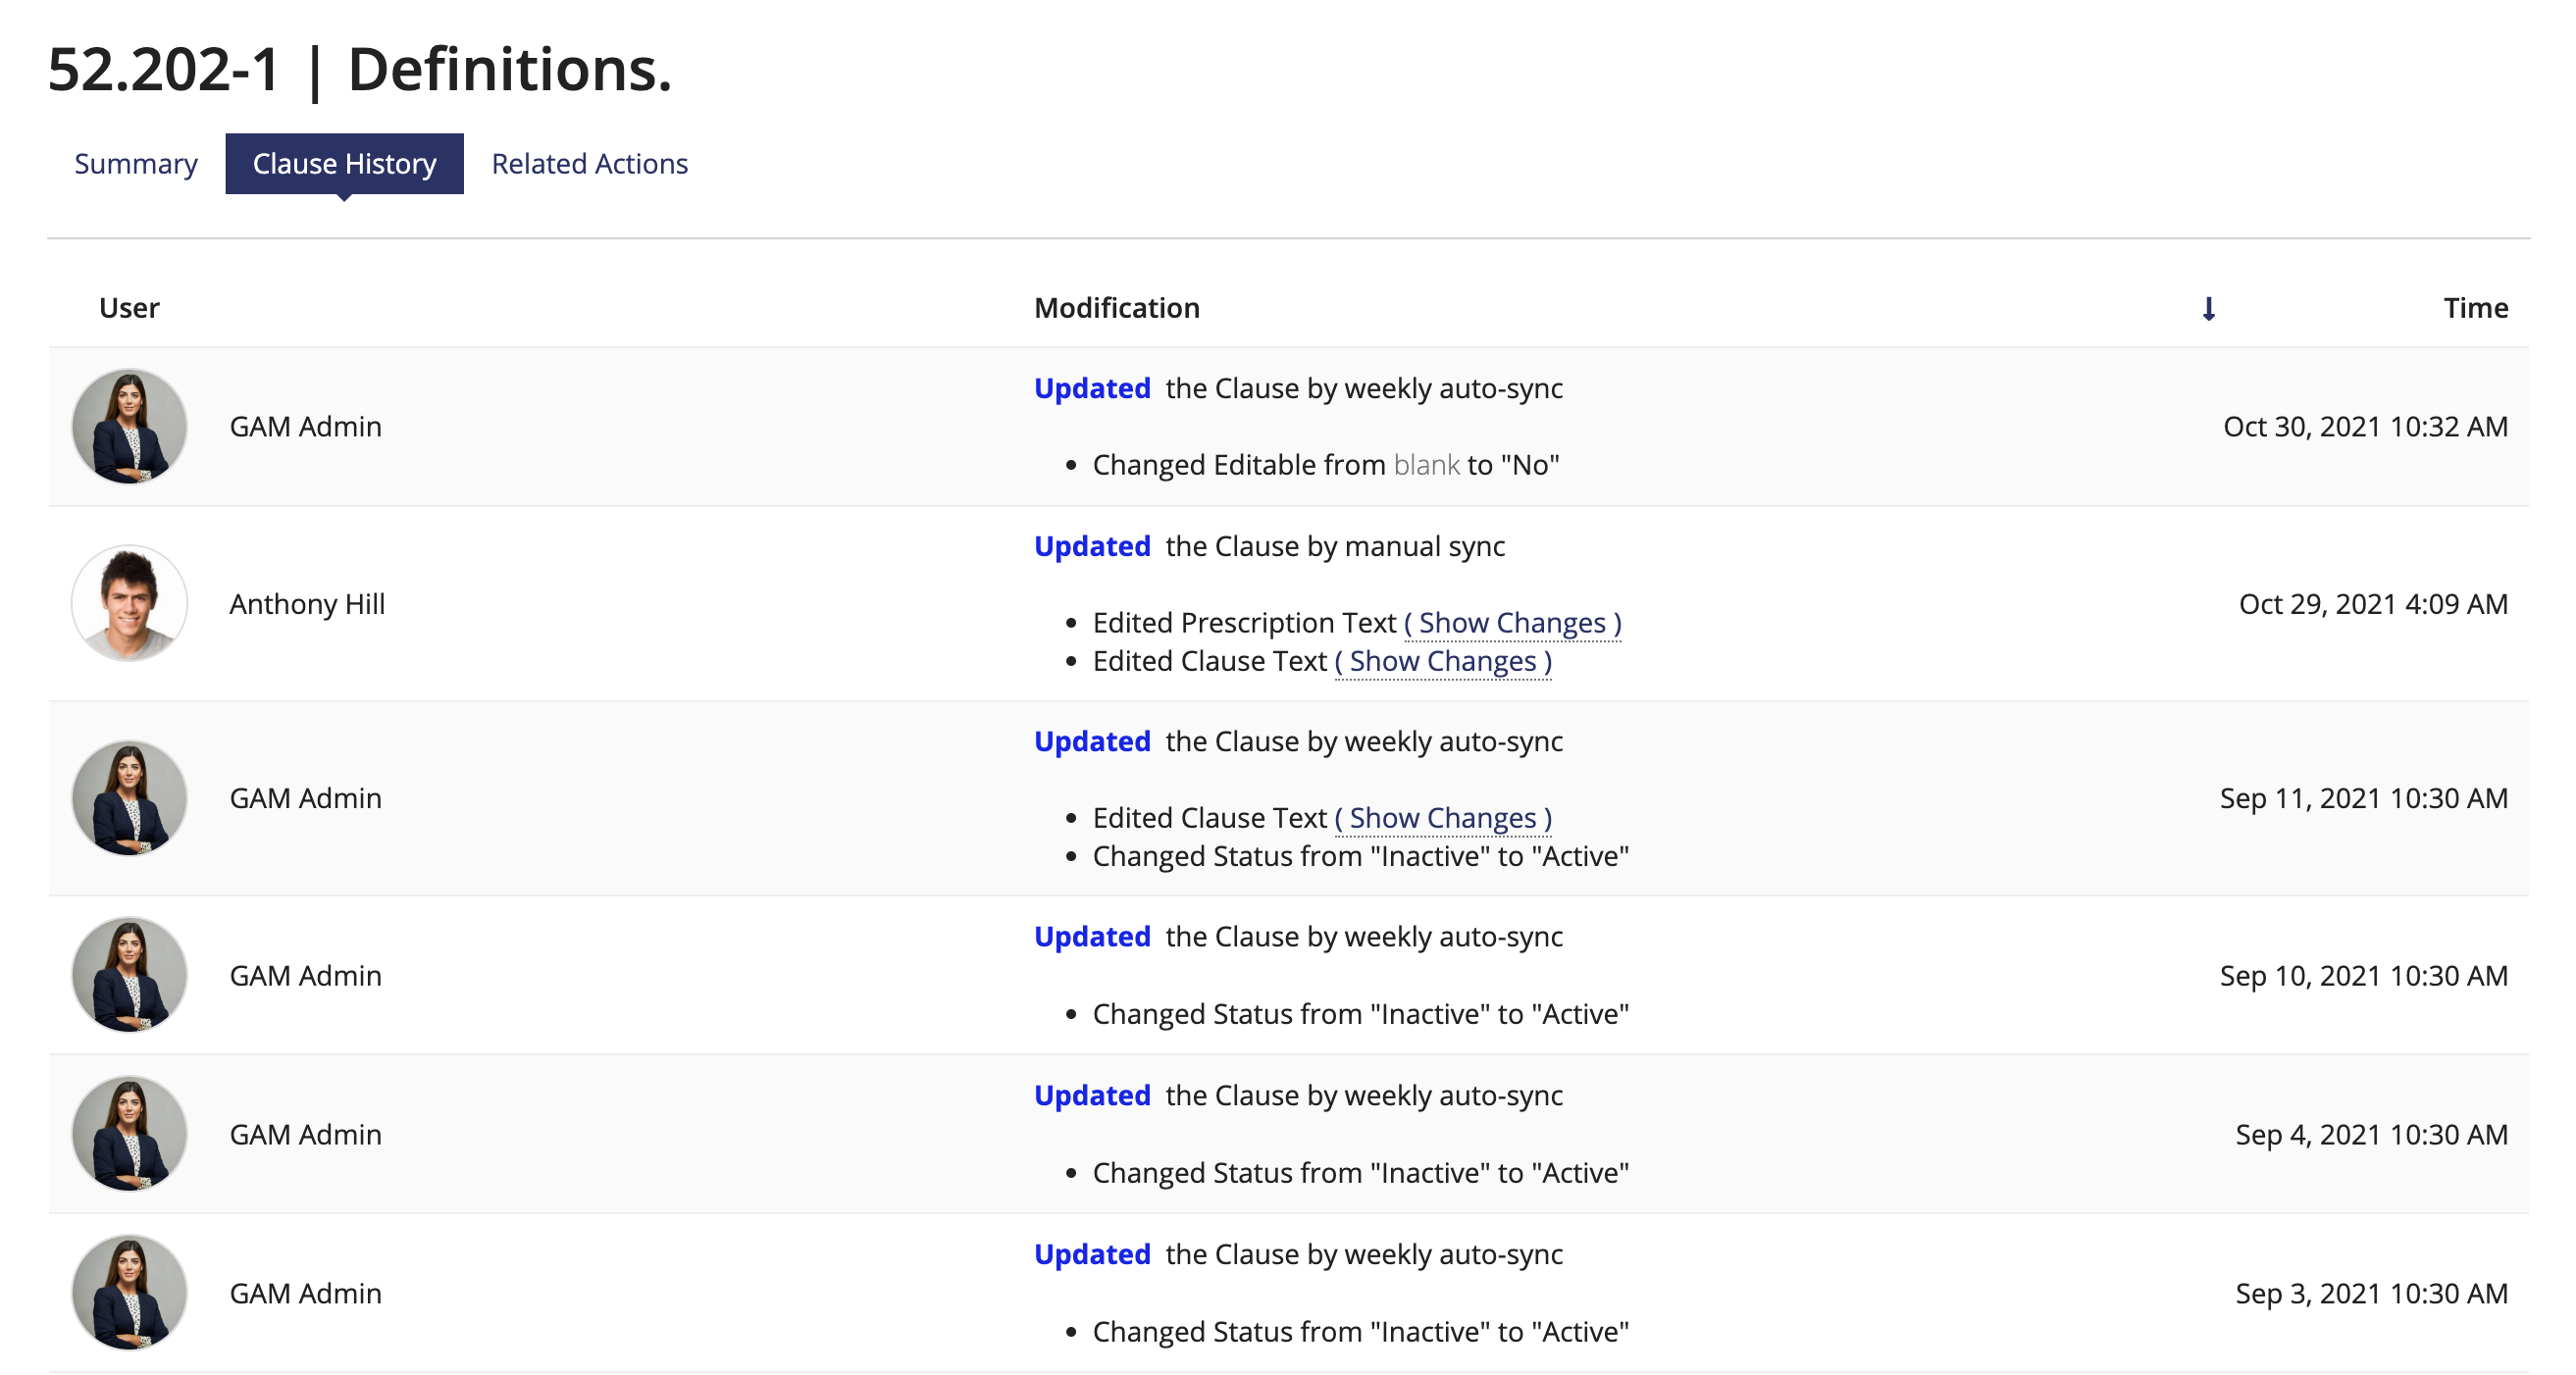
To see a log of the clause history, click Clause History. The history provides a log of all updates made to the clause, the user who made the update, and the time of update.
Adding clausesCopy link to clipboard
GCA provides a few options for adding clauses to your environment. Clauses can be added through the Acquisition.gov sync, manual creation, and importing from a spreadsheet.
Syncing clause data from Acquisition.govCopy link to clipboard
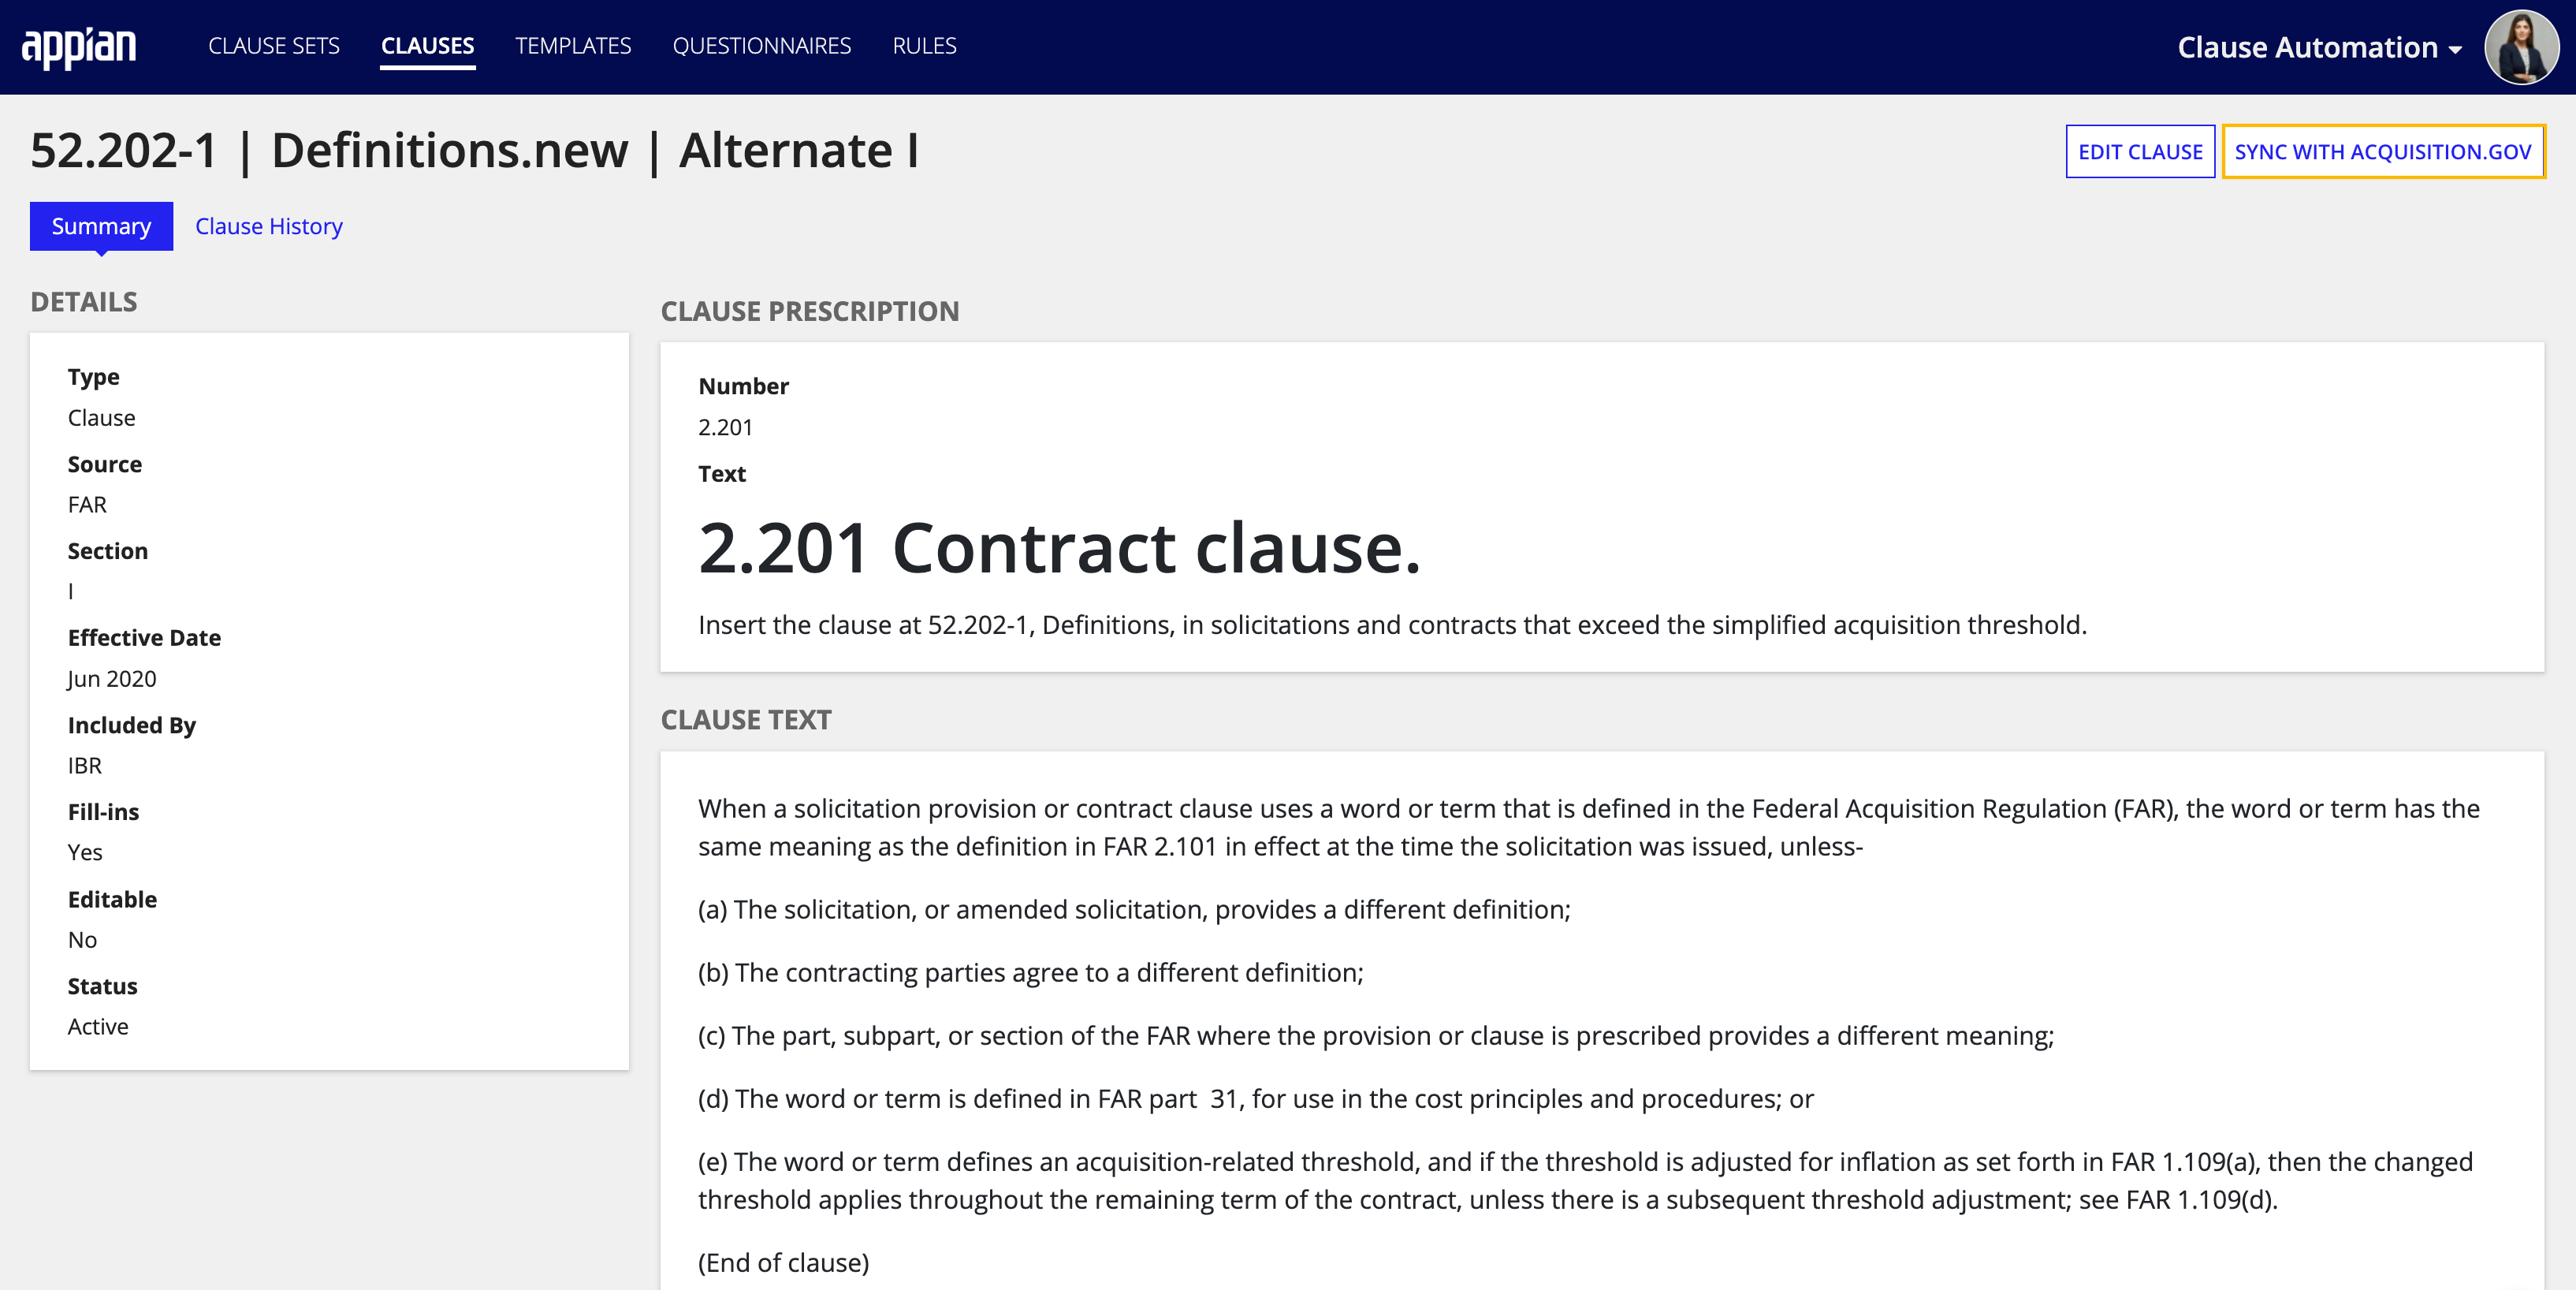
GCA integrates with Acquisition.gov to ensure your clause data reflects the most recent data available. A sync occurs weekly to ensure any updates to FAR and DFARS clauses are brought directly into your application. You can also trigger an individual sync from the Summary page of each clause.
Manually creating clausesCopy link to clipboard
You can manually add clauses that are not retrieved from the Acquisition.gov FAR and DFARS repositories using the ADD CLAUSE action on the Clauses page. When creating a clause, you can tag additional fill-ins that don't follow the standard FAR or DFARS tagging.
To add a clause manually:
-
Click on +ADD CLAUSE.
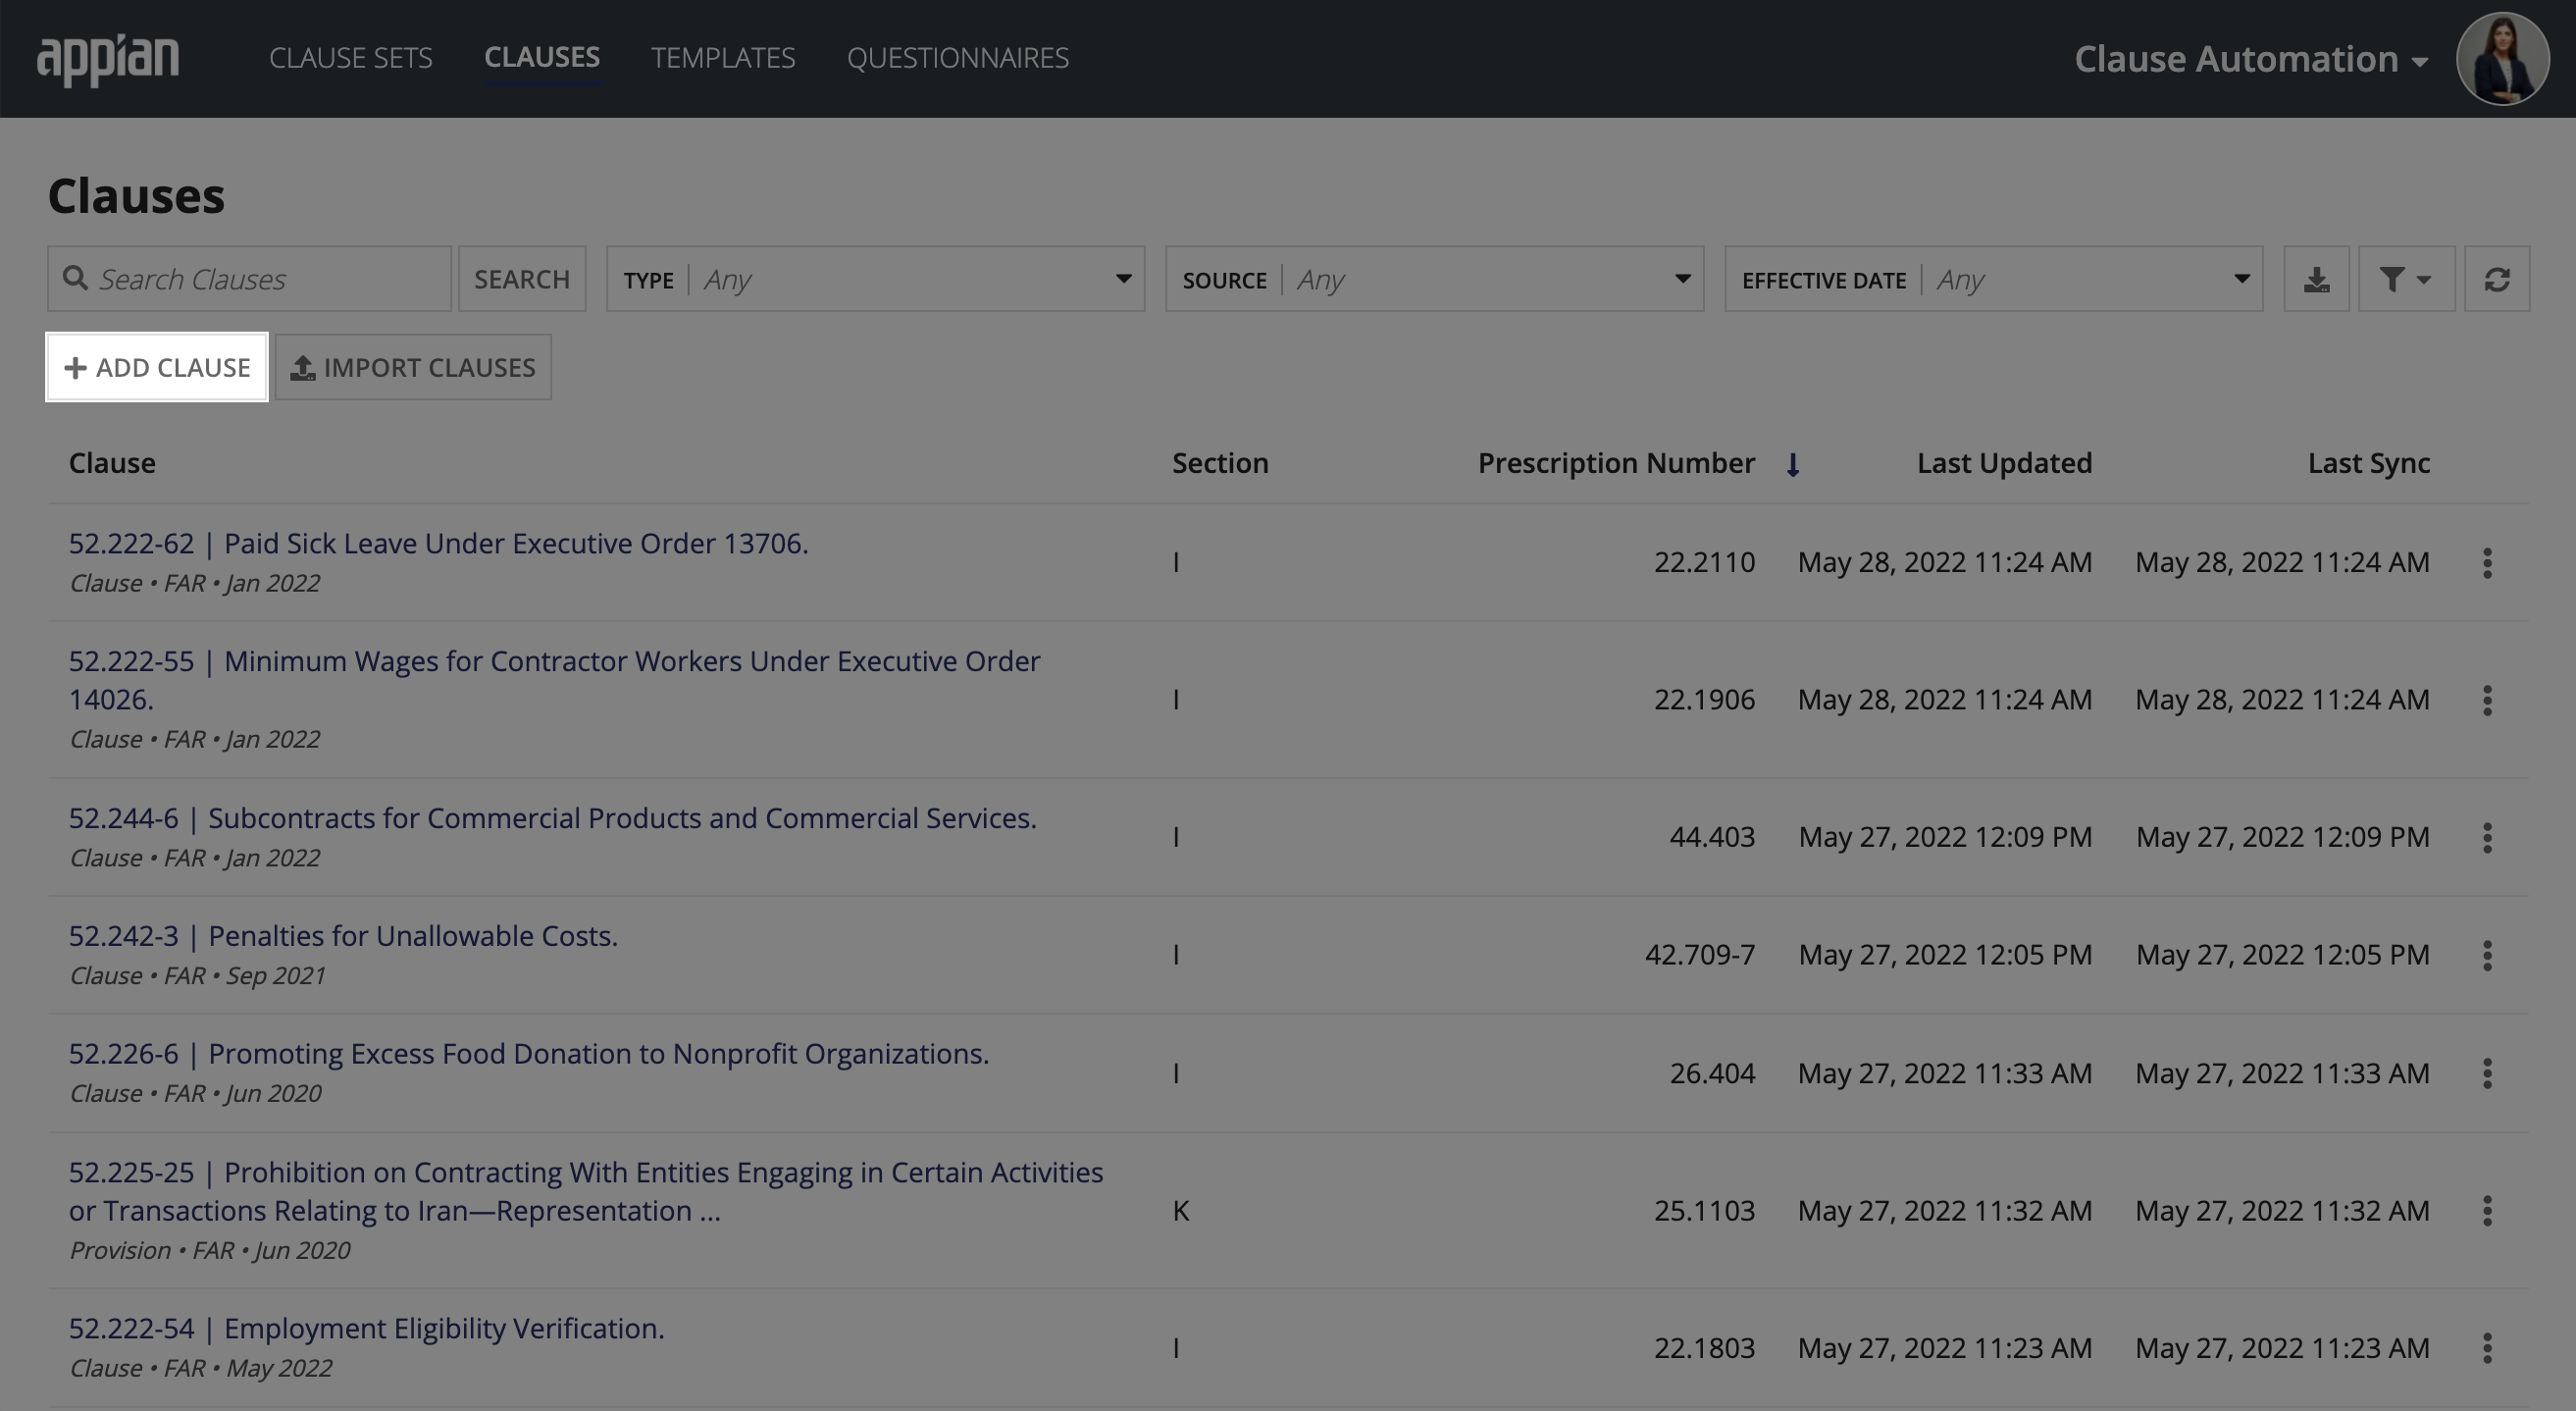
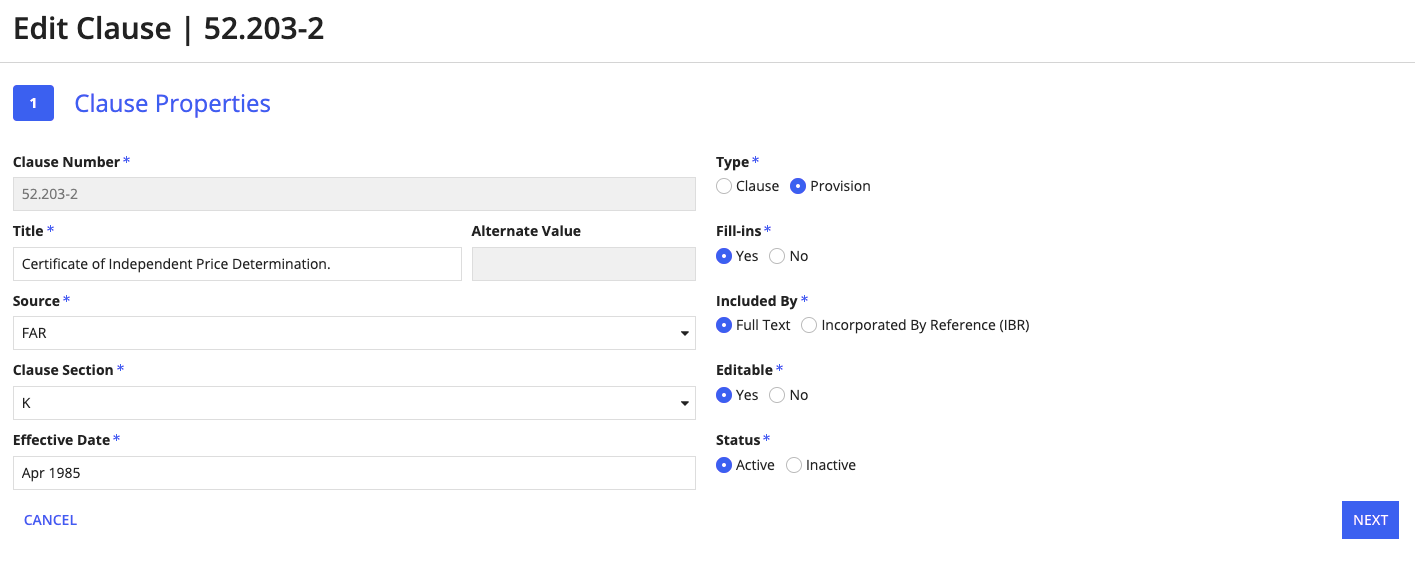
- Fill in the clause properties:
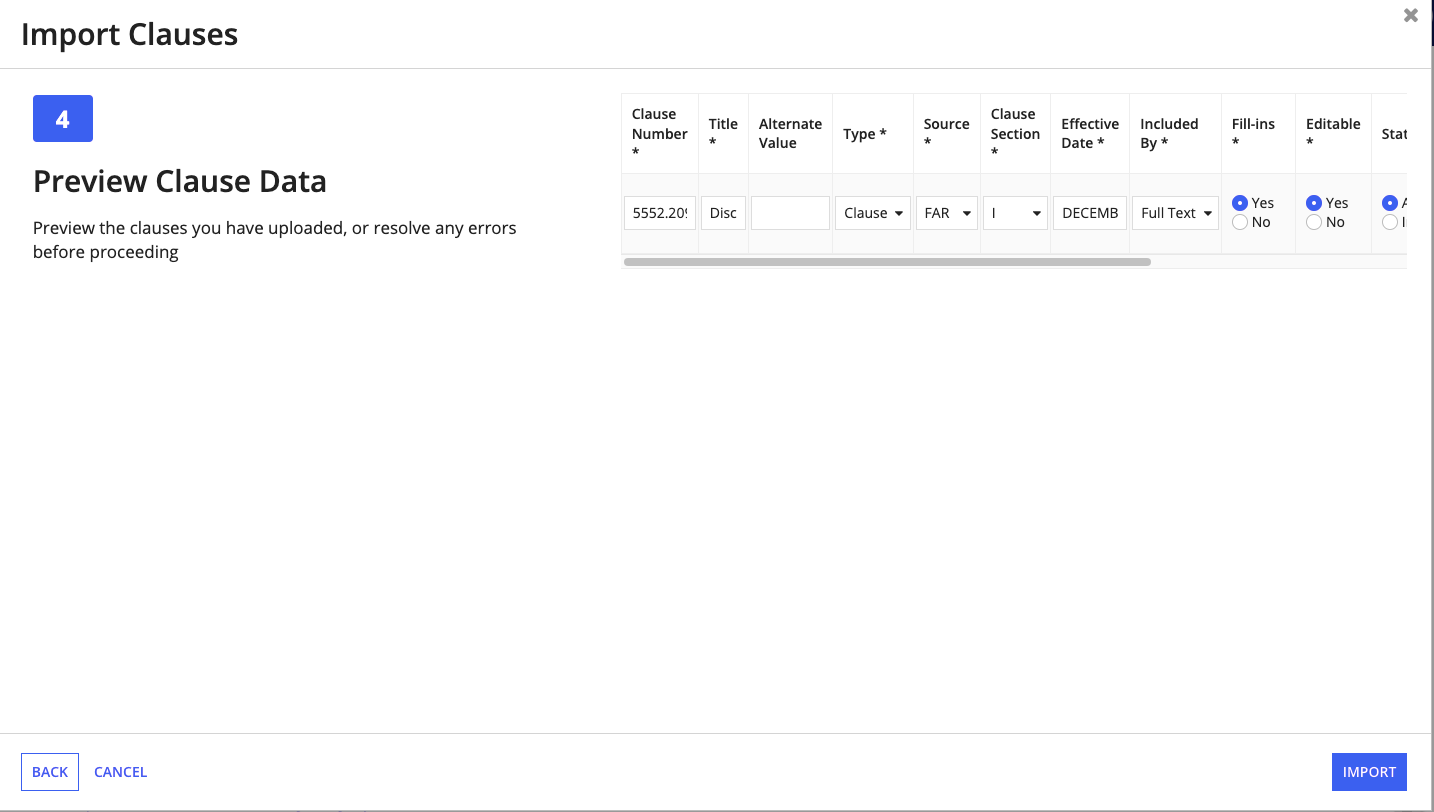
- Clause Number: The clause identifier. The clause number must be unique. Alternate clauses (alternate versions of the same clause) must be synced through a weekly sync process for FAR and DFARS clauses. Local clauses (clauses created through manually adding or importing) that have alternates must have something appended to the clause number.
- Type: The type of clause. The type can be Clause or Provision.
- Title: The title of the clause.
- Fill-ins: Whether the clause will include fill-ins.
- Source: The source of the clause. The source can be FAR, DFARS, Department, or Agency.
- Included By: The options are Full Text or Incorporated By Reference (IBR).
- Clause Section: The clause section. The options are E, F, G, H, I, K, L, M, NA.
- Editable: Whether the clause will be editable.
- Effective Date: The date when the terms of the clause begin.
- Status: The status of the clause. The status can be Active or Inactive.
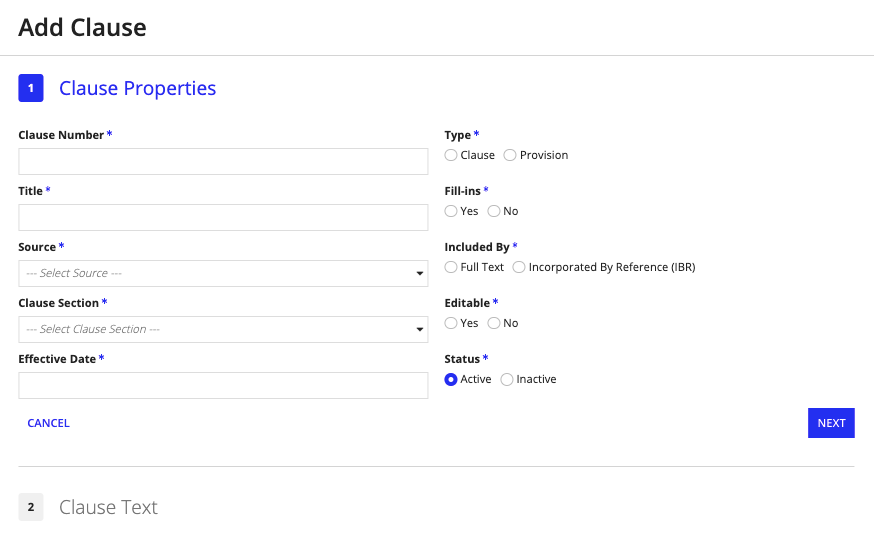
- Click Next.
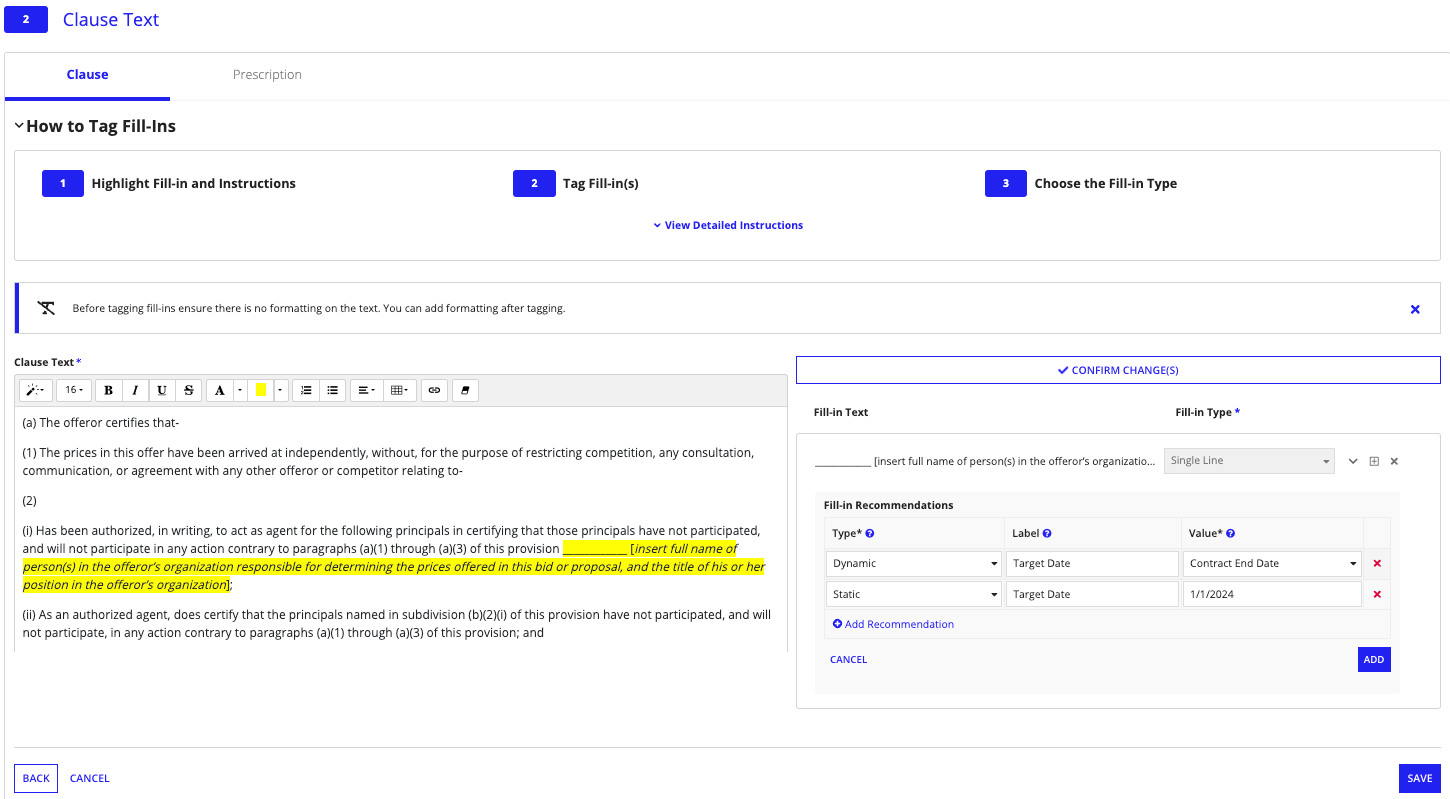
- Add the clause text under Clause in the rich text editor provided. If you plan on tagging fill-ins in your clause, remove all formatting from the text to prevent errors while tagging.
- Tag Fill-ins:
- Highlight Fill-in and instructions: Drag your cursor over the fill-in text and instructions, and highlight the selection in any color. If there are multiple fill-ins in your clause, complete this process for each one.
- Tag Fill-in(s): Click TAG FILL-IN(S) if your clause did not already have fill ins. Click CONFIRM CHANGES if the clause had existing fill-ins. GCA populates your tagged fill-ins in the list.
- Choose the Fill-in type: Classify each fill-in in your list by selecting an option under Fill-in Type. The fill-in types can be Single Line, Multi Line, or Checkbox.
- Remove fill-in: To remove the fill-in, click on the remove icon next to the fill-in.
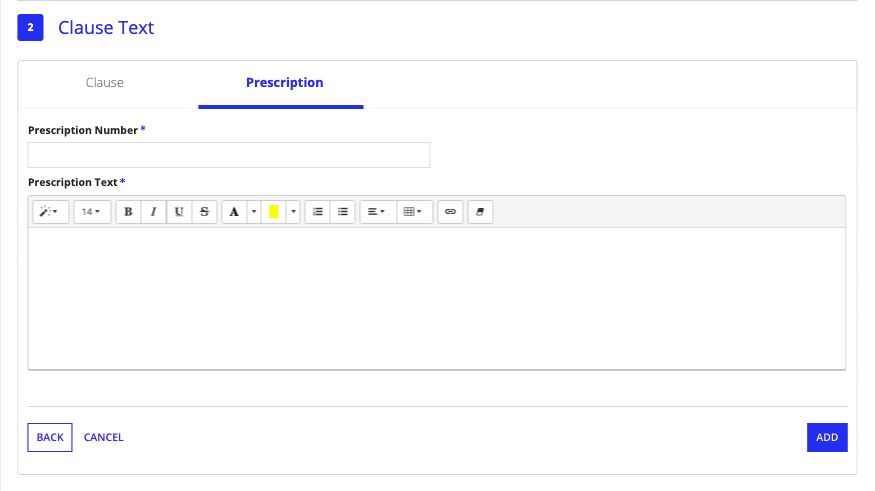
- Click the Prescription tab to add the clause prescription information:
- Prescription Number: Where the clause is prescribed.
- Prescription Text: The prescription text.
- Click Add to create the clause.
Note: Clauses that are manually added can not have alternate clauses.
Importing clauses from a spreadsheetCopy link to clipboard
You can also bulk import clauses, which allows you to quickly add a large group of clauses to your GCA environment. GCA provides a template file to help simplify and guide you through the import process.
To import clauses using a template:
-
Click IMPORT CLAUSES from your Clauses page.
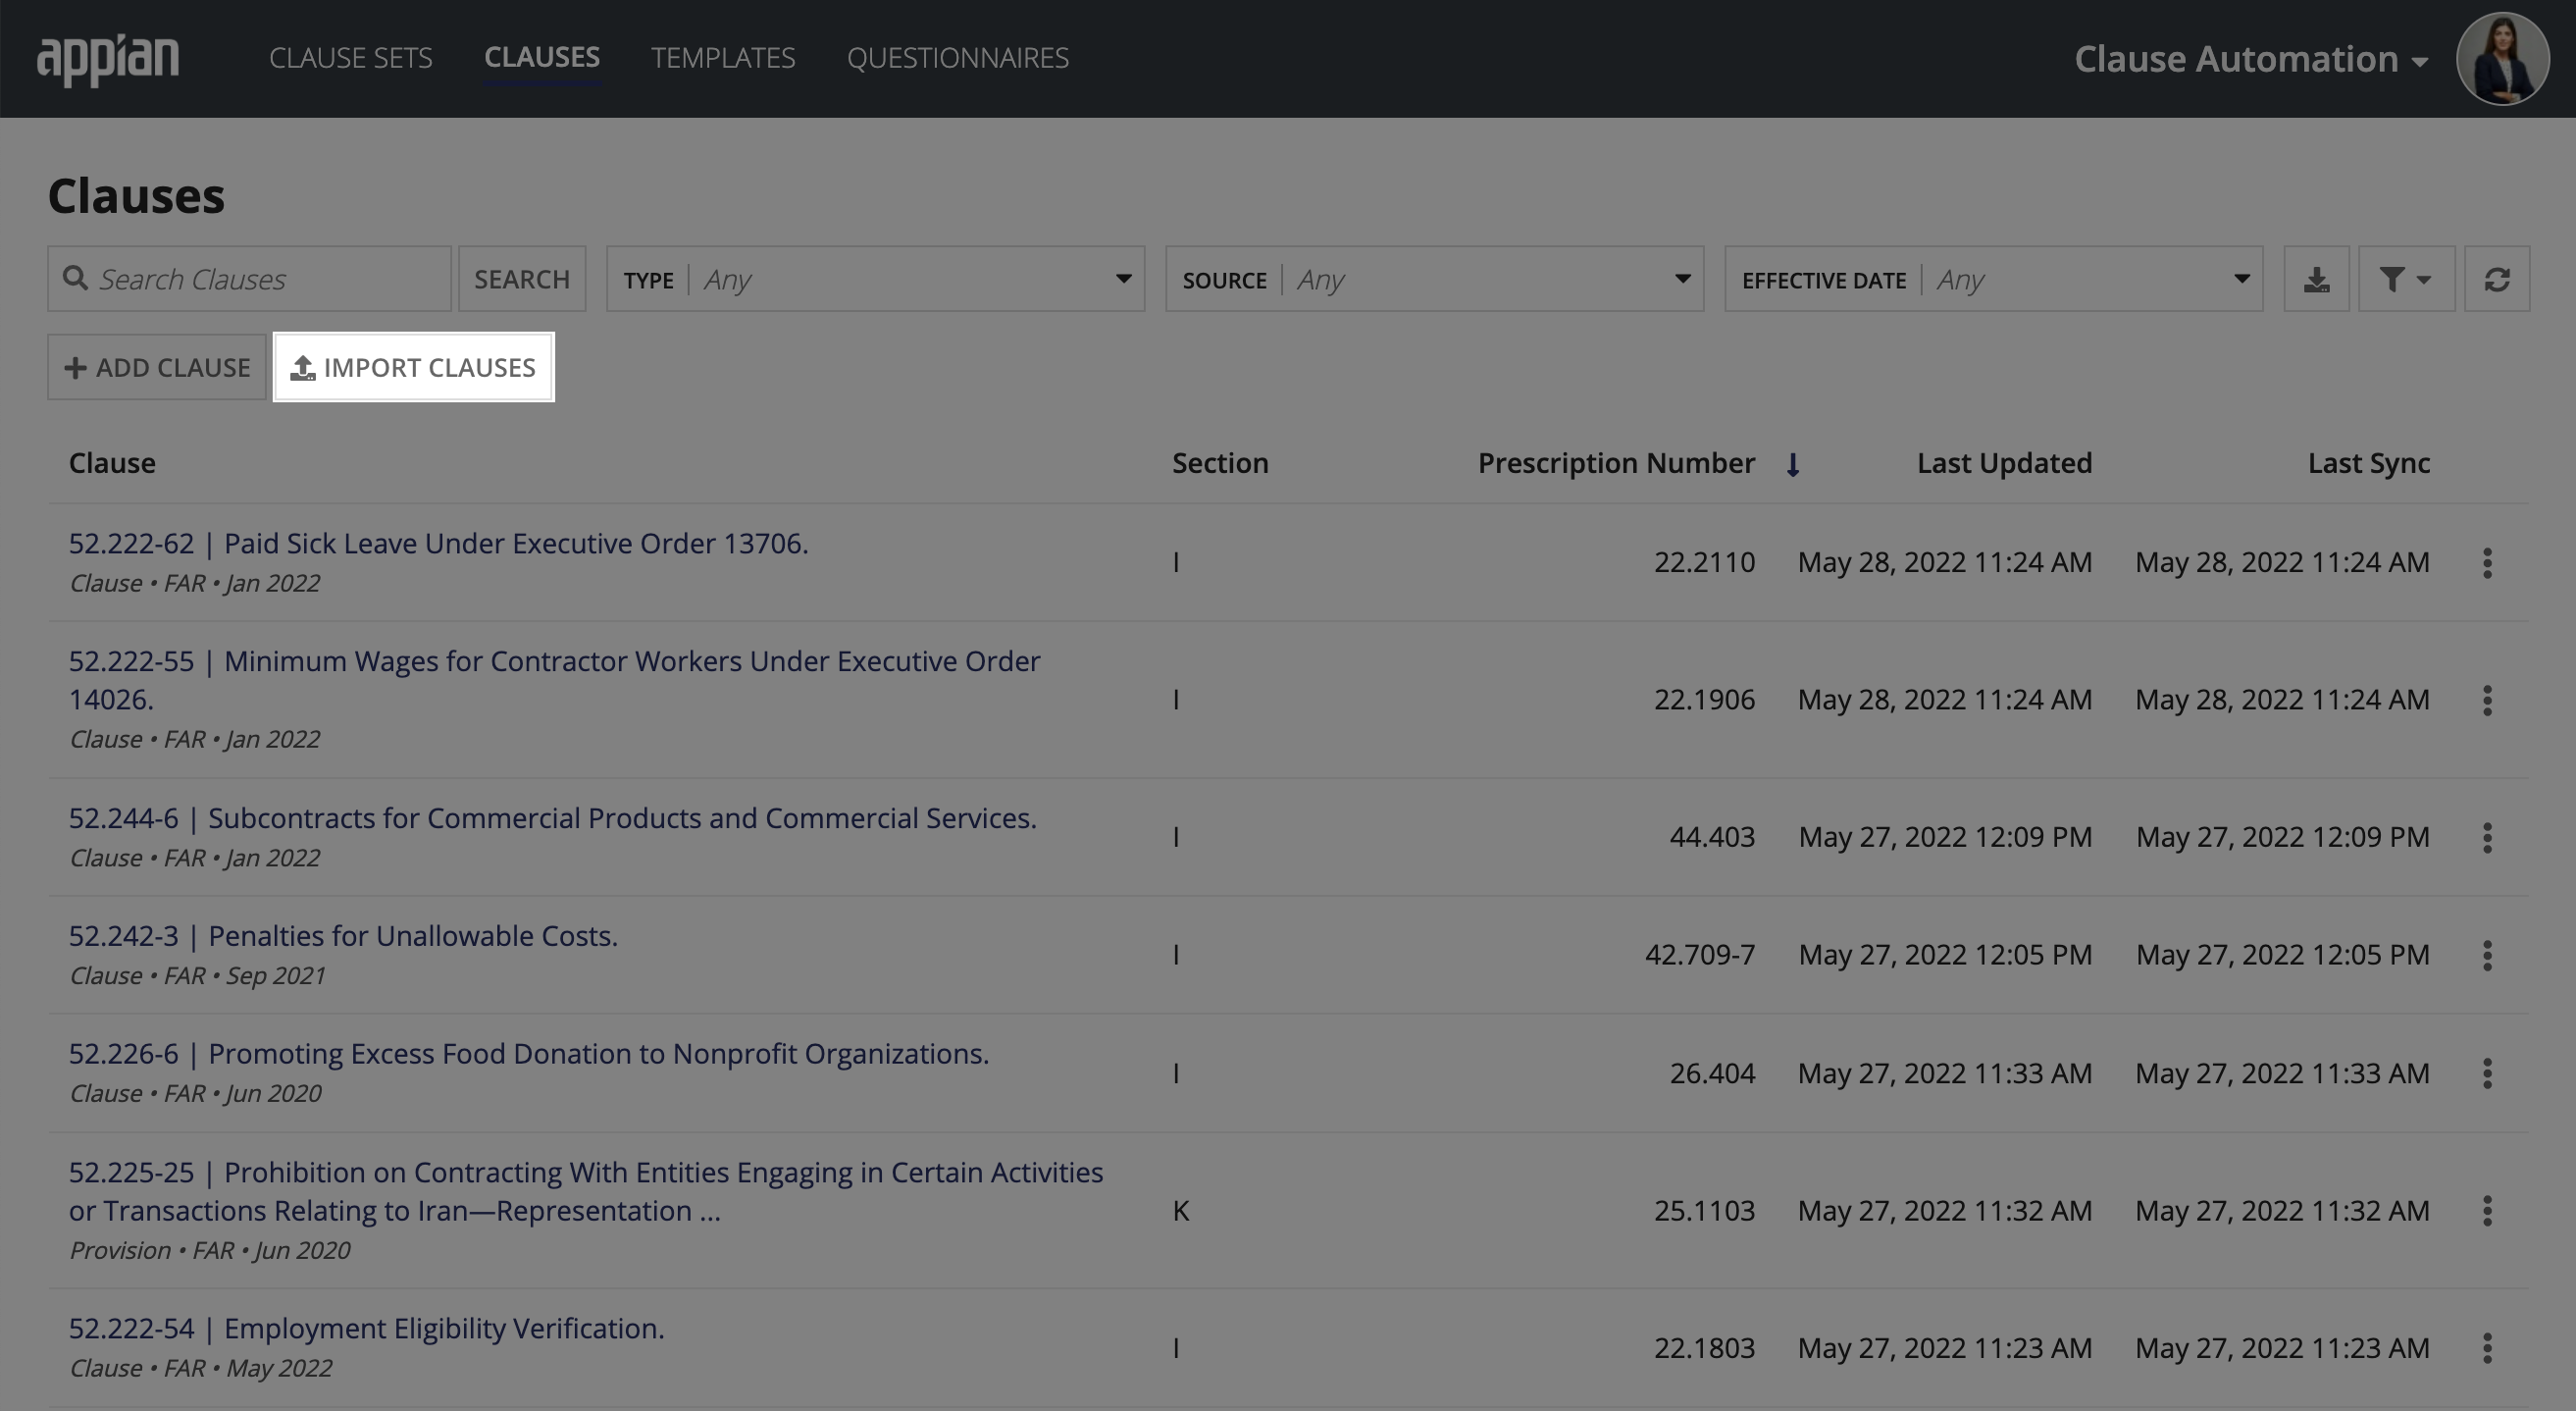
- Follow the steps in the import wizard.
-
Click Any Clause Using a Template.
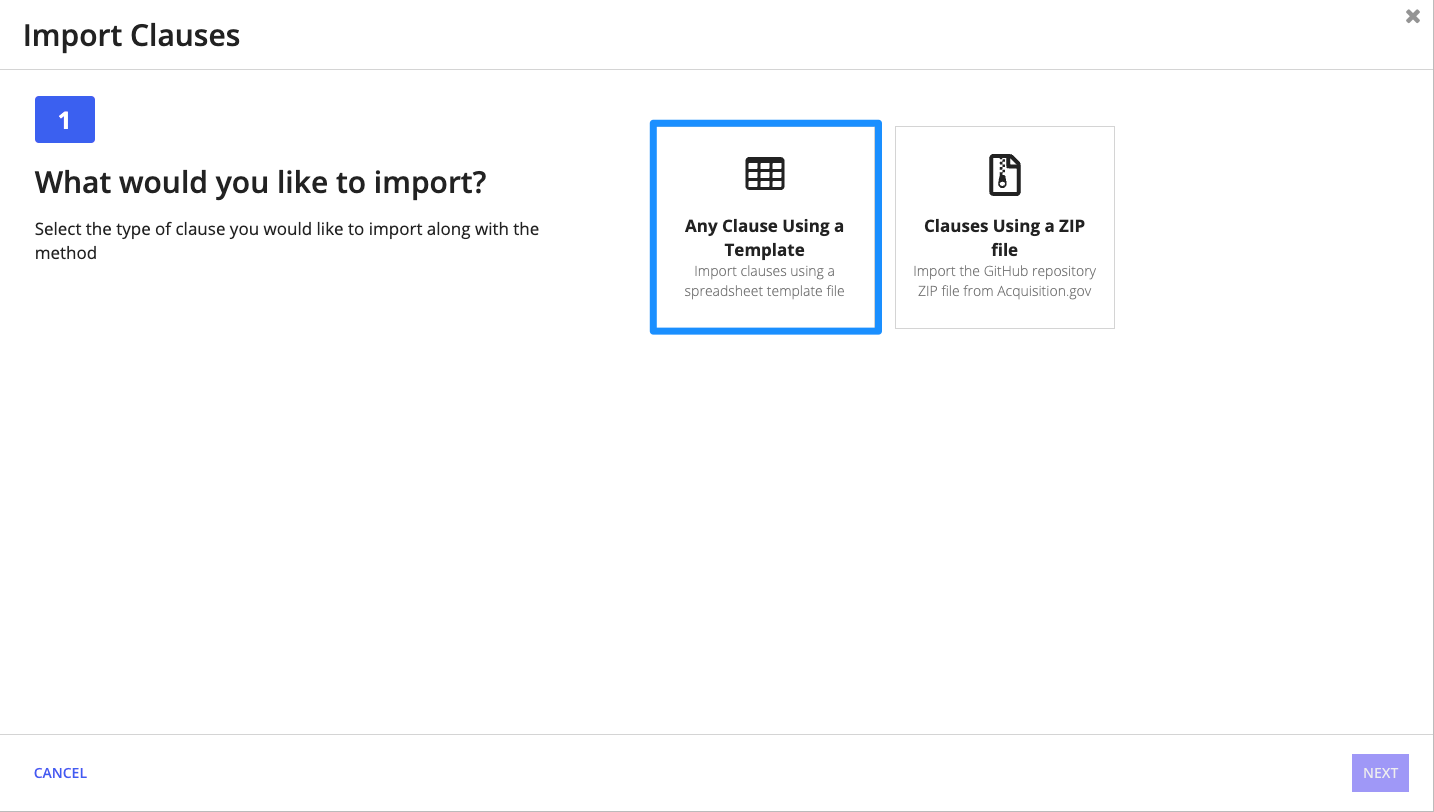
-
Download template file, add your clause data to the clause template spreadsheet, and upload the file back into the wizard.
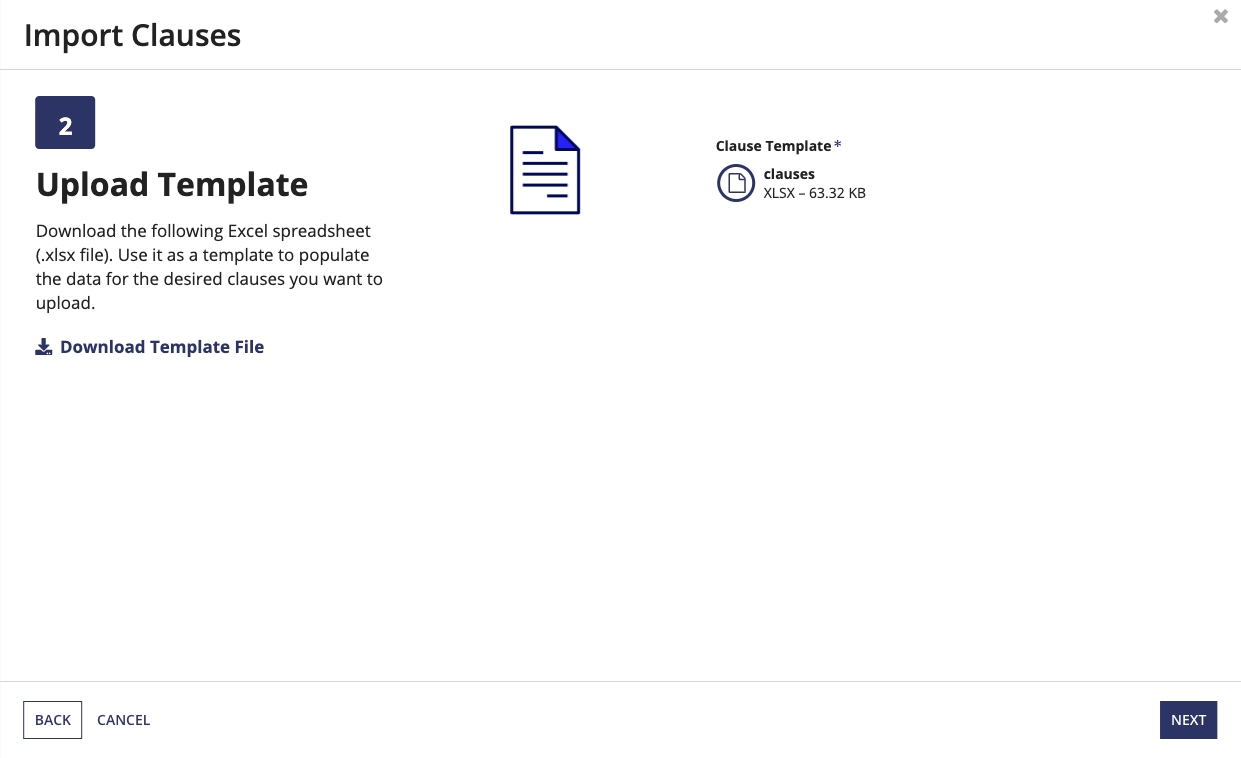
-
Map your file data fields to the system clause fields.
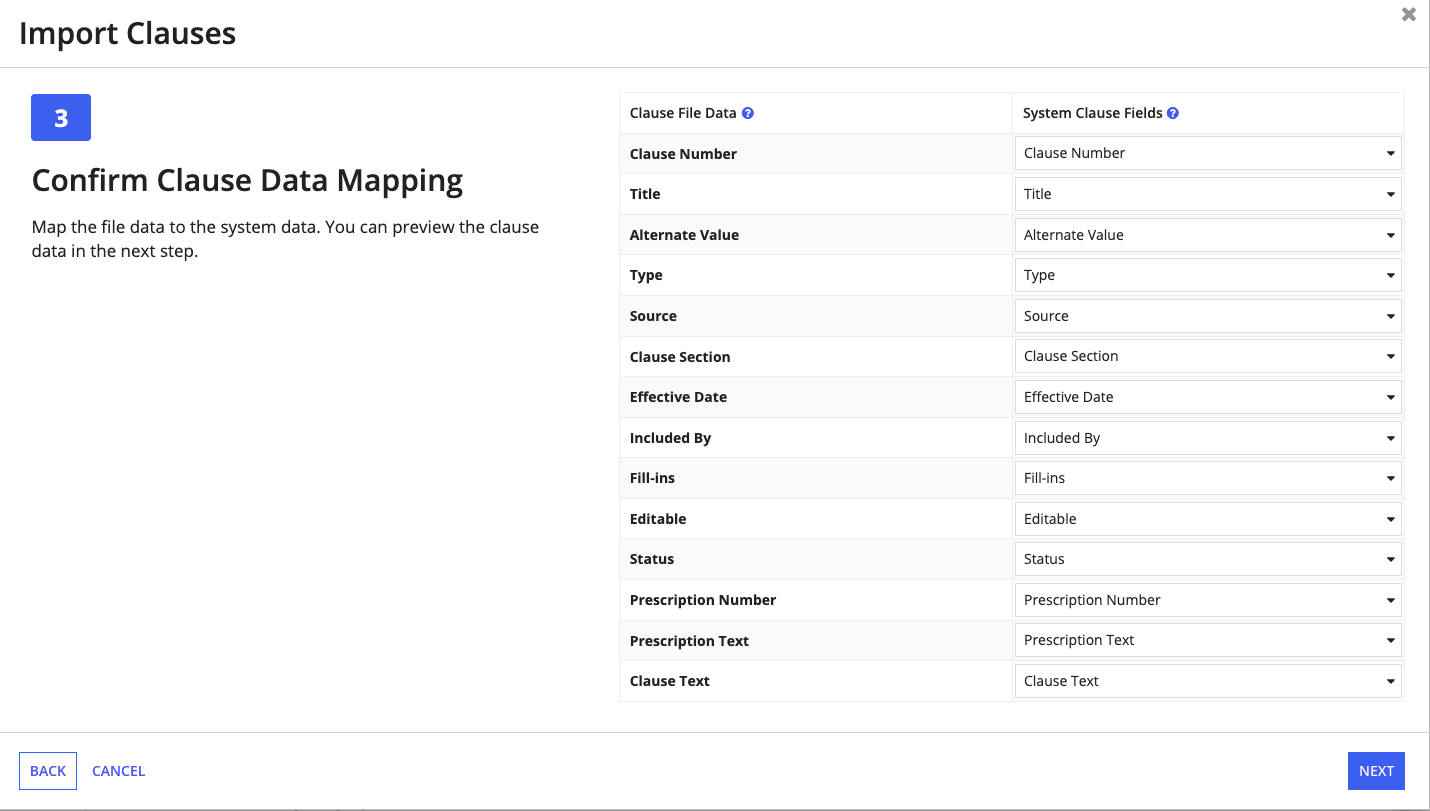
-
Preview your clause data and fix any errors.
-
- Click IMPORT.
Importing Acquisition.gov data with ZIP fileCopy link to clipboard
Clause data can also be retrieved from Acquisition.gov without using a direct integration. Users who prefer this option can download a ZIP file from the Acquisition.gov FAR or DFARS github page and import the file directly into their GCA environment.
To add Acquisition.gov clause data with a ZIP file:
-
Click IMPORT CLAUSES from your Clauses page.

-
Follow the steps in the import wizard.
-
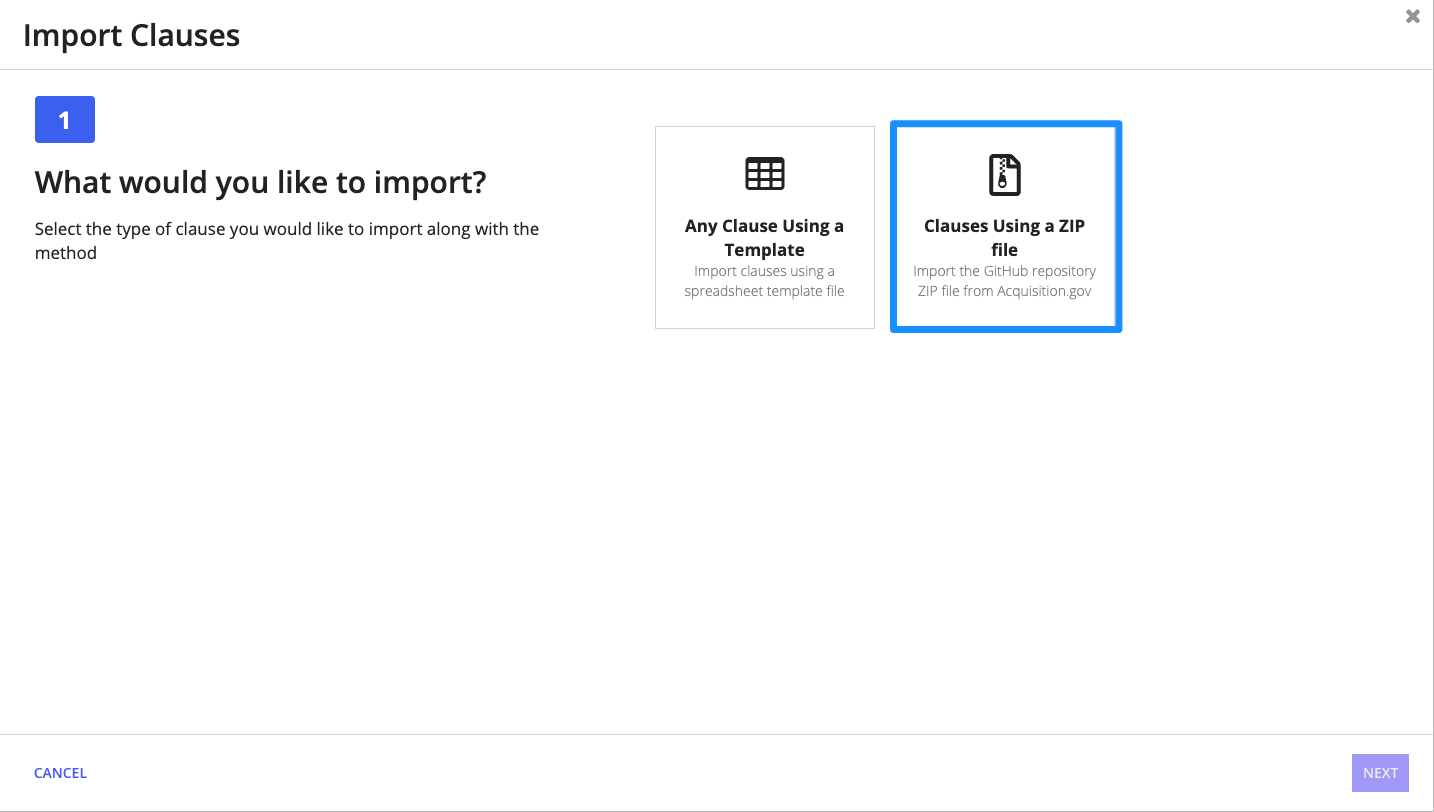
Click Clauses Using a ZIP file.
-
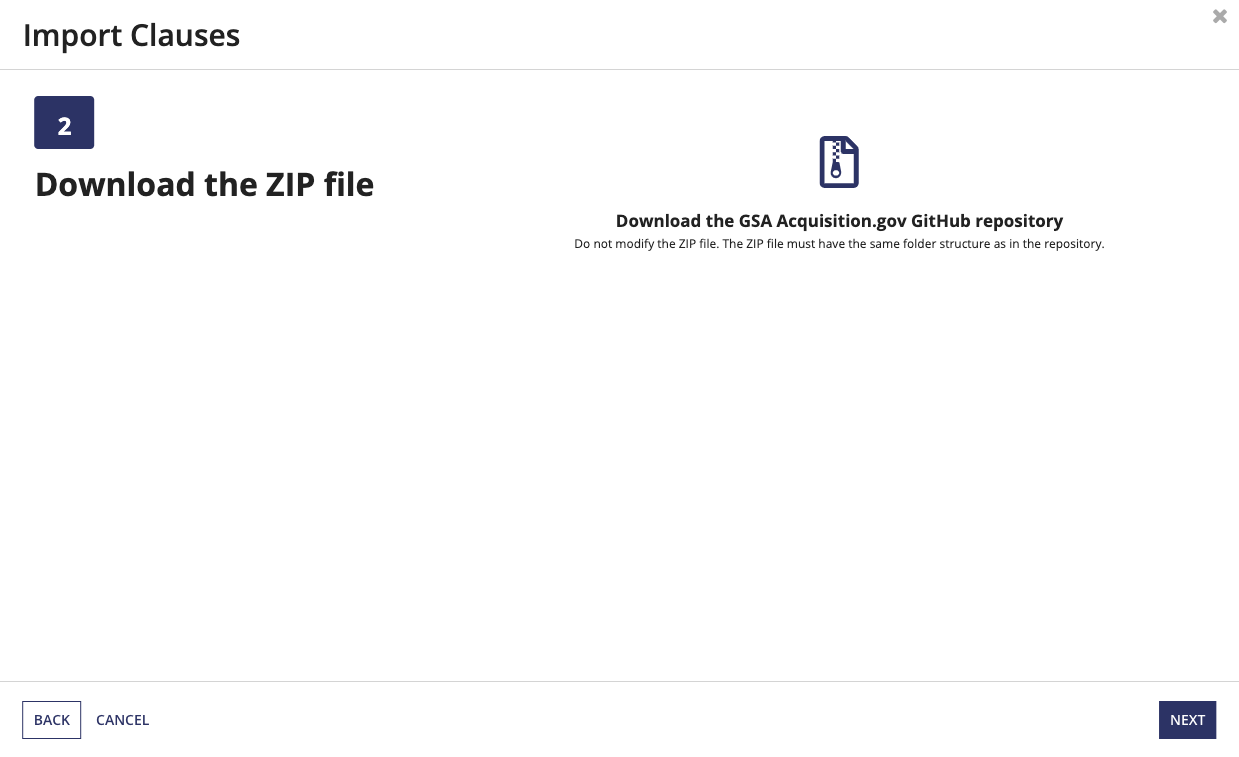
Navigate to the GSA Acquisition.gov GitHub repository and download the repository as a ZIP file by clicking on Code > Download ZIP. The ZIP file should not be modified in any way after it is downloaded to avoid upload failure or other issues during uploading.
-
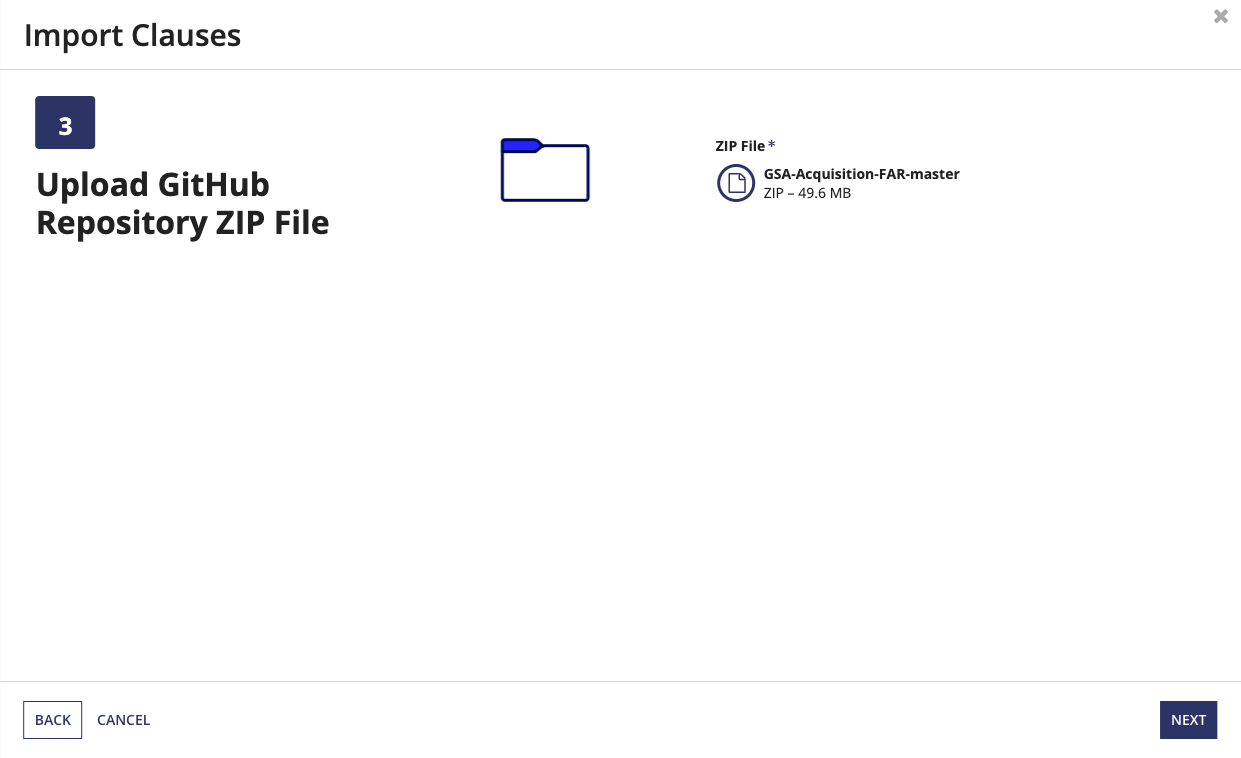
Upload the GitHub Repository ZIP file.
-
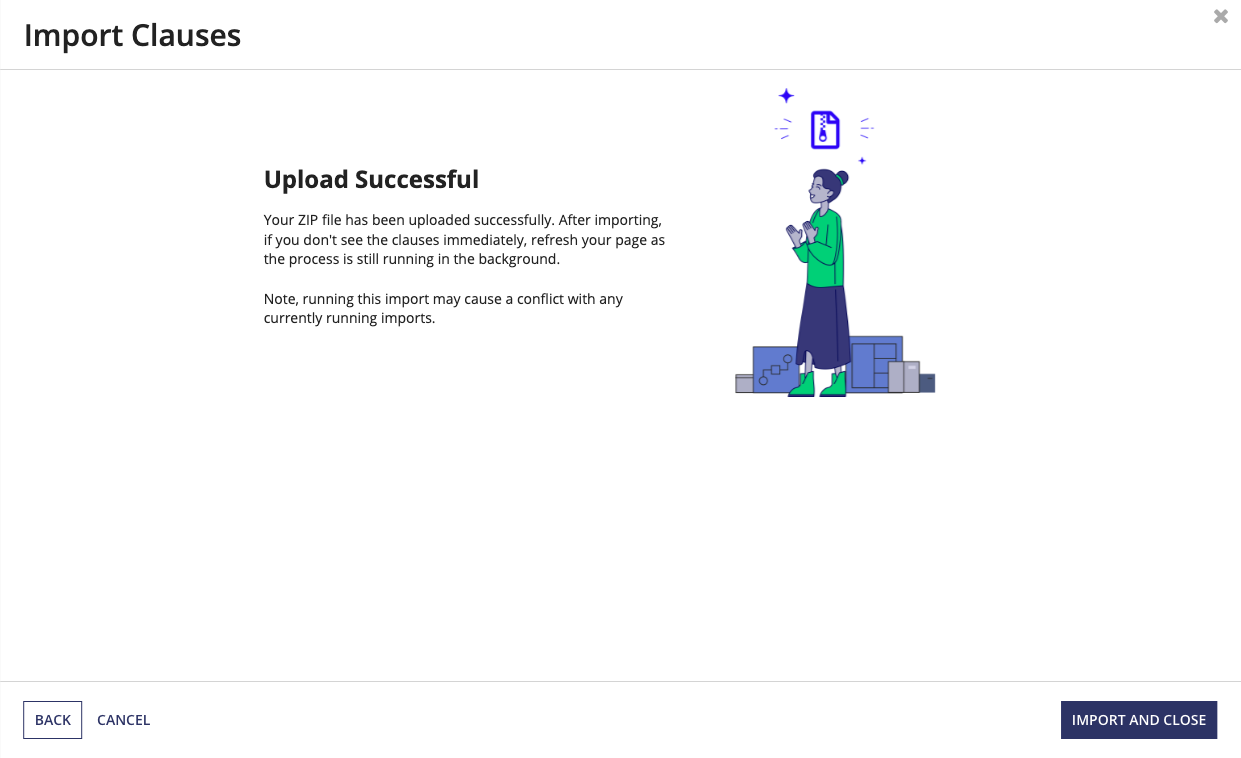
If the upload is successful, click Import and Close to initiate the import.
-
Editing clausesCopy link to clipboard
Privileged users can update Clause Properties and Clause Text from the clause summary view.
To update a clause:
-
Click EDIT CLAUSE in the clause summary view.
-
Make updates to the Clause Properties. The clause number is the only field that cannot be updated. For descriptions on each clause property, see Step 2 of the Adding Clauses section.
- Click Next.
- Make updates to the clause text under Clause.
- Tag or update Fill-ins:
- Highlight Fill-in and instructions: Drag your cursor over the fill-in text and instructions, and highlight the selection in any color. If there are multiple fill-ins in your clause, complete this process for each one.
- Tag Fill-in(s): Once your fill-ins have been highlighted, click TAG FILL-IN(S), if your clause did not already have fill ins, or Confirm Changes, if the clause had existing fill-ins. You should see your tagged fill-ins populate in the list.
- Choose the Fill-in type: Classify each fill-in in your list by selecting an option under Fill-in Type. The fill-in types can be Single Line, Multi Line, or Checkbox.
- Remove fill-in: To remove the fill-in, click on the remove icon next to the fill-in.
- Define a recommendation: To define a recommendation, click the plus icon next to the fill-in and provide the required information.

- Click the Prescription tab to update the clause prescription number and text.
- Click Save.
Caution: Any updates made to a clause synced from Acquisition.gov will be overwritten once the sync reruns.
