OverviewCopy link to clipboard
A record view is defined on the record type object and is composed of an interface that displays information from a single record to end users.
This page describes how to create a read-only interface that you can use in a record view for a record type.
Note: If your record type has data sync enabled, Appian can help you quickly create a record view and generate an interface with the right data for your end users. Learn how to generate a Summary view.
This read-only interface will display the data in each record. To pass record data into the interface, you'll define a rule input and set the type to a record data type.
Create a new interface with a rule inputCopy link to clipboard
To create the interface:
- In the Build view, click New > Interface.
- In the Create Interface dialog, configure your interface properties.
- Click CREATE.
-
In the Select a Template panel, under PAGES, click One Column.

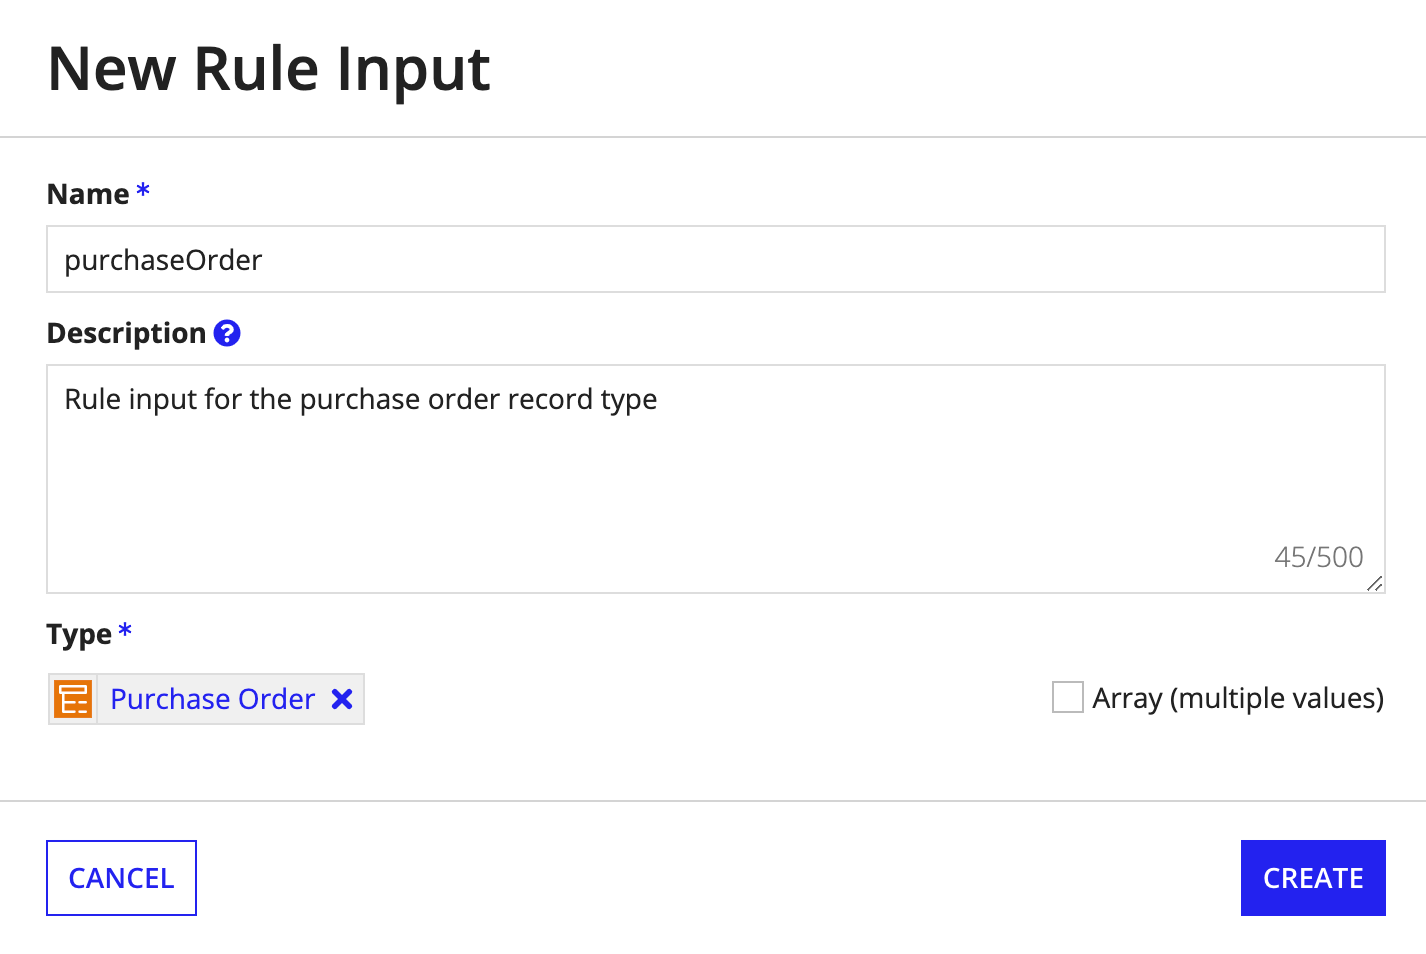
- Under RULE INPUTS, click New Rule Input .
- For Name, enter the name of the input. In this example, we entered purchaseOrder.
- For Description, enter a short description.
- For Type, enter the name of your record type. In this example, we used the Purchase Order record type.
For example:

Add test values to the rule inputCopy link to clipboard
Now that we have a rule input configured, let's add some test data to the interface. We'll configure a default test value to populate in our rule input. This test will simulate what happens when we connect our interface on our record type.
To add a test value to the interface:
- In the header bar, click TEST.
-
For your rule input, enter an expression using
a!queryRecordByIdentifier(). For example, to see the Purchase Order that has an identifier of1, we can create an expression like this:1 2 3 4
a!queryRecordByIdentifier( recordType: recordType!Purchase Order, identifier: 1 )
CopyThis expression will return a single record from the Purchase Order record type. If the Purchase Order record type had a relationship with other record types, we could reference the relationship in the fields parameter of a!queryRecordType to return related record fields as well.
- Click Set as default test values.
- Click TEST INTERFACE. You will now see record data populate in the RULE INPUTS pane.
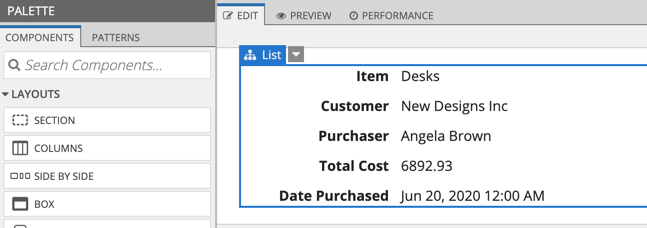
Here's what our simple interface preview looks like with some test data:

Connect components to the rule inputCopy link to clipboard
Now you can add components to your interface and connect those components to the rule input you created.
To connect your components to your record type rule input:
- From the PALETTE, drag a component onto the interface.
Tip: Because you want the interface to display read-only values only, consider using a Rich Text component or a Text component set to Read-only.
- In the COMPONENT CONFIGURATION, under Display Value, use the dropdown list to select a record field or a related record field from your rule input.
- Repeat the above steps for each component in your interface to connect them to the rule input.
What's nextCopy link to clipboard
Now that your interface is ready, use it to define a record view for a record type.
