
| Process Mining is deprecated with Appian 24.2 and will no longer be available in an upcoming release. Instead, we encourage customers to use Process HQ to explore and analyze business processes and data. |
This page describes how to use record event data to mine Appian applications.
OverviewCopy link to clipboard
You can mine data directly from your Appian applications when you use Records as a data source. This allows you to seamlessly connect to your application data and leverage record events to more easily mine your business processes.
Record events allow you to track how different parts of your business process operate. As a best practice, each record type in your application should have record events configured. This means that each of your major business concepts should have a corresponding Event History record type and Event Type Lookup record type. When you generate these record types as part of your event configuration, they are specifically structured so you can easily prepare the data for mining—allowing you to gather insights faster.
The generated Event History and Event Type Lookup record types provide your core event data, like who performed an activity and when. If there are other record types that include attributes that you want to explore, like order status, shipping date, or total cost, you can add data from those record types as well.
If you are not using record events, you still have the flexibility to use record types in process mining. Before using those record types, review What makes a good data set? to ensure you can easily mine that data.
RequirementsCopy link to clipboard
-
Appian version 23.2 or later to mine data using record events.
Note: If you are not using record events, you can import record data beginning in Appian version 22.3.
- A record type with data sync enabled.
- A service account with at least Viewer permission to the record types you want to mine.
Mine Appian applicationsCopy link to clipboard
It's easy to mine data from an Appian application when you use the Records data source. This allows you to import record data into data sets and transform that data to meet your mining needs. When you import data from a generated Event History record type and Event Type Lookup record type, it's even easier to prepare your data since the data structure is specifically created for mining. Once the data is transformed, you'll execute the transformation project to transform your record data into an event log and load it into Process Mining.
The following instructions detail how to import and transform data from a generated Event History record type and Event Type Lookup record type.
Add a Records data sourceCopy link to clipboard
Add a Records data source to import record data into Mining Prep.
Before you begin these steps, make sure you have a service account API key.
To add a Records data source:
- Sign into Mining Prep.
- Go to the Data Management tab.
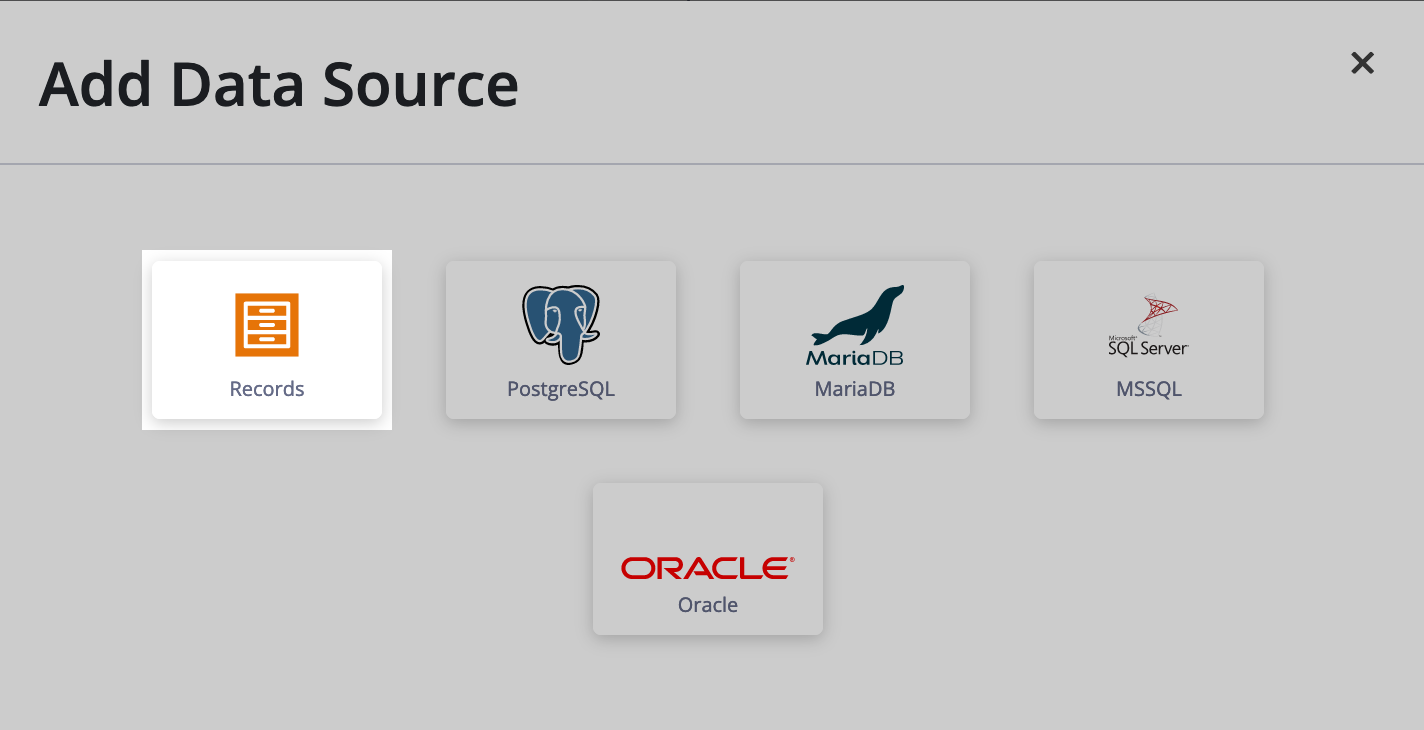
- In the Data Sources section, click ADD.
- Select Records.
-
Configure the following properties:
Property Value Name Enter the name you want to display in the list of data sources. URL Enter the URL of your Appian Designer environment. For example, https://mysite.appiancloud.com.API Key Enter the service account API key. - Click SAVE.
Import record dataCopy link to clipboard
Once you've added the Records data source, you can import the record data as data sets. You can only import data from record types that your Process Mining service account can access. You can import data from multiple record types, and each record type will import into a unique data set.
If you configured record events, you should import both the Event History record type and the Event Type Lookup record type for the processes you’re investigating. For example, if you want to investigate your order-to-cash process, you could import the Order Event History record type and the Order Event Type record type.
To import data from your event record types:
- Click the Records data source.
- Click ADD.
- Click IMPORT by the Event History record type you want to import.
- Click ADD.
- Click IMPORT by the Event Type Lookup record type you want to import.
Consider importing any additional record types that can enrich your data set. For example, you may consider importing the record type that you’re tracking events for, like Orders, Customers, or Order Items.
Note: Record types that contain close to 2 million rows or more than 50 columns may take over an hour to import.
Create transformation projectCopy link to clipboard
Once you've imported the record data into different data sets, you can create a transformation project to transform the data sets into an event log for mining.
To create a transformation project:
- Go to the Transformation Project tab.
- Click ADD.
- Enter a Name for the project. This will be the name of your event log.
- Click SAVE.
Transform record dataCopy link to clipboard
Now that you've created a transformation project, you'll select the data to transform and apply transformation actions.
If you imported an Event History record type and an Event Type Lookup record type, you’ll need to combine the data into a single data set to see all event information in one place. You’ll also need to identify the data properties, like the case ID, events, and any case attributes.
Note: If you are not transforming data from the generated Event History record type and Event Type Lookup record type, see Transform and Load Data for general instructions on how to transform data.
Select a data sourceCopy link to clipboard
First you need to populate your project with a data set. You can only populate this building block with one data set to start, but you can add data from other data sets later.
As a best practice, start by using the Event History data set as your data source.
To select the Event History data set as your data source:
- In the USE DATA SOURCE panel, select the Event History data set.
- Click USE DATA SOURCE.
Combine dataCopy link to clipboard
Now that you've selected the Event History data set as the data source, you'll need to add the Event Type Lookup data set to the project so you can display the different activities that occur in the events. Adding this data will combine the two data sets into one.
To combine the Event History and Event Type Lookup data sets:
- In the TRANSFORMATION ACTIONS panel, click ADD.
- Select Add Data.
- In the ADD DATA panel, select the Event Type Lookup data set.
-
Configure the following properties:
Property Value Select key column from upper table Select the eventTypeId field. Select matching key column from lower table Select the Id field. - Click PREVIEW to verify the columns are mapped correctly.
- Click SAVE.
Add any additional data to the project that will enrich your analysis.
Identify the case IDCopy link to clipboard
Next you'll need to identify the case ID, which is the unique identifier of the business case.
If you imported the generated Event History record type, this will be the recordId field. This is the field that links each event to a specific record in Appian.
To identify the the case ID in the Event History and Event Type Lookup data sets:
- In the IDENTIFY section, click CASE ID.
- In the IDENTIFY CASE ID panel, select the recordId field.
- Click SAVE.
Identify the eventsCopy link to clipboard
Identifying the events is one of the most important parts of mining prep. This specifies the fields that store the types of activities that can occur, the timestamp when the event occurred, and who started it.
To identify the events in the Event History and Event Type Lookup data sets:
- In the IDENTIFY section, click EVENTS.
- In the IDENTIFY EVENTS panel, click ADD EVENTS.
- Select MULTIPLE EVENTS. This allows you to select different columns for the activity and for the timestamp.
- For Name of Event Group, enter a name for the group of events. For example,
Order activities. This is only used in Mining Prep and doesn't display in Process Mining. - For Event Name Column, select the name field from the Event Type Lookup data set.
- Leave the default START selected. By default, the generated Event History record type only has one timestamp field. If you added additional date and time fields to the Event History record type, you can select START & END to identify the beginning and end of an event.
-
For Categorical Attribute Columns, select the user field from the Event History data set.
Note: All Event Attributes are optional, but recommended. Event attributes allow you to specify any additional characteristics related to an activity.
- Click SAVE.
(Optional) Identify case attributesCopy link to clipboard
If you imported other record types, like the record type for which you're tracking events, you can add case attributes to the project to further enrich your data. While event attributes describe characteristics of an activity, case attributes describe characteristics of a case.
Each case can have one or more attributes that describe it in more detail. For example, in an transformation project containing data about your order-to-cash process, you may want to include order name, customer name, or order cost as case attributes.
For more information, see Case Attributes.
Load and execute the transformation projectCopy link to clipboard
Once you've finished setting up your transformation project, you'll execute the project to apply the transformation steps and load the event log into Process Mining.
To load and execute the transformation project:
- Return to the Transformation Projects tab.
- Select the checkbox next to your transformation project.
- Click TRANSFORM & LOAD.
- Select the environment in which to load the event log. The API key is automatically populated for you.
- Click OK.
That's it! Now you can navigate to your Process Mining environment to start investigating your process.
Update your dataCopy link to clipboard
To ensure you always have the latest data from your record types, we'll automatically update the data in your records data sets whenever you execute or schedule updates to a transformation project.
You can manually reload your data for in-progress transformation projects. Since you typically won't set up a transform and load schedule until your project is complete, manually reloading your data keeps it fresh during this stage.
To manually update your data set:
- Go to the data set that corresponds with a record type.
- Click RELOAD.