| This content applies solely to Government Source Selection, which must be purchased separately from the Appian base platform. |
Source Selection is the process of creating, reviewing, and completing a vendor evaluation for goods and services needed to conduct business. This involves collecting and maintaining vendor information and evaluation factors that are assessed by different teams. The Government Source Selection (GSS) solution provides a guided, automated experience for collecting this information. After an evaluation is created, simple, informative record interfaces, enabled by Appian Records, allow end users to view and update this information.
This page provides instructions for creating a new evaluation.
Creating a new evaluation is a guided experience that walks you through the process of entering the information you need to start a vendor evaluation. Once initiated, you are guided through the following steps:
You must be a member of the AS GSS Create or Update Evaluation PM Access security group in order to create a new evaluation. By default, the Evaluation Chairs and Contracting groups belong to this security group.
To start a new requirement, click + Create New Evaluation from the My Activities or Evaluations page. The top of the screen contains the various data collection steps required to create a new evaluation. You can click NEXT at the bottom of the form to go to the next step.
Note that after the information is entered, it will populate the Evaluation record.
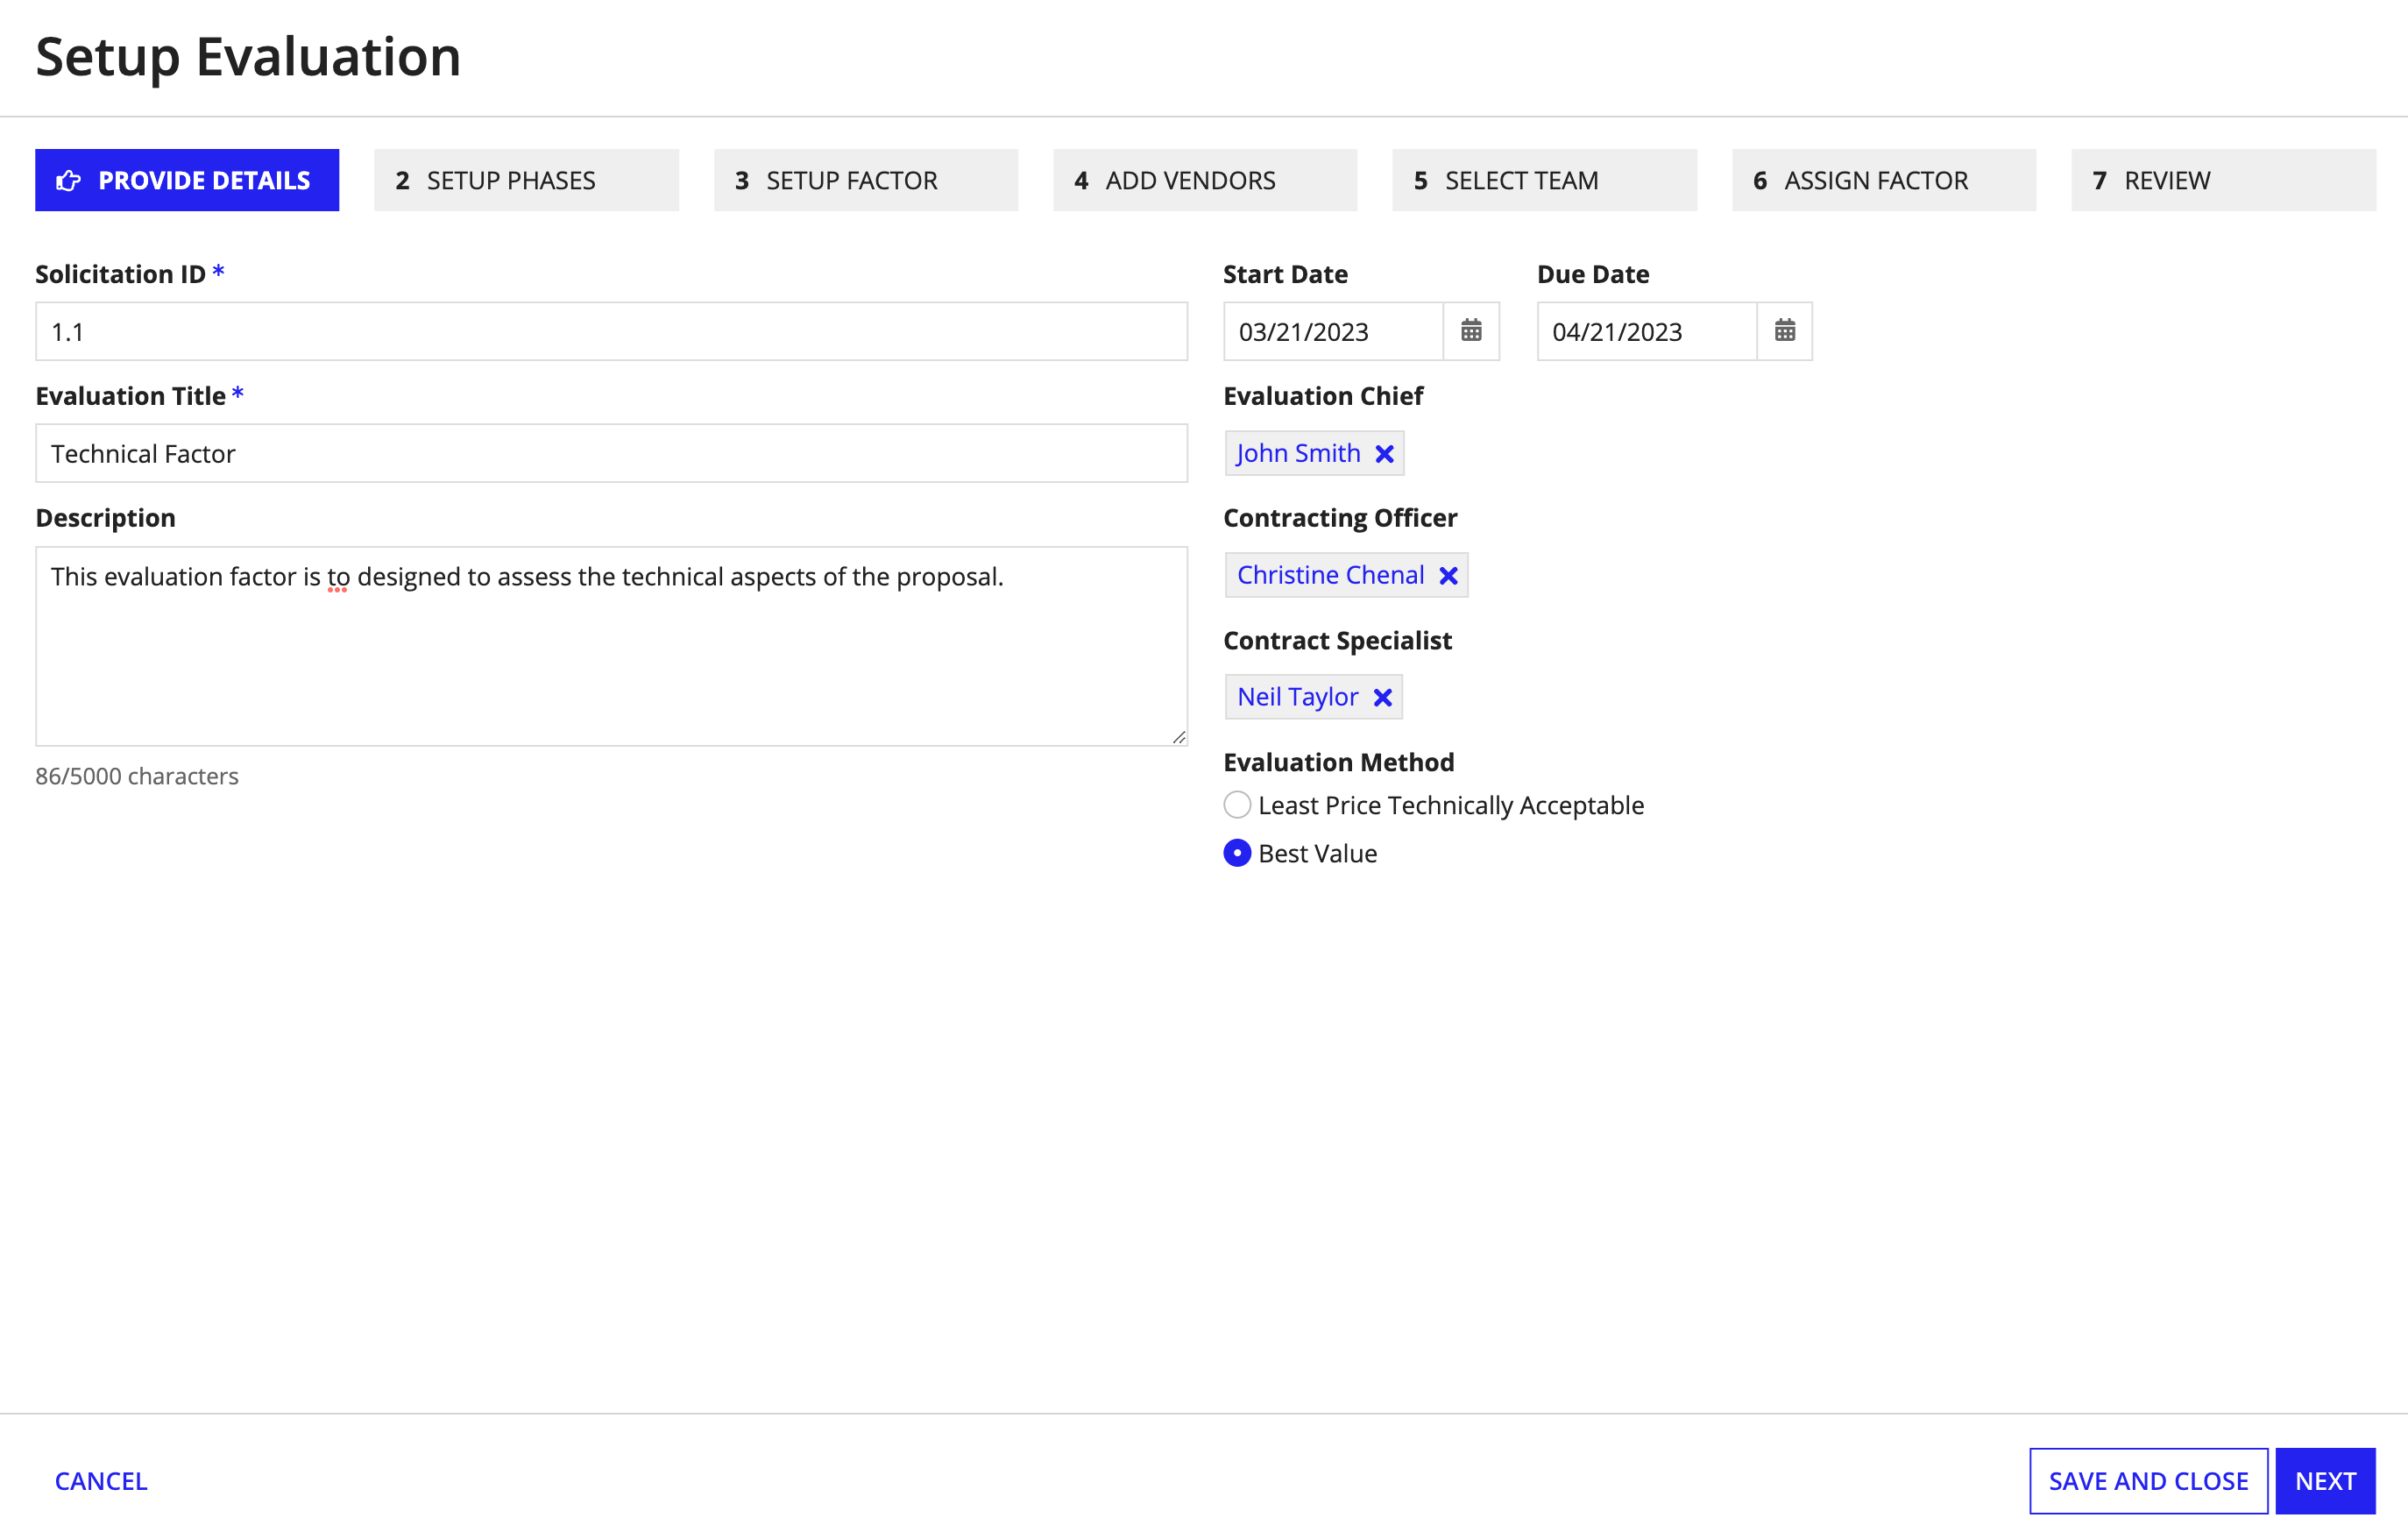
The first step you'll complete when creating a new evaluation is entering details relevant to the evaluation, such as the solicitation ID, evaluation title, description, and evaluation method.

To enter evaluation details:
The Setup Phases page is where you'll specify the evaluation phases and deadlines. You can select one or multiple phases, which are modified in Configuring Phases.
For each phase, you can enter the DURATION, DURATION UNIT, and START DATE. The solution will automatically calculate the End Date based on those values, and will also display a validation message if the phase's End Date exceeds the evaluation's End Date.
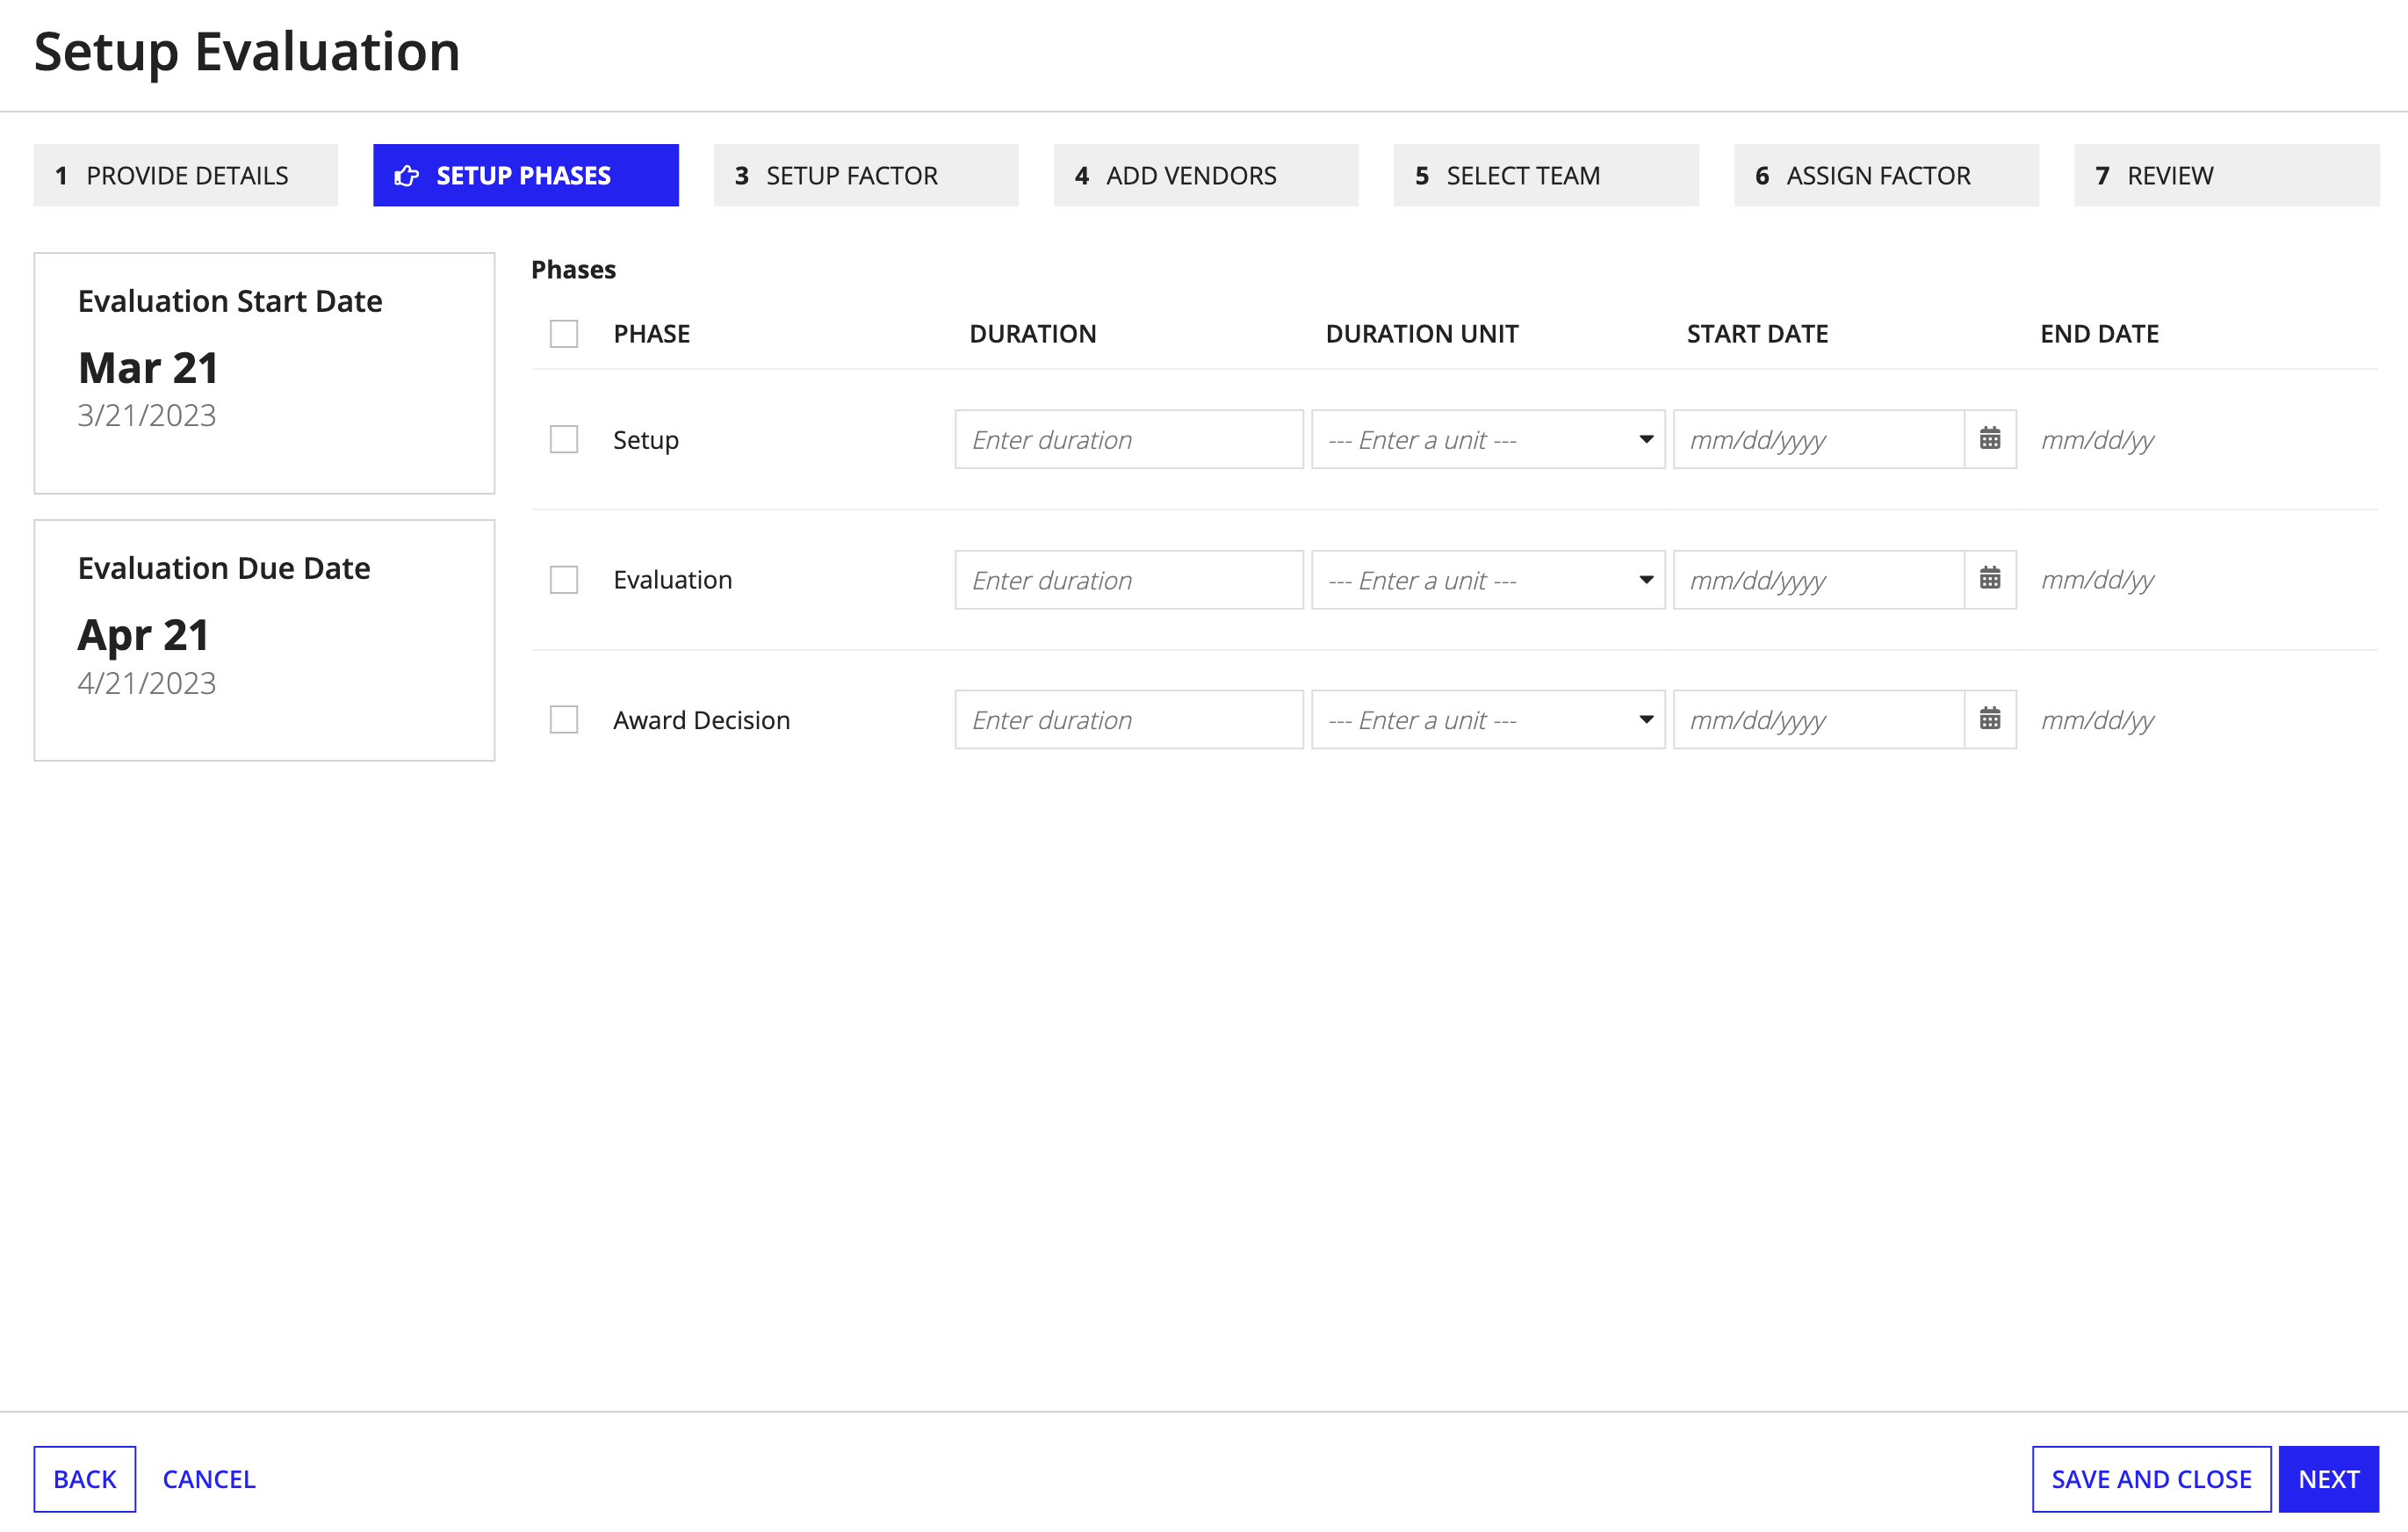
To set up phases for the evaluation process:
The Setup Factor page allows you to add the factors that you want to use to evaluate each vendor.
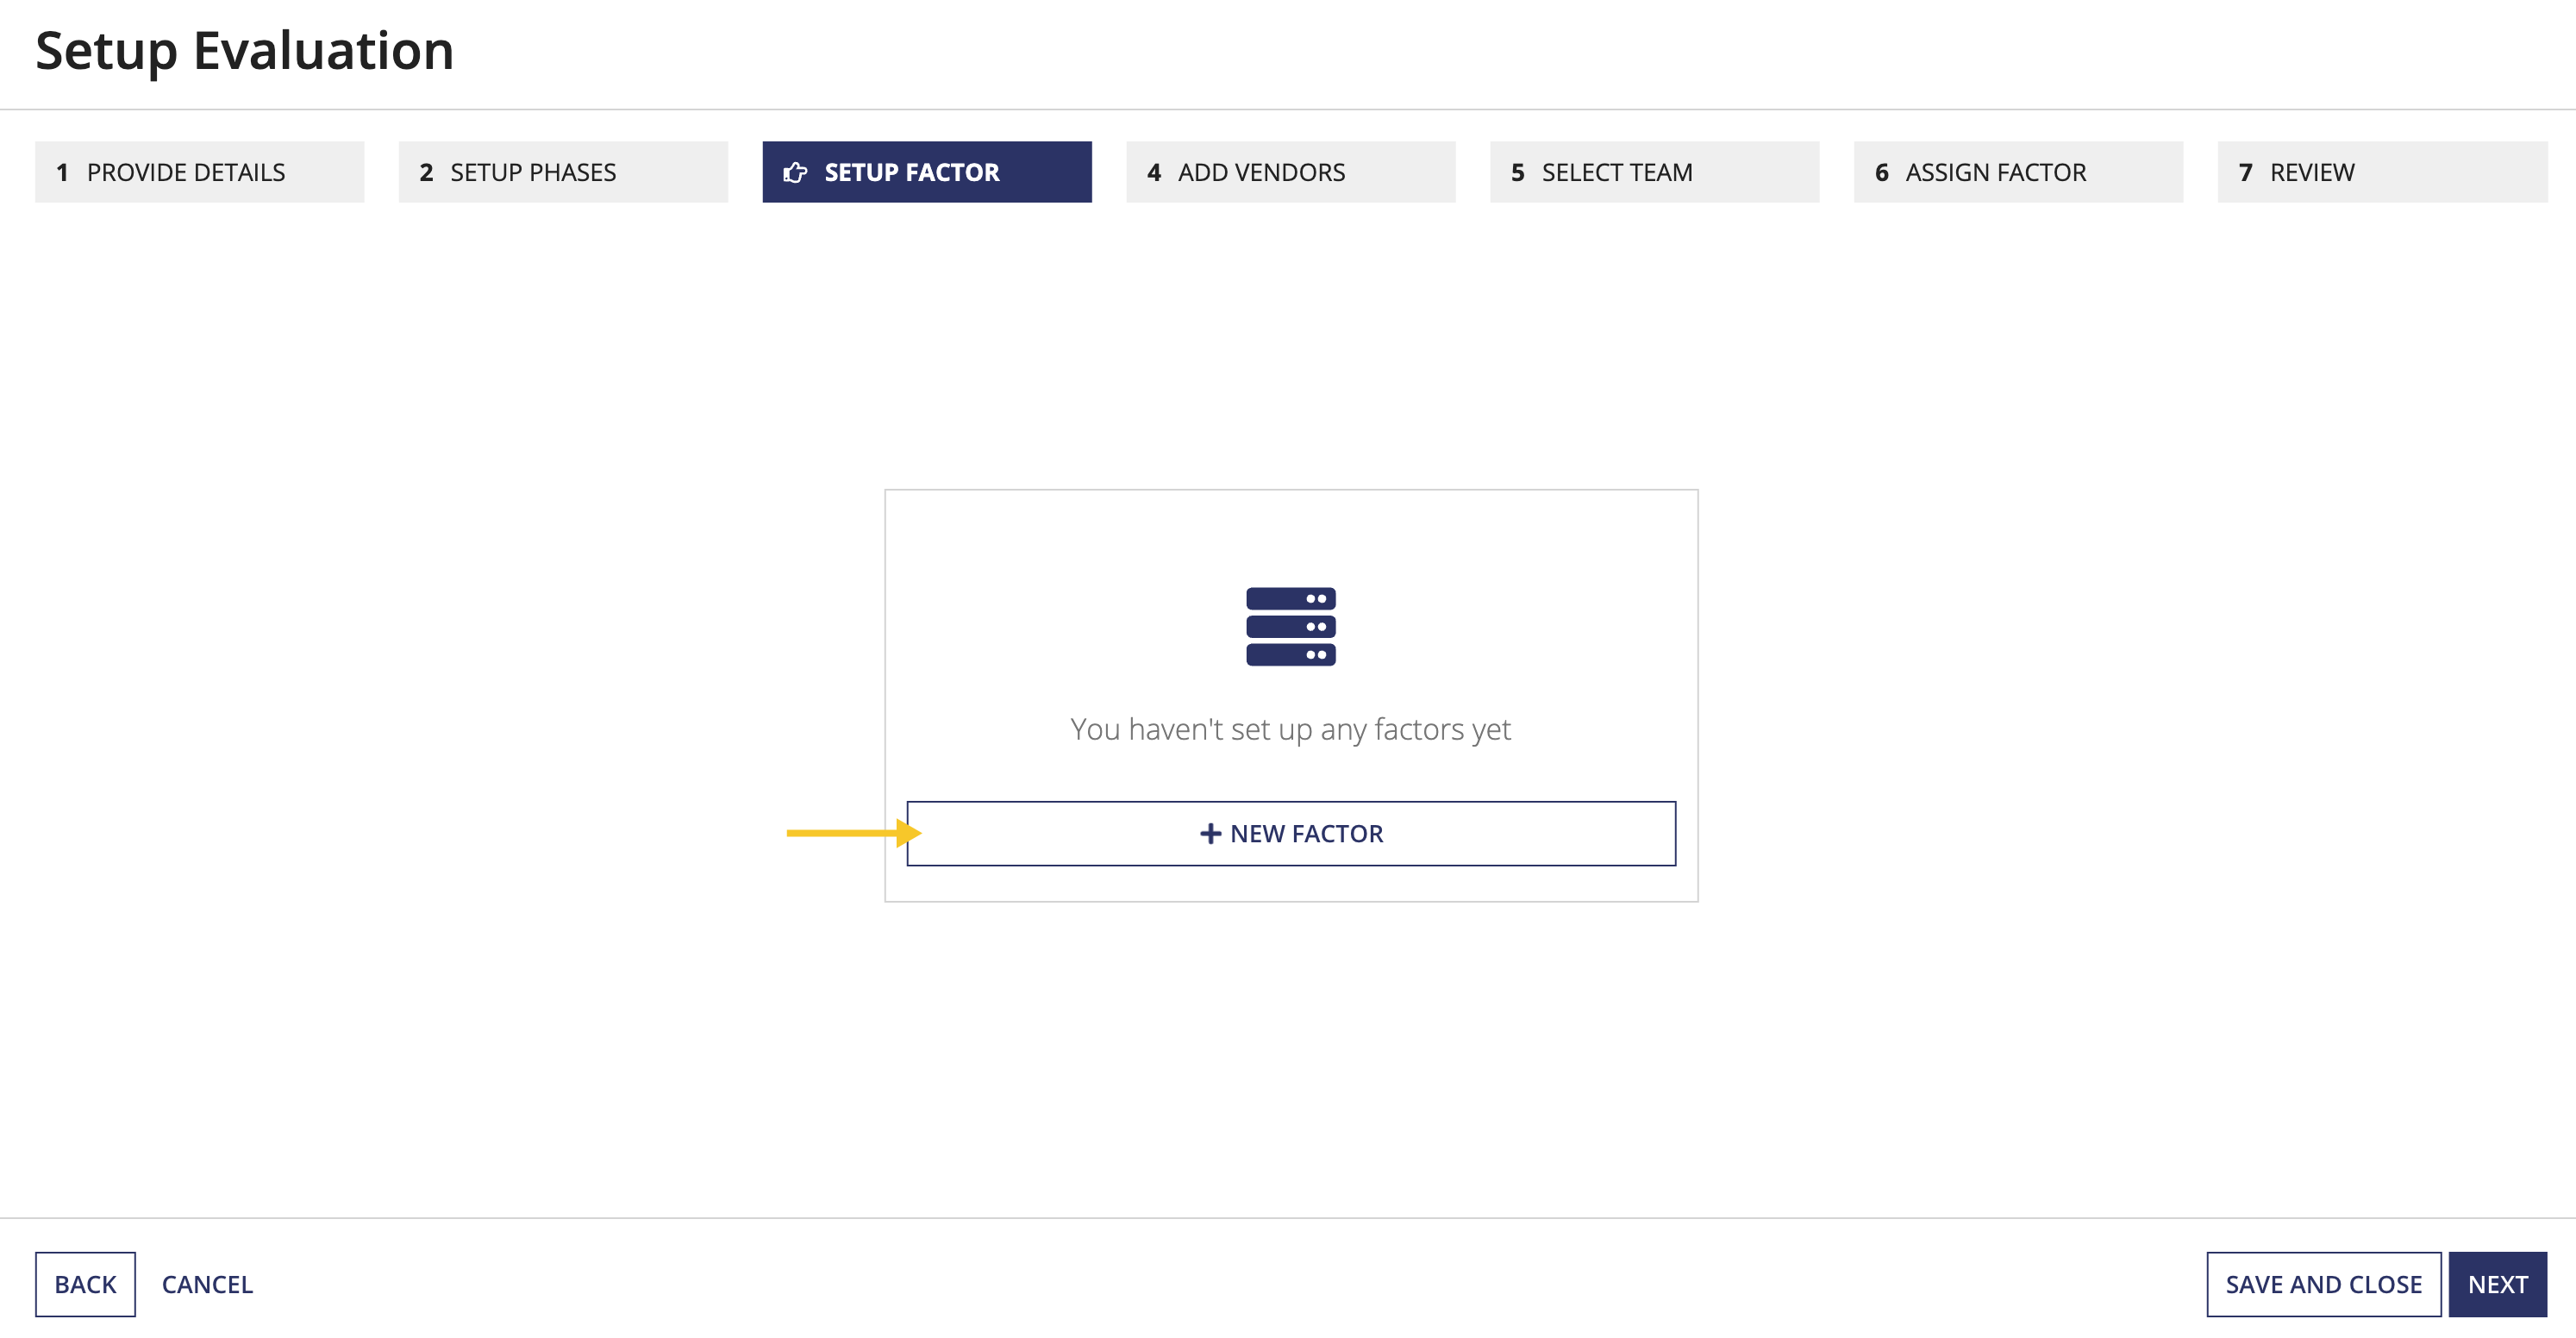
To set up the factors for your vendor evaluation:
Click + NEW FACTOR.
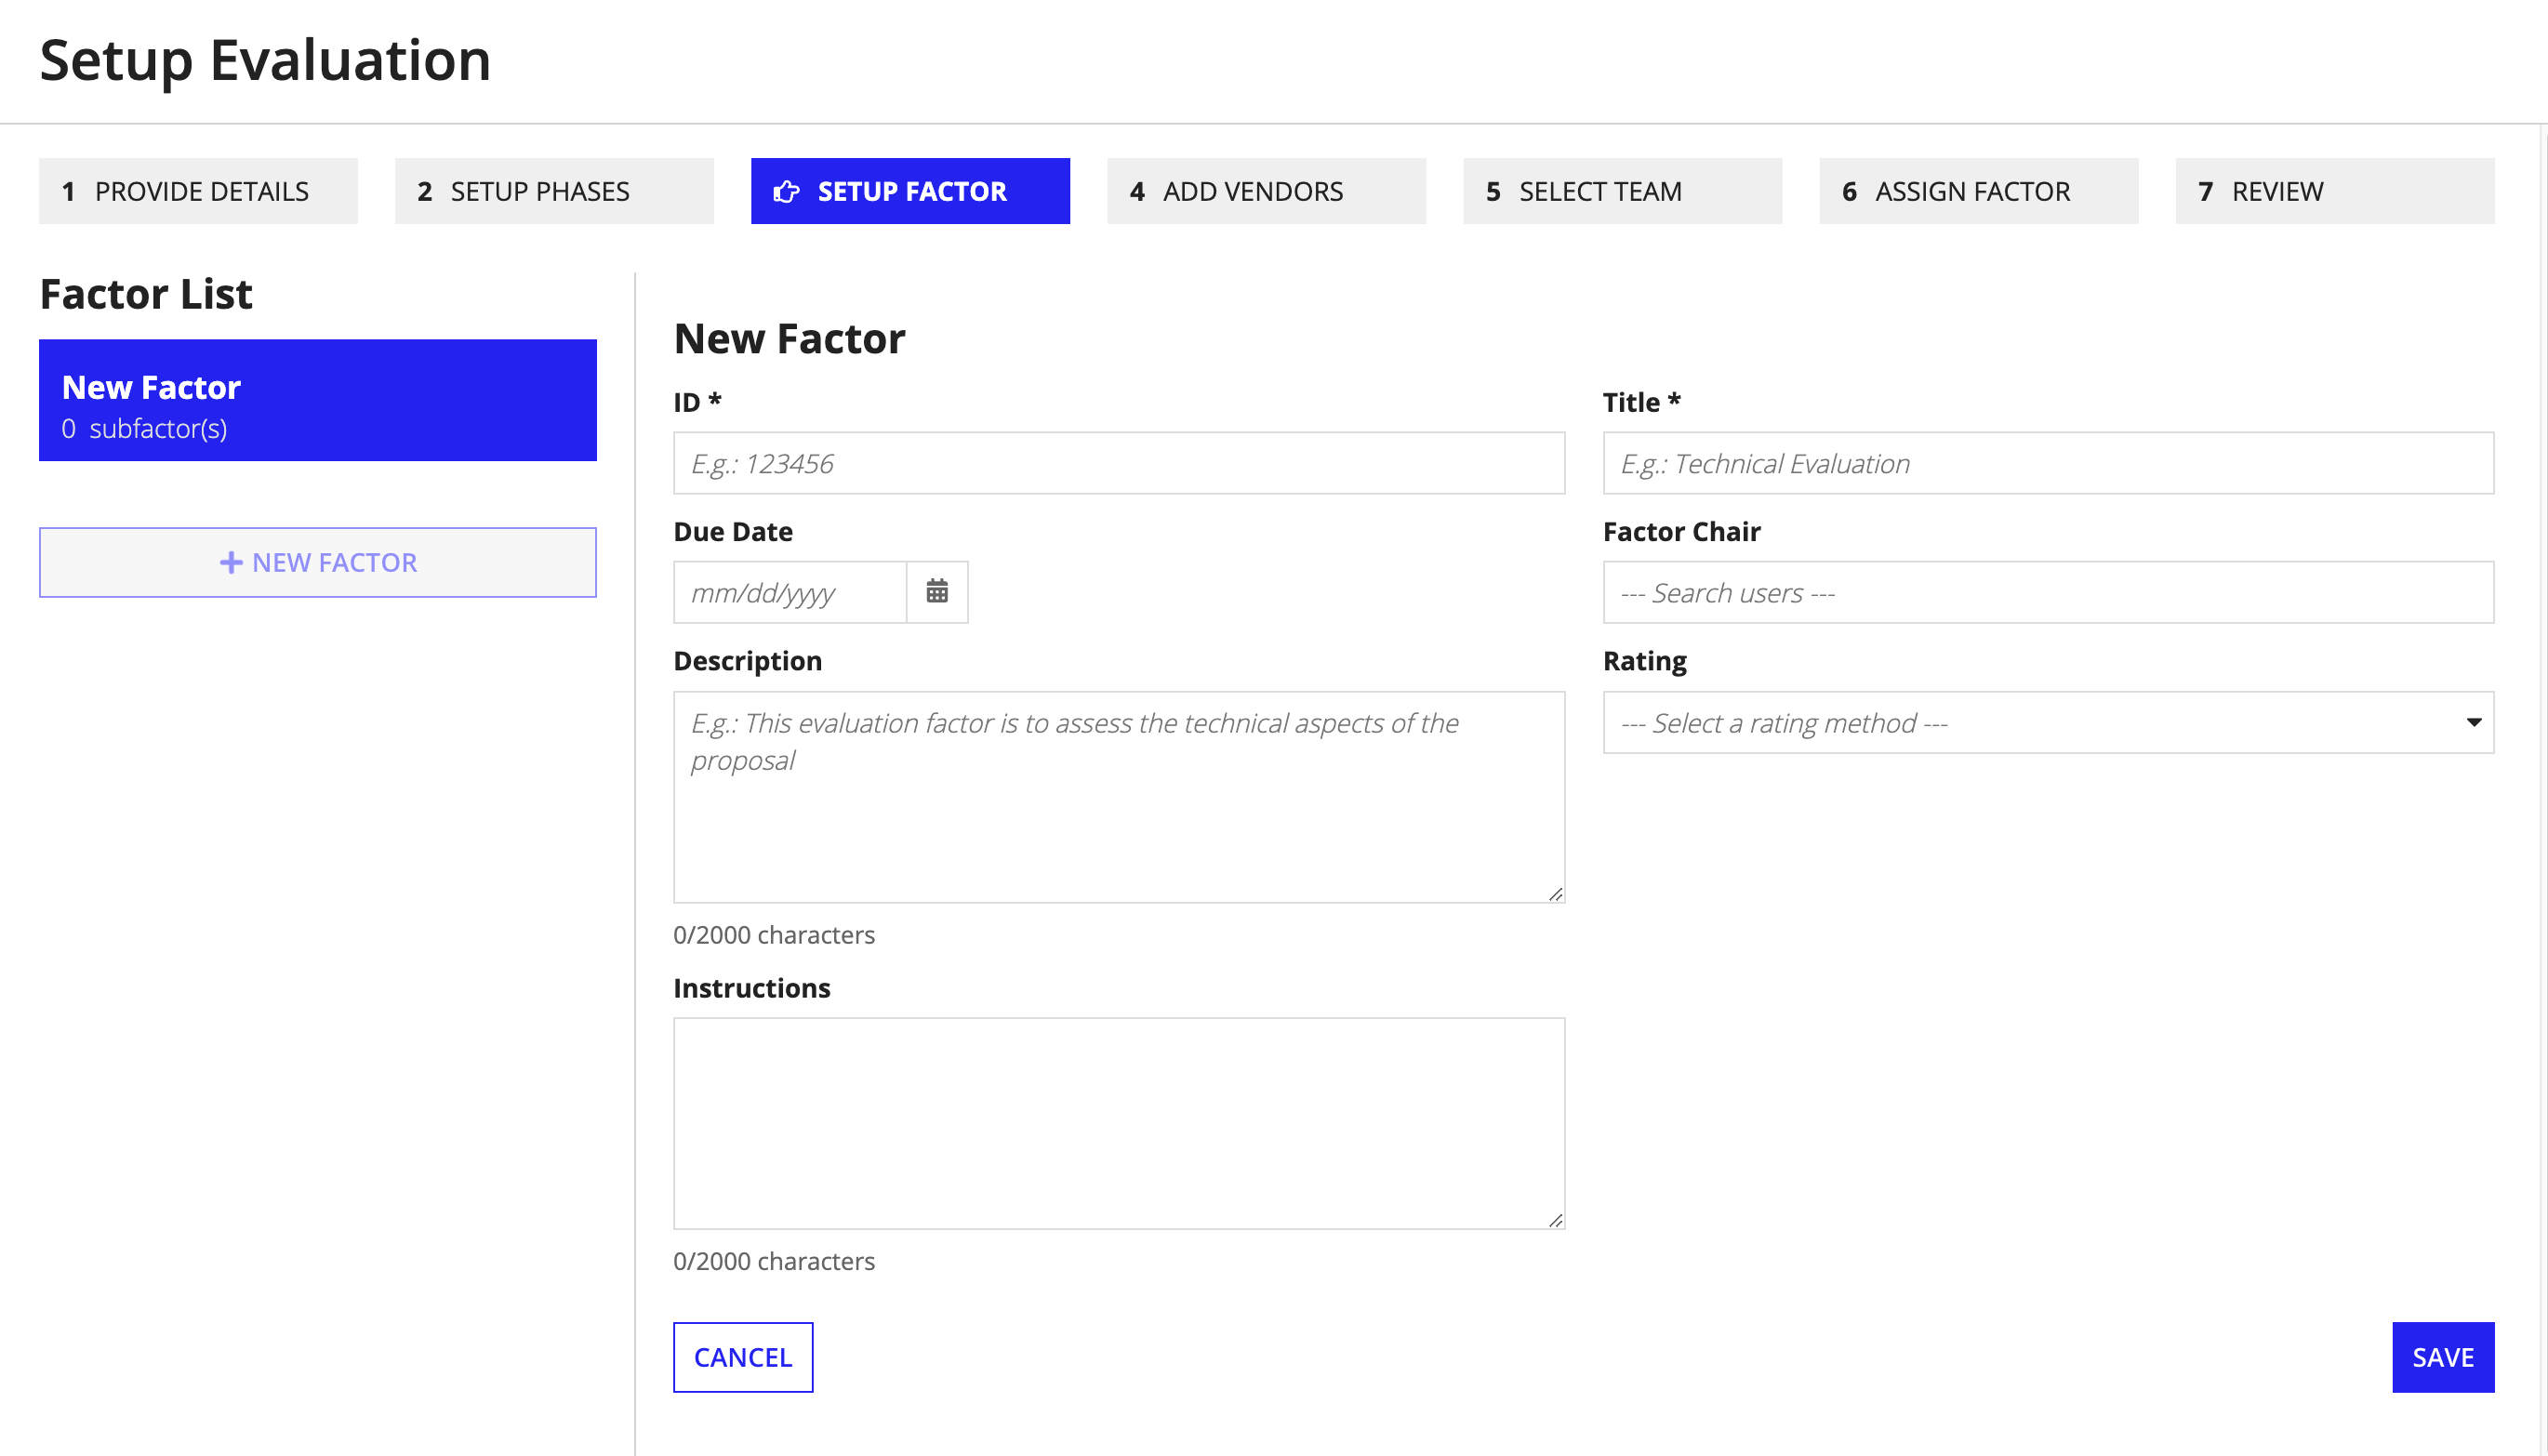
To add a subfactor to a factor:
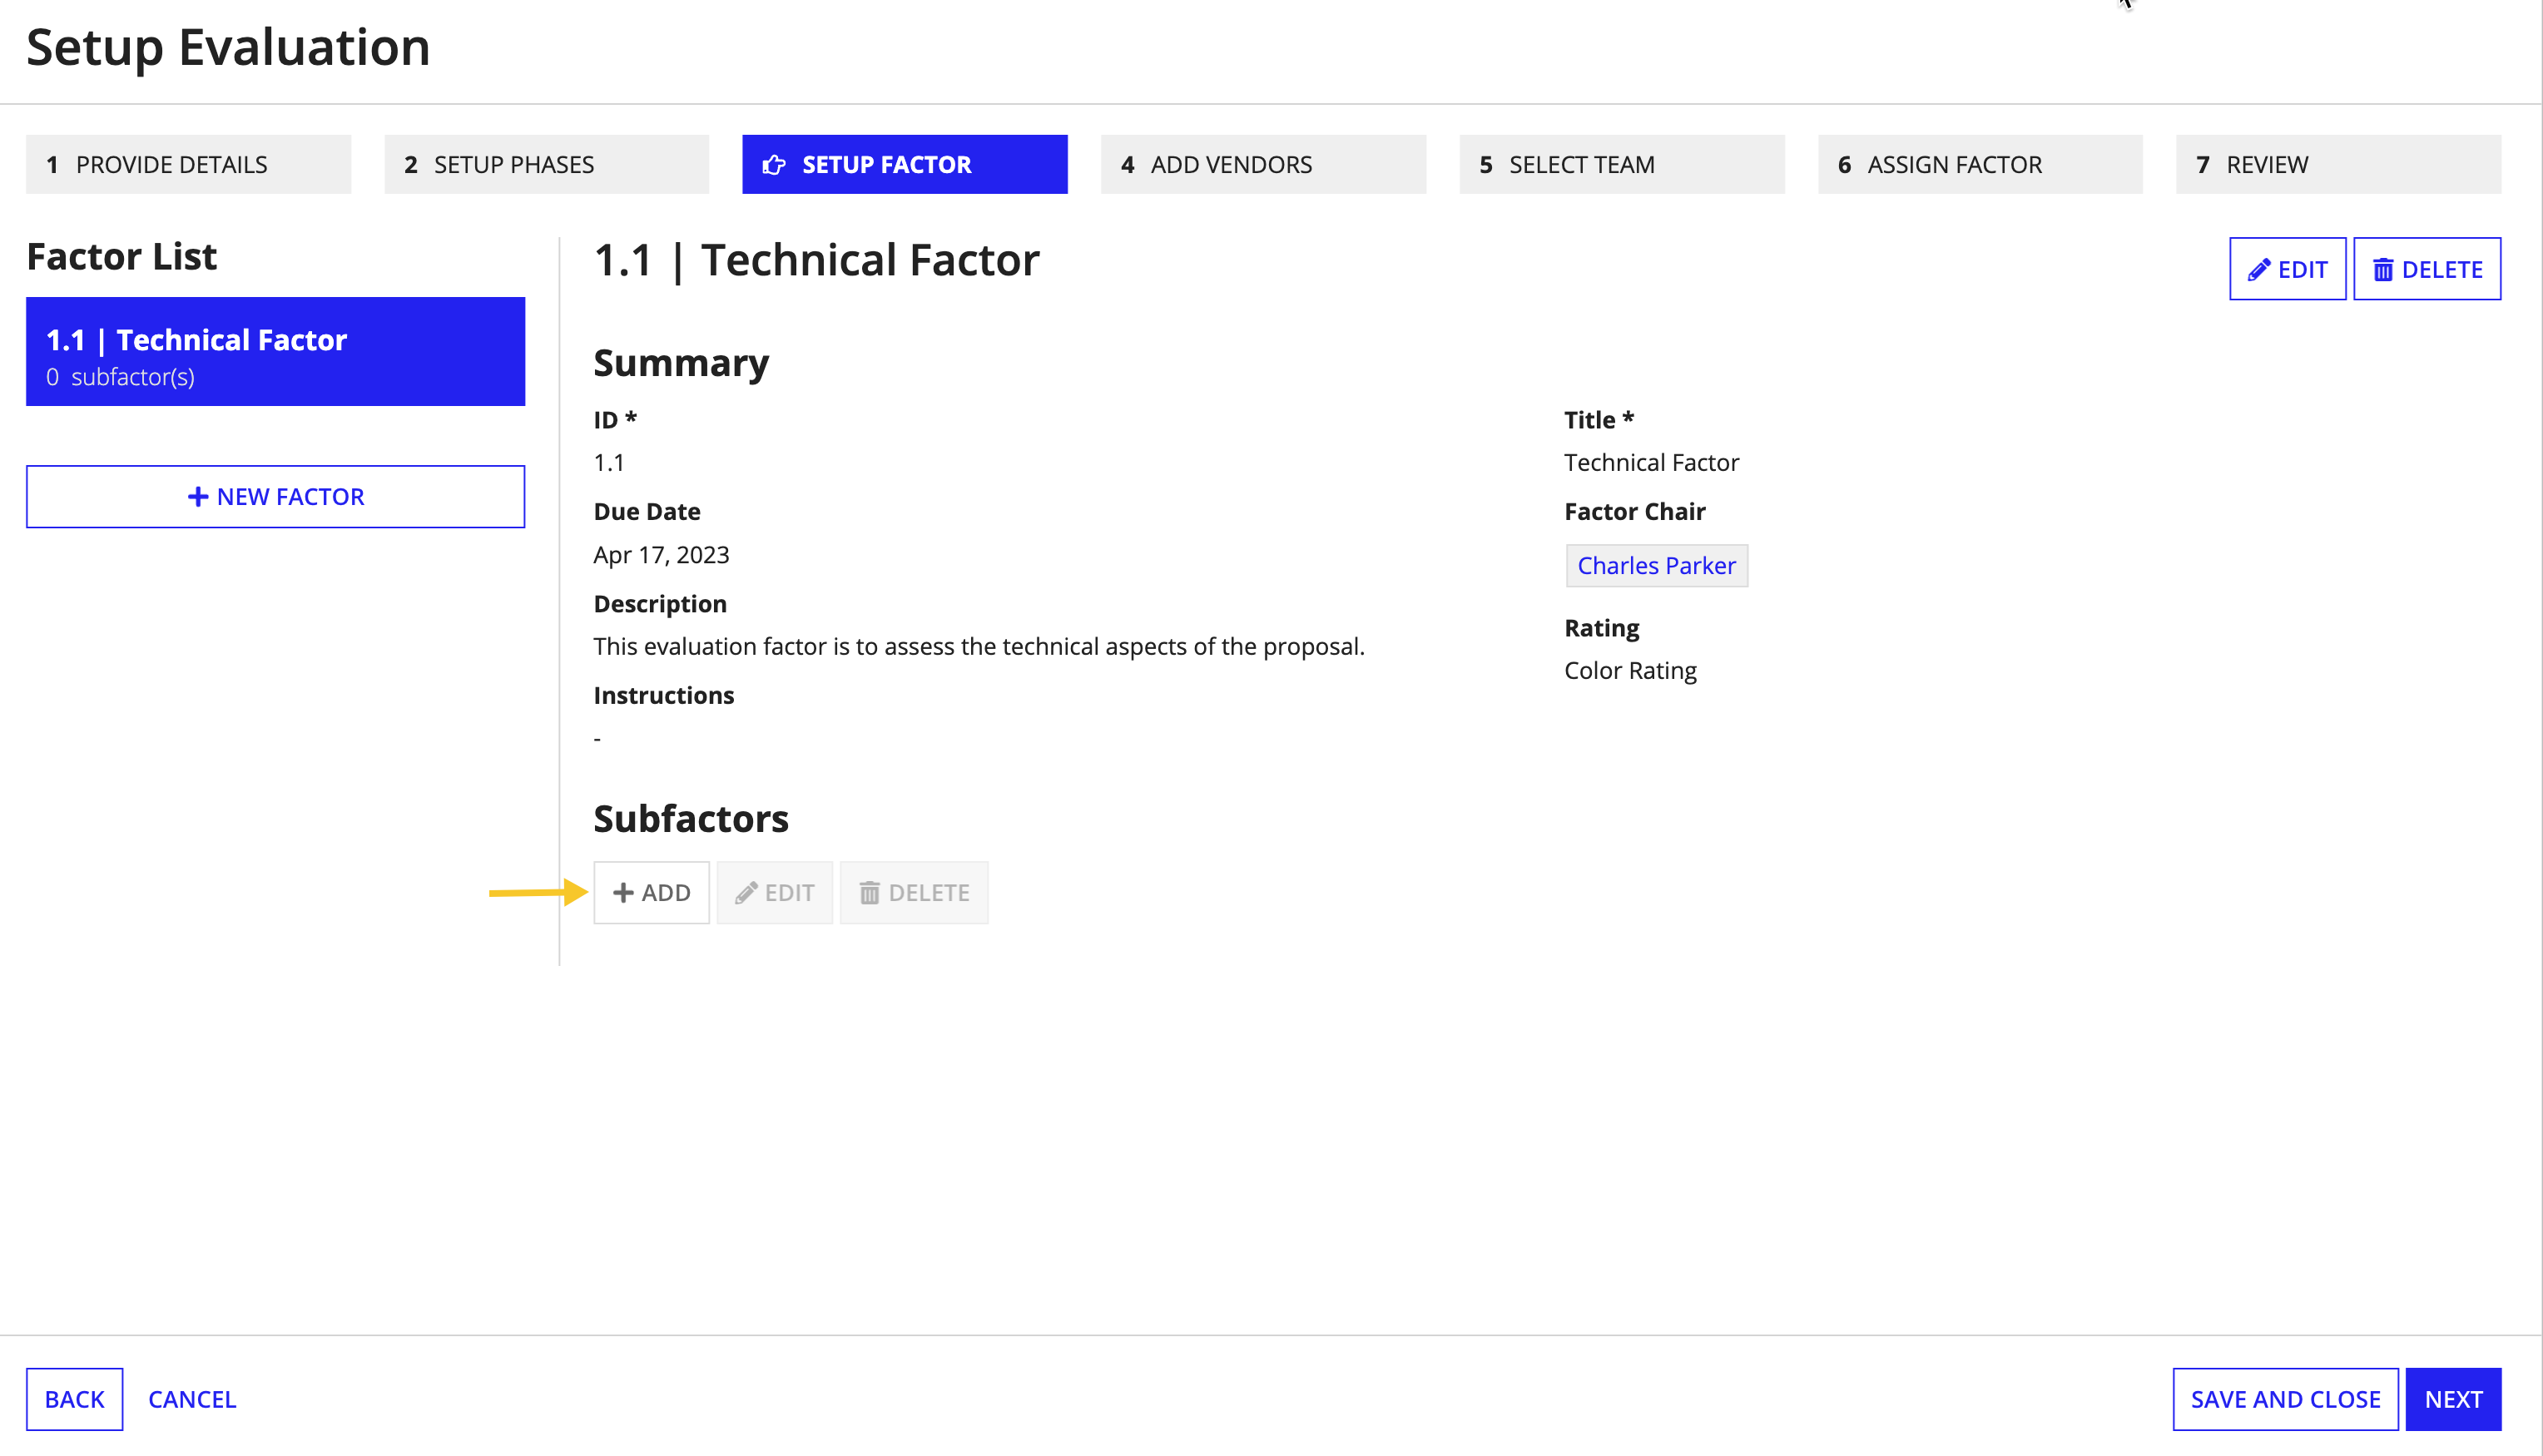
Click SAVE.

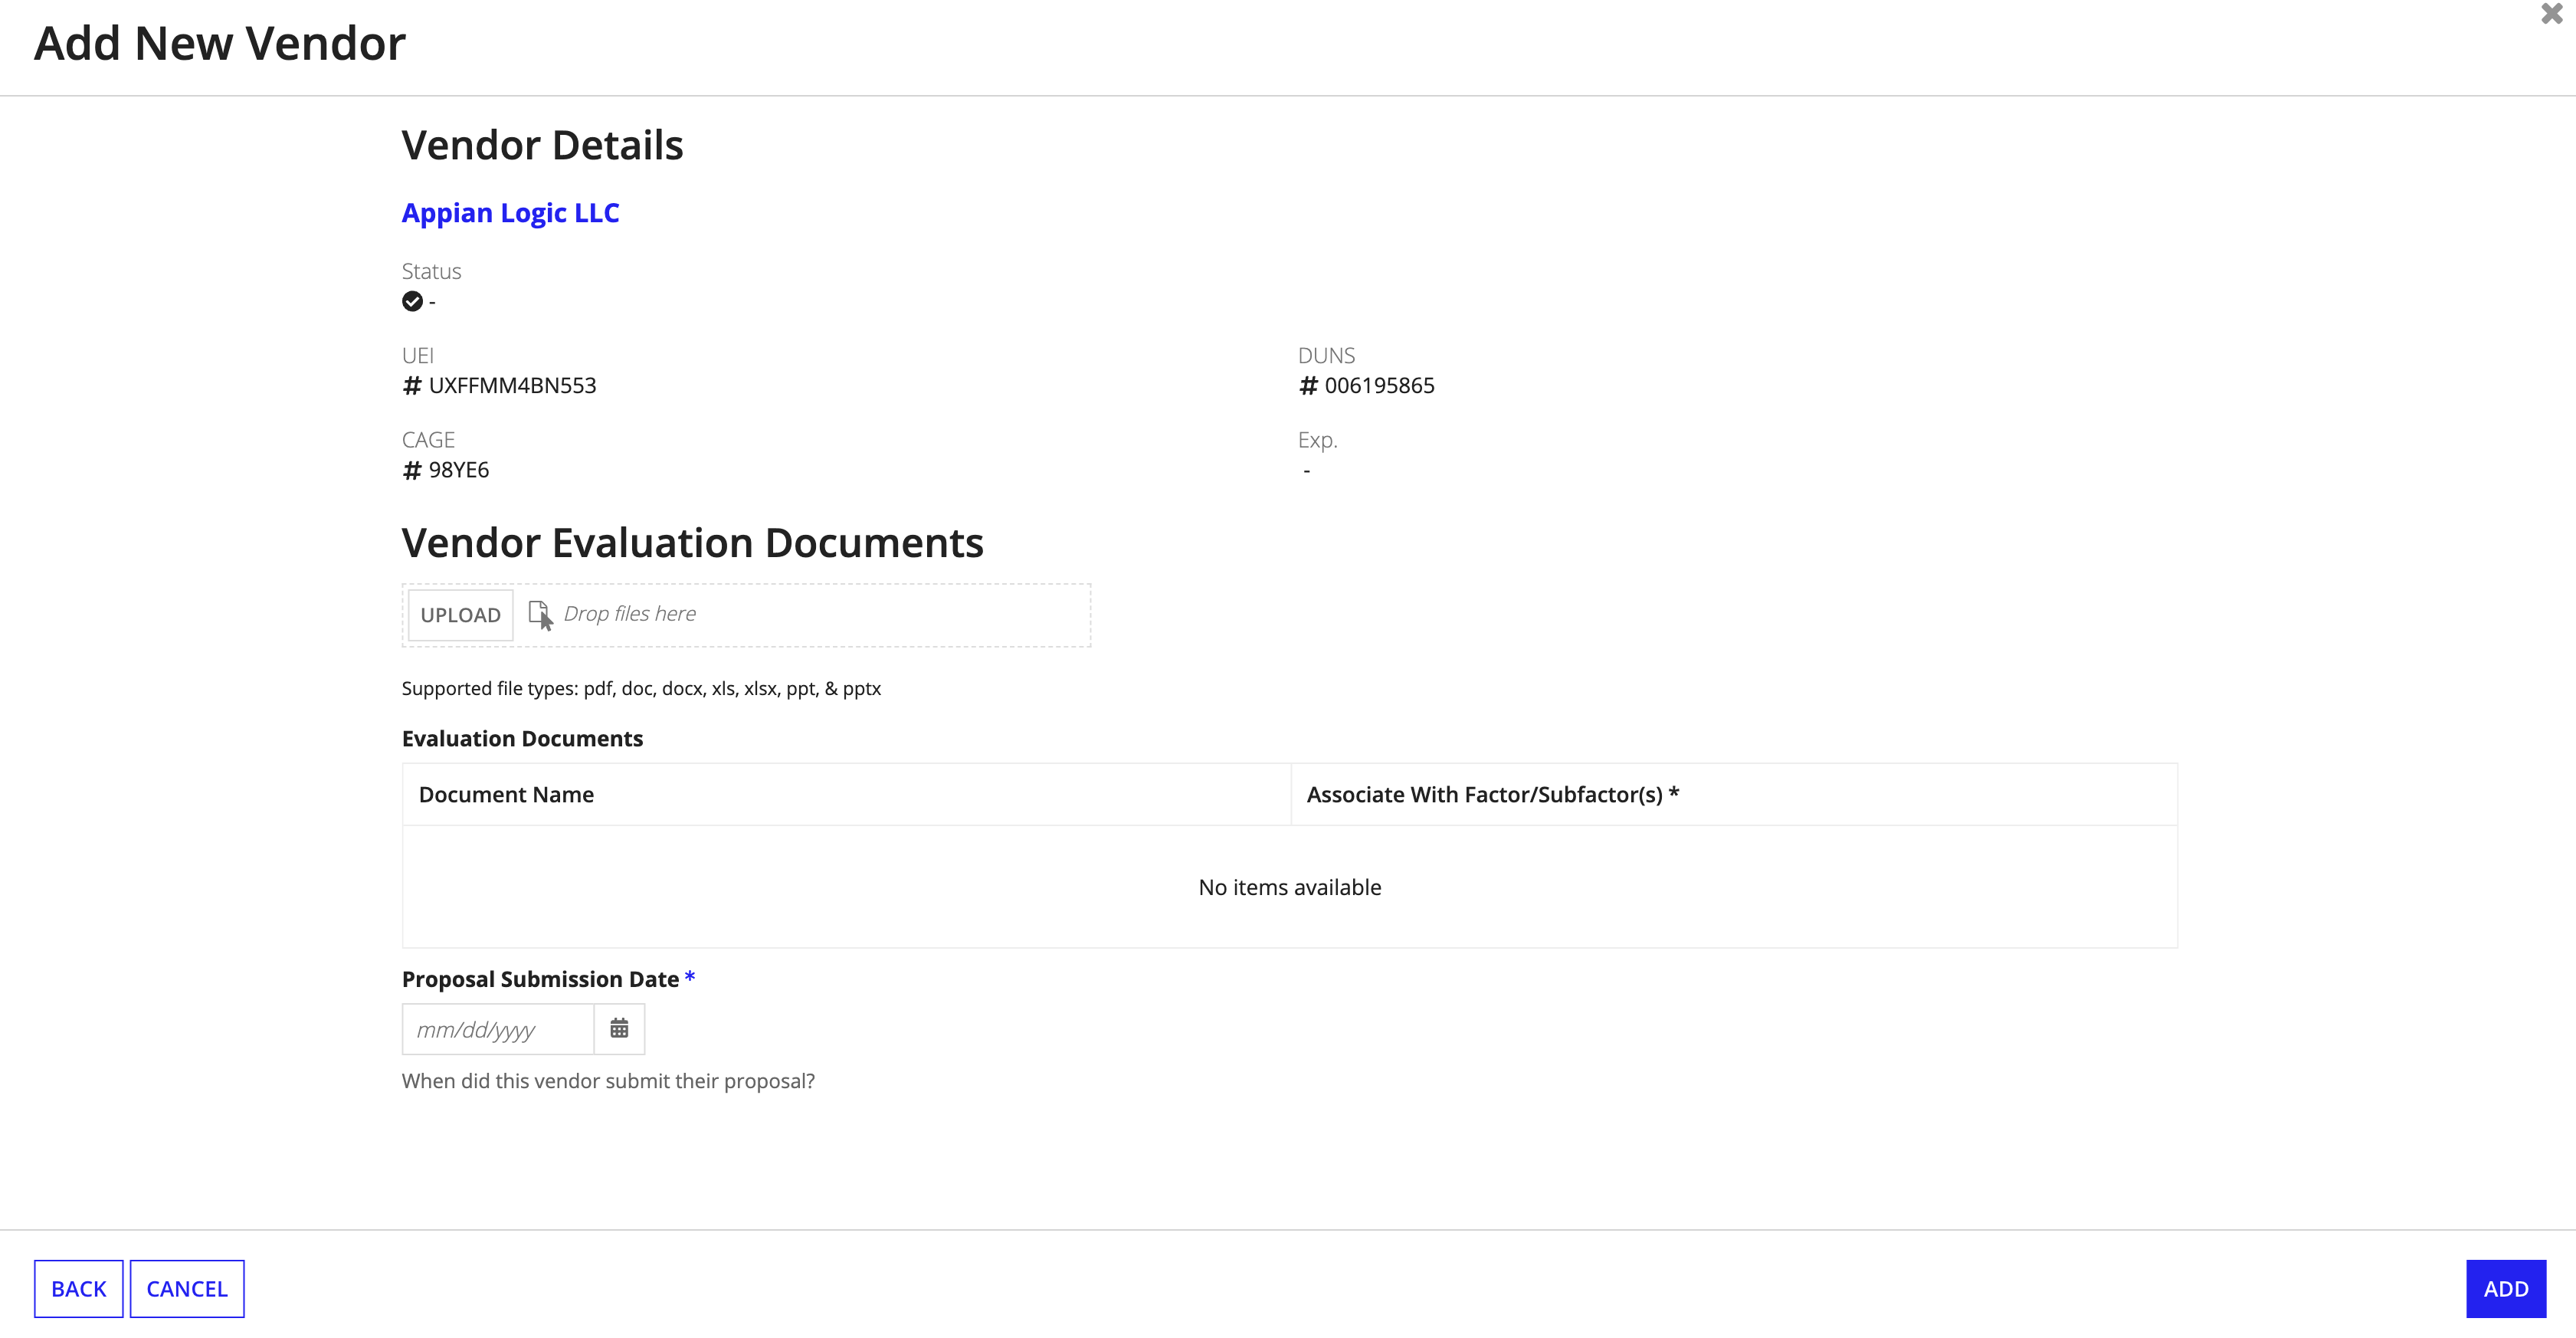
The Add Vendor page allows you to add vendors who have submitted proposals and upload their associated proposals.
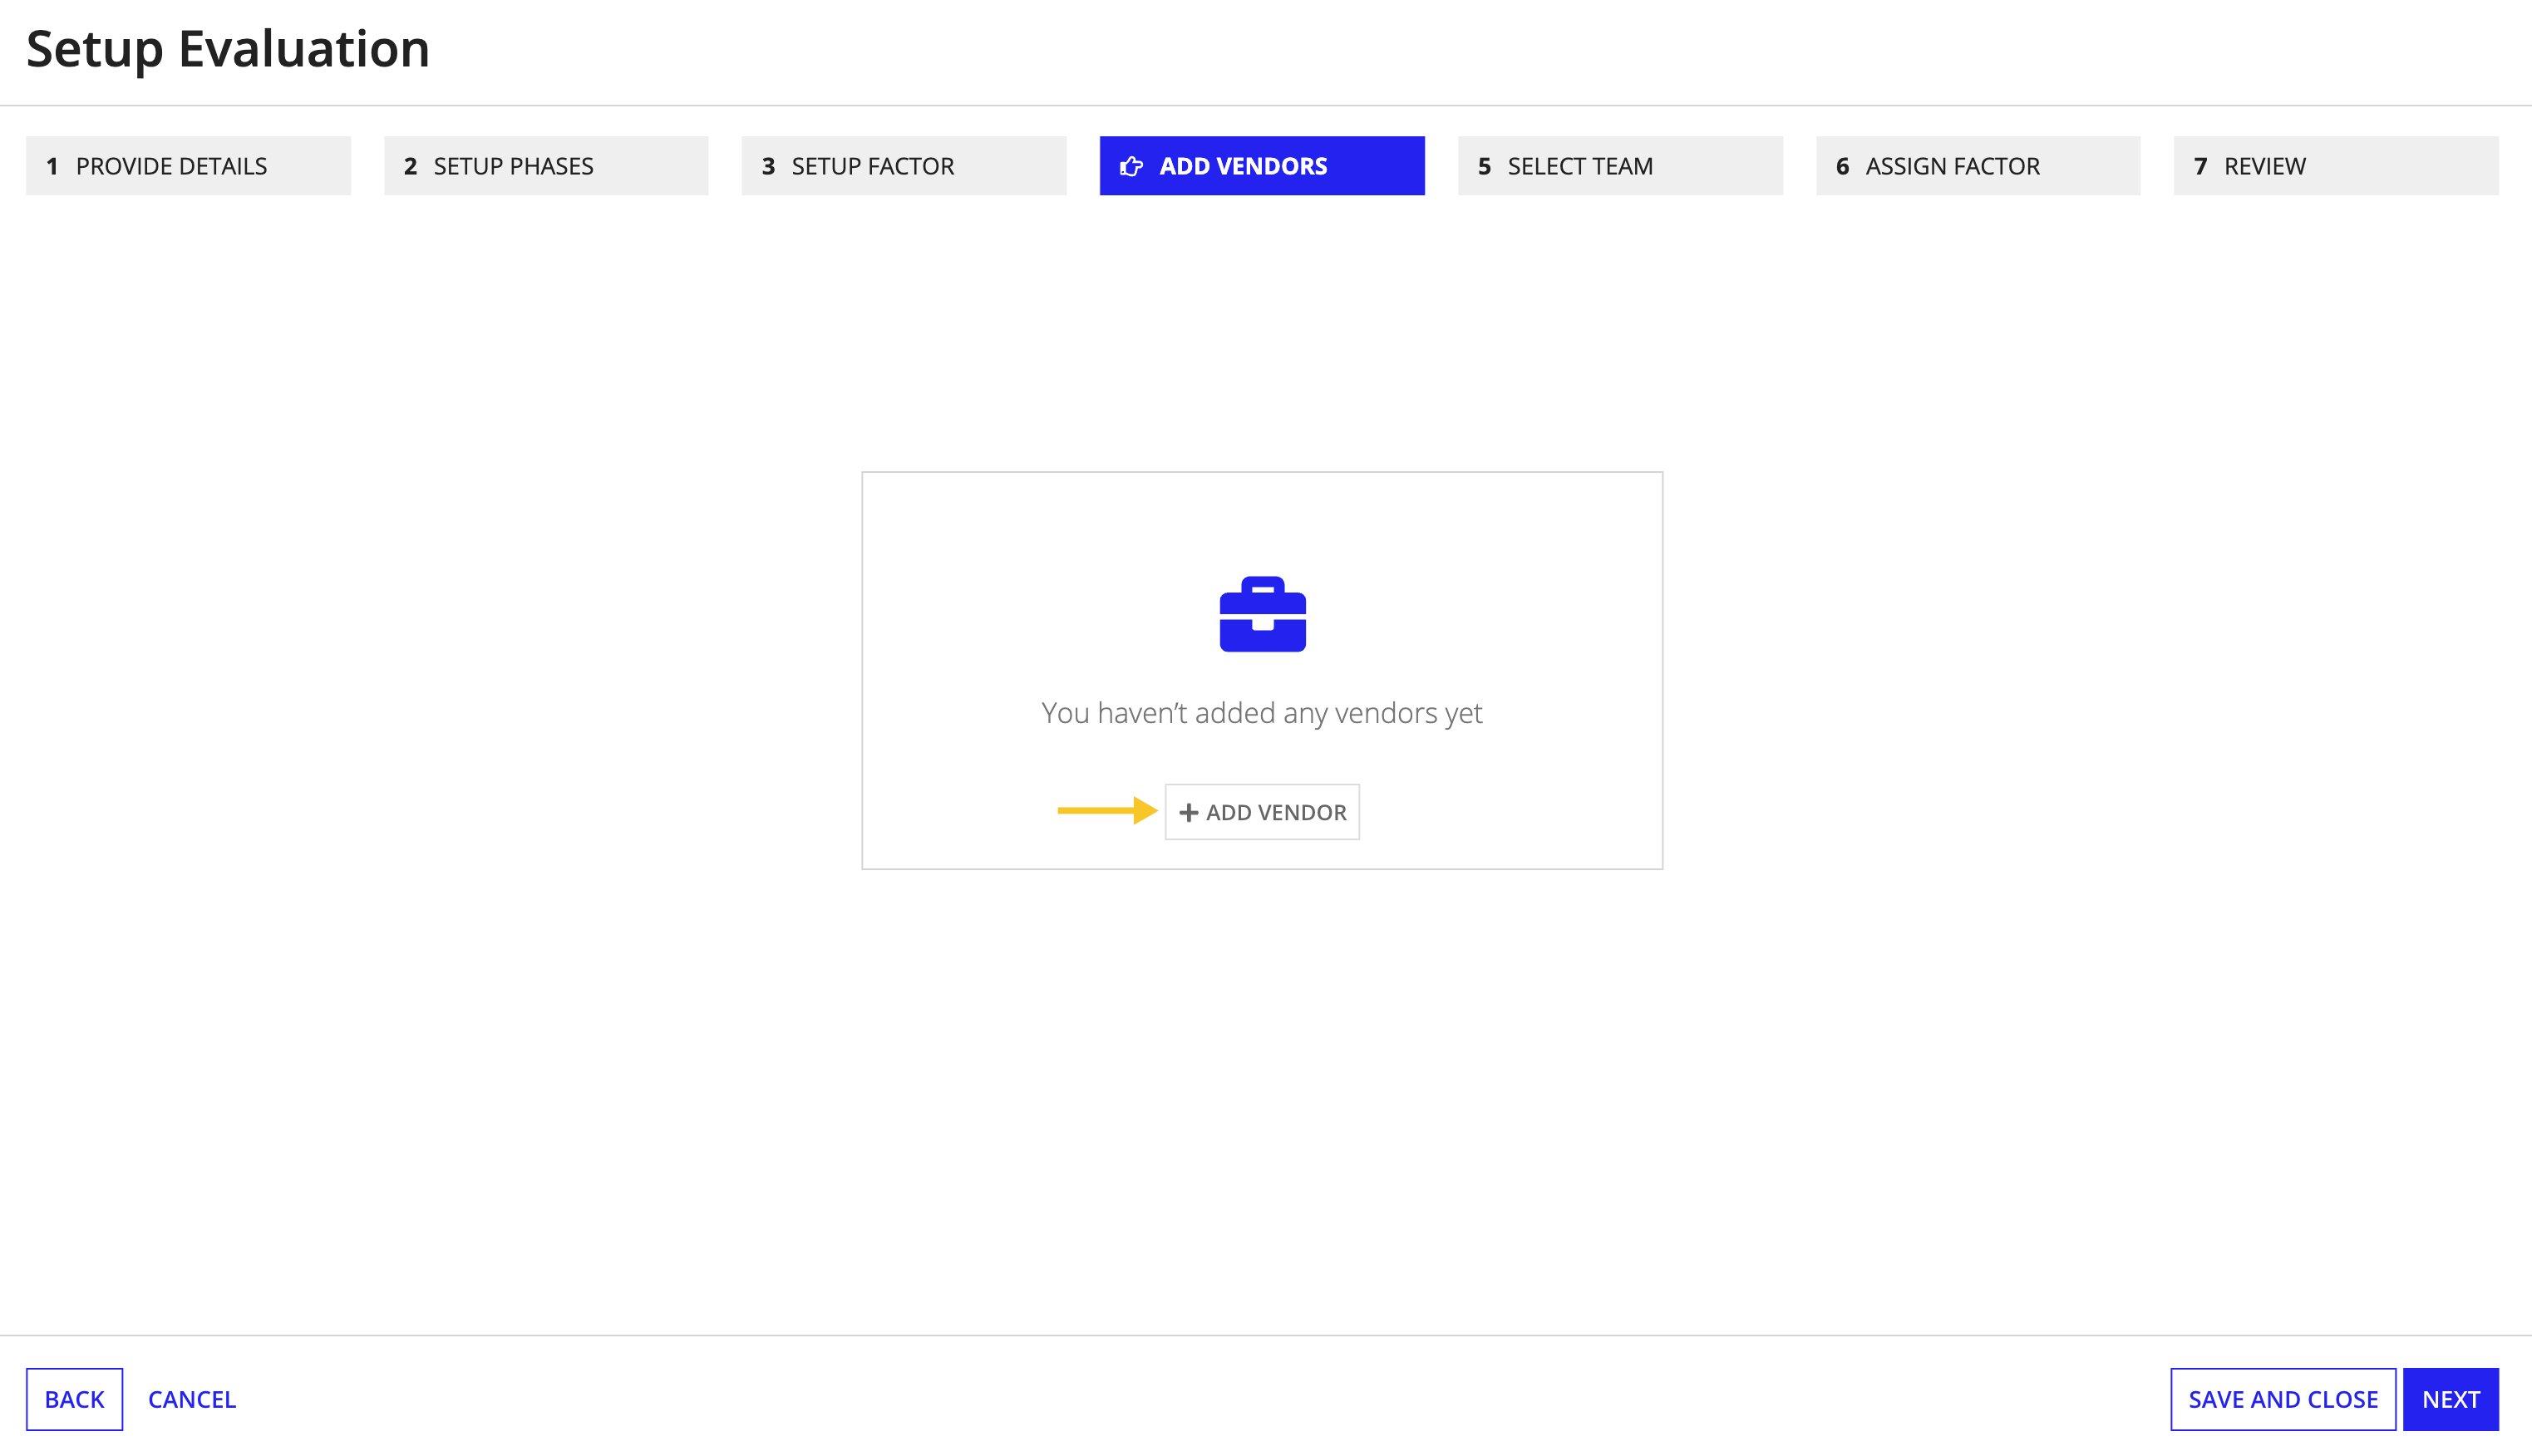
To add a new vendor to your evaluation:
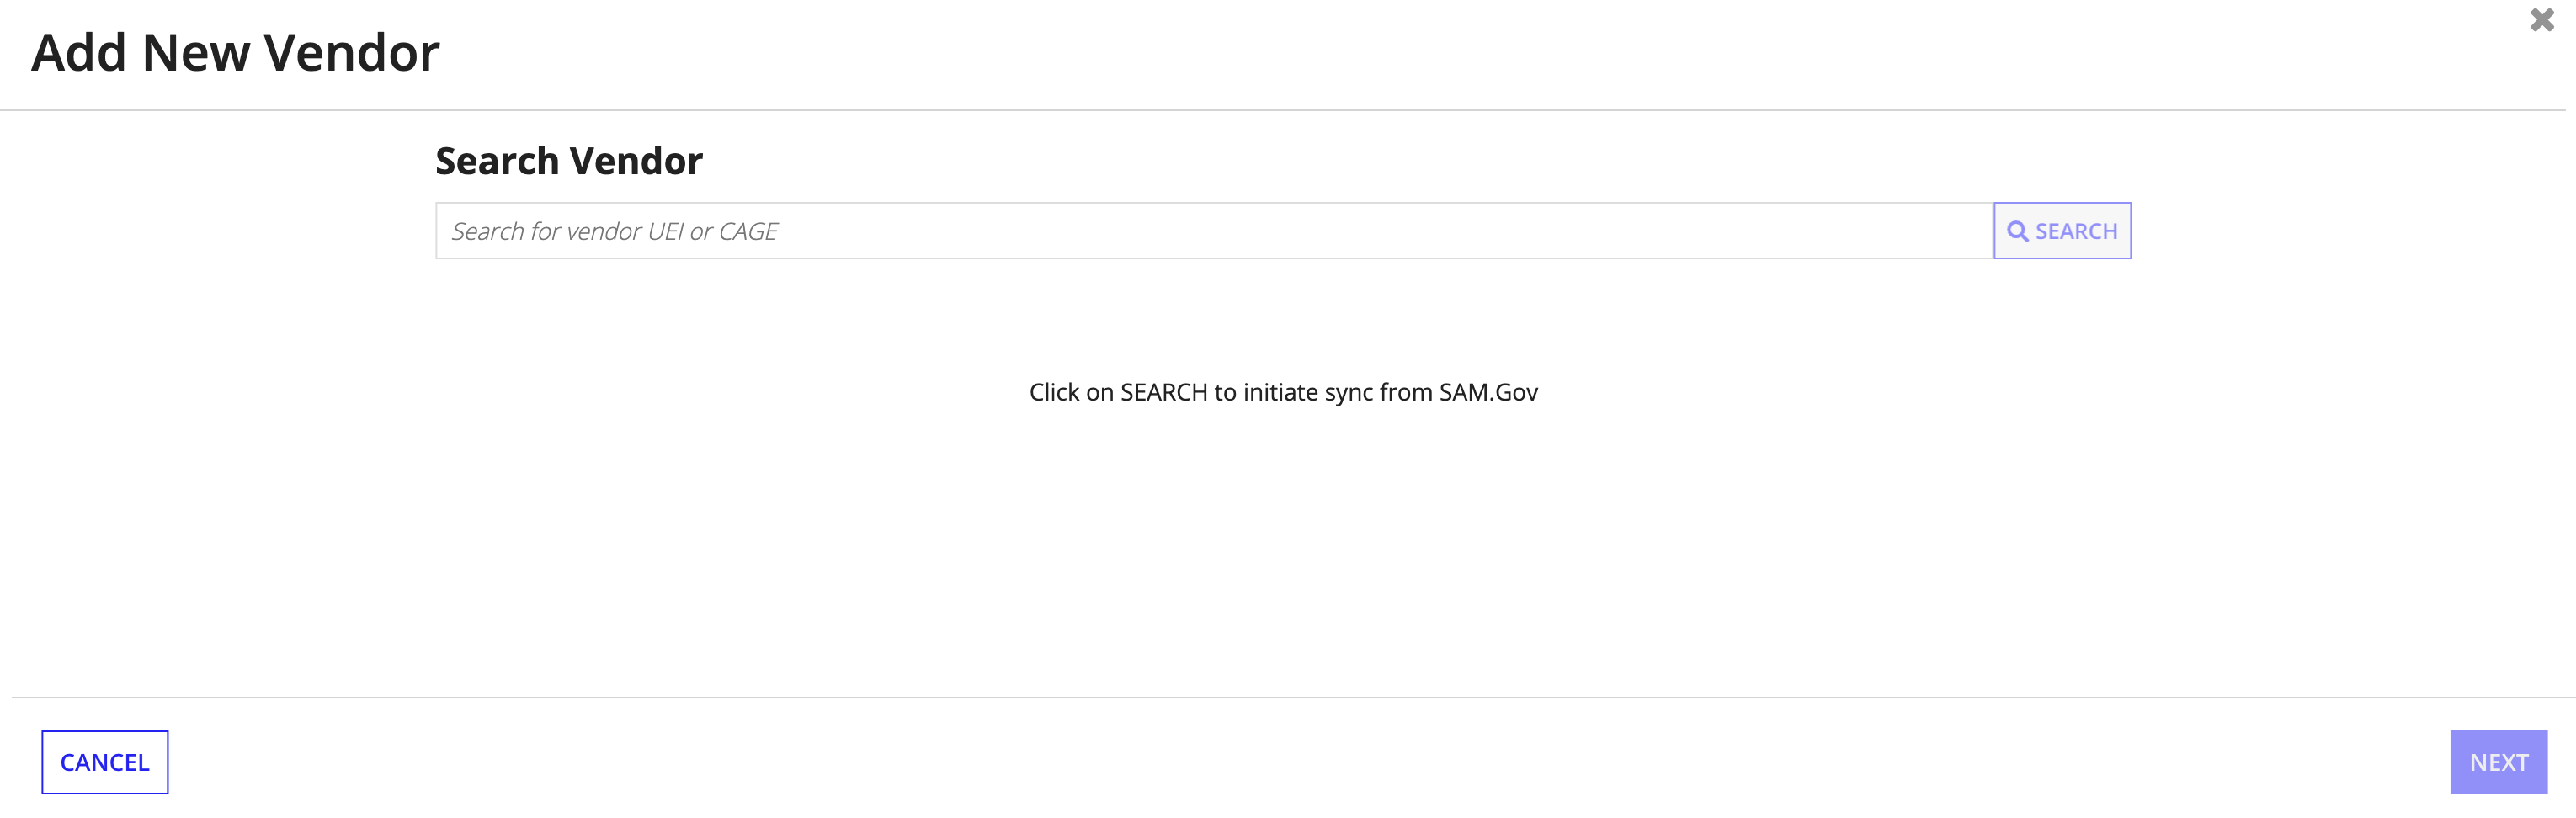
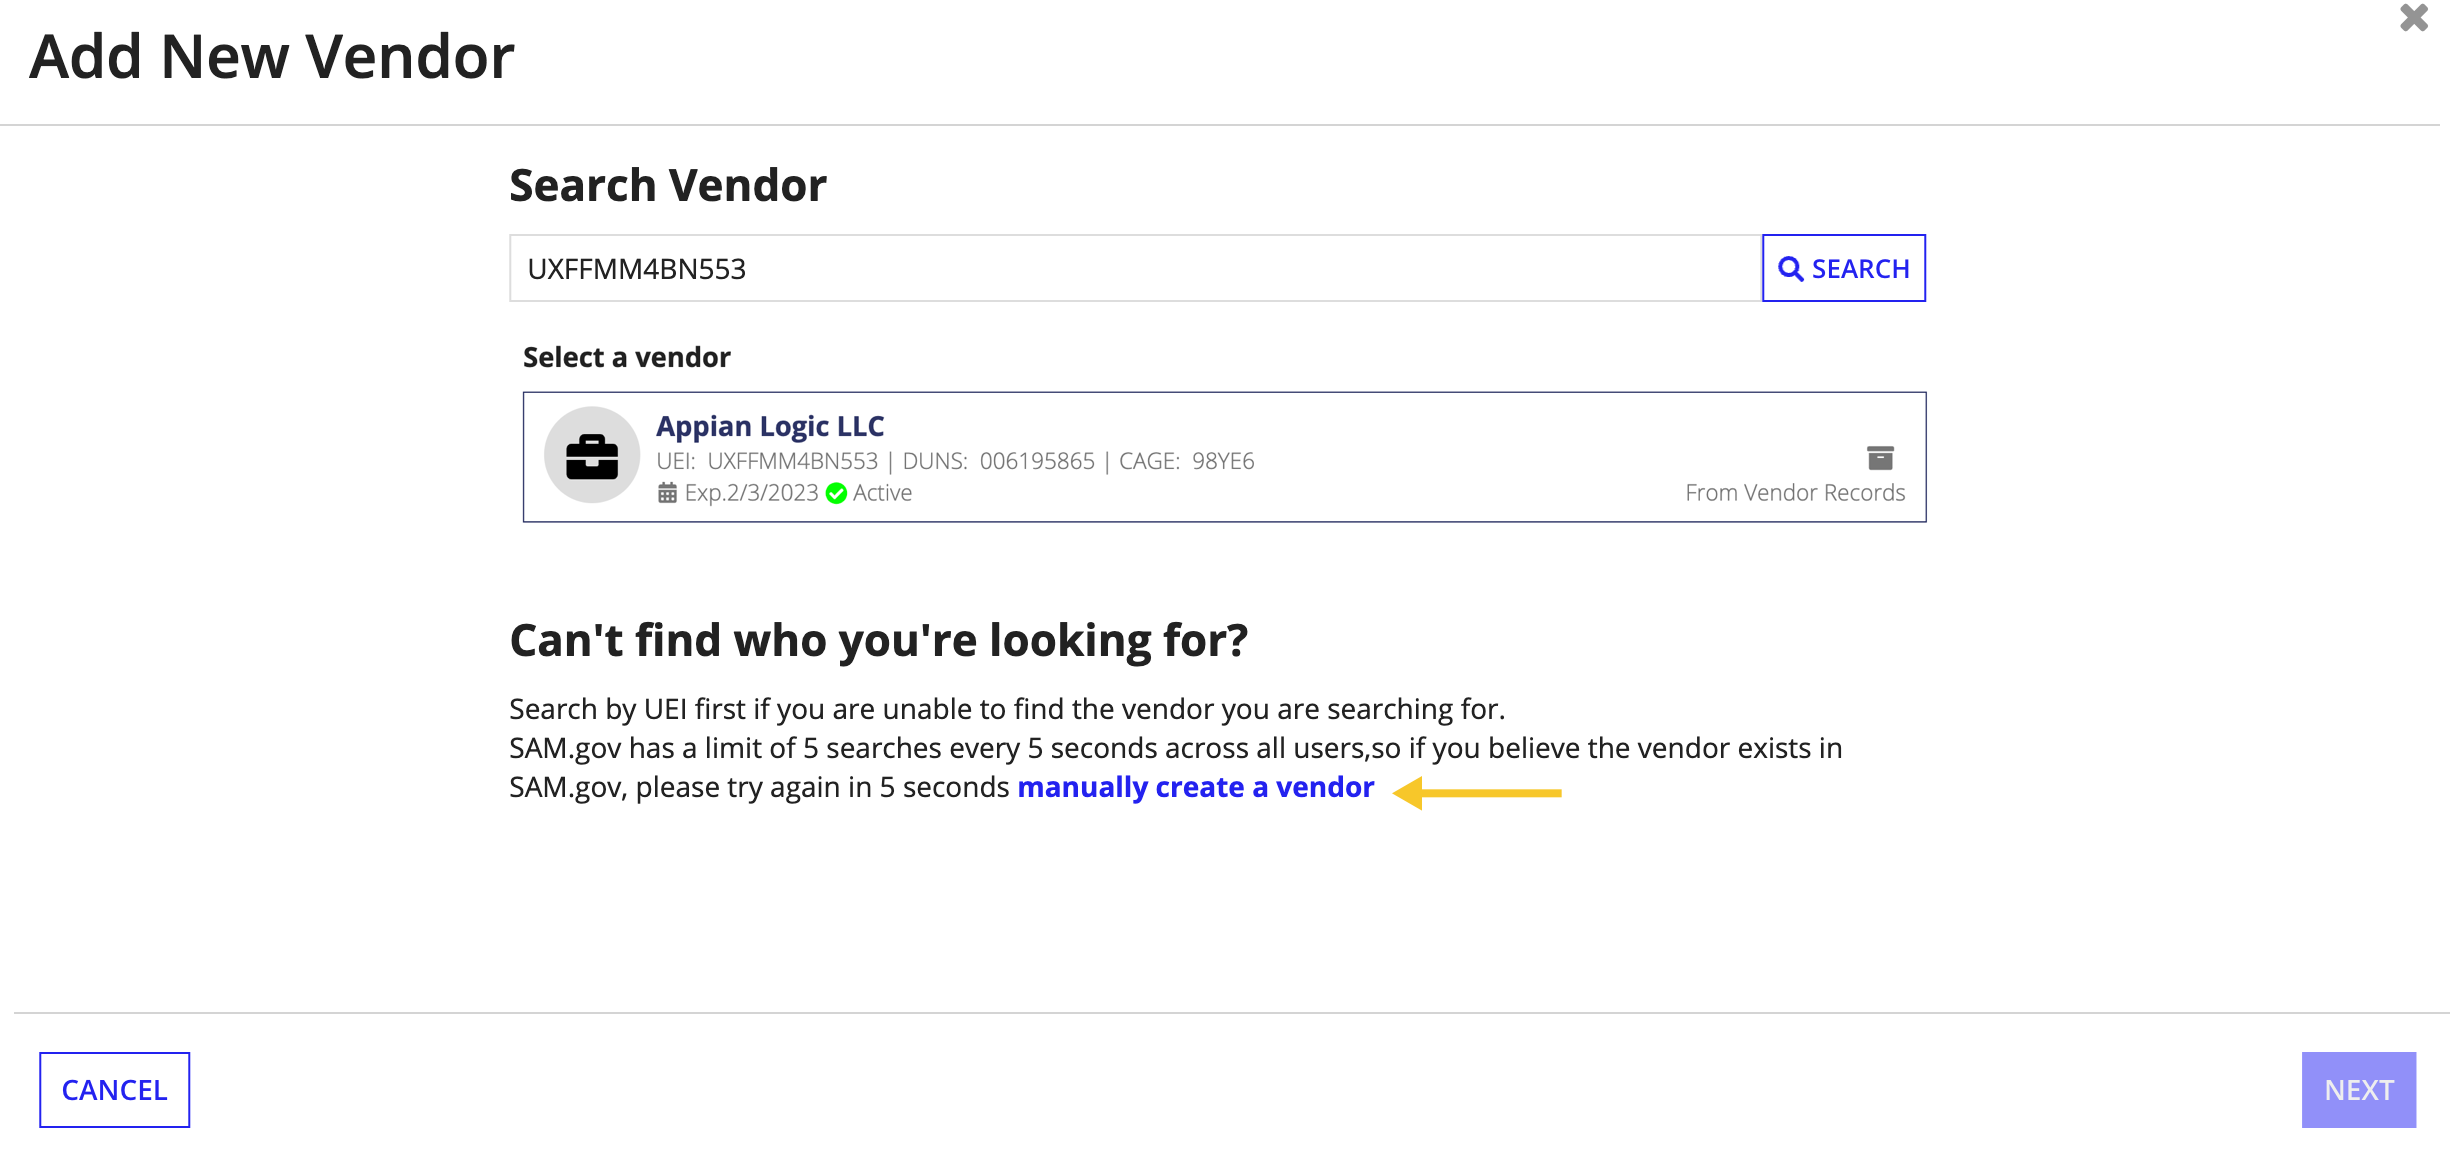
In the search bar, enter the UEI or CAGE number for the vendor you are looking for and click SEARCH.
Note: If the Vendor Record or SAM.gov contains the vendor's UEI or CAGE number, GSS will display the vendor and allow you to select it. If a Vendor Record has not previously been created in GSS for the vendor or the vendor is not in SAM.gov, click Manually create and add a vendor to manually input the vendor information.
After selecting the vendor, upload the vendor's proposal and any other documents in the UPLOAD field.
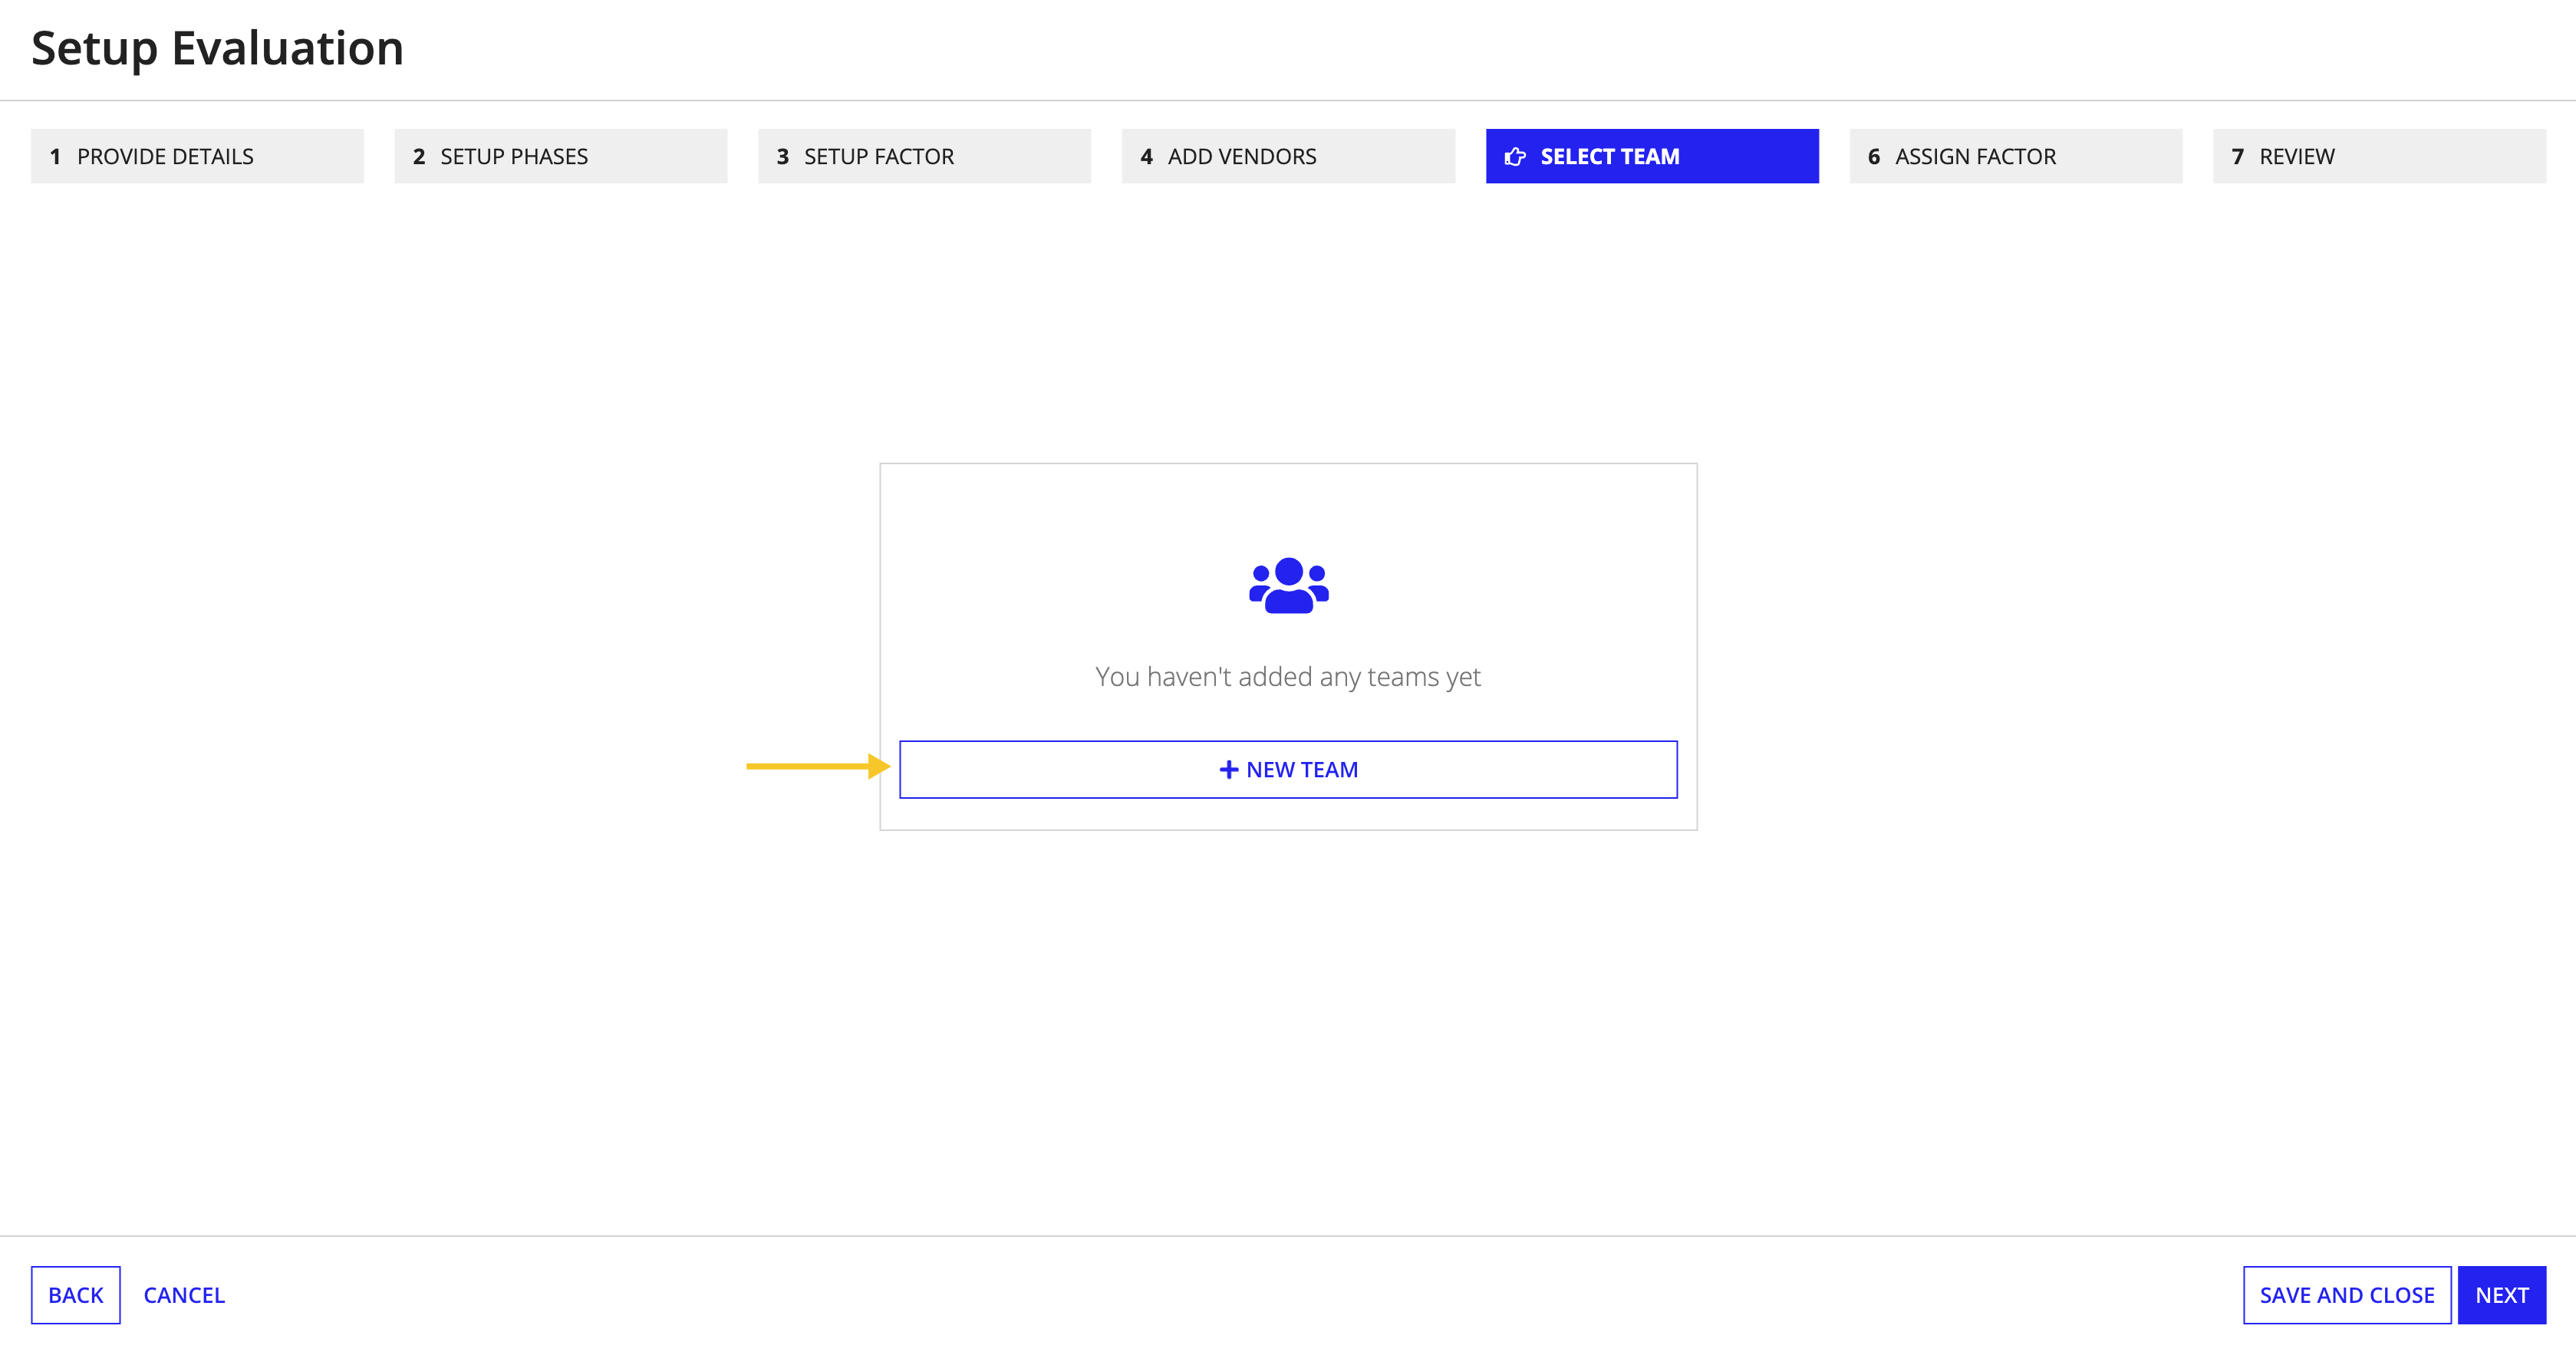
The Select Team page allows you to create evaluation teams and add evaluators to the teams.
To create a new team:
Click + NEW TEAM.
Add a Team Title and Description that reflects the team's purpose.
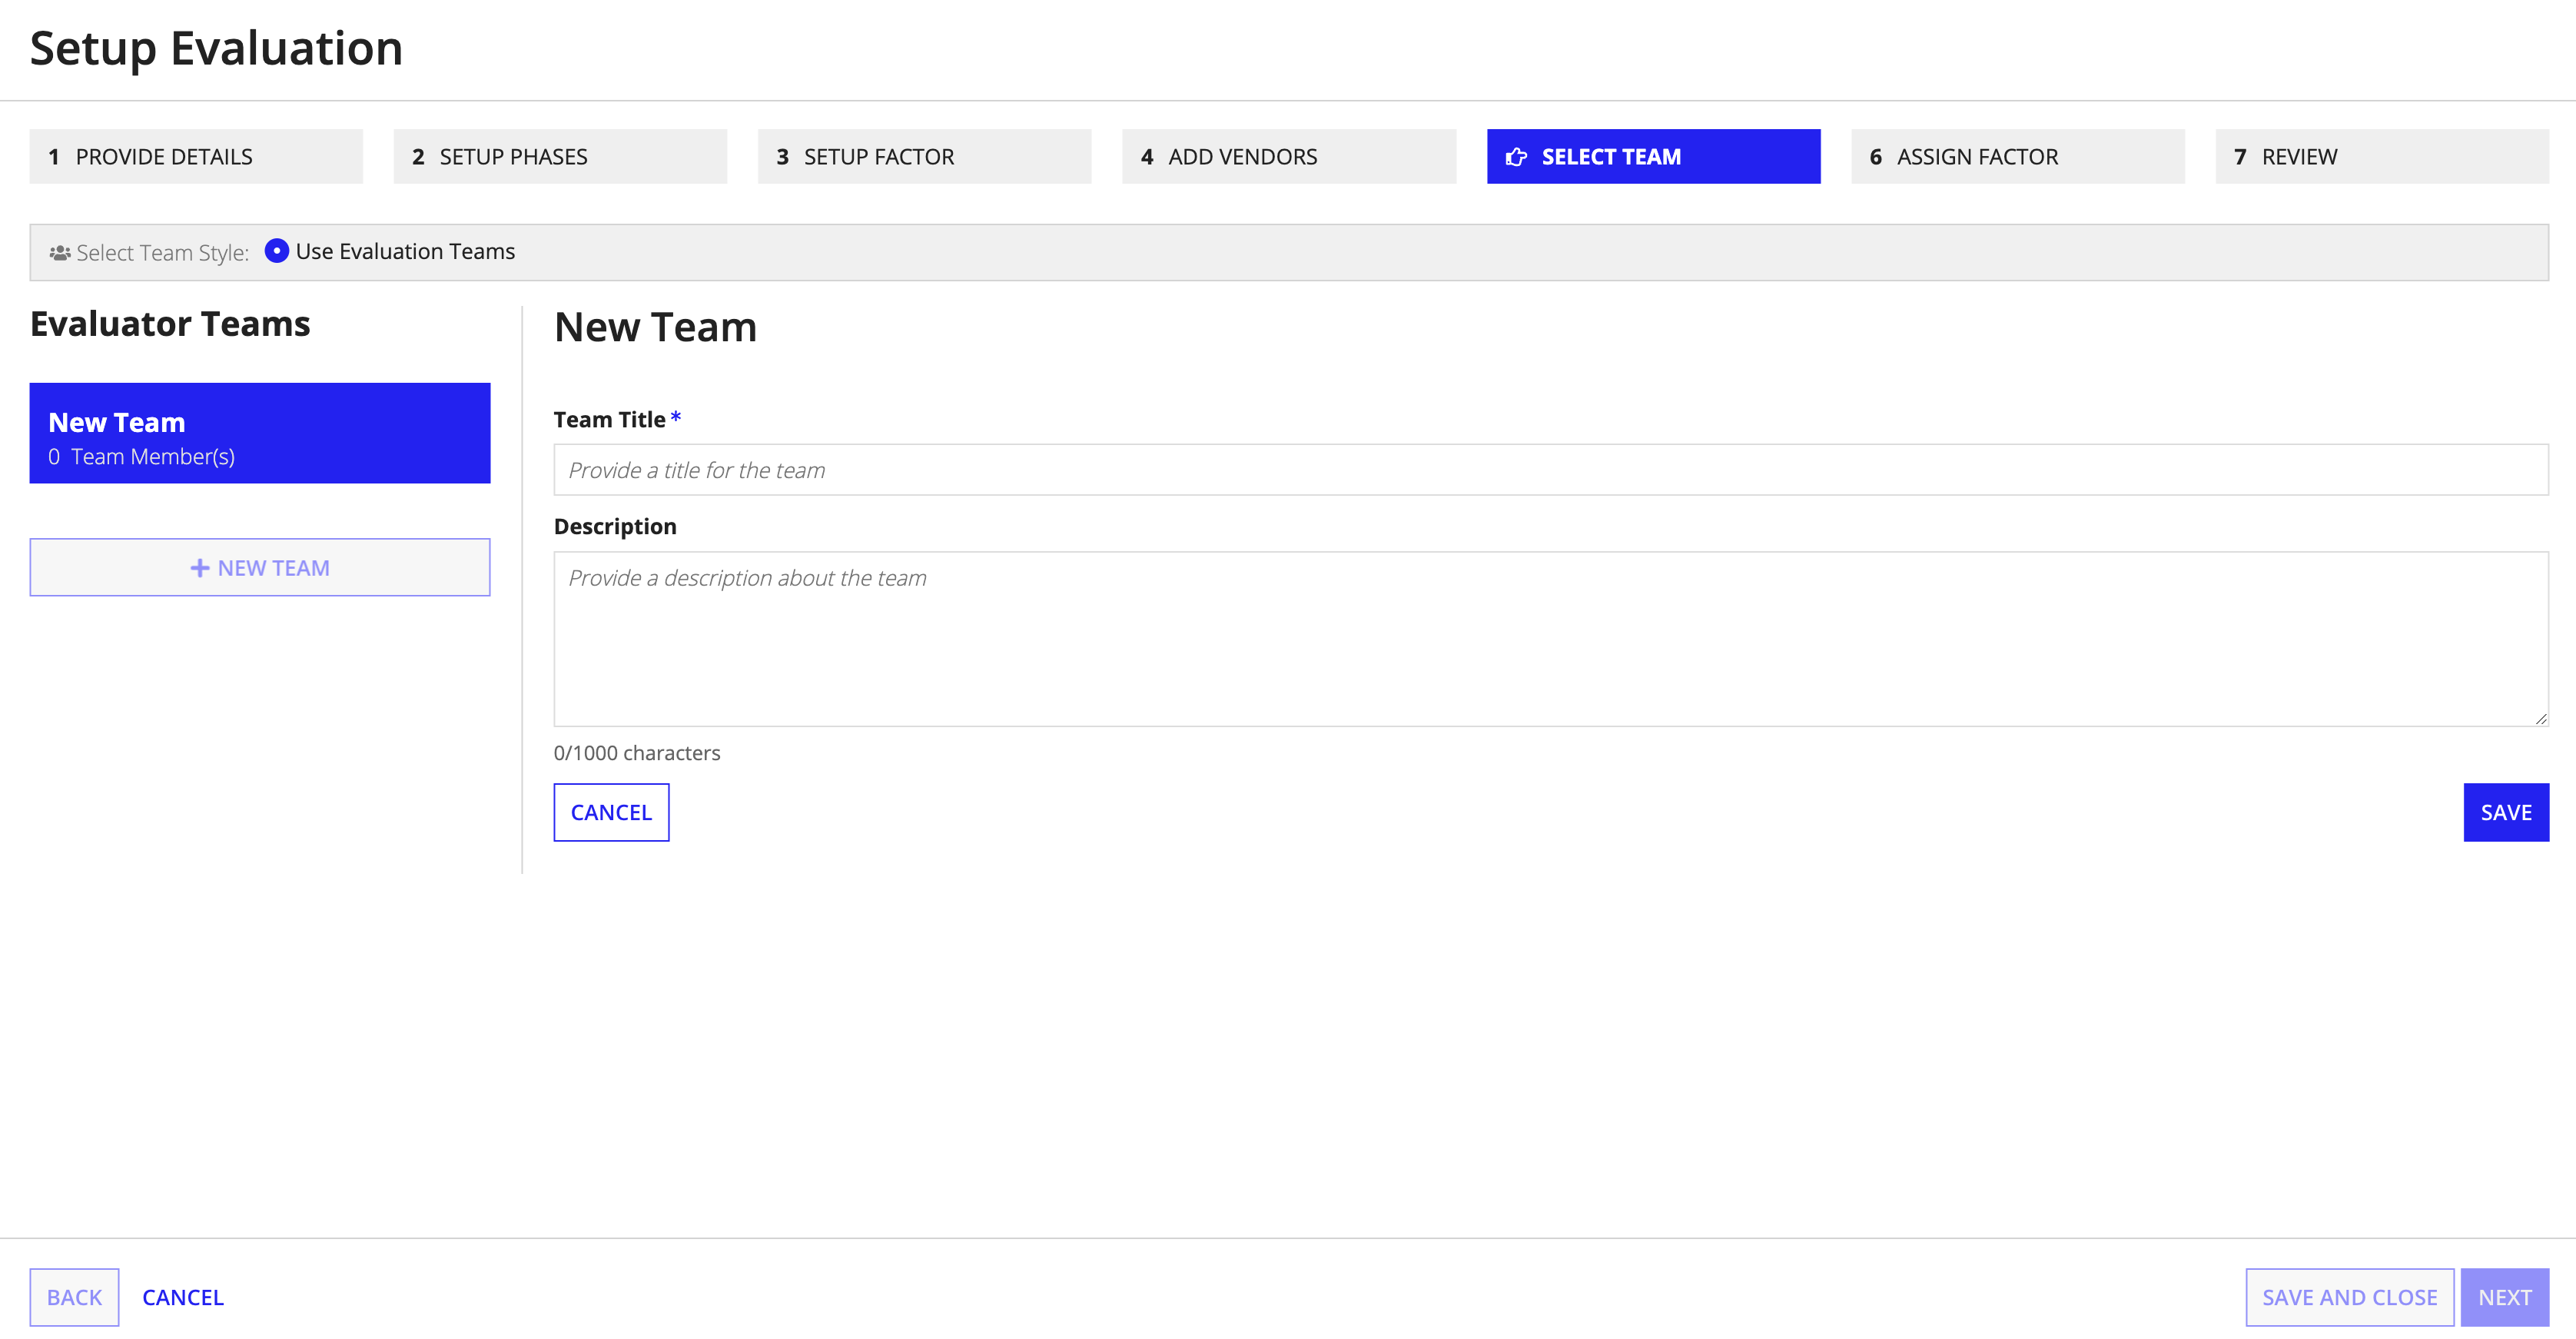
Click SAVE.
After the initial team information is saved, you can select the team members.
To add a new team member:
Click +ADD TEAM MEMBER to confirm that the selected evaluators are members of the team.
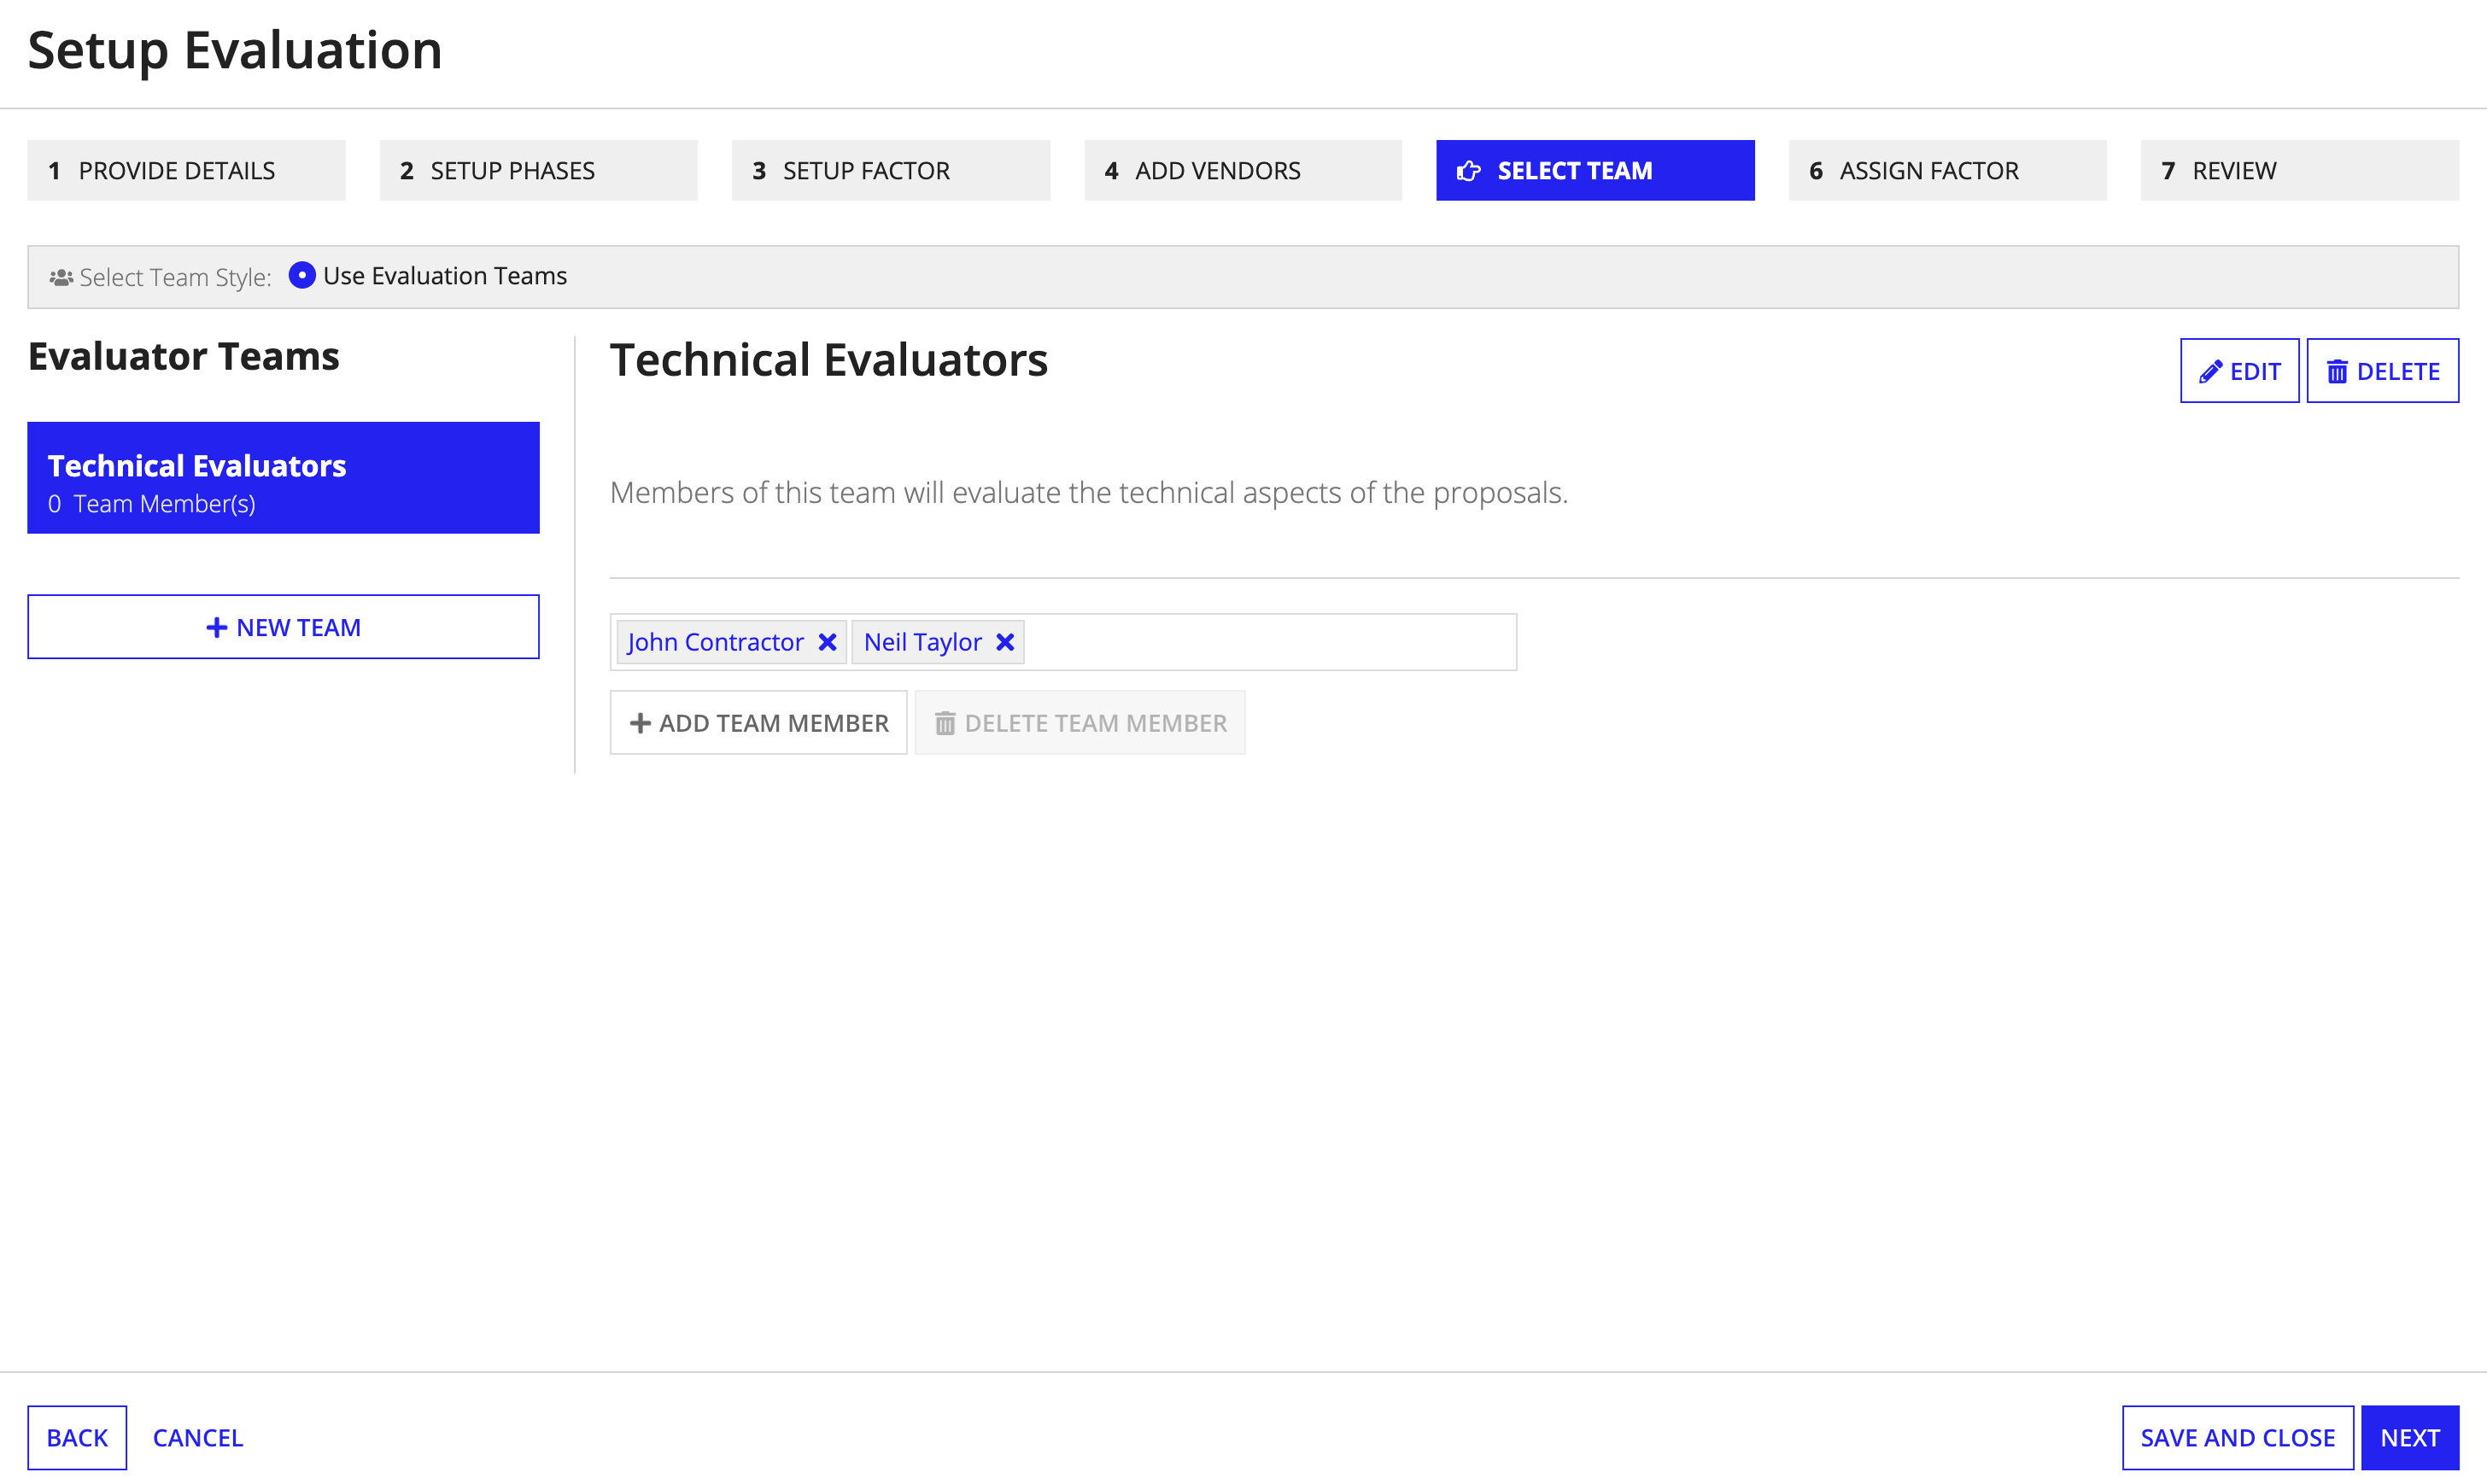
Click NEXT.
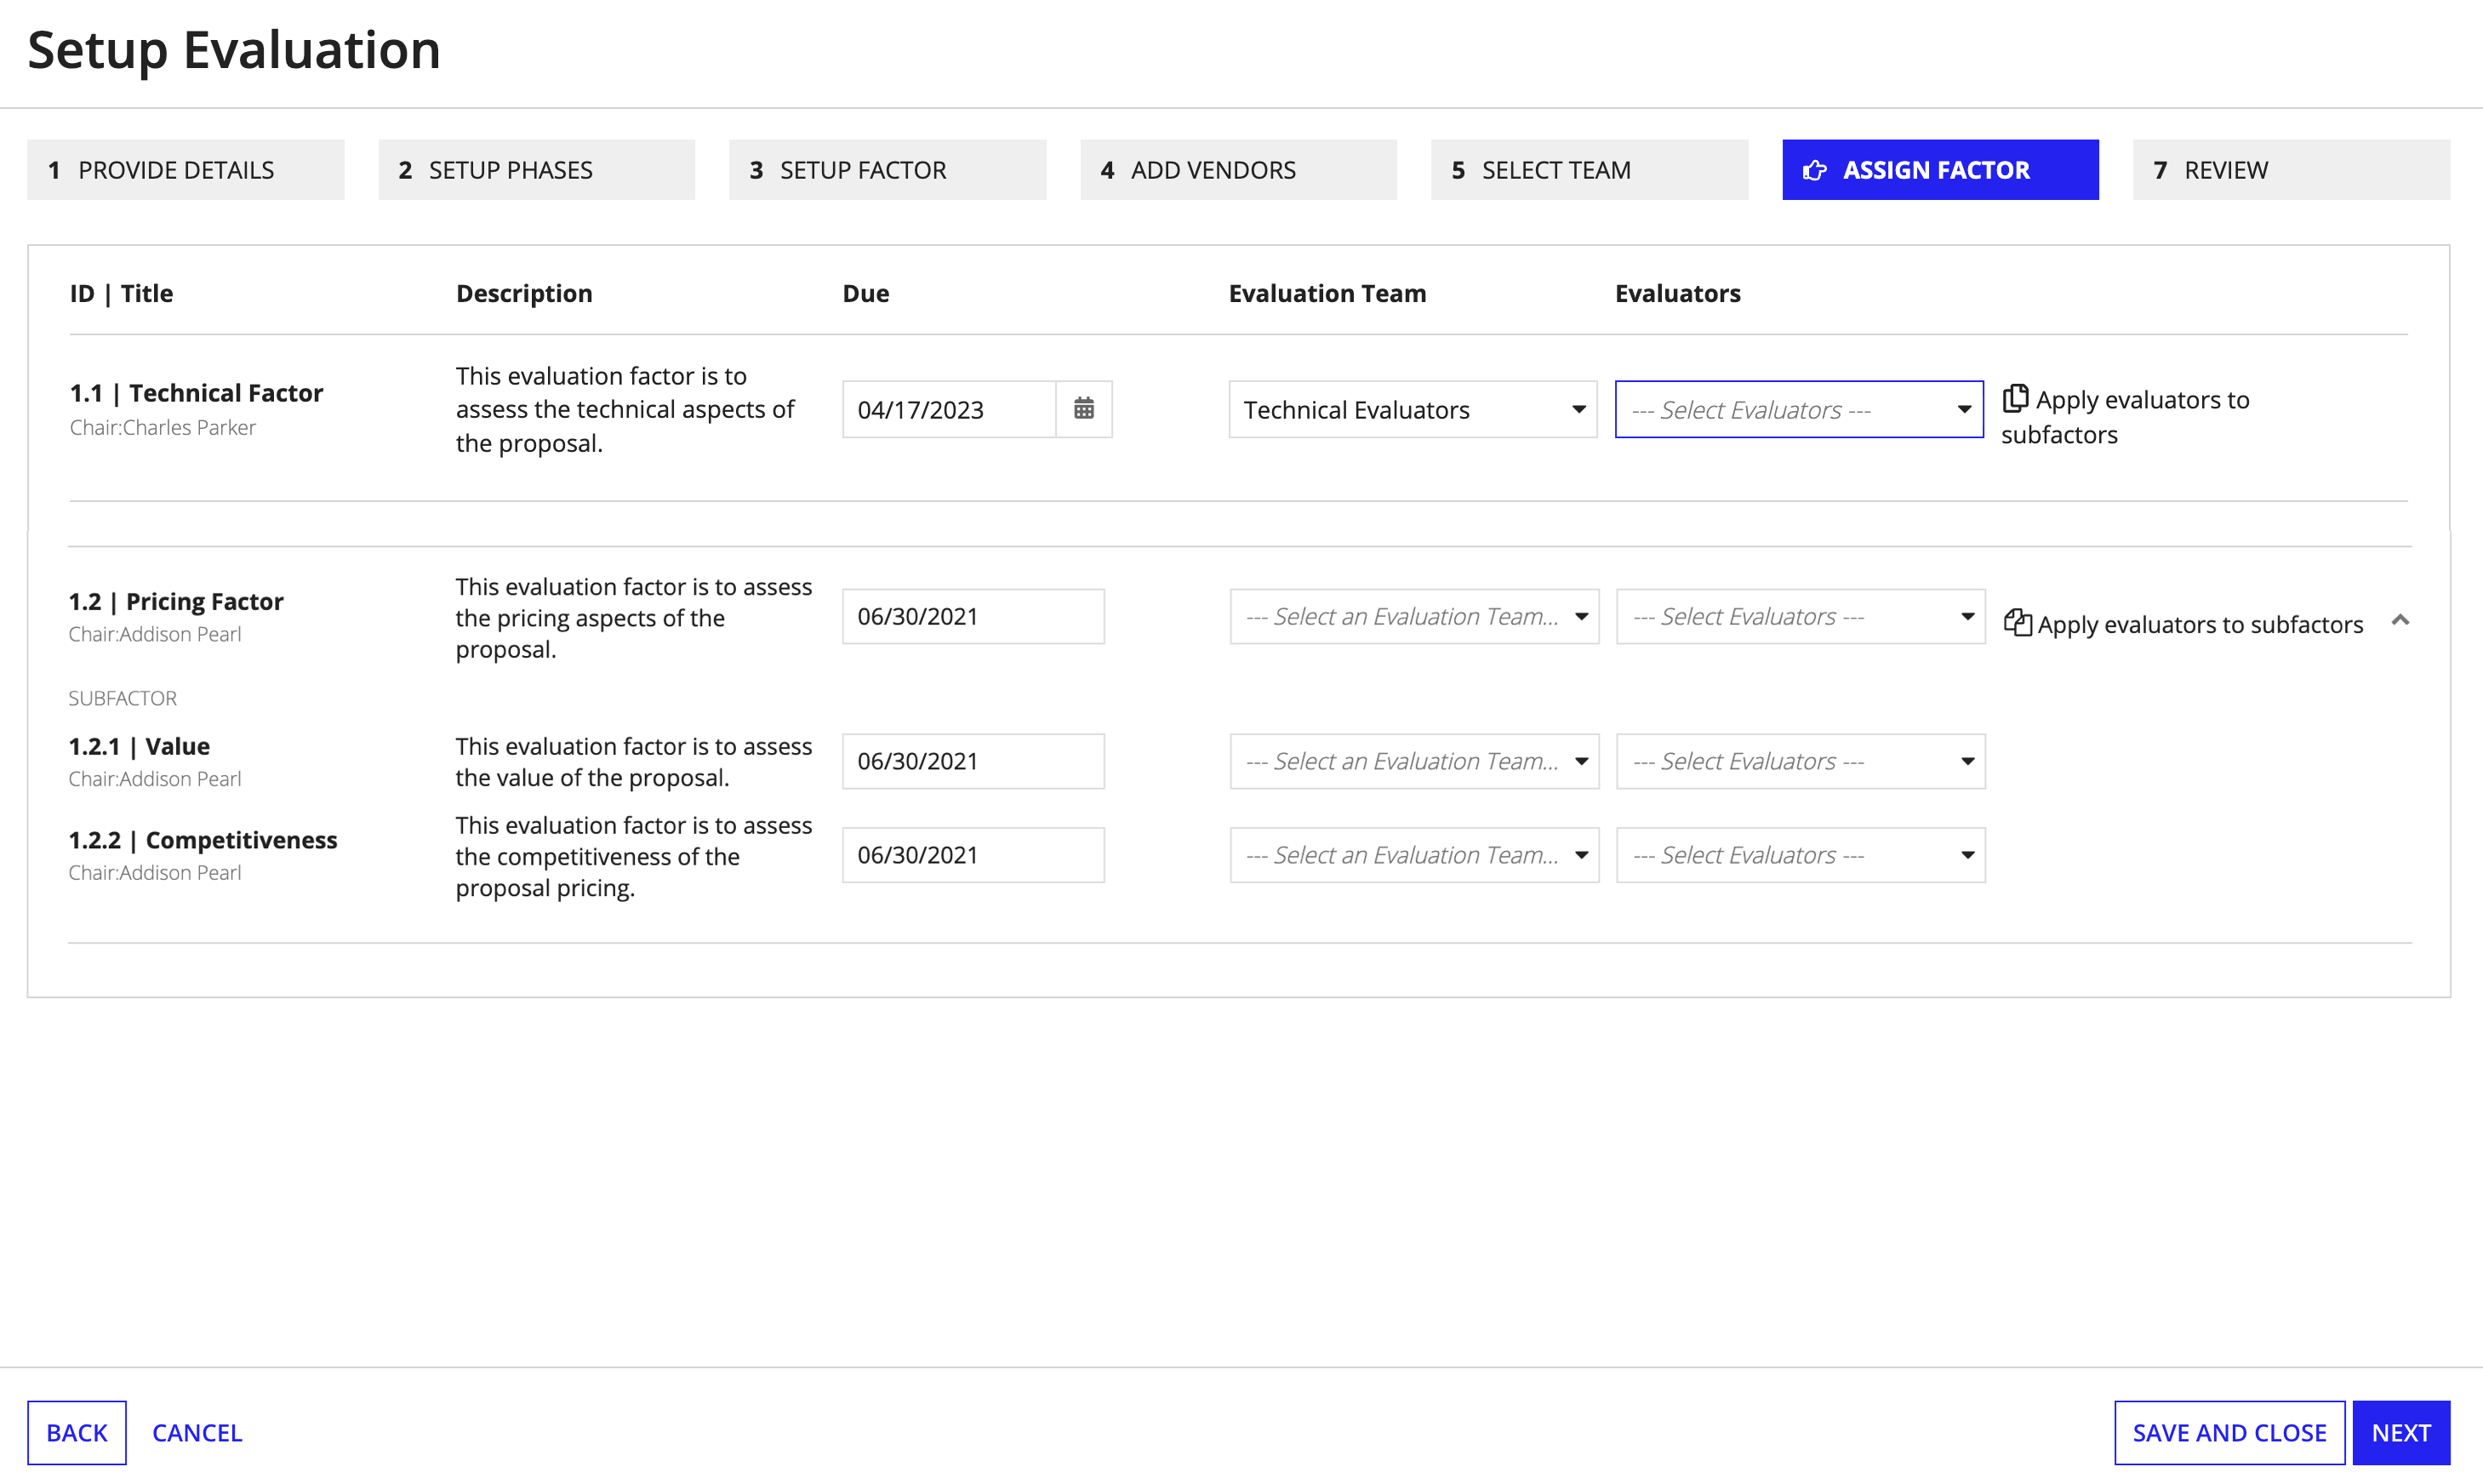
The Assign Factor page is where you review the factors and subfactors created earlier and assign them to evaluators. By default, you can only view factors from this page. You can view sub-factors by clicking on the caret icon on the far left side of each factor's row.
To assign due dates and evaluators to each factor and sub-factor:
You can apply the factor's evaluators to the sub-factors by selecting the Apply evaluators to subfactors link.
The Review page allows you to review all the information entered about the evaluation. If you still need to add evaluation information, the banner at the top of the page will indicate which steps are incomplete. You can use the banner links to return to the steps that are missing necessary information.
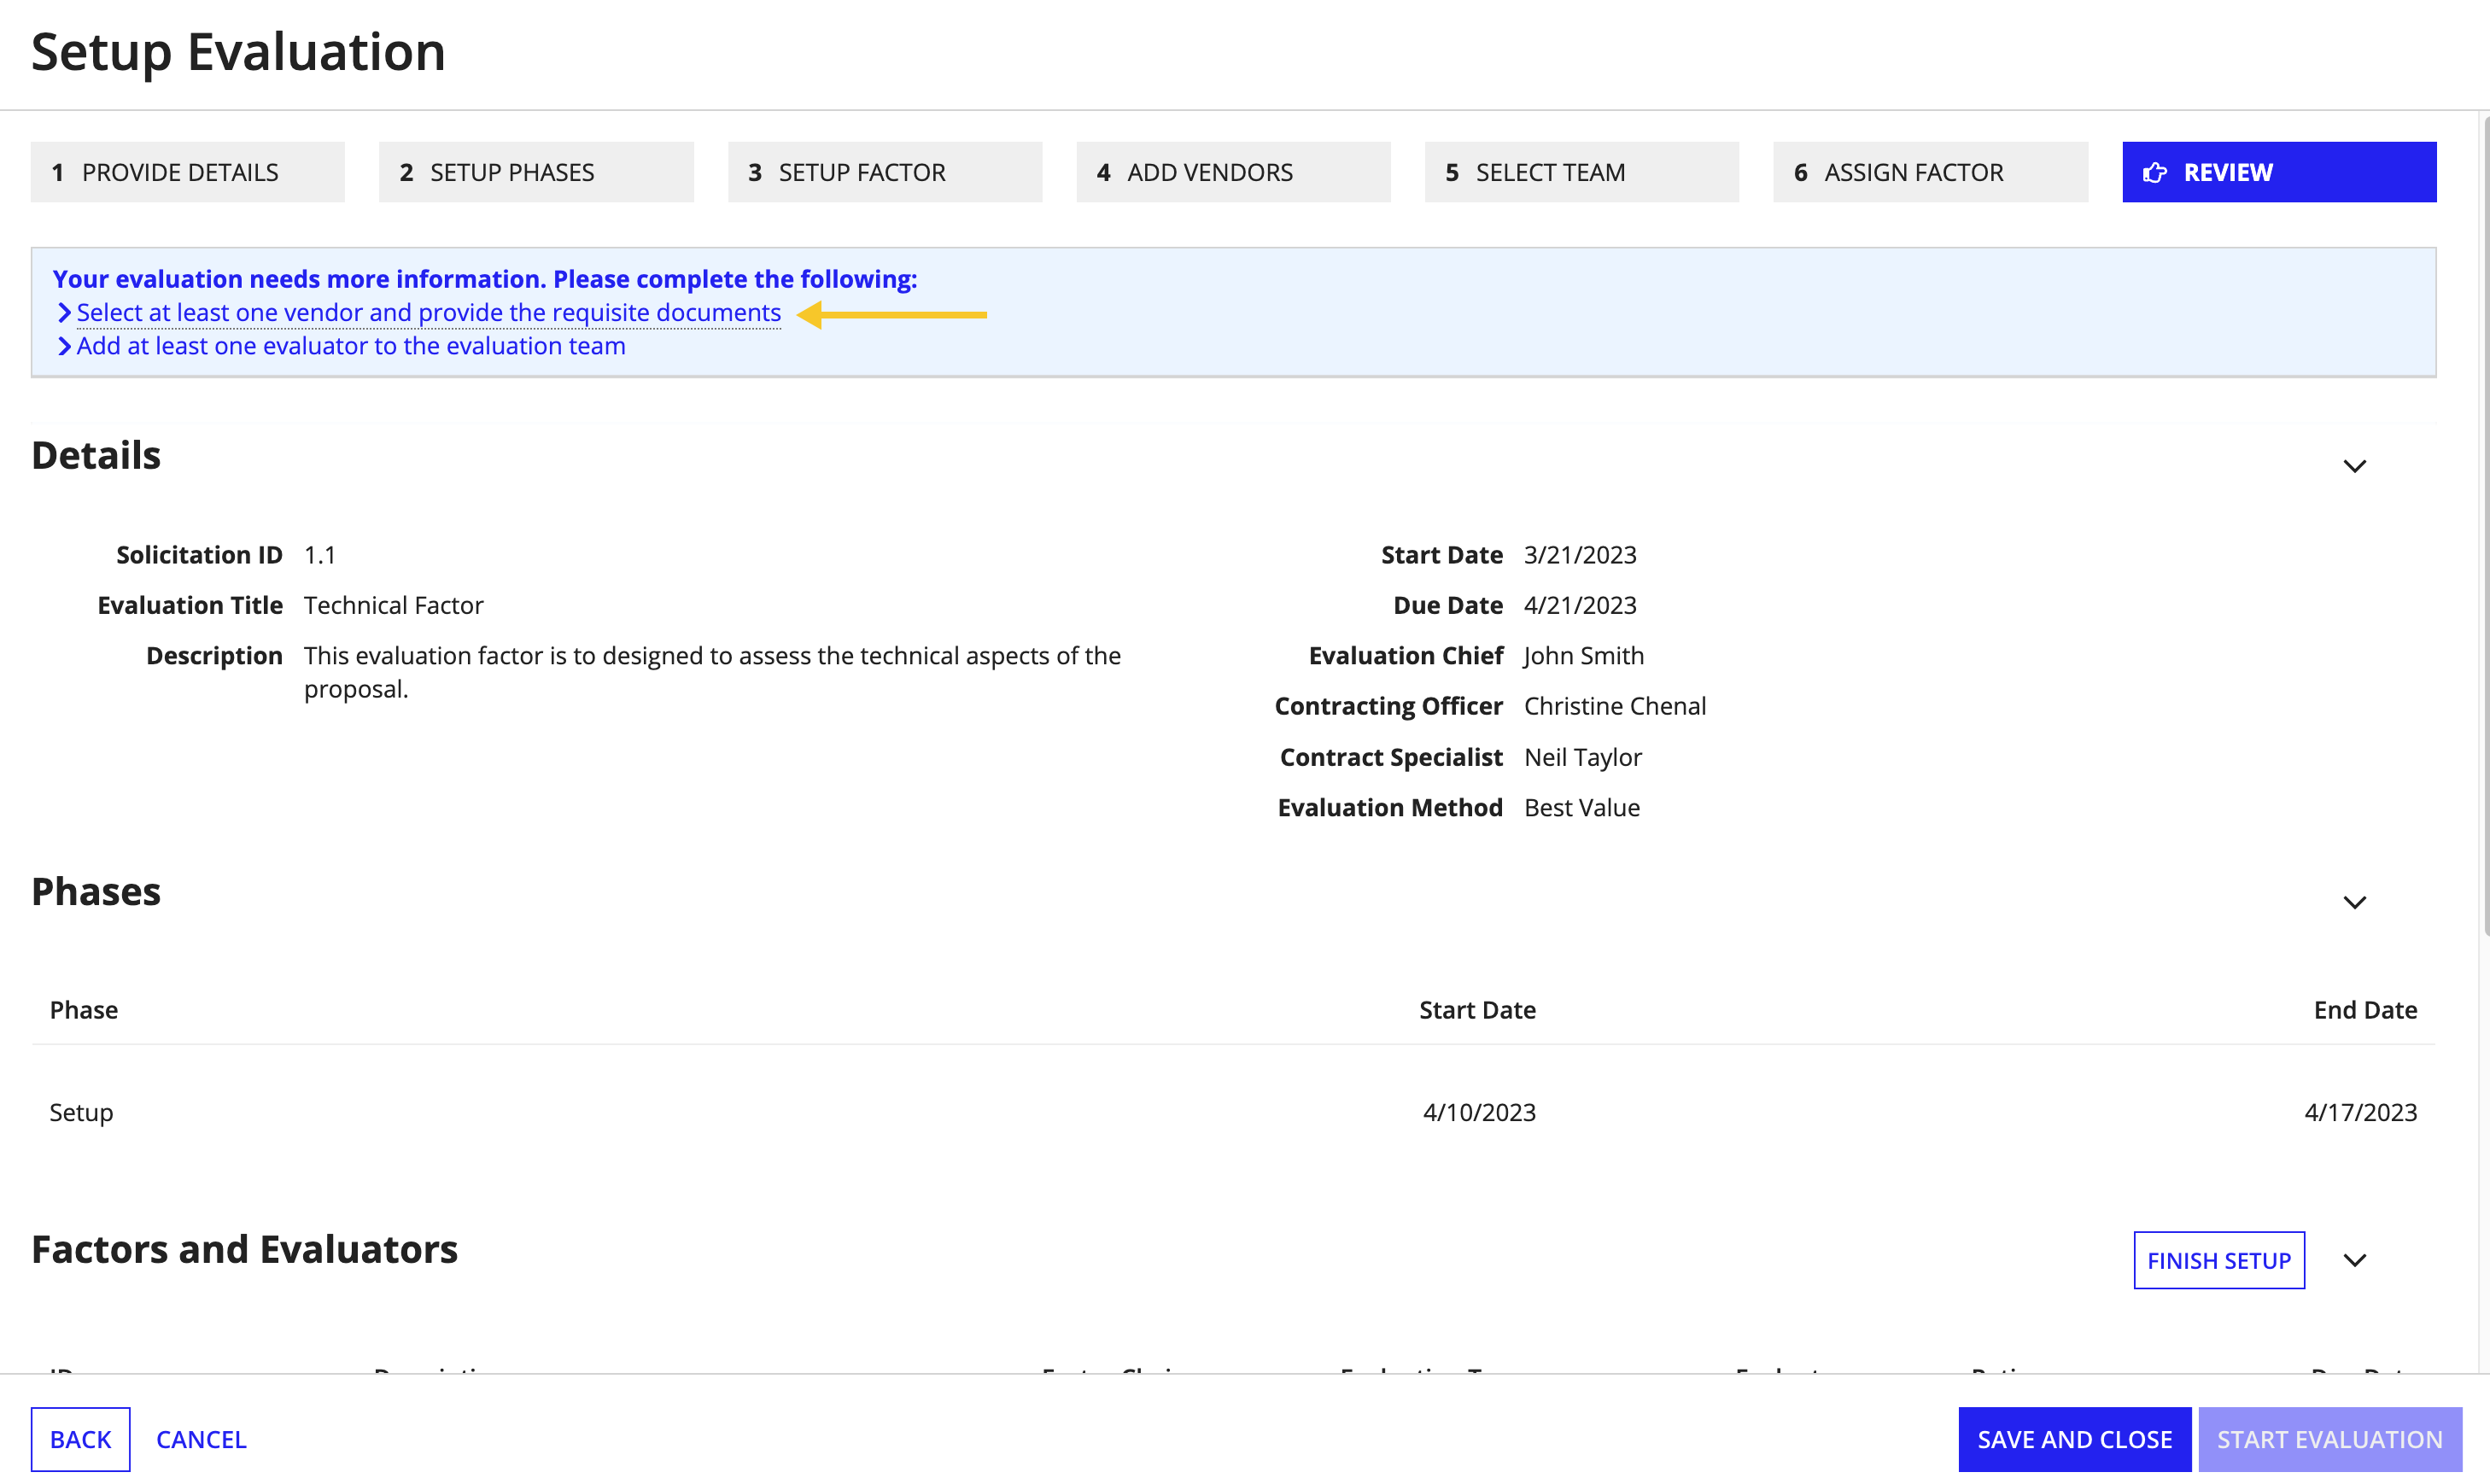
If the banner does not appear and the START EVALUATION button is clickable, you can start the evaluation.
In order to start the evaluation:
Once you have started the evaluation, a confirmation will display indicating evaluation tasks have been sent.
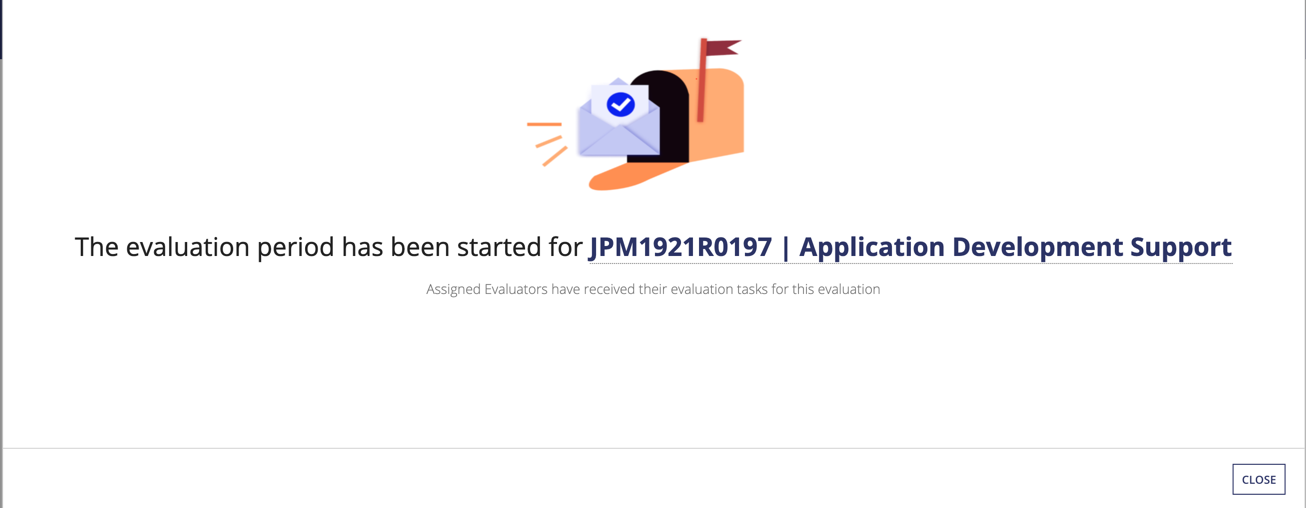
From here, you can close out and track progress or complete your tasks.
Creating a New Evaluation
