| This content applies solely to Connected Underwriting, which must be purchased separately from the Appian base platform. This content was written for Appian 23.4 and may not reflect the interfaces or functionality of other Appian versions. |
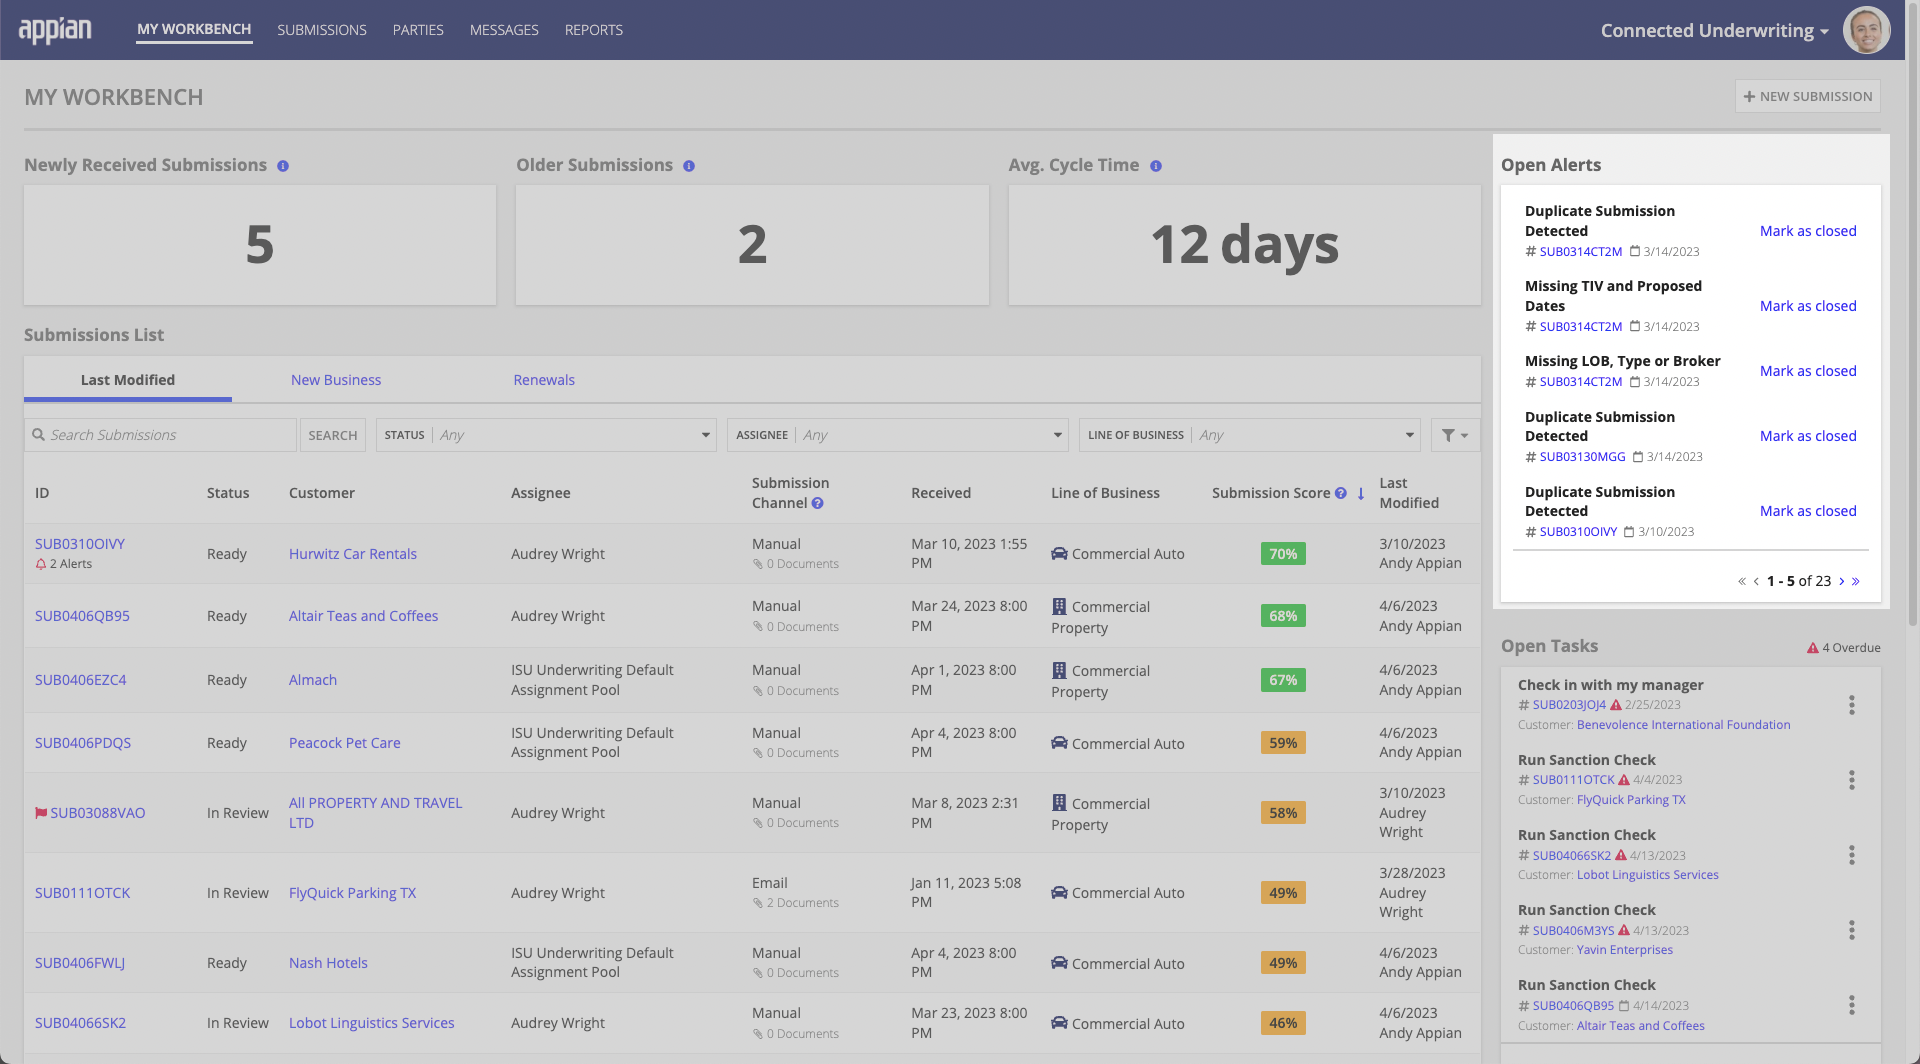
Alerts are generated to notify business users of changes to a Submission. Connected Underwriting is set up with five default alerts:
Users can view alerts assigned to them from two places:
On the user's Workbench, in the Alerts section.
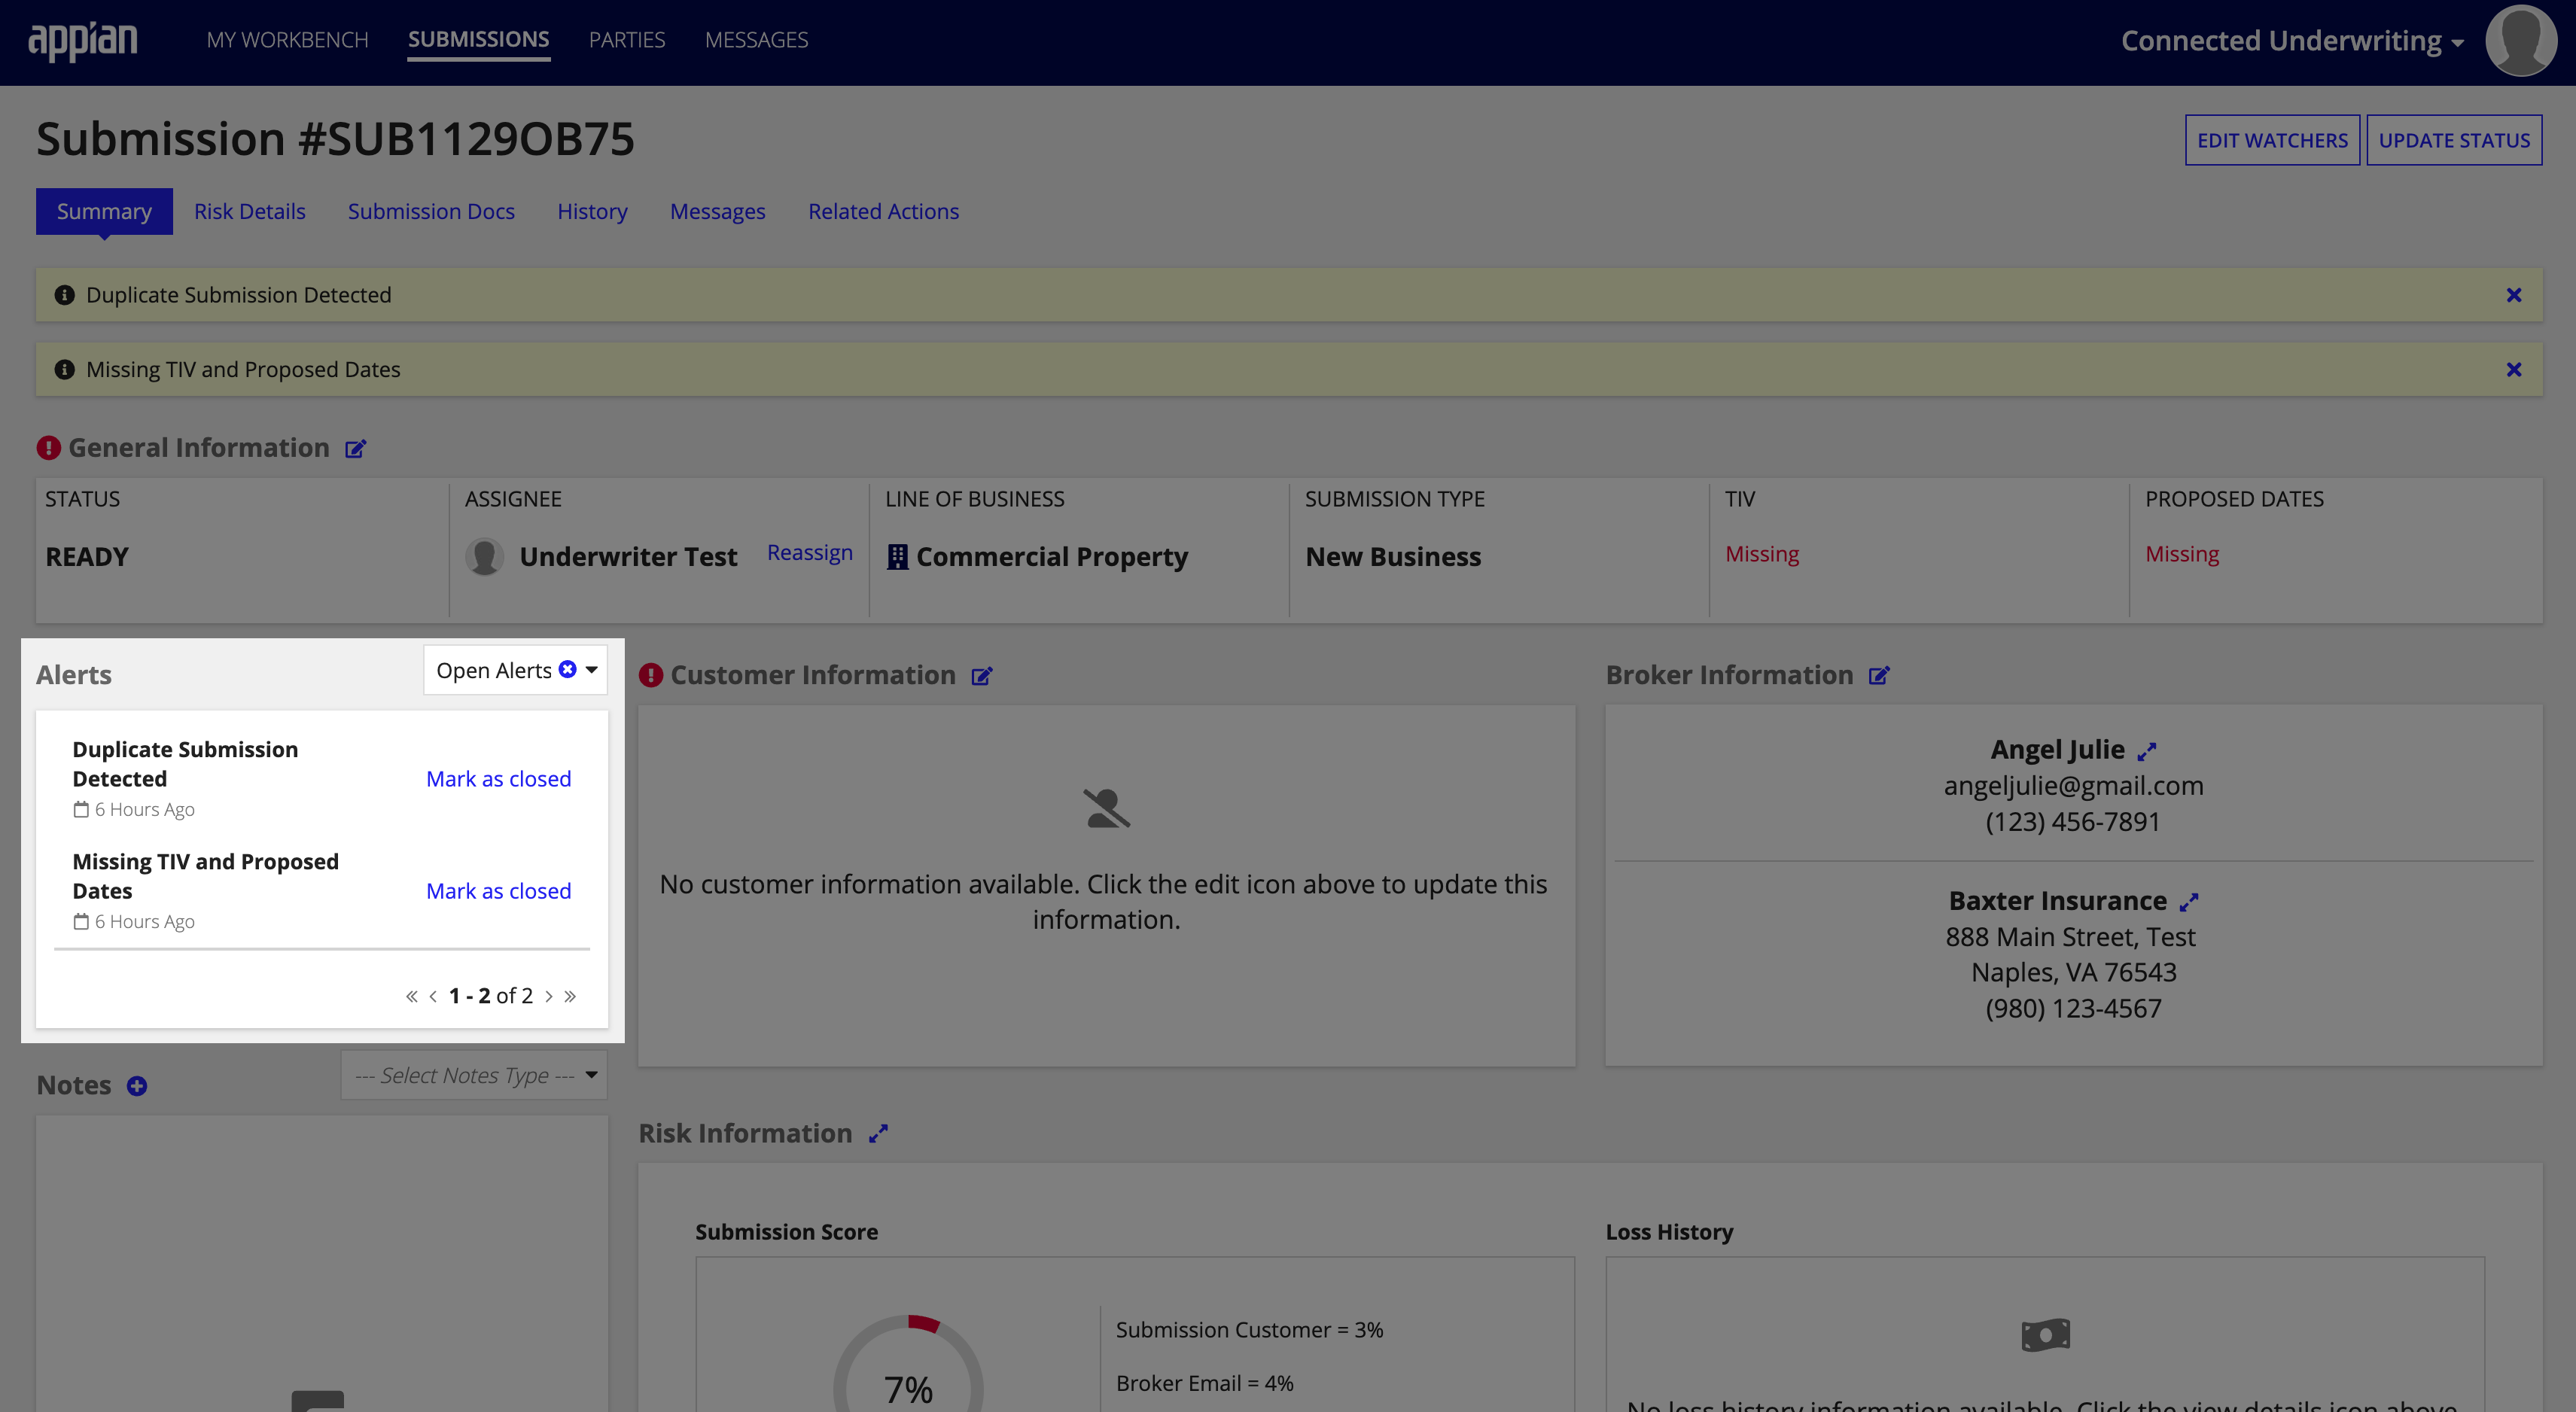
On a Submission item, in the Alerts section.
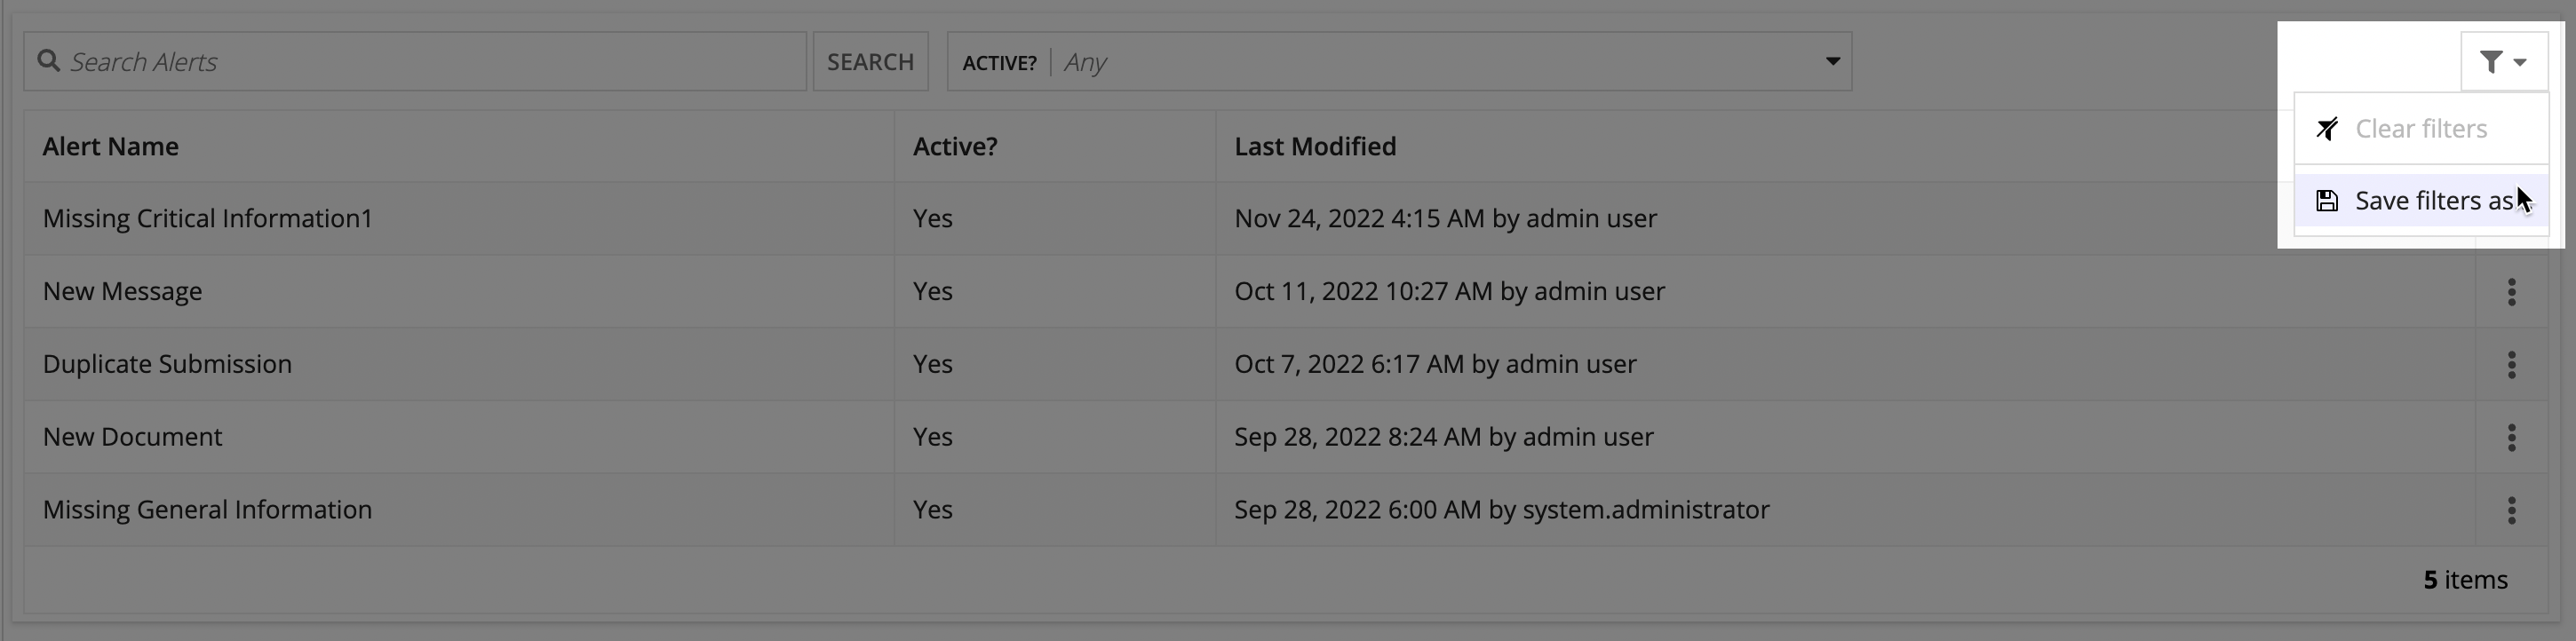
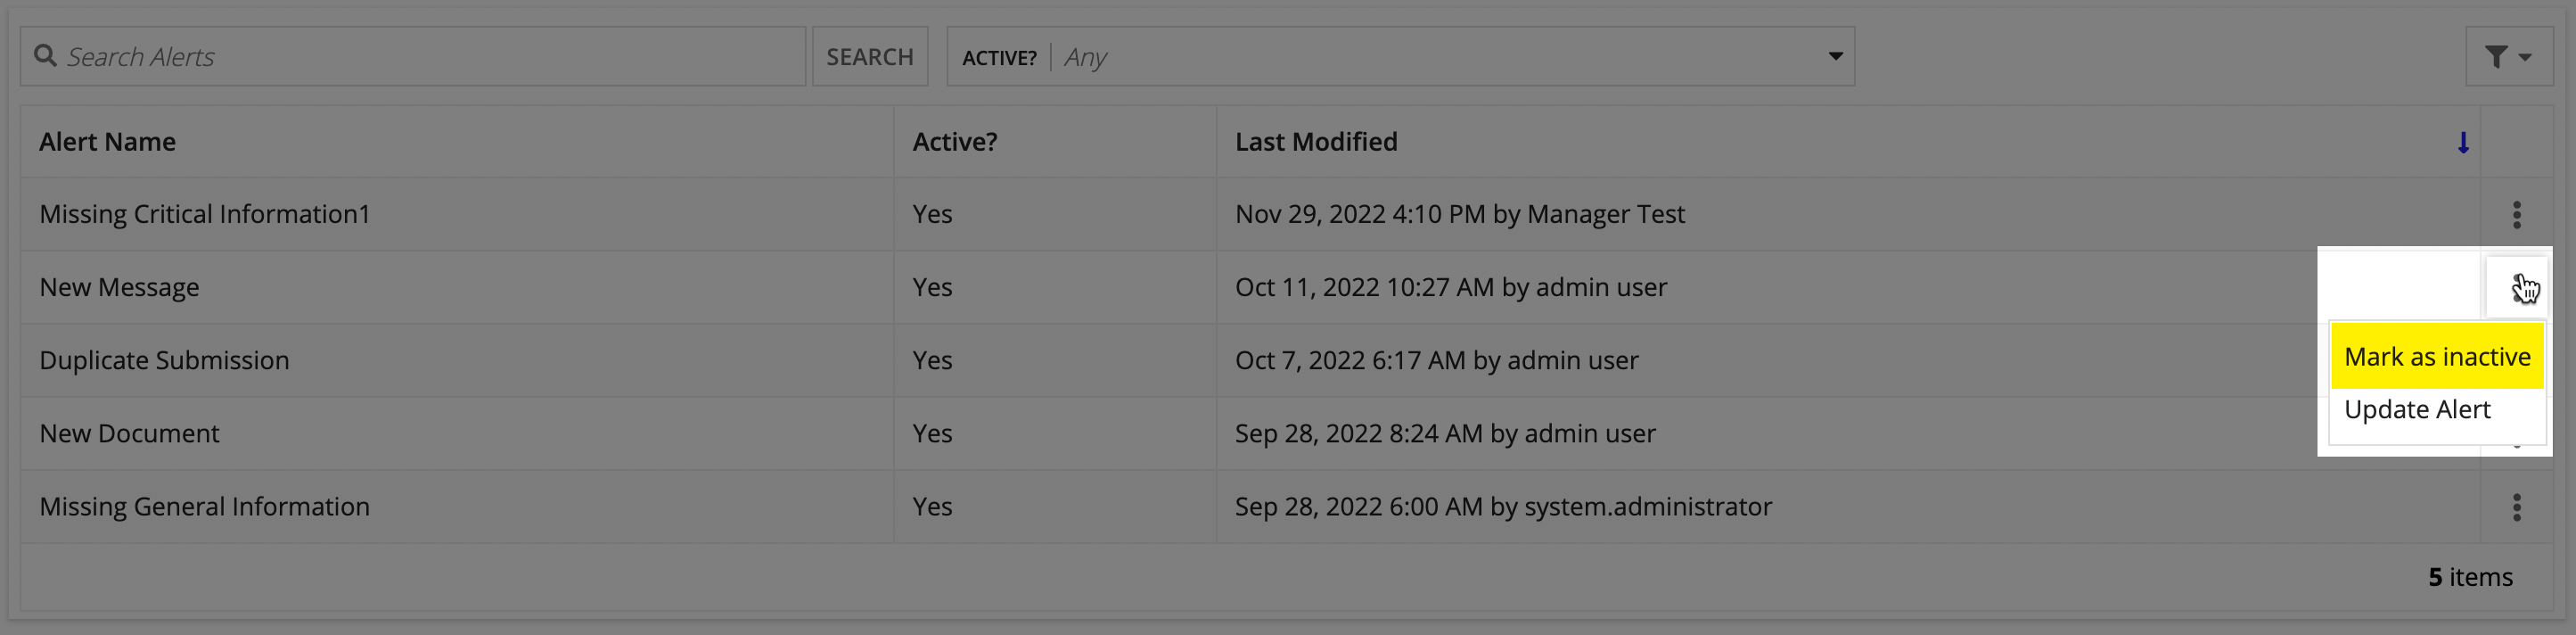
You can view all available alerts from the Alerts settings page on the Connected Underwriting Settings page.

Alerts can be filtered by name and status:
Connected Underwriting allows you to save an Alert Name and Active/Inactive filter combination for future use.
To save a filter:
Managers and Admins can control Alert Names and the Alert Display Message from the Connected Underwriting Settings page.
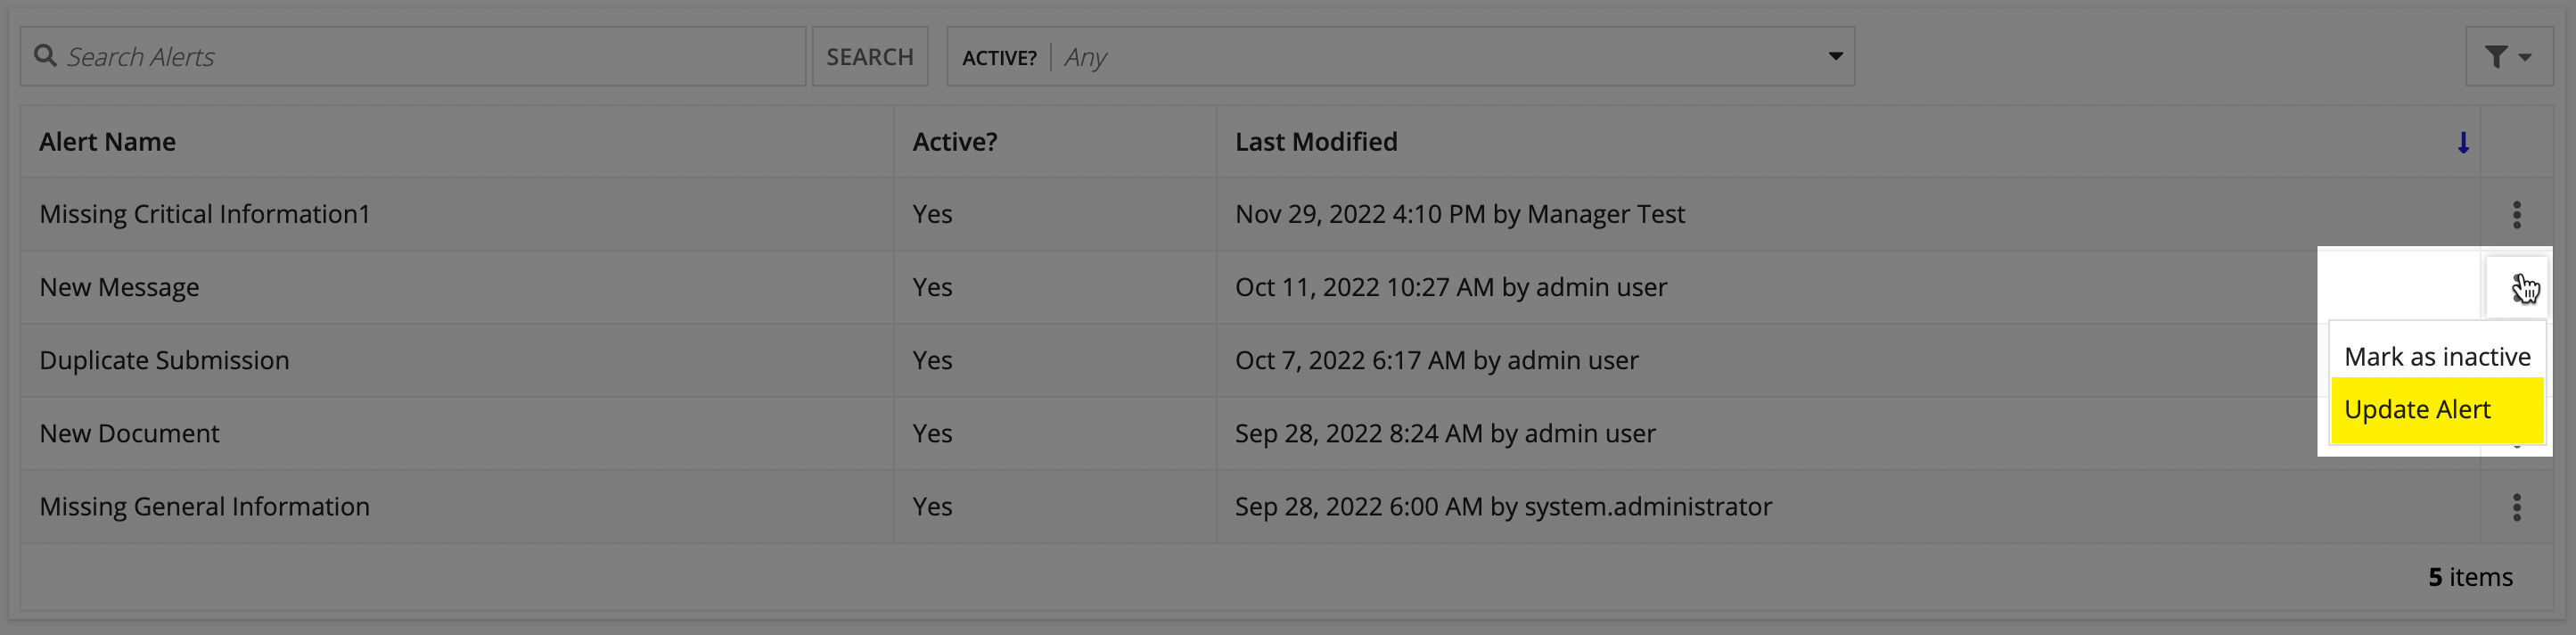
To update an alert:
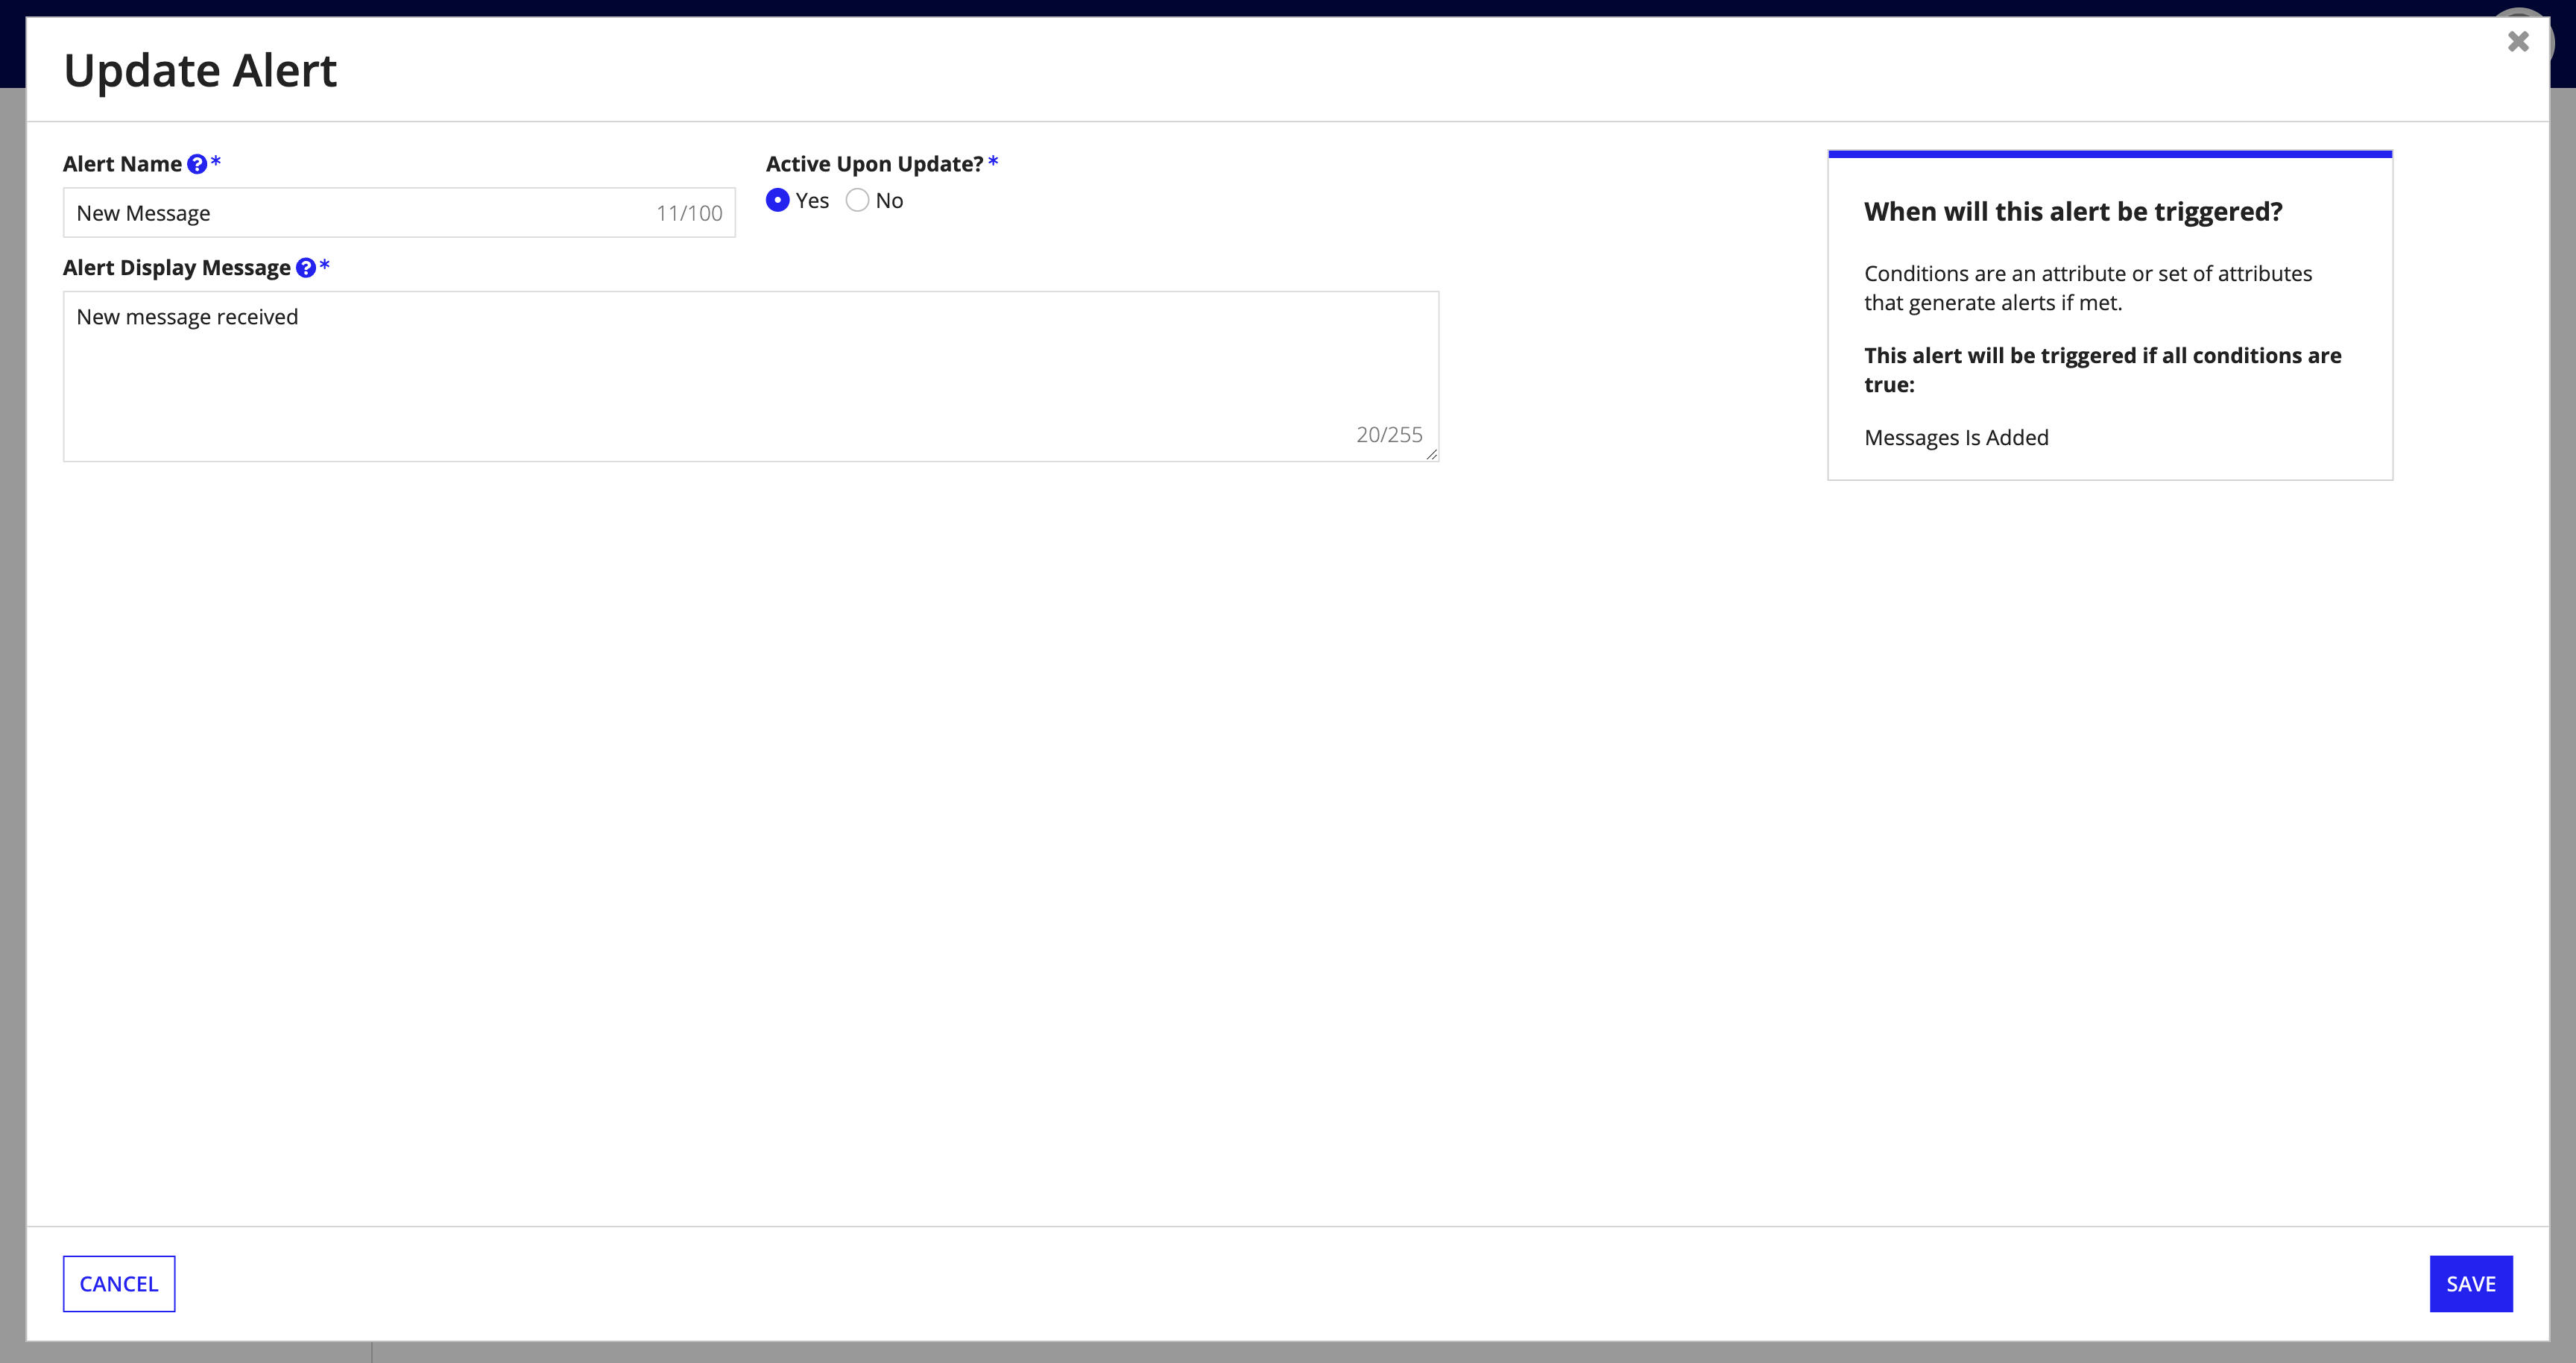
Note: Details on what events trigger an alert are displayed on the Update Alert screen in the When will this alert be triggered panel.
If an active alert is no longer required, you can stop the alert from generating by updating the alert status to Inactive. You can also enable an inactive alert by updating the status to Active. Simply click the icon associated with the alert you want to edit and select Mark as inactive to disable an active alert, or Mark as active to enable an inactive alert.
In some instances, the default alerts may not be satisfactory for a specific organization's needs. In this instance, you can modify the solution's alert logic or create new alerts to match your organization's unique business needs. See Configuring Alerts for more information.
Note: Only users with Appian Designer privileges can add or update alert logic.
Managing Alerts
