| This content applies solely to Connected Underwriting, which must be purchased separately from the Appian base platform. This content was written for Appian 23.4 and may not reflect the interfaces or functionality of other Appian versions. |
The Appian Connected Underwriting solution is an expertly developed application built on the Appian low-code platform. It allows insurance professionals to streamline the underwriting submission process for new and existing businesses.
Installing Connected Underwriting consists of six main steps:
This guide provides how-to instructions for installing the Connected Underwriting solution.
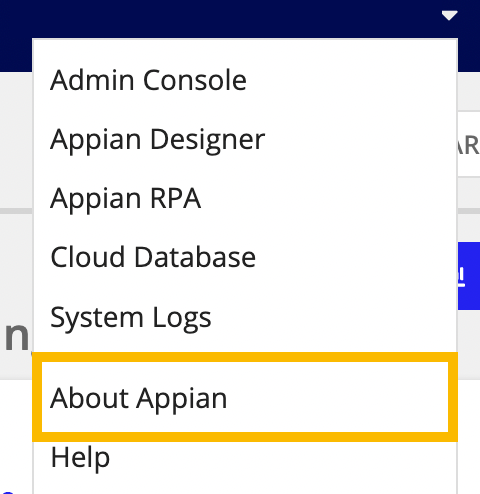
Click About Appian from the navigation bar to check the Appian platform version and database.
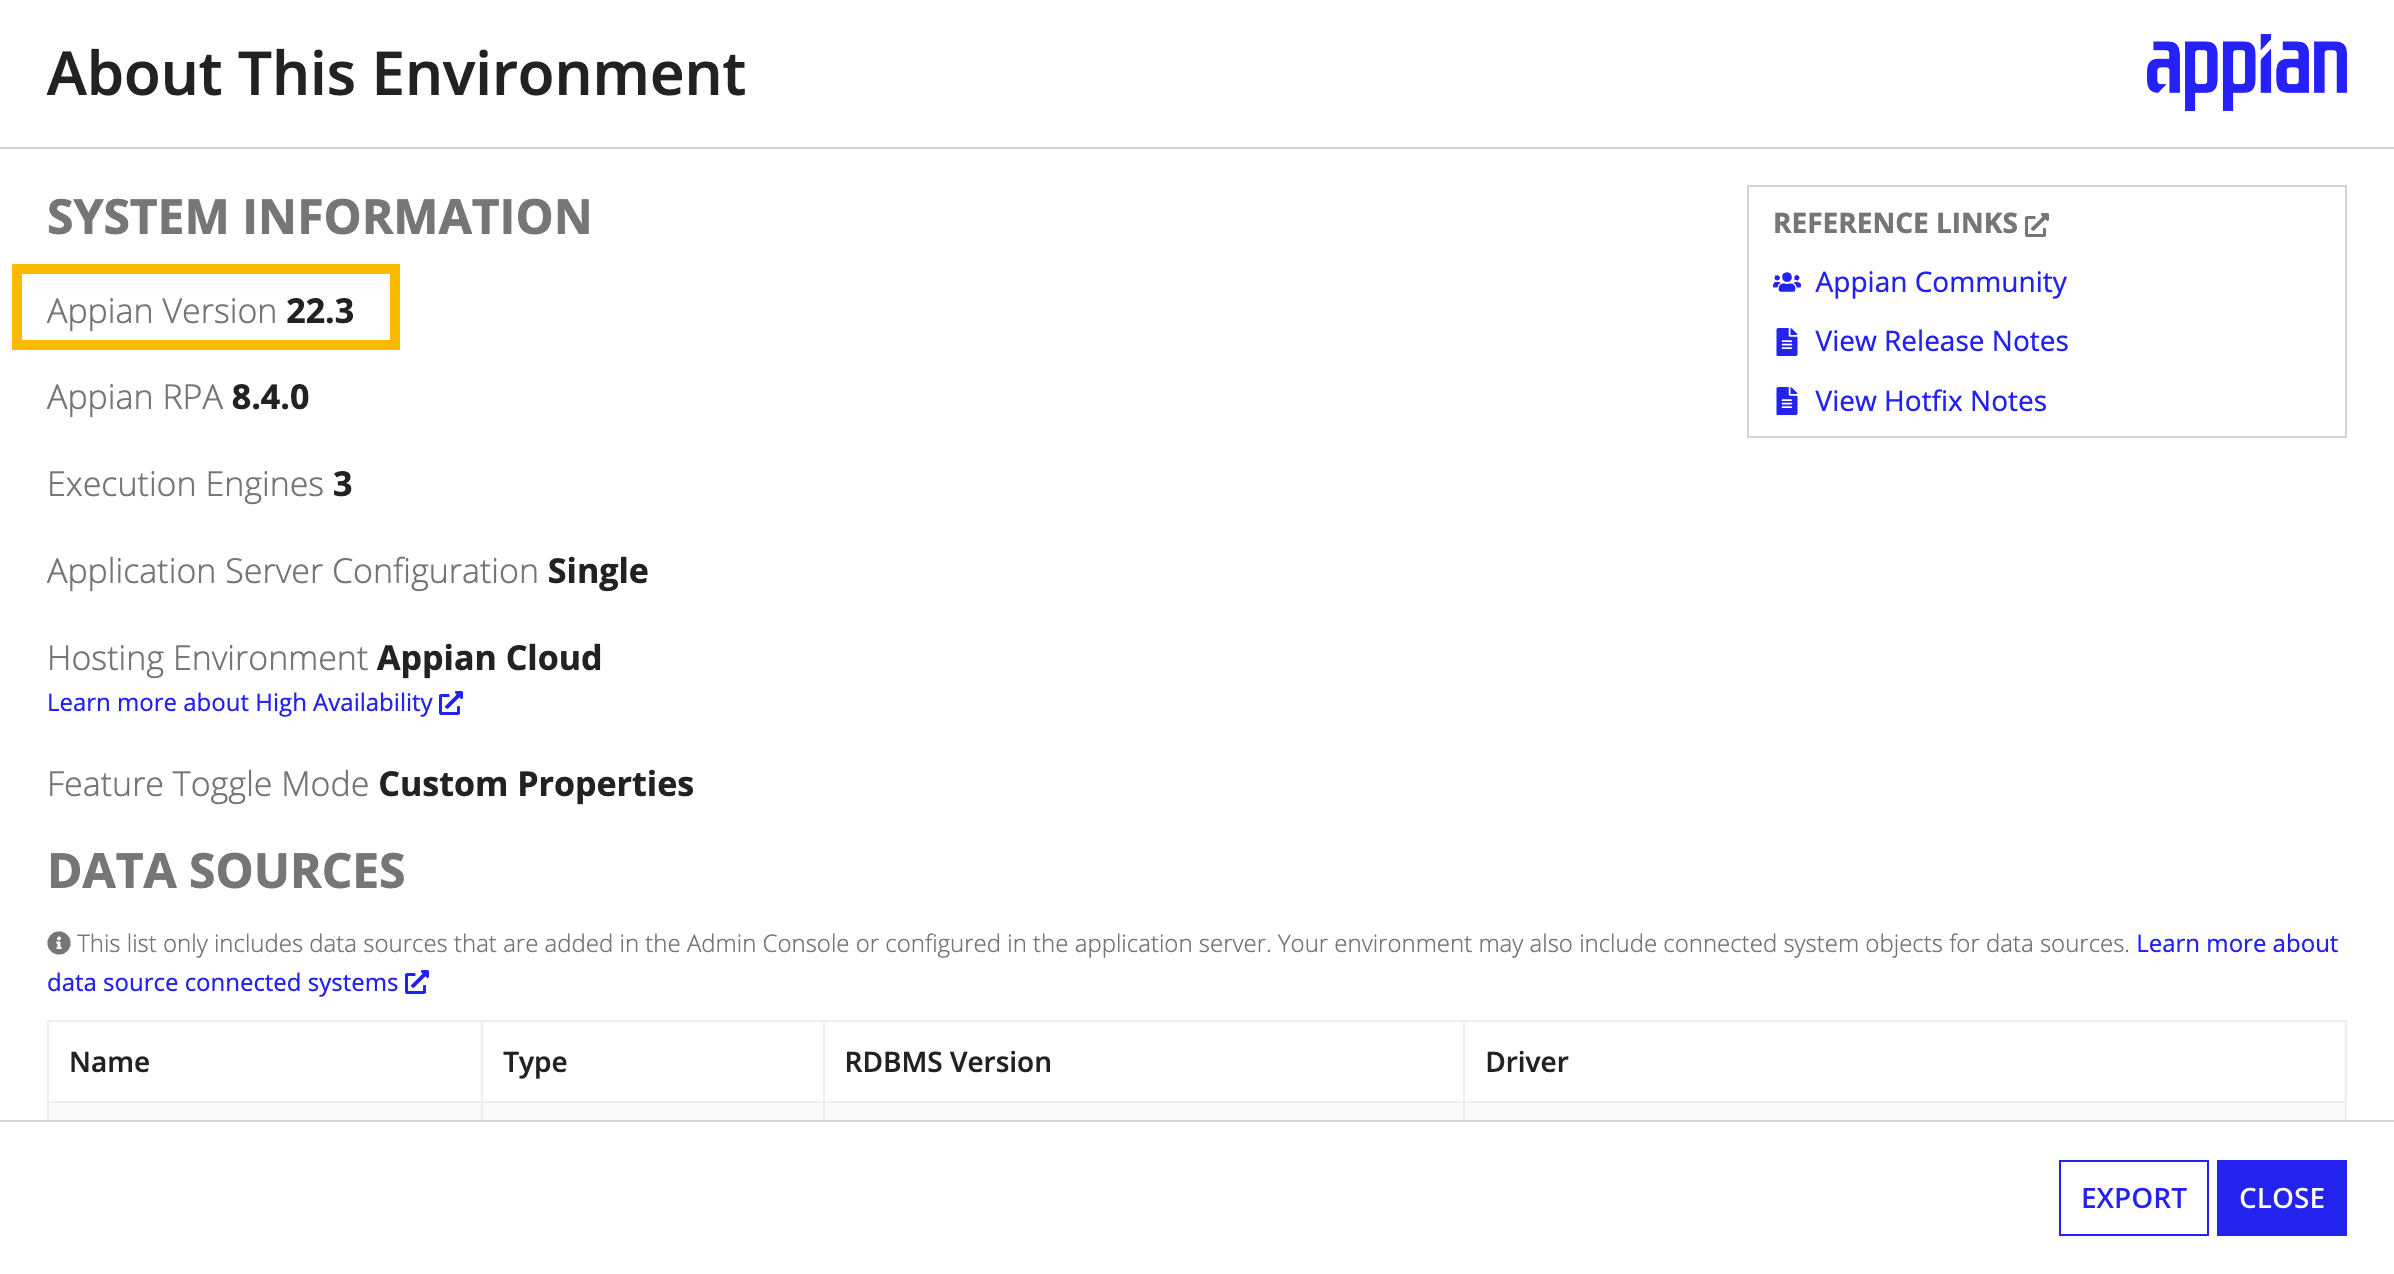
Refer to the Appian Version number under System Information.
To check the solution version, search for the ISU_TXT_APP_VERSION constant from Appian Designer.
During the installation, if you experience any technical difficulty, log into Appian Community and open a support case. All users of Connected Underwriting can also email Appian Support at support@appian.com.
Installing Connected Underwriting consists of six main steps:
Follow the steps in this section to install the Connected Underwriting solution. Before starting the installation process, review the System Requirements to ensure all minimum requirements are met.
The first step in installing Connected Underwriting is downloading the software package containing the following files. You will use these files in the remaining setup steps.
To download the software package:
Connected Underwriting relies on the following plug-ins to be deployed and configured in the target system before you can import the application files.
To deploy the plug-ins for an Appian Cloud environment:
Appian Solutions.To deploy the plug-ins for a self-managed environment:
You will need to run a DDL script in your database to create the structure for the database tables, views, and other objects that are a part of the Connected Underwriting application.
To create the database objects:
01.ConnectedUnderwritingv1.3.0.sql DDL file downloaded in Step 1.Next, import the application files into the target environment.
To import the application:
Note: If the business database is not called Appian, a warning will occur when inspecting/importing the data stores. To fix this, open each data store object and update the Data Source after the import.
Note: The email poller pulls files and emails directly from your Outlook inbox. It is important to ensure security best practices such as virus scanning are correctly configured in Outlook before installing the plugin to your environment.
After following the setup steps for creating an Outlook inbox and Azure application account, these credentials must be provided to Appian to allow the poller to run.
The Connected Underwriting application comes with Admin Console configs to allow for easy entry of these credentials. To fill them out, first import the Admin Console .zip file downloaded in step 1:
customMailPollerTableName and customMailPollerDocTableName unless you intend to modify the Appian Poller table names (not recommended).isu-mail-poller-msgraph exists.isu-mail-poller-msgraph and provide the Azure secret, tenet, and applicationID configured when enabling a polling inbox. Do not modify customMailPollerTableName and customMailPollerDocTableName unless you intend to modify the Appian Poller table names (not recommended).ISU_EMAIL_POLLER_CONF_TEXT_MAILBOX. Update this constant to match the full email address that will be polled (i.e., test@microsoft.com).ISU_EMAIL_POLLER_AND_PROCESSOR_ENUM_BOOL_RUN_EMAIL_POLL_AND_PROCESSOR_PM and set it to True if not set already. Use this constant when you want to turn poller operations on or off.See configuring the email poller for more information.
Now that the solution is installed and the database is set up, you will want to configure the solution for your organization's needs. How to Configure Connected Underwriting outlines the steps you will need to take to modify the solution to work with your organization's requirements.
Additional specifications, such as branding and timezone, can be set in the Appian Admin Console.
Installing Connected Underwriting P&C
