OverviewCopy link to clipboard
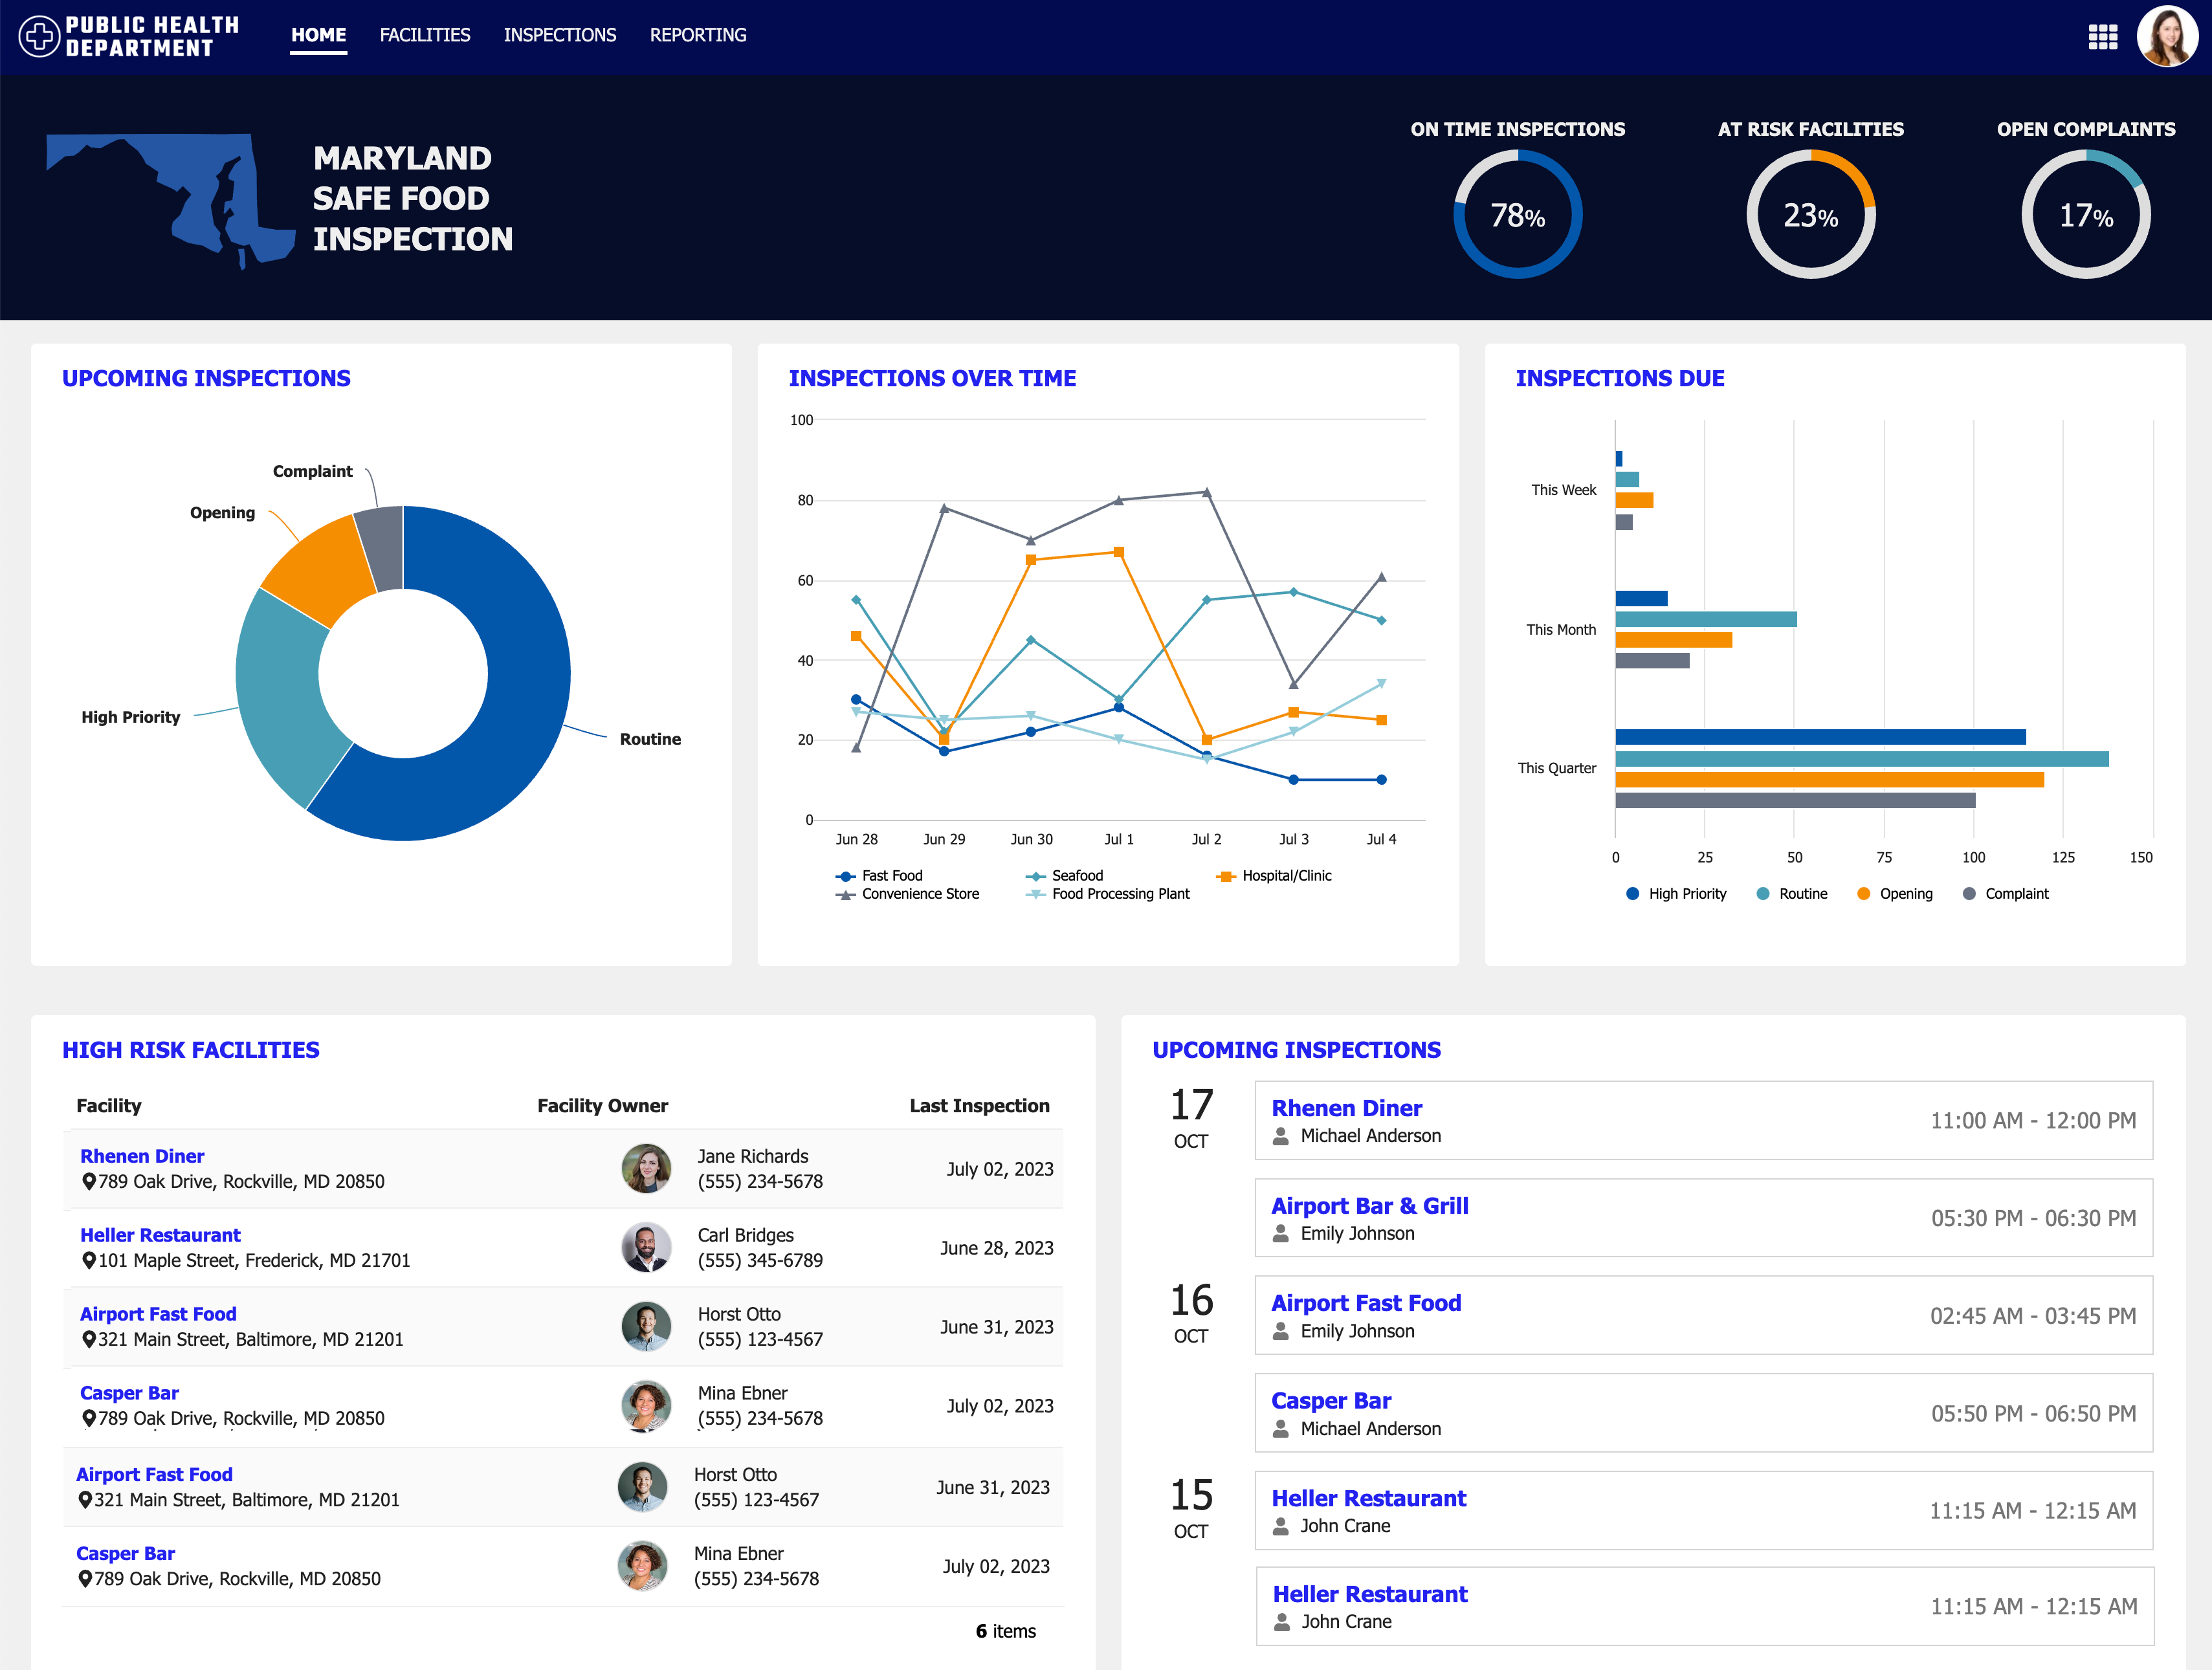
With Appian Sites, you can provide your users with a customized and focused experience that allows them to quickly access the pages, tasks, and information that they need. You can create sites with business-oriented pages specific to your users' roles and responsibilities.
Each site can be branded to match your corporate identity and can contain up to ten pages or page groups as top-level navigation items.
Accessing sitesCopy link to clipboard
Users can access sites in a few ways:
- Directly by URL. Use a!urlForSite() to create links to site pages. Site pages that are of type Interface can optionally use URL parameters.
- Via the navigation menu in Tempo or another site. This will open the site in a new window and display the first page.
- As a start page for users logging into Appian. To learn more about how to do this, see User Start Pages.
Navigation barCopy link to clipboard
The navigation bar is the main way in which users navigate a site. It allows users to easily access all pages within the site, as well as the navigation and user menus. You can configure the site navigation bar to match your use case and branding.
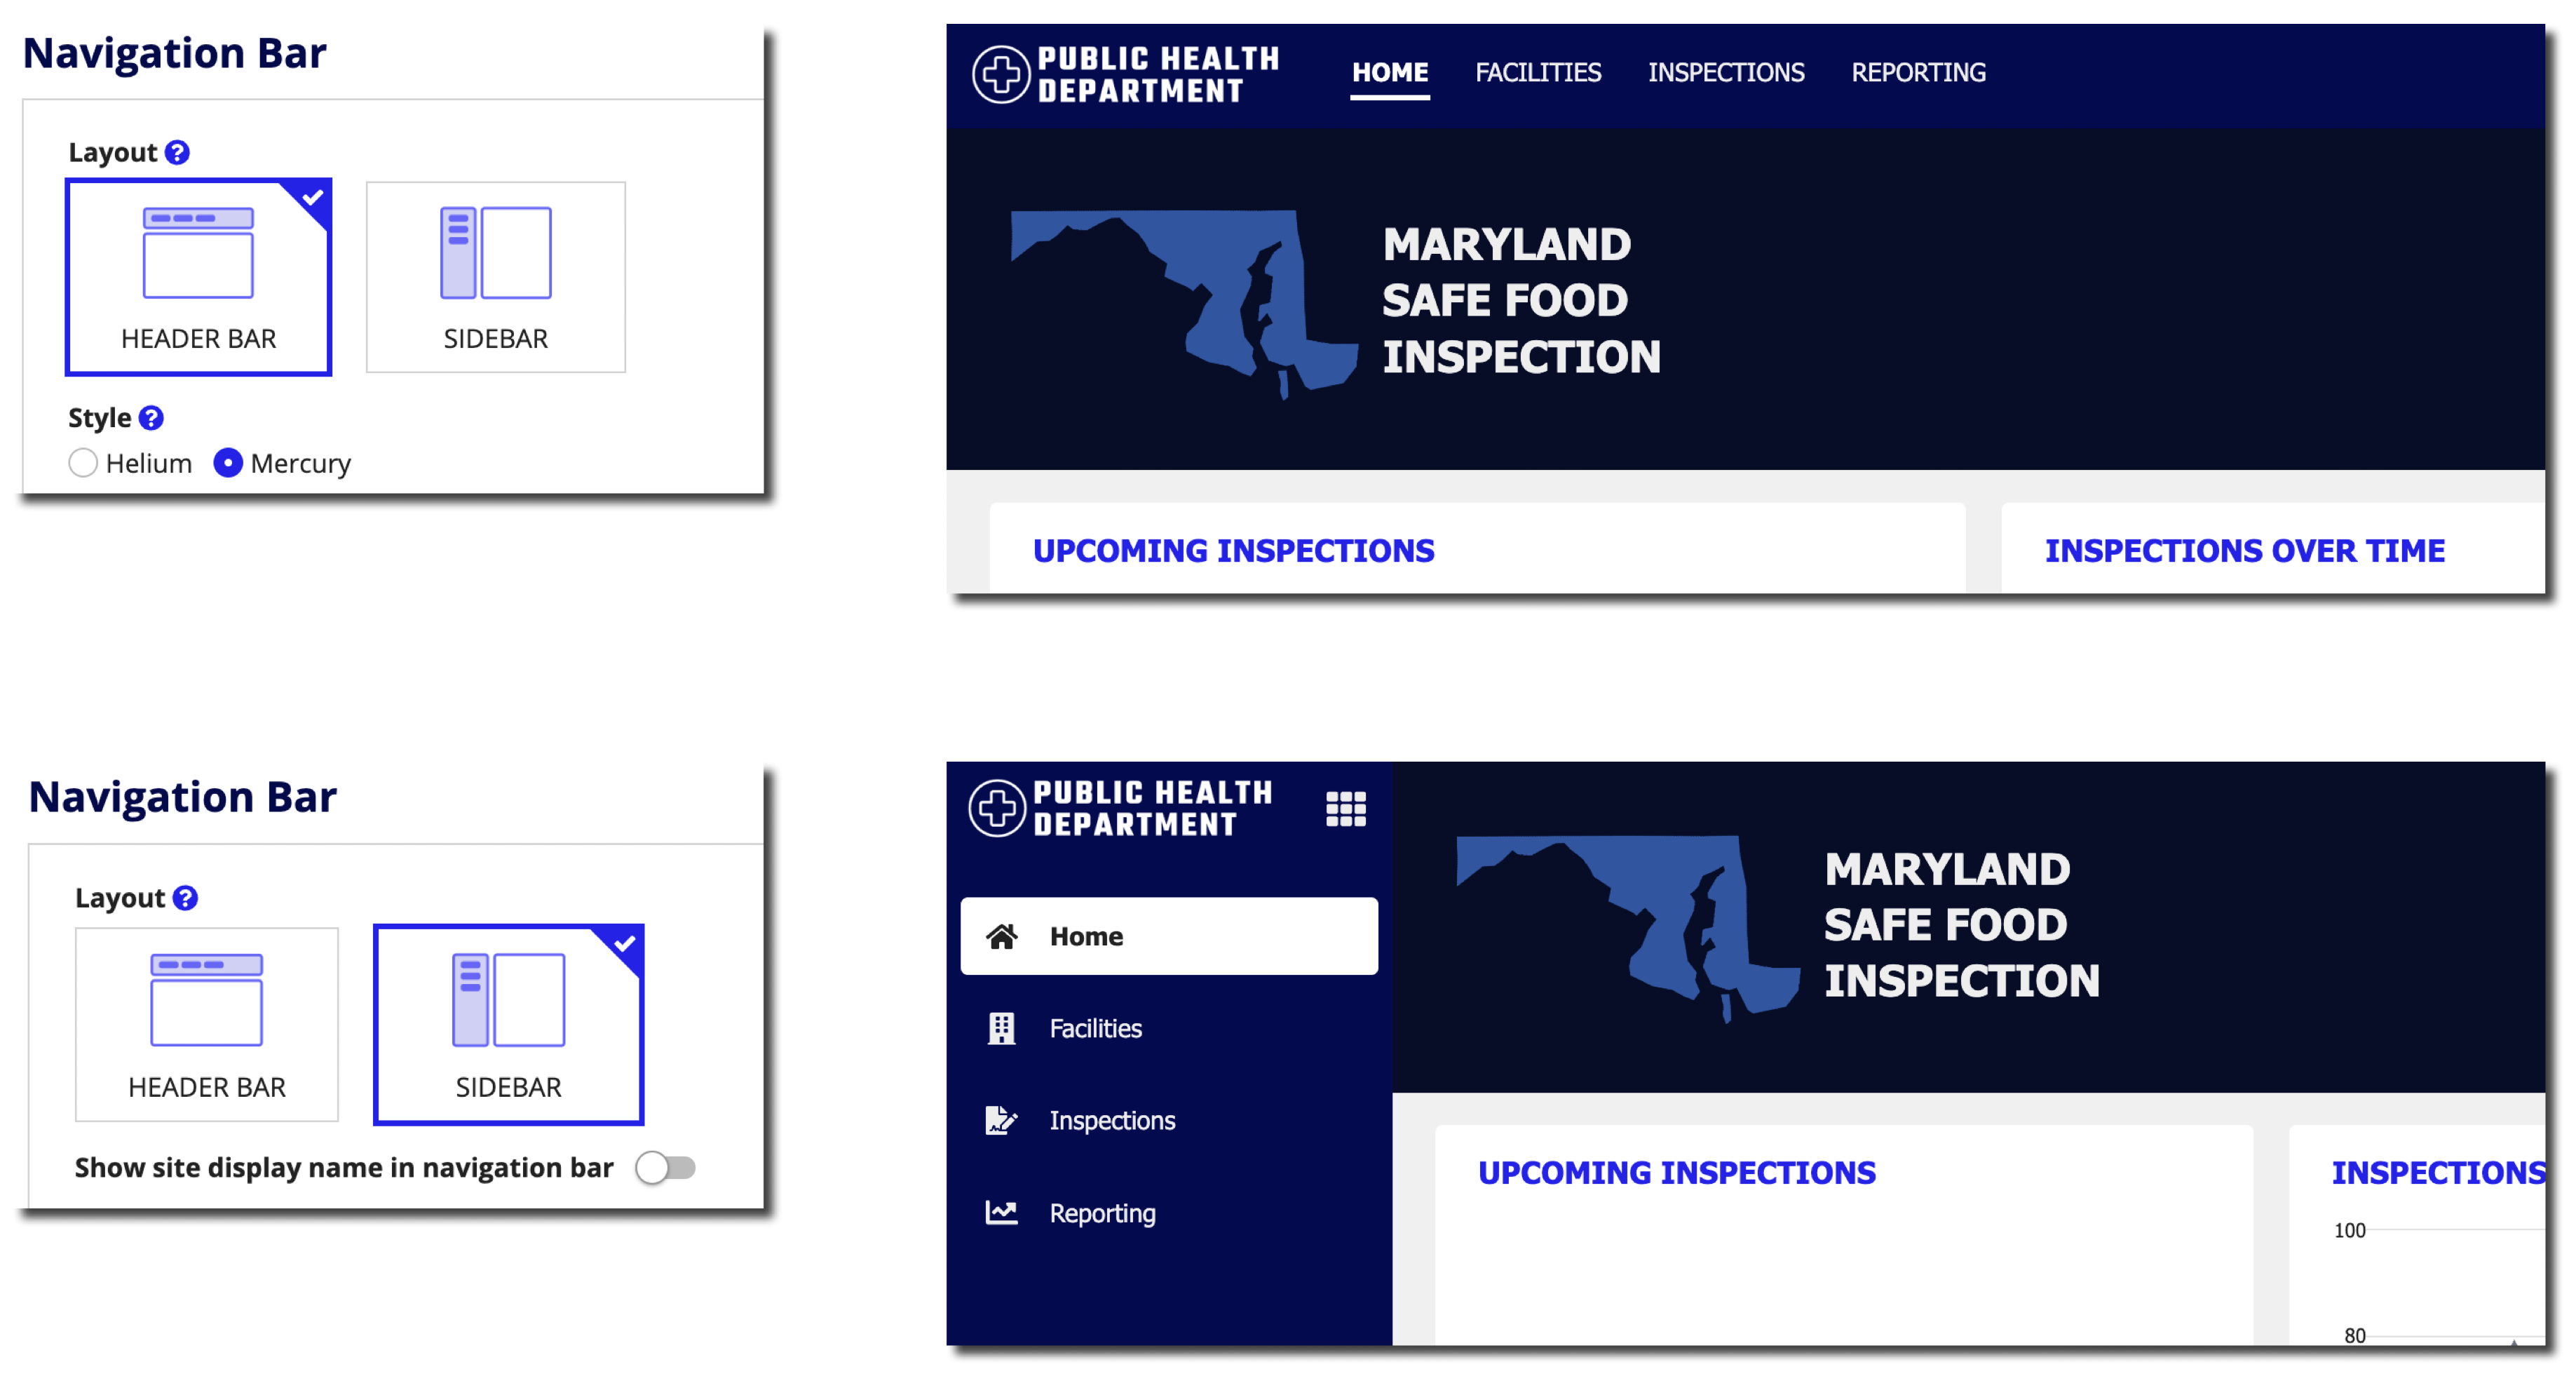
You can choose from two different layouts for your navigation bar: HEADER BAR and SIDEBAR.
The header bar layout provides two different style options, Helium and Mercury. Each is designed for different use cases and experiences. Try out each to decide which works best for your site and users.
You can also choose from a variety of custom colors and predefined color schemes to match your company branding. Carry your custom colors and predefined color schemes throughout your site for a cohesive and polished user experience.
For more information on configuring the navigation bar for sites, see the site object page. For design considerations, see Designing Sites and Portals
The navigation bar is broken into four parts: the pages and page groups that make up your site (A), the navigation menu (B), the user menu (C), and the logo (D).

The pages and page groups that make up the site provide the structure for how users will interact with and navigate through it. The navigation menu allows them to switch between different sites, as well as Tempo and the various workspaces they have access to. The user menu provides them access to their profile and user settings.
Pages and page groups added to the site object will appear in your site's navigation bar in the order in which you add them to the site object.
Page typesCopy link to clipboard
Pages display and organize the content in a site. Users can navigate between site pages by clicking on the site page name in the header bar or navigating via keyboard. A site page can be one of four types: action, interface, record type, or report.
You can use a!urlForSite() to link to any page type. However, you can only use URL parameters with Interface page types.
ActionsCopy link to clipboard
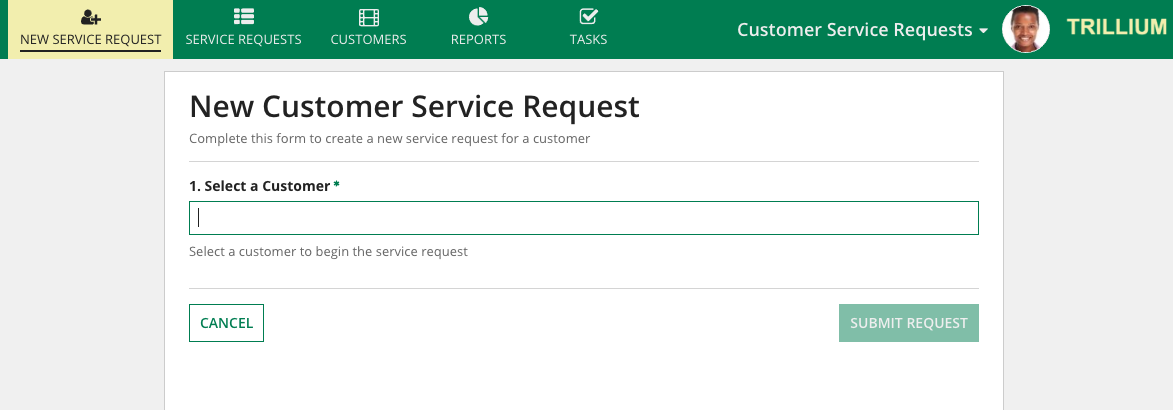
This page type allow users to initiate a process like submitting a new service request.
InterfacesCopy link to clipboard
This page type displays a specific interface to the user.
Interface type pages are the only pages that can be added to page groups or use URL parameters in a!urlForSite().
Record typesCopy link to clipboard
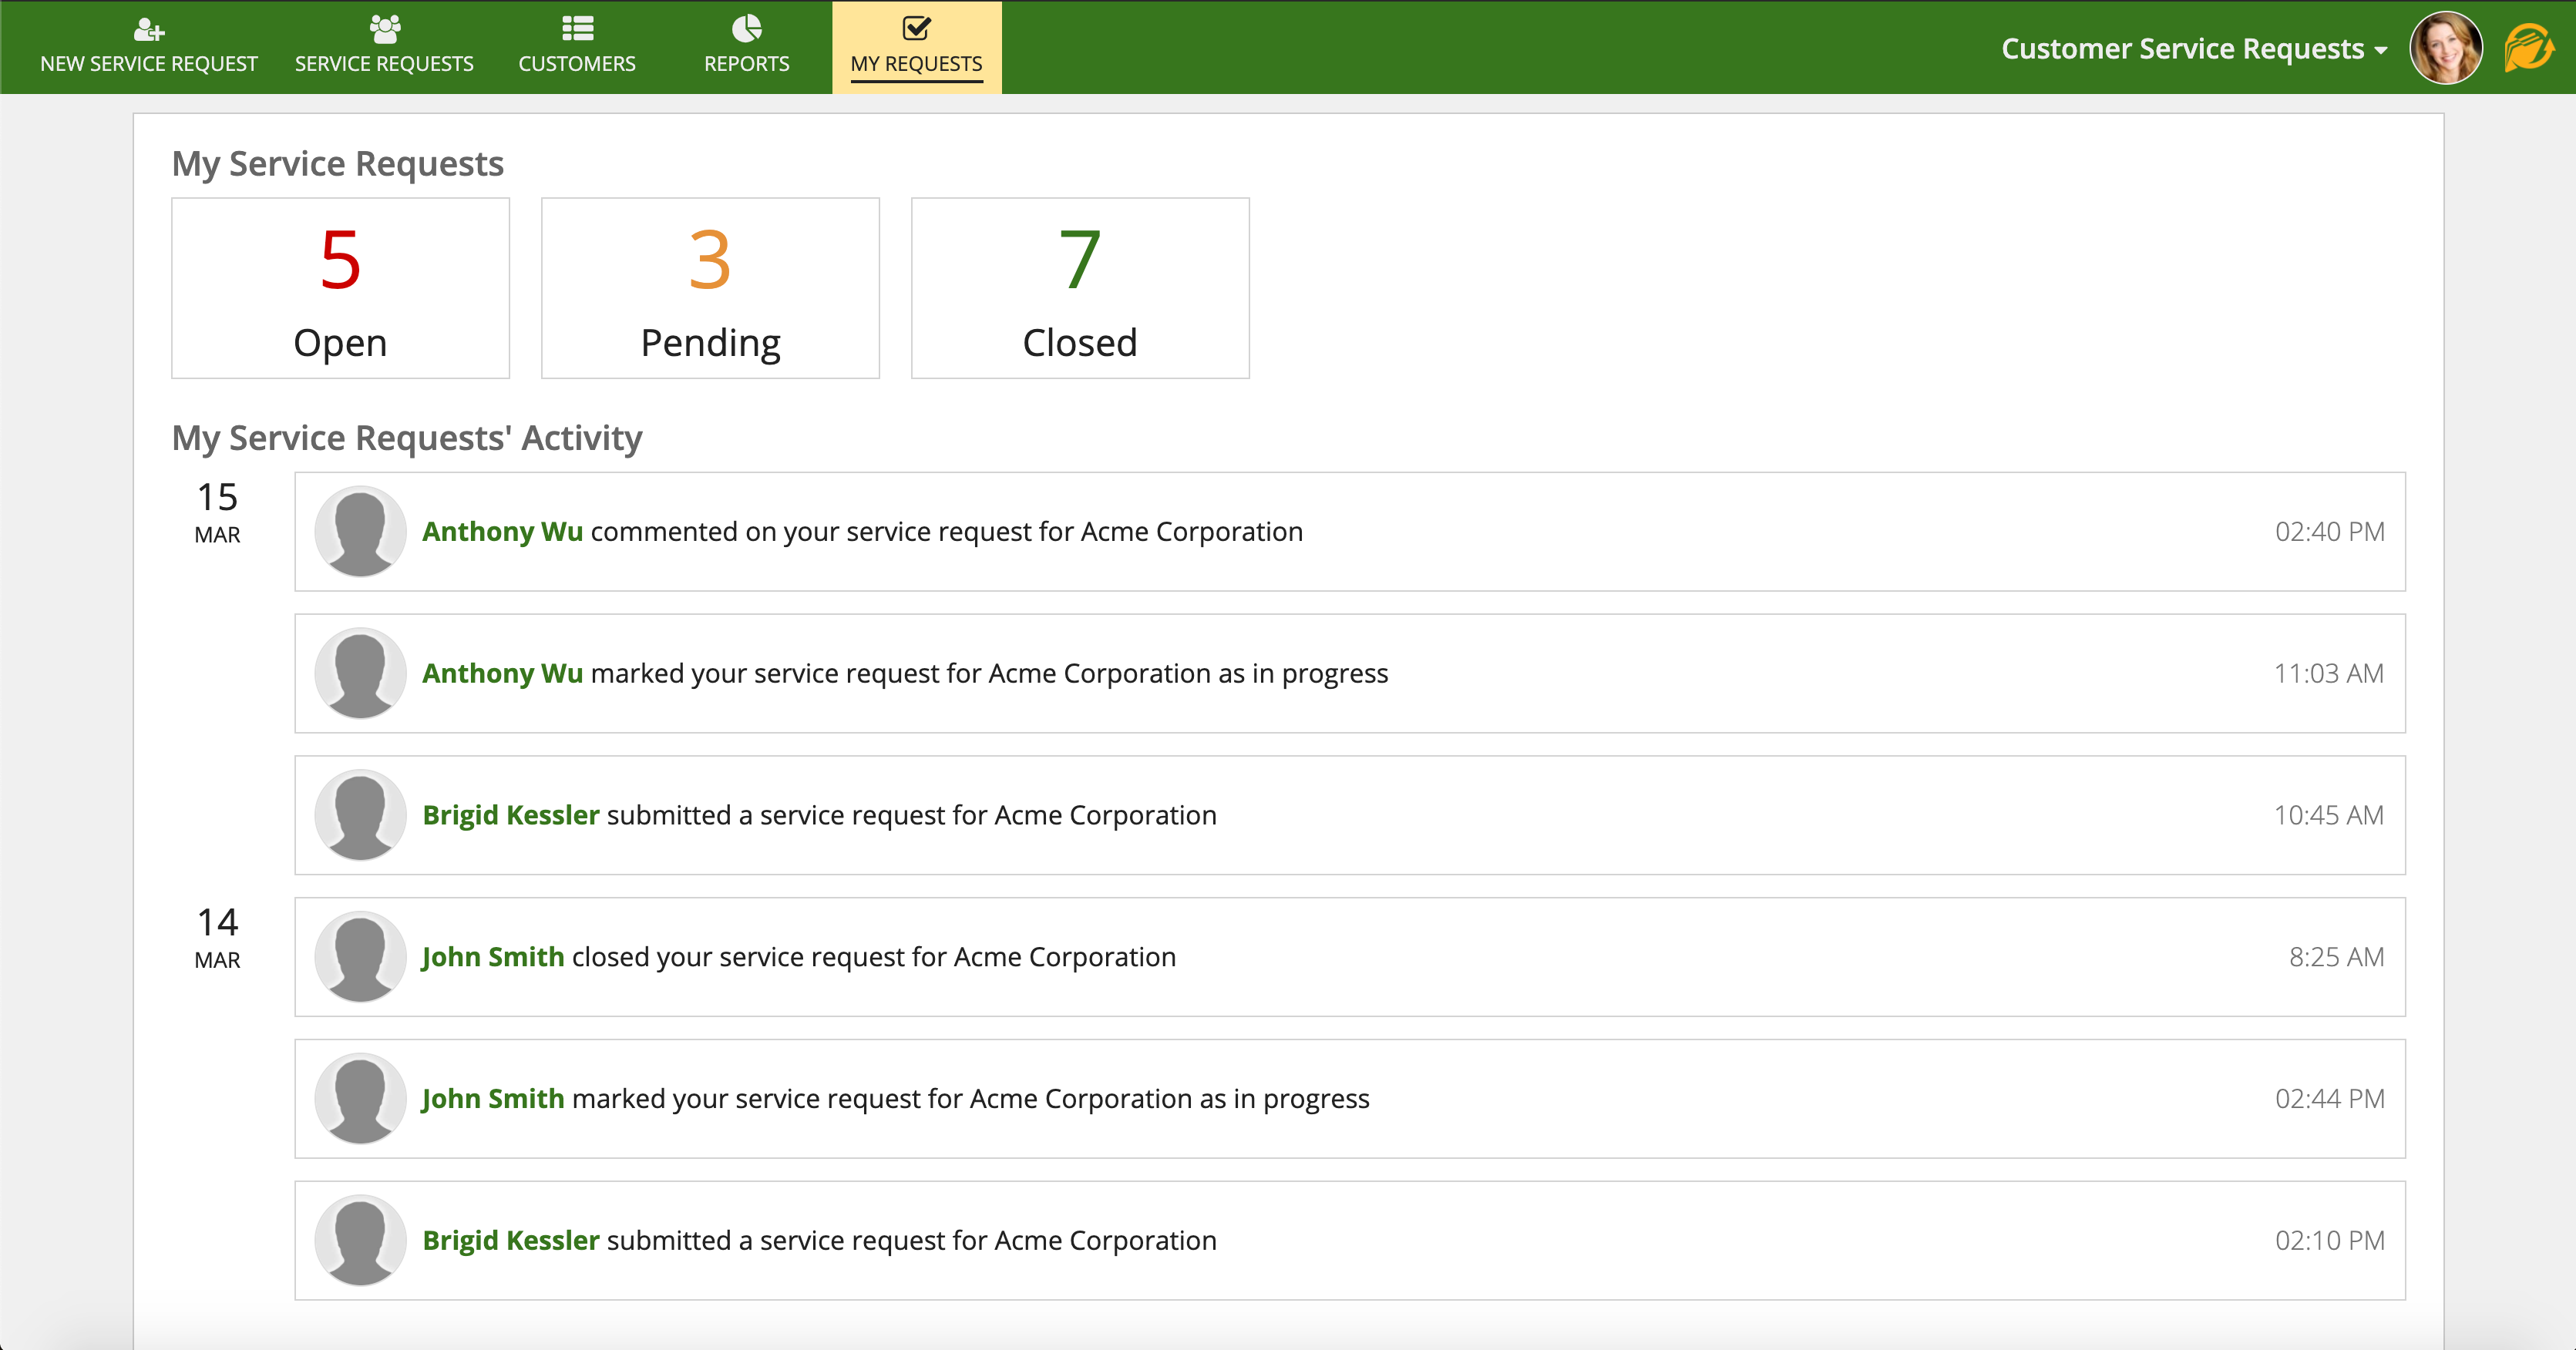
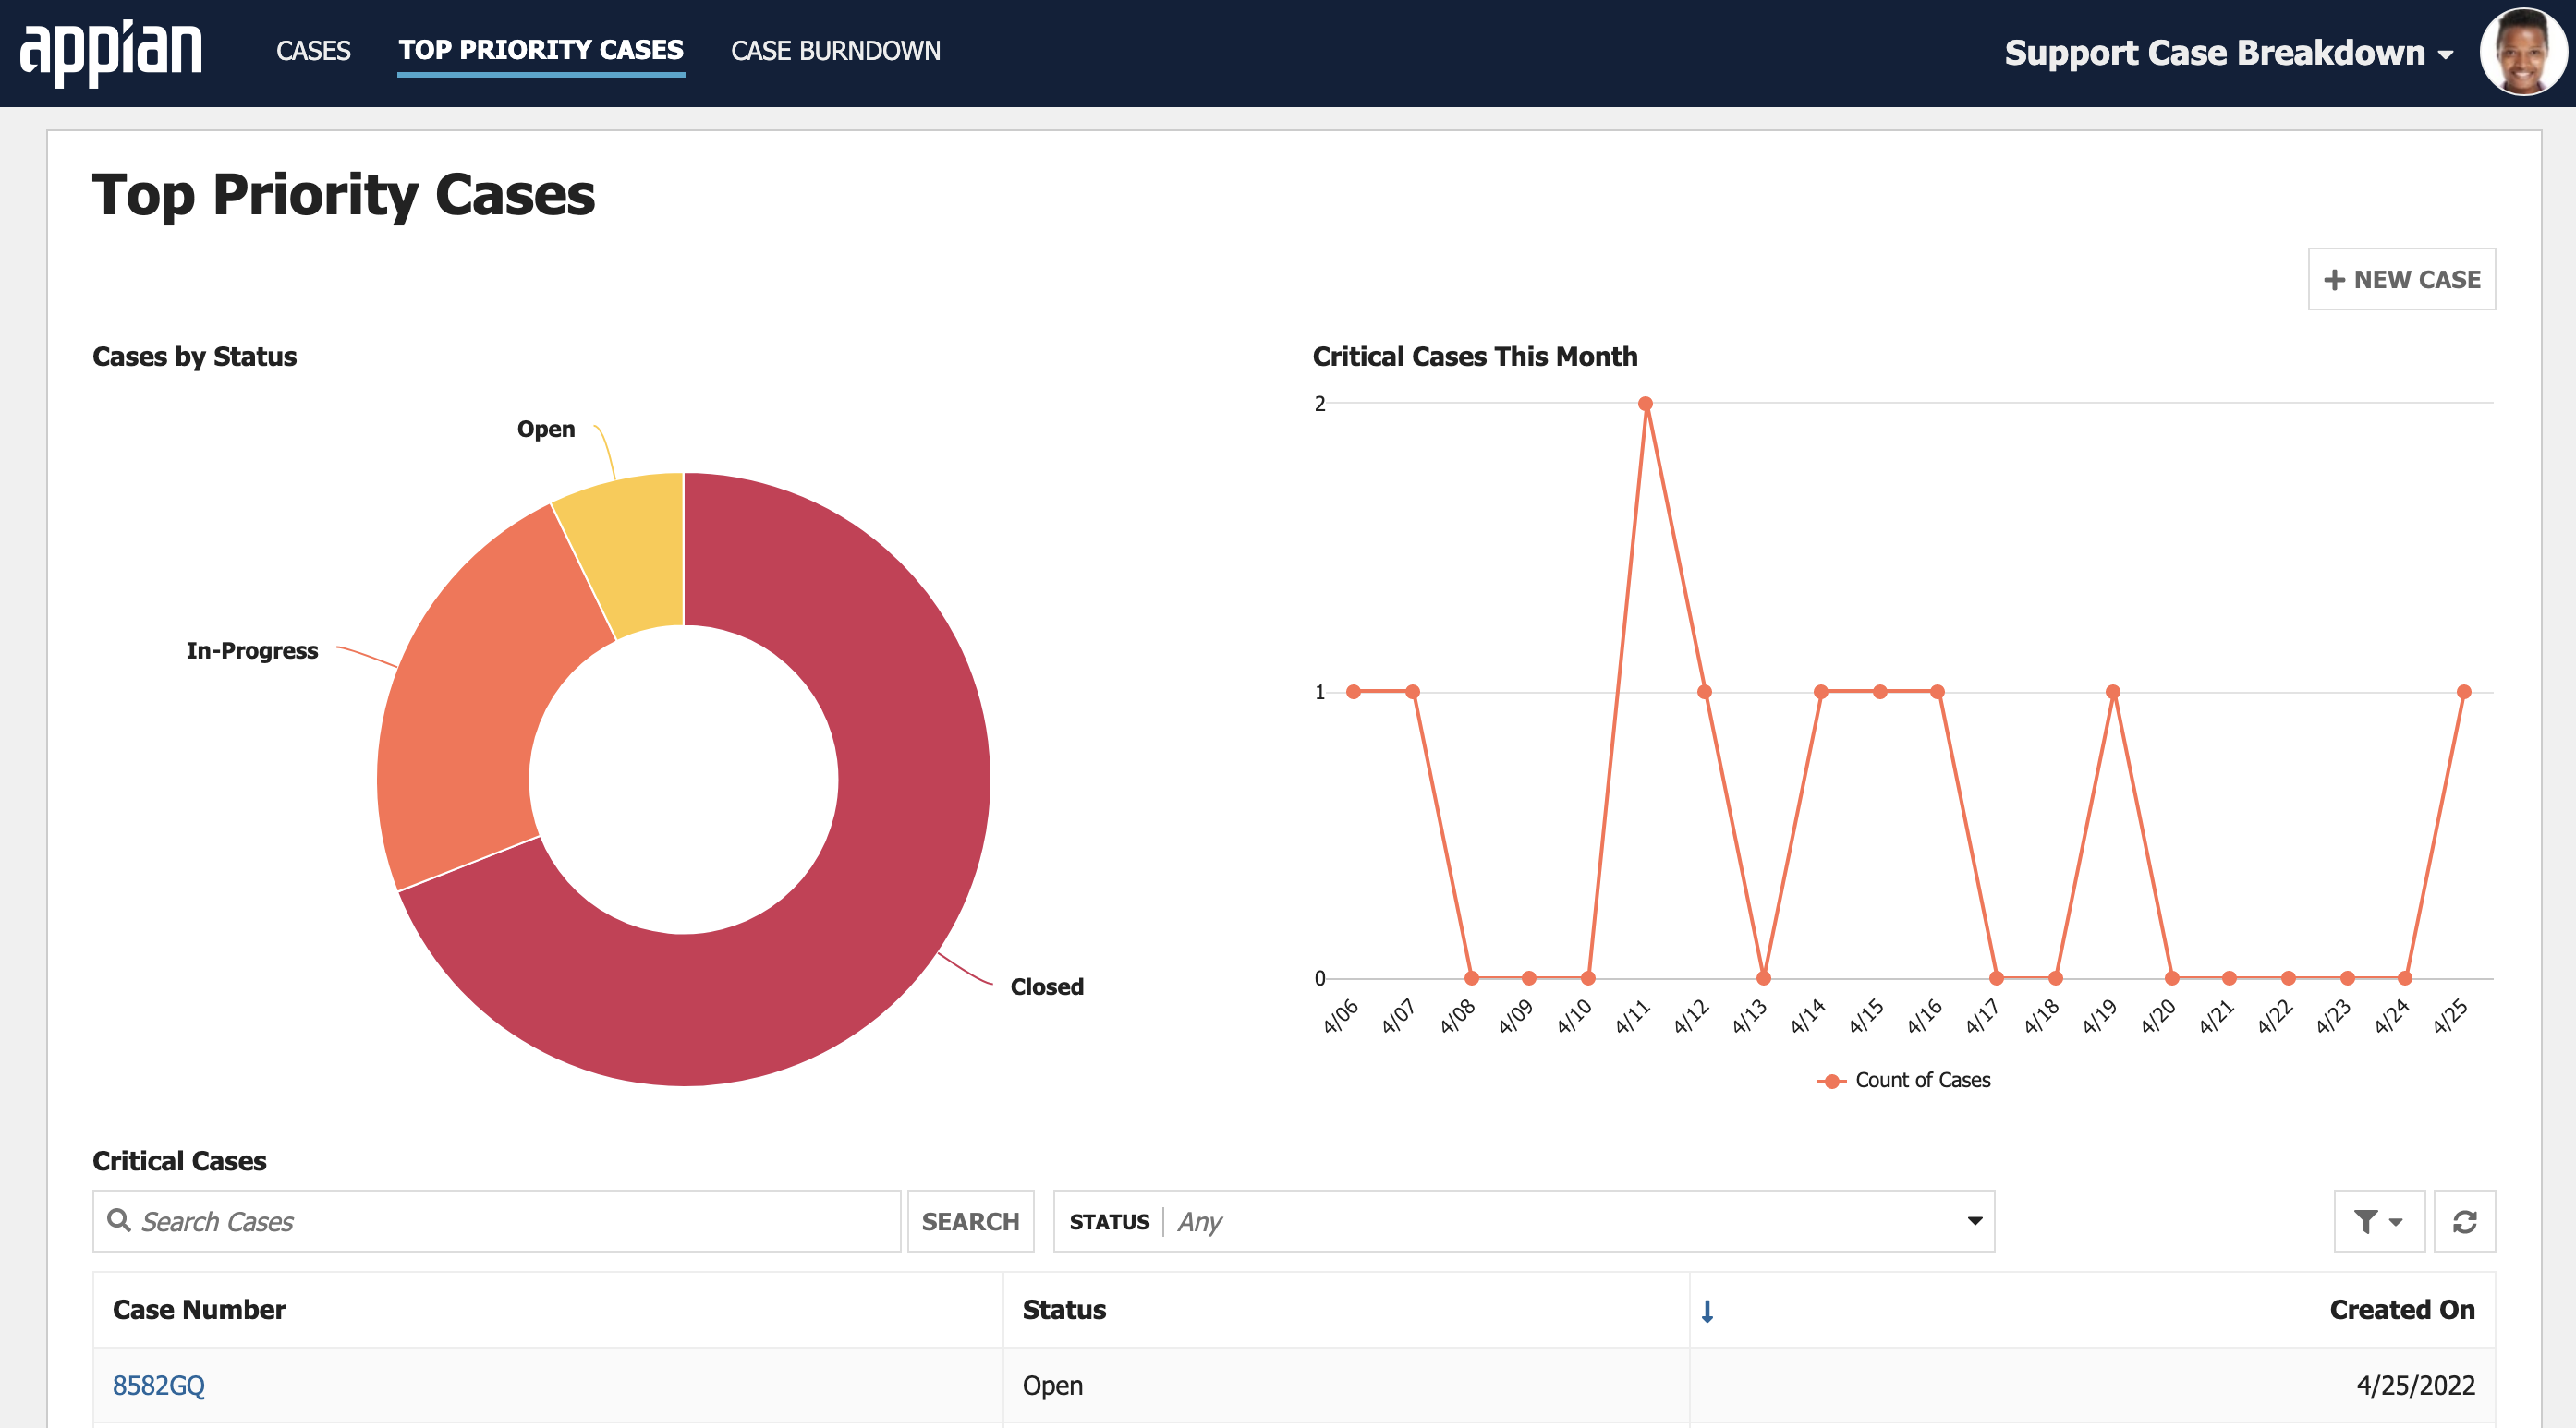
This page type provides access to the record list of a specific record type. For example, showing the list of customer records from the customer record type.
ReportsCopy link to clipboard
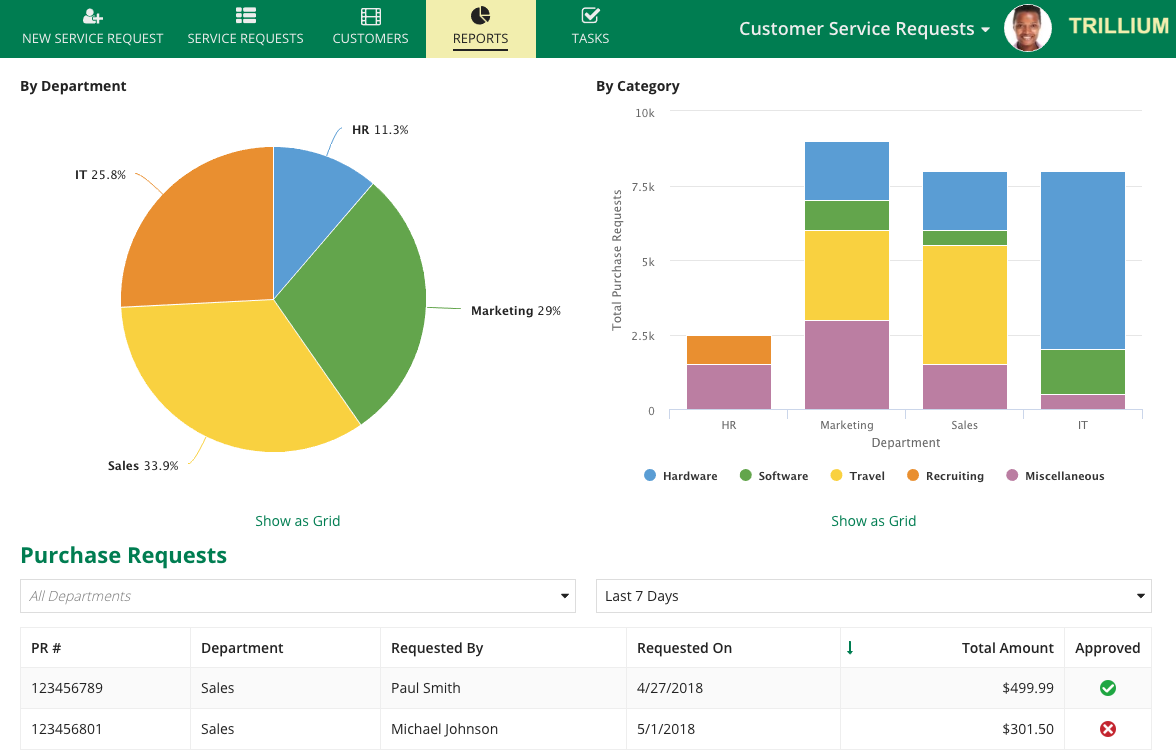
This page type displays a specific report to the user. Designers can select any report as a sites page, except for reports that rely on interfaces that use rule inputs.
Page groupsCopy link to clipboard
Page groups will also appear in your site's navigation bar. Page groups give you the ability to create a nested menu of pages that will display as dropdown menus in the navigation bar. Users can click on the icon next to the page group title to display the list of pages within the group for easy navigation. When the page group is expanded, users can click the icon to collapse it. Note: only interface page types can be added to a page groups.

For best practices for organizing your pages and page groups, see Organizing pages and page groups.
Navigation menuCopy link to clipboard
Users can navigate between sites using the navigation menu which displays as a icon or the site display name, depending on navigation bar settings in the site object.
The navigation menu allows users to easily access sites, Tempo, and workspaces they have access to. You can configure the menu to appear as the site name or as an icon. If your navigation menu includes a link to Tempo, it will always display at the top of the sites. If a user only has access to one site, the navigation menu isn't shown.
Note: Site display names appear in the navigation menu . If you use an expression to create a site display name, that expression will evaluate whenever sites in the environment load or refresh in order for the site display name to appear in the navigation menu. To avoid your sites loading slowly, don't use long-running expressions, like queries.

User menuCopy link to clipboard
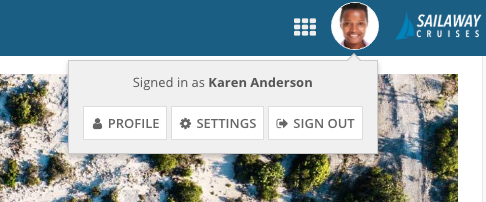
The site user menu provides users easy access to their profile, their user settings, or to sign out. Selecting PROFILE will take the user to their user record. Selecting SETTINGS will open a dialog where they can update their user settings.
Mobile site task listCopy link to clipboard
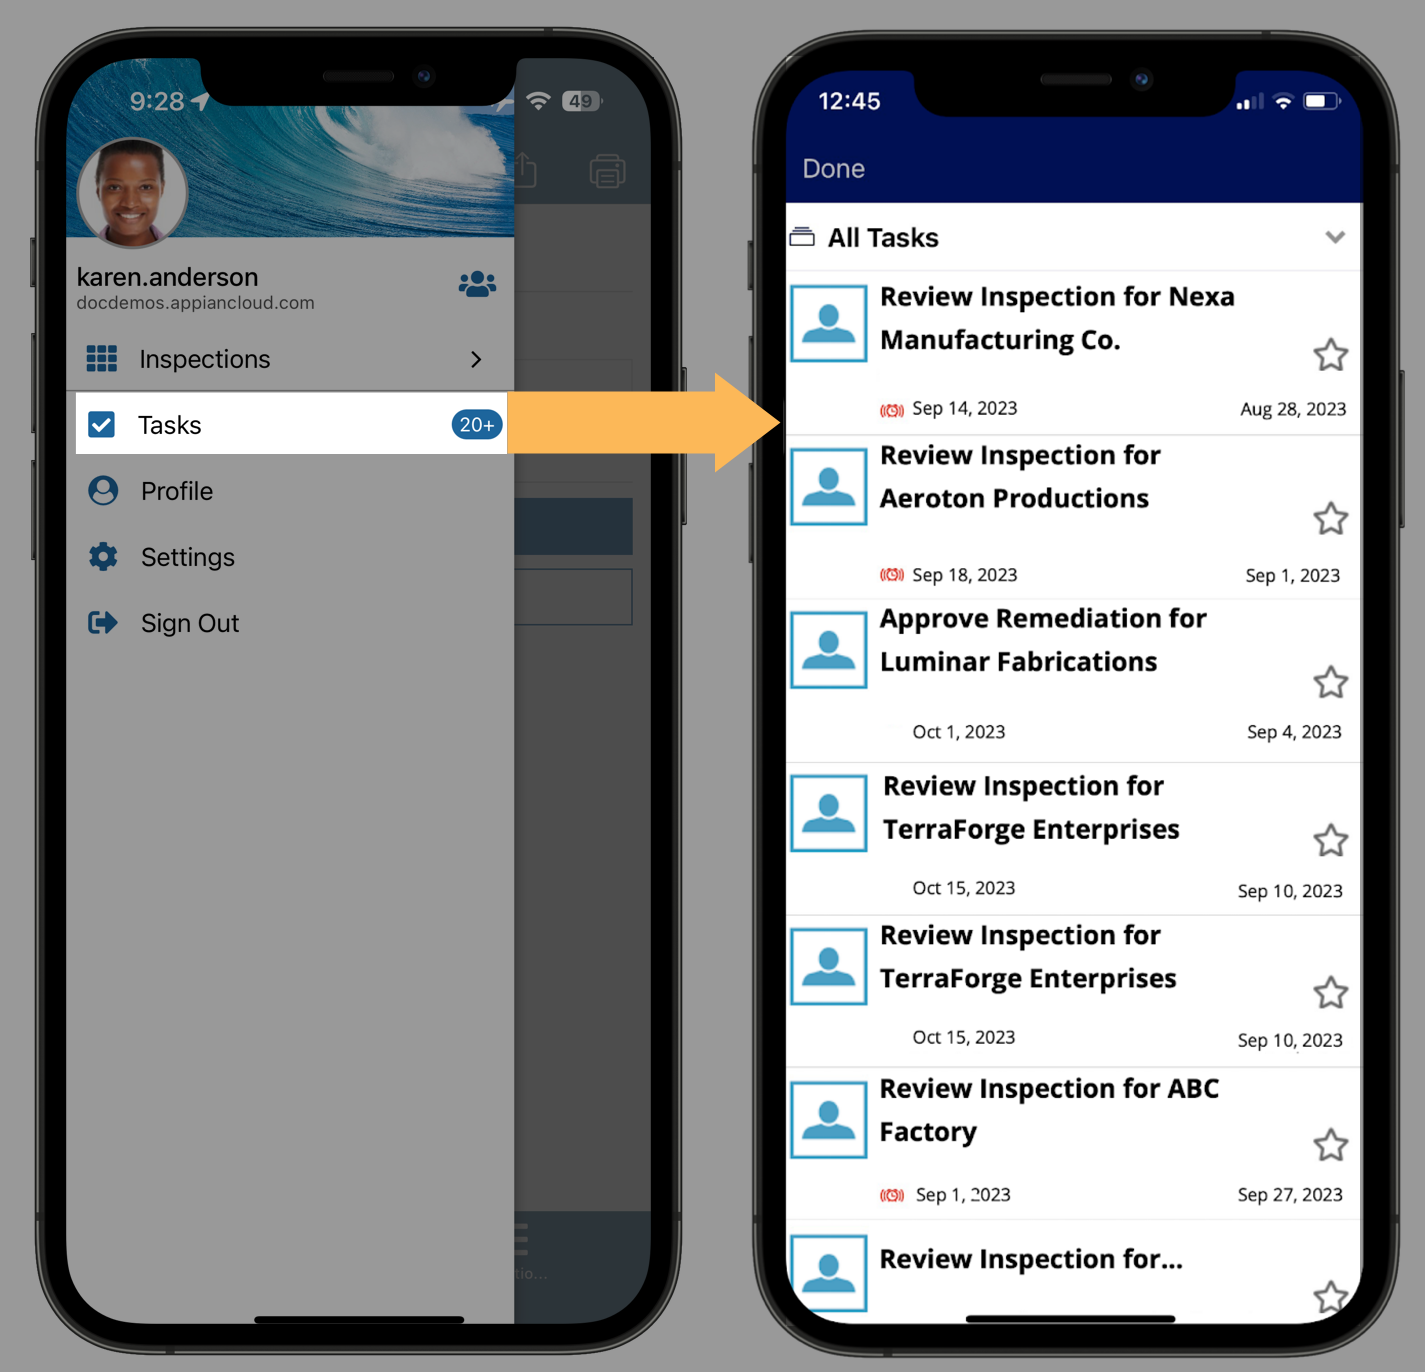
When enabled in the site object, after a user selects the site, the Appian Mobile menu displays a Tasks list. This list displays all tasks assigned to the user.
Appian Mobile users can access any offline-enabled tasks from this list, even when they are not connected to the internet.
Task notificationsCopy link to clipboard
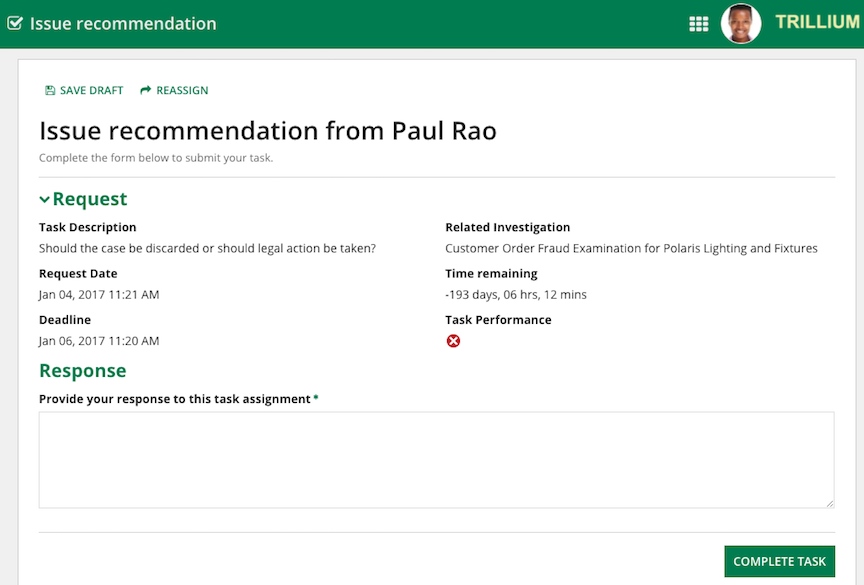
When users with site start pages open a task link in a task notification, their start page will be task-specific. Once they complete the task, they'll be directed to their normal start page.
Disabling task notificationsCopy link to clipboard
Task notifications can be turned off for an entire environment, a specific task, or each individual user.
| Level of Effect | Who can disable | Where to disable |
|---|---|---|
| The entire environment | Administrators | In the custom.properties file within the <APPIAN_HOME>/conf/ directory. |
| Just one task | Designers | In each process nodes' assignment tab. |
| The individual user | Users | In user settings, under Email Notifications. |
Show objectsCopy link to clipboard
Often, the most intuitive way to understand or debug a site as a developer is to test it out as a user. The good news is: you can navigate directly from a site to the objects that power it in just a couple of clicks.
We recommend using this feature when:
- You're new to an application and trying to understand the relationships between what end users see and the underlying design objects.
- You're building or debugging a site and want quick access to the objects you're working with.
For users in the Designers system group, the Show Objects button is present when you view pages on the site. To show the objects underlying the pages, click this button. Learn more about which underlying objects this feature shows.
Then, once the objects are showing, hover over an object until pink highlighting appears around it.
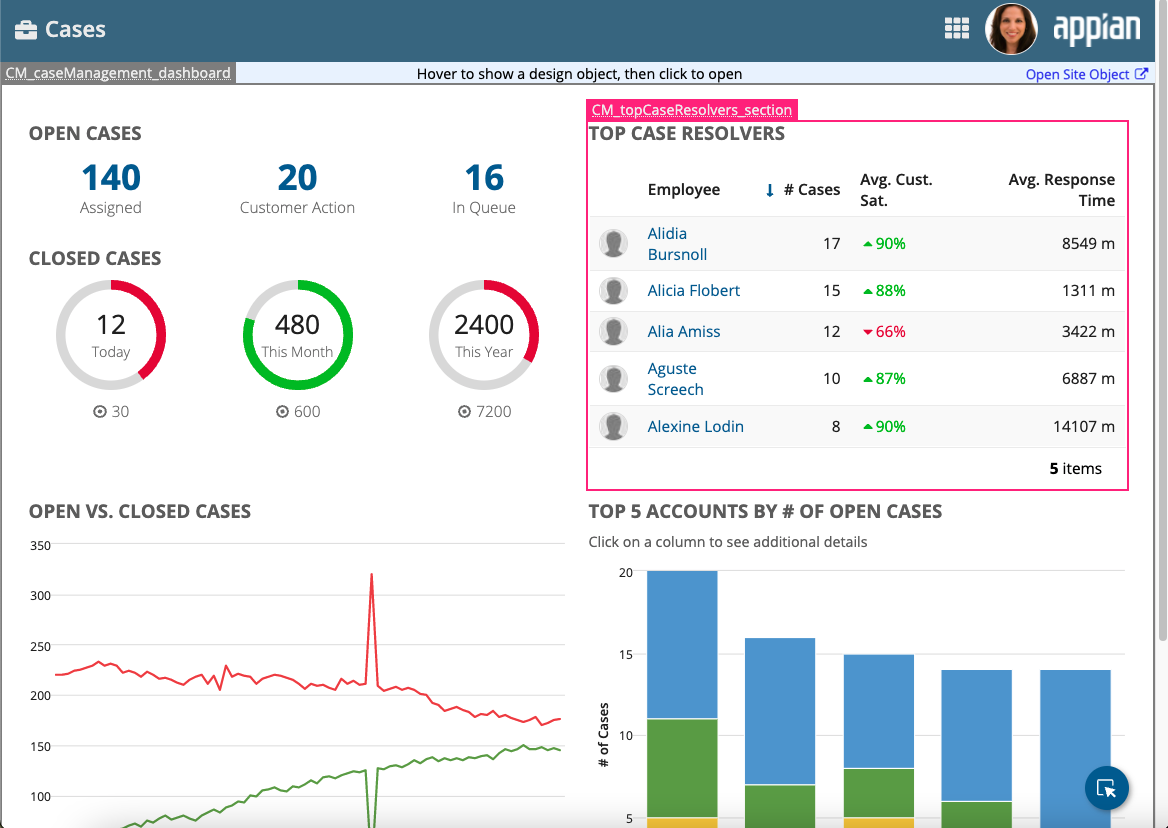
A label appears as part of the highlighting, which displays the object name. For example, in the image above, the highlight label reads CM_topCaseResolvers_section.
In some instances, you may see Not Visible as an object label. This label means that you do not have sufficient permissions to view the object. For example, you might be viewing an interface which calls an expression rule object that you do not have at least Viewer permissions to.
To go directly from a site to the site object:
- In the lower corner of the page, click the Show Objects button.
-
In the upper corner of the page, click Open Site Object
The site object opens in Appian Designer in a new window or tab, ready to view or edit depending on your permissions level for the site object.
To go directly from the site to any other object:
- In the lower corner of the page, click the Show Objects button.
- Hover over the object until it is highlighted in pink, then click the object. The object will then be highlighted in blue.
- Click the down arrow next to the object label.
- Select an option:
- In all page types, select Open.
- In action pages, select Open Process Model to open the process model, instead of the start form interface.
- In report pages, select Open Report to open the report object, instead of the report interface.
The selected object opens in Appian Designer in a new window or tab, ready to view or edit depending on your permissions level for that object.
Tip: Use Ctrl+Click or Cmd+Click on the highlight label to open the object with fewer clicks.
Viewable objectsCopy link to clipboard
You can see the site object from any site page. Depending on the page type, you can also see the following objects:
Page Type |
Objects Shown |
|---|---|
Actions |
The start form interface called by the process model, and any user input tasks that are activity-chained. |
Interfaces |
The parent interface and any child interfaces or expression rules. |
Record types |
For record lists, the record type that backs the list. For record views, the record type that backs the view and the interfaces that power the individual record views. Note: You cannot directly access the interfaces of record actions if the action is configured to open in a dialog. You can directly access the interfaces of record actions configured to open in the same tab or in a new browser tab. |
Reports |
The report and the interface called by the report. |

