Tip: Interface patterns give you an opportunity to explore different interface designs. Be sure to check out How to Adapt a Pattern for Your Application.
Allow the user to publish several rows of data to a database table with the a!writeRecords() smart service function.
Note: This expression uses direct references to the Employee record type, created in the Records Tutorial. If you've completed that tutorial in your environment, you can change the existing record-type references in this pattern to point to your Employee record type instead.
Follow this pattern to create example data and supporting objects to use with other interface patterns (including those that use record types) and tutorials like the Records Tutorial. After using this pattern, review other patterns to learn how to build reports and interfaces using this data in different components.
This page shows you:
For this pattern, we'll create a record type with data sync enabled, and then use the a!writeRecords() smart service function in a basic interface to populate the record type's data source with example data. We'll use the Appian Tutorial application as a starting point.
To set up this pattern:
Tip: The Appian Tutorial application is used throughout Appian tutorials. Skip the steps in this section if you've already created this application in another tutorial.
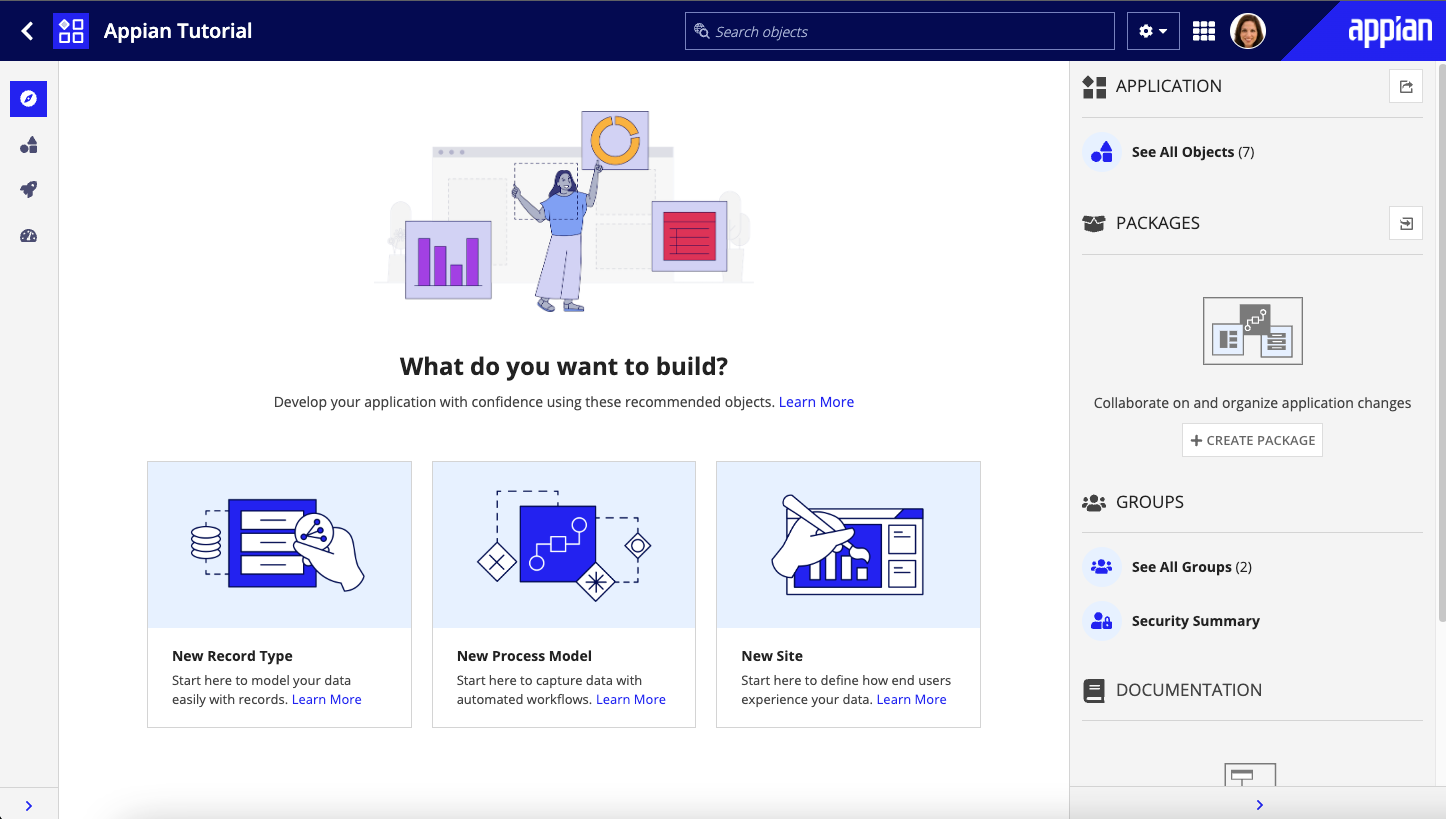
To begin, we need to create an application to contain our design objects.
We will be creating the Appian Tutorial application for this tutorial. All of Appian's tutorials use the Appian Tutorial application as the reference application. After completing this tutorial, you can reuse this application as you work through other Appian tutorials.
To create the Appian Tutorial application:
In the Create New Application dialog, configure the following properties:
| Property | Description |
|---|---|
| Name | Enter Appian Tutorial. |
| Prefix | Keep the default prefix, AT, which Appian constructs using the initial characters of each word you entered in the Name parameter. We'll be following the recommended naming standard, and using this short, unique prefix whenever we name an object in this application. |
| Description | Leave blank. It's normally a best practice to add descriptions to all design objects. However, to save a little time during this tutorial, we'll skip adding descriptions unless the description displays to the end user. |
| Generate groups and folders to secure and organize objects | Keep this checkbox selected, so that Appian will automatically generate standard groups and folders and assign default security groups for this application. |
In the Review Application Security dialog, keep the default security settings. Because we selected the Generate groups and folders option in the previous step, Appian automatically uses the AT Users and AT Administrator groups it generated to set our application security appropriately.
Tip: The security of the application object is unrelated to the security of each of the objects contained within the application. This means that you will need to set security permissions for every object in an application in addition to the application object itself. For more information about security permissions for the application object, see Application Security.
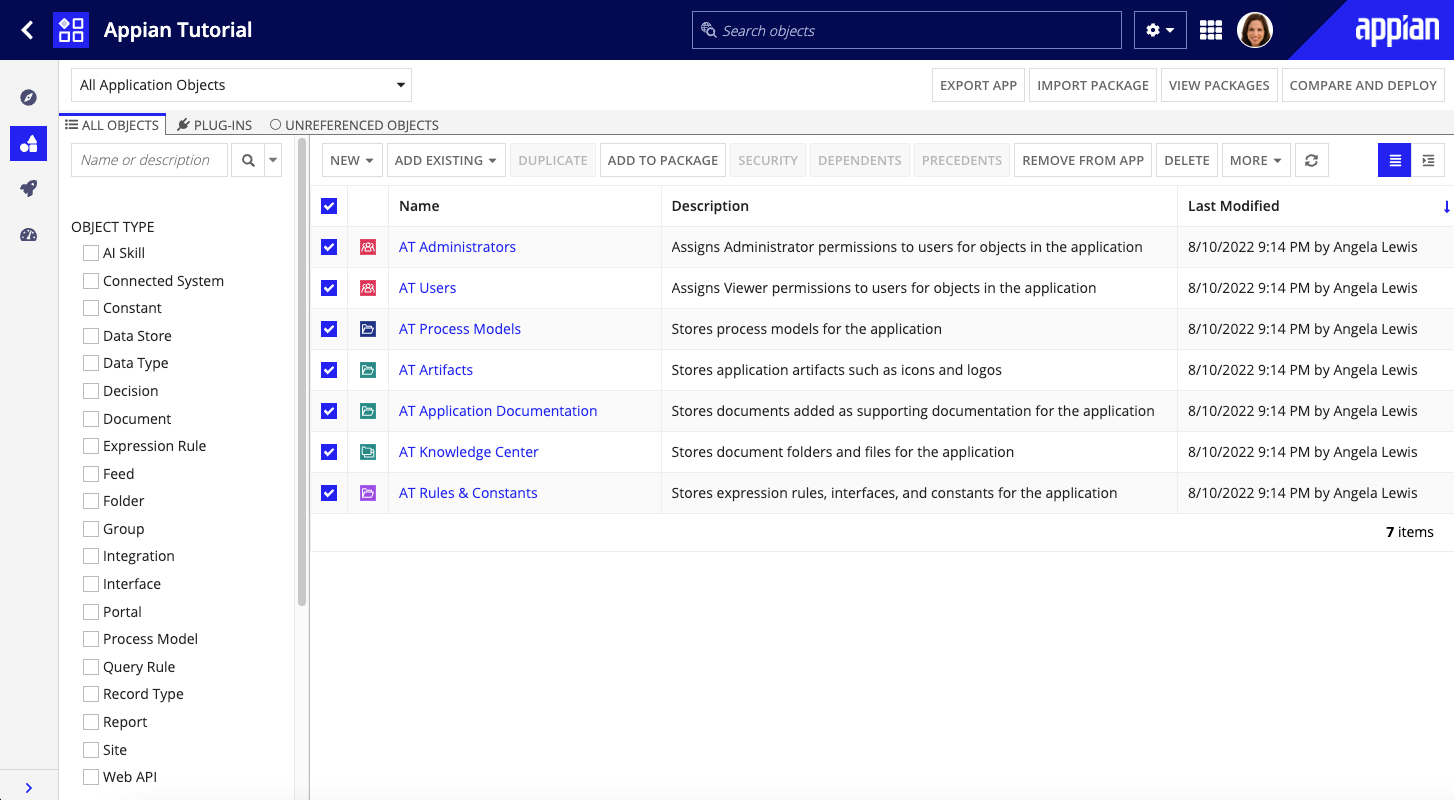
Click SAVE. The Explore view appears.
Right now, the application contains the folders and groups Appian generated automatically. To see these, click Build in the navigation pane. Each design object that you create during the course of this tutorial will appear in this list in the Build view and be associated with the tutorial application.
Note: If you are completing the Records Tutorial, you should already have created the Employee record type and its data model. Skip to Create an interface to finish setting up the record data.
To create the record type you'll need for this pattern:
Configure the following properties:
| Property | Description |
|---|---|
| Name | Keep the application prefix that prepopulates this property, and add Employee, so that the name is <prefix> Employee. |
| Plural Name | Keep the generated value of Employees. |
| Description | (Optional) Enter a brief description of the record type. |
You're ready to create the data model for the Employee record type. Instead of using an existing data source, we'll add a new table to the database to store employee data. This new data model includes six record fields for employee information, as well as some automatically generated metadata fields for tracking data creation and modification.
Note: This step takes advantage of codeless data modeling, which requires an environment connected to a MariaDB database. For example, an Appian Cloud or an Appian Community Edition environment. If your environment connects to a different database, instead of following the instructions below, you'll need to create a database table that contains the needed fields, then choose that database table as the source of your record type.
To create the data model:
id field, click Add Multiple Fields.5.For each field in the following table, enter the field name in one of the empty fields created in the previous step.
| Name | Type |
|---|---|
firstName |
Text |
lastName |
Text |
department |
Text |
title |
Text |
phoneNumber |
Text |
Note: It is normally a best practice to include the default Created By, Created On, Modified By, and Modified On fields in your record type, but we are removing them for the purposes of this recipe and the tutorials that rely on it.
Now, let's create an interface to trigger the a!writeRecords() smart service function. This function publishes the sample data to your new database table and syncs those changes in Appian so they appear in the record type.
To create this interface:
Configure the following properties:
| Property | Description |
|---|---|
| Name | Enter: <prefix>_employeeData |
| Description | Enter: Interface for loading employee data |
| Folder | Select the appropriate folder in your application or, if it doesn't exist, create it by clicking the Create New Rule Folder link. |
cast() function, replace recordType!Employee with your record type.a!queryRecordType() function, replace the recordType value of recordType!Employee with your record type.a!sortInfo() function, replace the field value of recordType!Employee.field.id with a reference to your record type's id field.You are ready to run the expression and populate the record type with data.
After data has been published to your database, the button text changes to DATA ALREADY PUBLISHED. The button will stay disabled as long as there is employee data present in the database table.
The disabled button means that the data was successfully published. If you want to see the new record data, you can do so in the record type.
To view the record data:
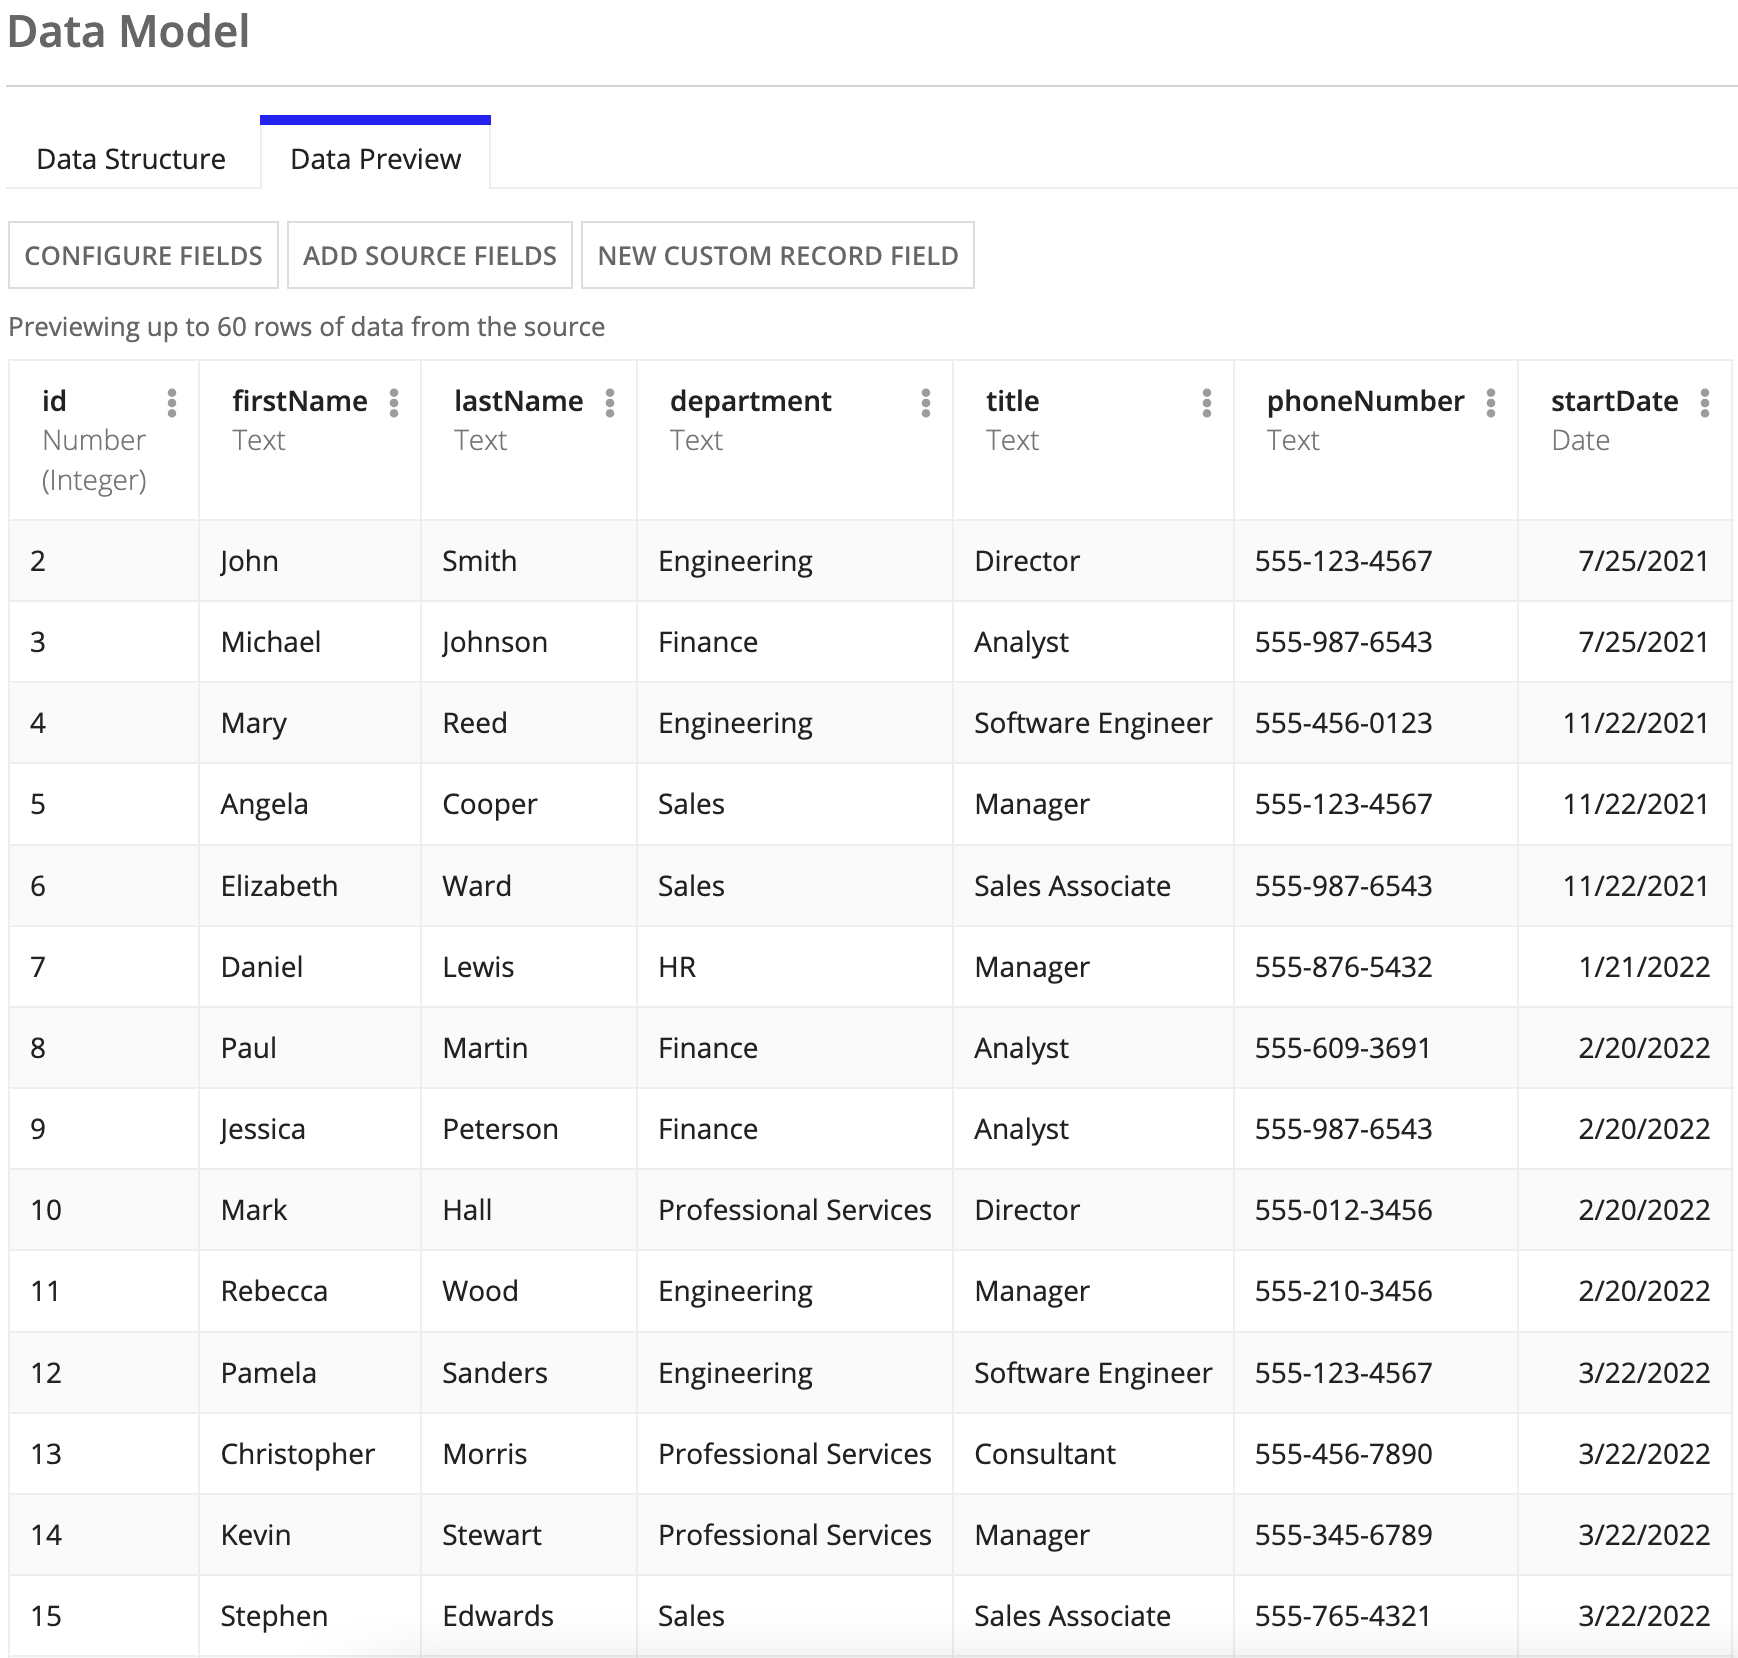
Tip: Check out the Database-Backed Record Type tutorial to configure the rest of this record type!
1
2
3
4
5
6
7
8
9
10
11
12
13
14
15
16
17
18
19
20
21
22
23
24
25
26
27
28
29
30
31
32
33
34
35
36
37
38
39
40
41
42
43
44
45
46
47
48
49
50
51
52
53
54
55
56
57
58
59
60
61
62
63
64
65
66
67
68
69
70
71
72
73
74
a!localVariables(
  /* The data to load into the record data source. */
  local!dataToLoad: a!forEach(
    {
      a!map( firstName: "John" , lastName: "Smith" , department: "Engineering" , title: "Director" , phoneNumber: "555-123-4567" , startDate: today()-360 ),
      a!map( firstName: "Michael" , lastName: "Johnson" , department: "Finance" , title: "Analyst" , phoneNumber: "555-987-6543" , startDate: today()-360 ),
      a!map( firstName: "Mary", lastName: "Reed" , department: "Engineering" , title: "Software Engineer" , phoneNumber: "555-456-0123" , startDate: today()-240 ),
      a!map( firstName: "Angela" , lastName: "Cooper" , department: "Sales" , title: "Manager" , phoneNumber: "555-123-4567" , startDate: today()-240 ),
      a!map( firstName: "Elizabeth" , lastName: "Ward" , department: "Sales" , title: "Sales Associate" , phoneNumber: "555-987-6543" , startDate: today()-240 ),
      a!map( firstName: "Daniel", lastName: "Lewis" , department: "HR" , title: "Manager" , phoneNumber: "555-876-5432" , startDate: today()-180 ),
      a!map( firstName: "Paul" , lastName: "Martin" , department: "Finance" , title: "Analyst" , phoneNumber: "555-609-3691" , startDate: today()-150 ),
      a!map( firstName: "Jessica" , lastName: "Peterson" , department: "Finance" , title: "Analyst" , phoneNumber: "555-987-6543" , startDate: today()-150 ),
      a!map( firstName: "Mark" , lastName: "Hall" , department: "Professional Services" , title: "Director" , phoneNumber: "555-012-3456" , startDate: today()-150 ),
      a!map( firstName: "Rebecca" , lastName: "Wood" , department: "Engineering" , title: "Manager" , phoneNumber: "555-210-3456" , startDate: today()-150 ),
      a!map( firstName: "Pamela" , lastName: "Sanders" , department: "Engineering" , title: "Software Engineer" , phoneNumber: "555-123-4567" , startDate:today()-120 ),
      a!map( firstName: "Christopher" , lastName: "Morris" , department: "Professional Services" , title: "Consultant" , phoneNumber: "555-456-7890" , startDate: today()-120 ),
      a!map( firstName: "Kevin" , lastName: "Stewart" , department: "Professional Services" , title: "Manager" , phoneNumber: "555-345-6789" , startDate: today()-120 ),
      a!map( firstName: "Stephen" , lastName: "Edwards" , department: "Sales" , title: "Sales Associate" , phoneNumber: "555-765-4321" , startDate: today()-120 ),
      a!map( firstName: "Janet", lastName:"Coleman" , department: "Finance" , title: "Director" , phoneNumber: "555-654-3210" , startDate: today()-90 ),
      a!map( firstName: "Scott" , lastName: "Bailey" , department: "Engineering" , title: "Software Engineer" , phoneNumber: "555-678-1235" , startDate: today()-30 ),
      a!map( firstName: "Andrew" , lastName: "Nelson" , department: "Professional Services" , title: "Consultant" , phoneNumber: "555-789-4560" , startDate: today()-30 ),
      a!map( firstName: "Michelle" , lastName: "Foster" , department: "HR" , title: "Director" , phoneNumber: "555-345-6789" , startDate: today()-30 ),
      a!map( firstName: "Laura" , lastName:"Bryant" , department: "Sales" , title: "Sales Associate" , phoneNumber: "555-987-6543" , startDate: today()-14 ),
      a!map( firstName: "William" , lastName: "Ross" , department: "Engineering" , title: "Software Engineer" , phoneNumber: "555-123-4567" , startDate: today()-10 ),
      a!map( firstName: "Arya" , lastName:"Colson" , department: "Sales" , title: "Sales Associate" , phoneNumber: "555-927-3343" , startDate: today()-5 )

    },
    cast(
      recordType!Employee,
      fv!item
    )
  ),
  /* This value gets updated when the user clicks on the PUBLISH DATA button in order to disable it
     so the user can't click it multiple times. */
  local!submitted: false,
  /* The refresh variable watches local!submitted and reruns the query when it changes. */
  local!records: a!refreshVariable(
    value: a!queryRecordType(
      recordType: recordType!Employee,
      pagingInfo:
        a!pagingInfo(
          startIndex: 1,
          batchSize: 1000,
          sort: a!sortInfo(
            field: recordType!Employee.fields.id,
            ascending: true
          )
        ),
        fetchTotalCount: true
    ),
    refreshOnVarChange: local!submitted
  ),
  local!hasData: not(local!records.totalCount=0),
  a!sectionLayout(
    contents: {
      a!buttonLayout(
        secondaryButtons:{
          a!buttonWidget(
            label: if(local!hasData, "Data Already Published", "Publish Data"),
            saveInto: {
              a!writeRecords(
                records: local!dataToLoad,
                onSuccess: a!save(local!submitted, true)
              )
            },
            submit: true,
            style: "PRIMARY",
            disabled: or(local!hasData, local!submitted)
          )
        }
      )
    }
  )
)
Use the Write Records Smart Service Function on an Interface
