
| This content applies solely to Government Source Selection, which must be purchased separately from the Appian base platform. |
IntroductionCopy link to clipboard
Source Selection is the process of creating, reviewing, and completing a vendor evaluation for goods and services needed to conduct business. This involves collecting and maintaining vendor information and evaluation factors that are assessed by different teams. The Government Source Selection (GSS) solution provides a guided, automated experience for collecting this information. After an evaluation is created, simple, informative record interfaces, enabled by Appian Records, allow end users to view and update this information.
This page provides instructions for creating a new evaluation.
Create evaluationsCopy link to clipboard
Creating a new evaluation is a guided experience that walks you through entering the information you need to start a vendor evaluation.
To create a new evaluation, you must be part of the AS GSS Create or Update Evaluation PM Access security group. The evaluation chairs and contracting groups are automatically included in this security group.
To create an evaluation:
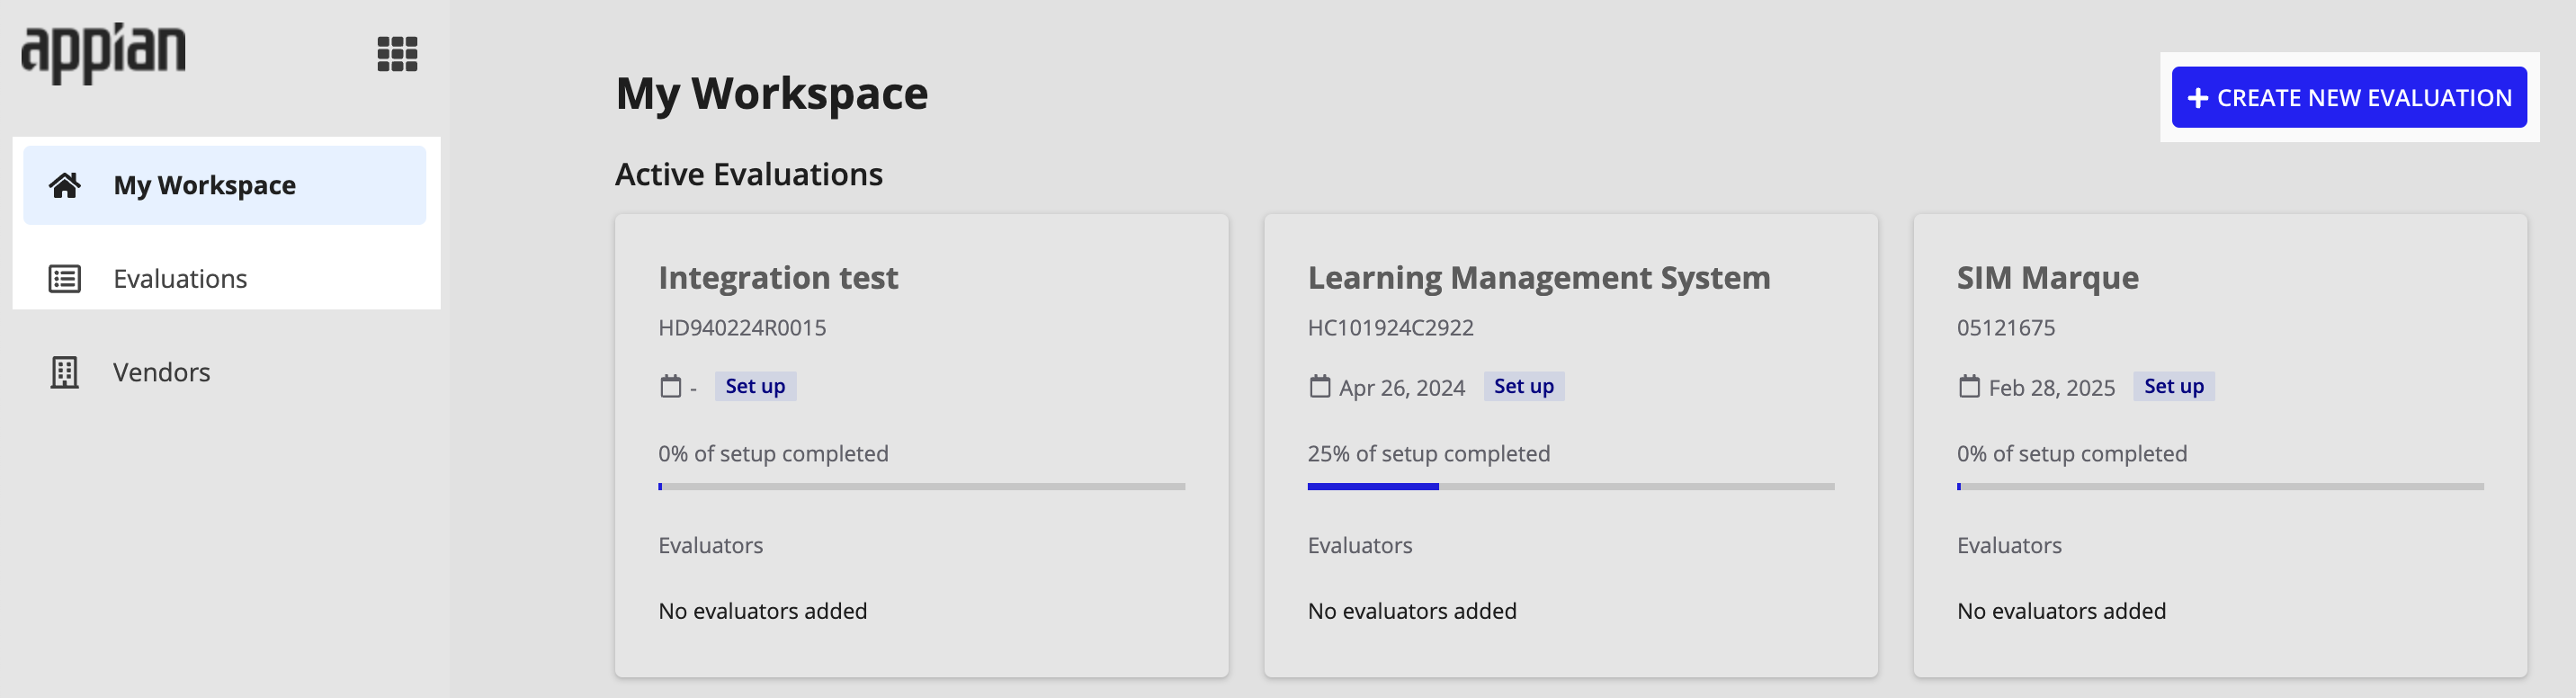
- Navigate to the My Workspace or Evaluations page.
-
Click CREATE NEW EVALUATION to open the Create Evaluation wizard.
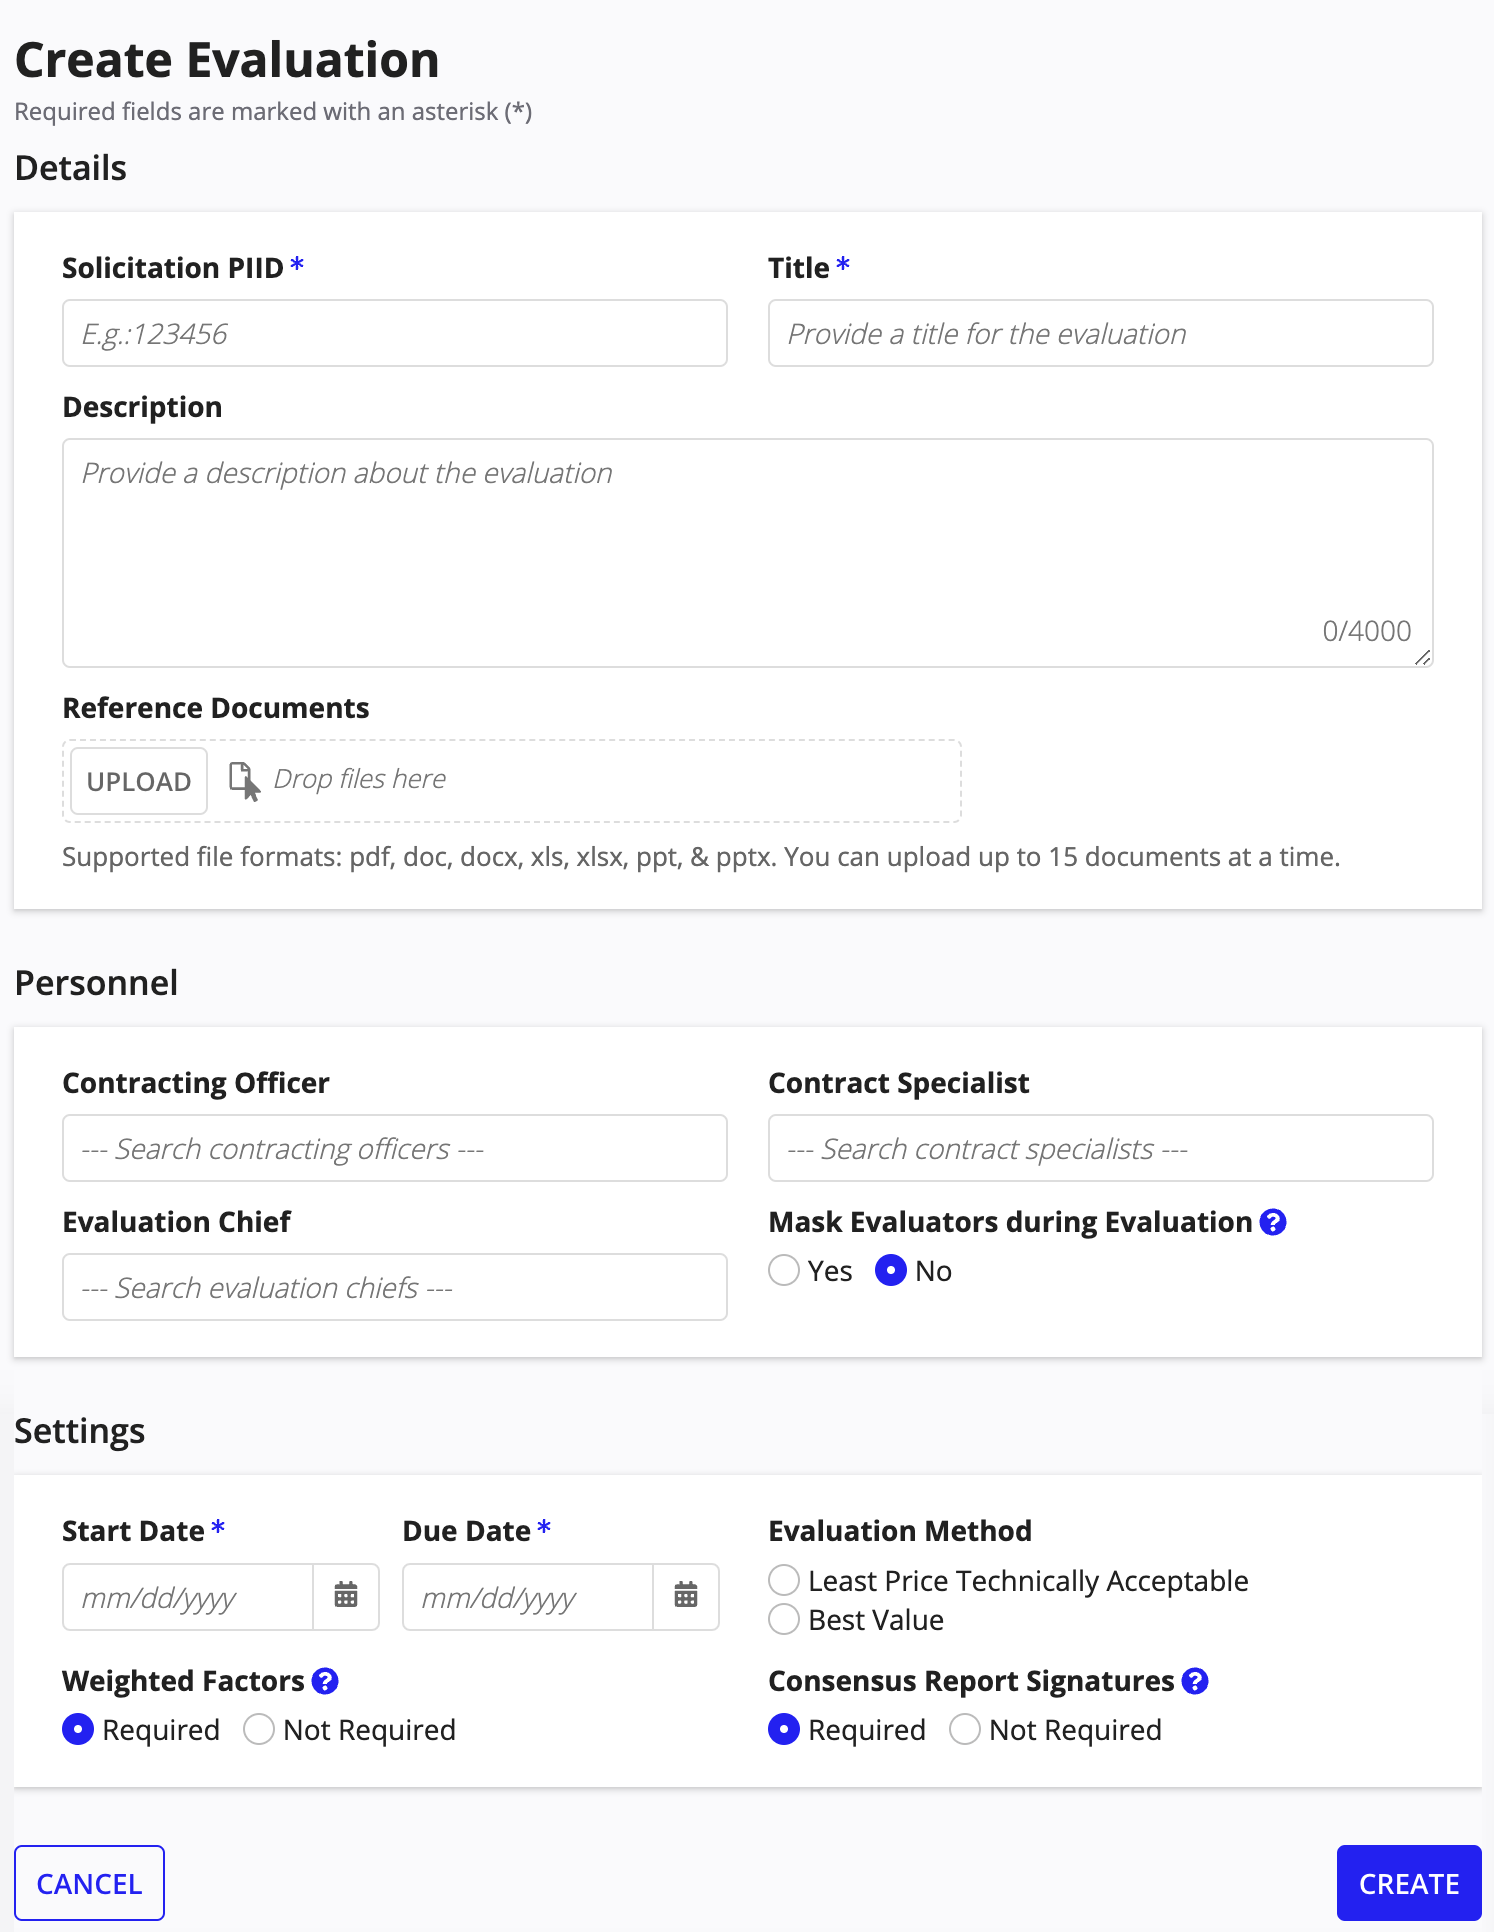
- Enter a Solicitation PIID (Procurement Instrument Identifier), Title, and Description for the goods or services you are evaluating.
- Upload Reference Documents.
- Click UPLOAD to open the file picker.
- Select the document to upload.
- Click to upload additional documents.
Note: PDF, DOC, DOCX, XLS, XLSX, PPT, and PPTX files are supported. Up to 15 document(s) can be uploaded at a time.
- Select Contracting Officer, Contract Specialist, and Evaluation Chief using the auto-suggest dropdowns.
- Select Yes or No using the Mask Evaluators during Evaluation radio button. When masked, evaluator names are substituted with aliases. Privileged users still see the actual names.
- Select the Start Date and Due Date of the evaluation using the date pickers. These date fields determine when the evaluation starts and ends, and provide validation for any deadlines you define.
- Select the Evaluation Method using the radio buttons. The evaluation method determines how your organization evaluates the vendor proposals.
- Select if Weighted Factors are applicable using the radio buttons. Weighted Factors enable you to assign weights to factors and subfactors to specify their level of importance.
- Select Required or Not Required using the Consensus Report Signatures radio button to determine if signing the consensus report is required for evaluation completion.
-
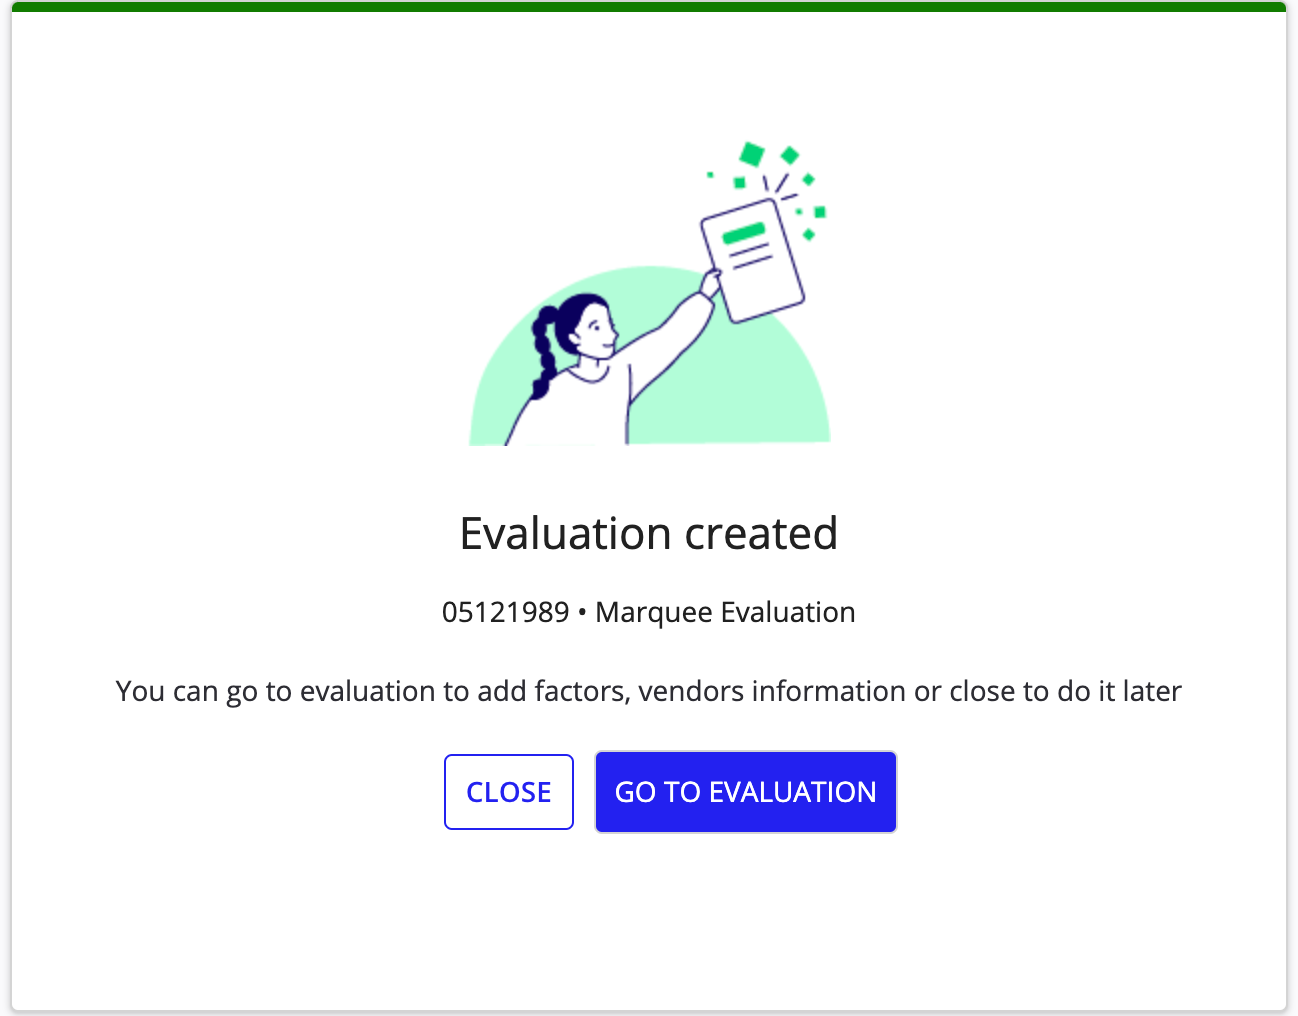
Click CREATE to create the evaluation and navigate to the Evaluation Created page.
-
Click GO TO EVALUATION to navigate to the created evaluation record and add phases, factors, and vendors.
Tip: Once the evaluation is created, you can either complete the setup on the evaluation record immediately or return to finish it later.
Add phasesCopy link to clipboard
A phase is a distinct stage in the process of evaluating vendor proposals. These phases organize the evaluation process into manageable segments, ensuring a thorough, systematic, and transparent review of proposals against the requirements and criteria outlined in the solicitation. Each phase includes specific objectives, activities, and deliverables.
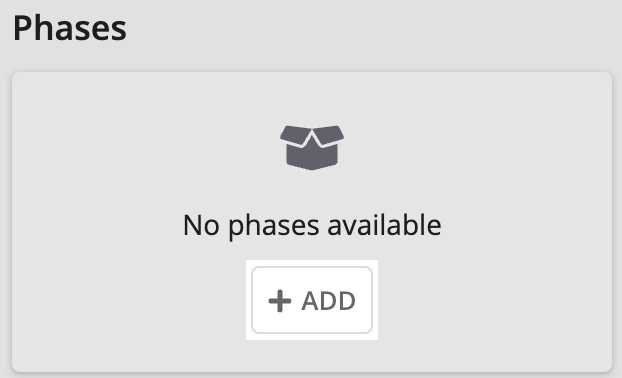
The Phases card enables you to specify the evaluation phases and deadlines. Select one or more phases, which are modified in Configuring Phases.
To add phases:
-
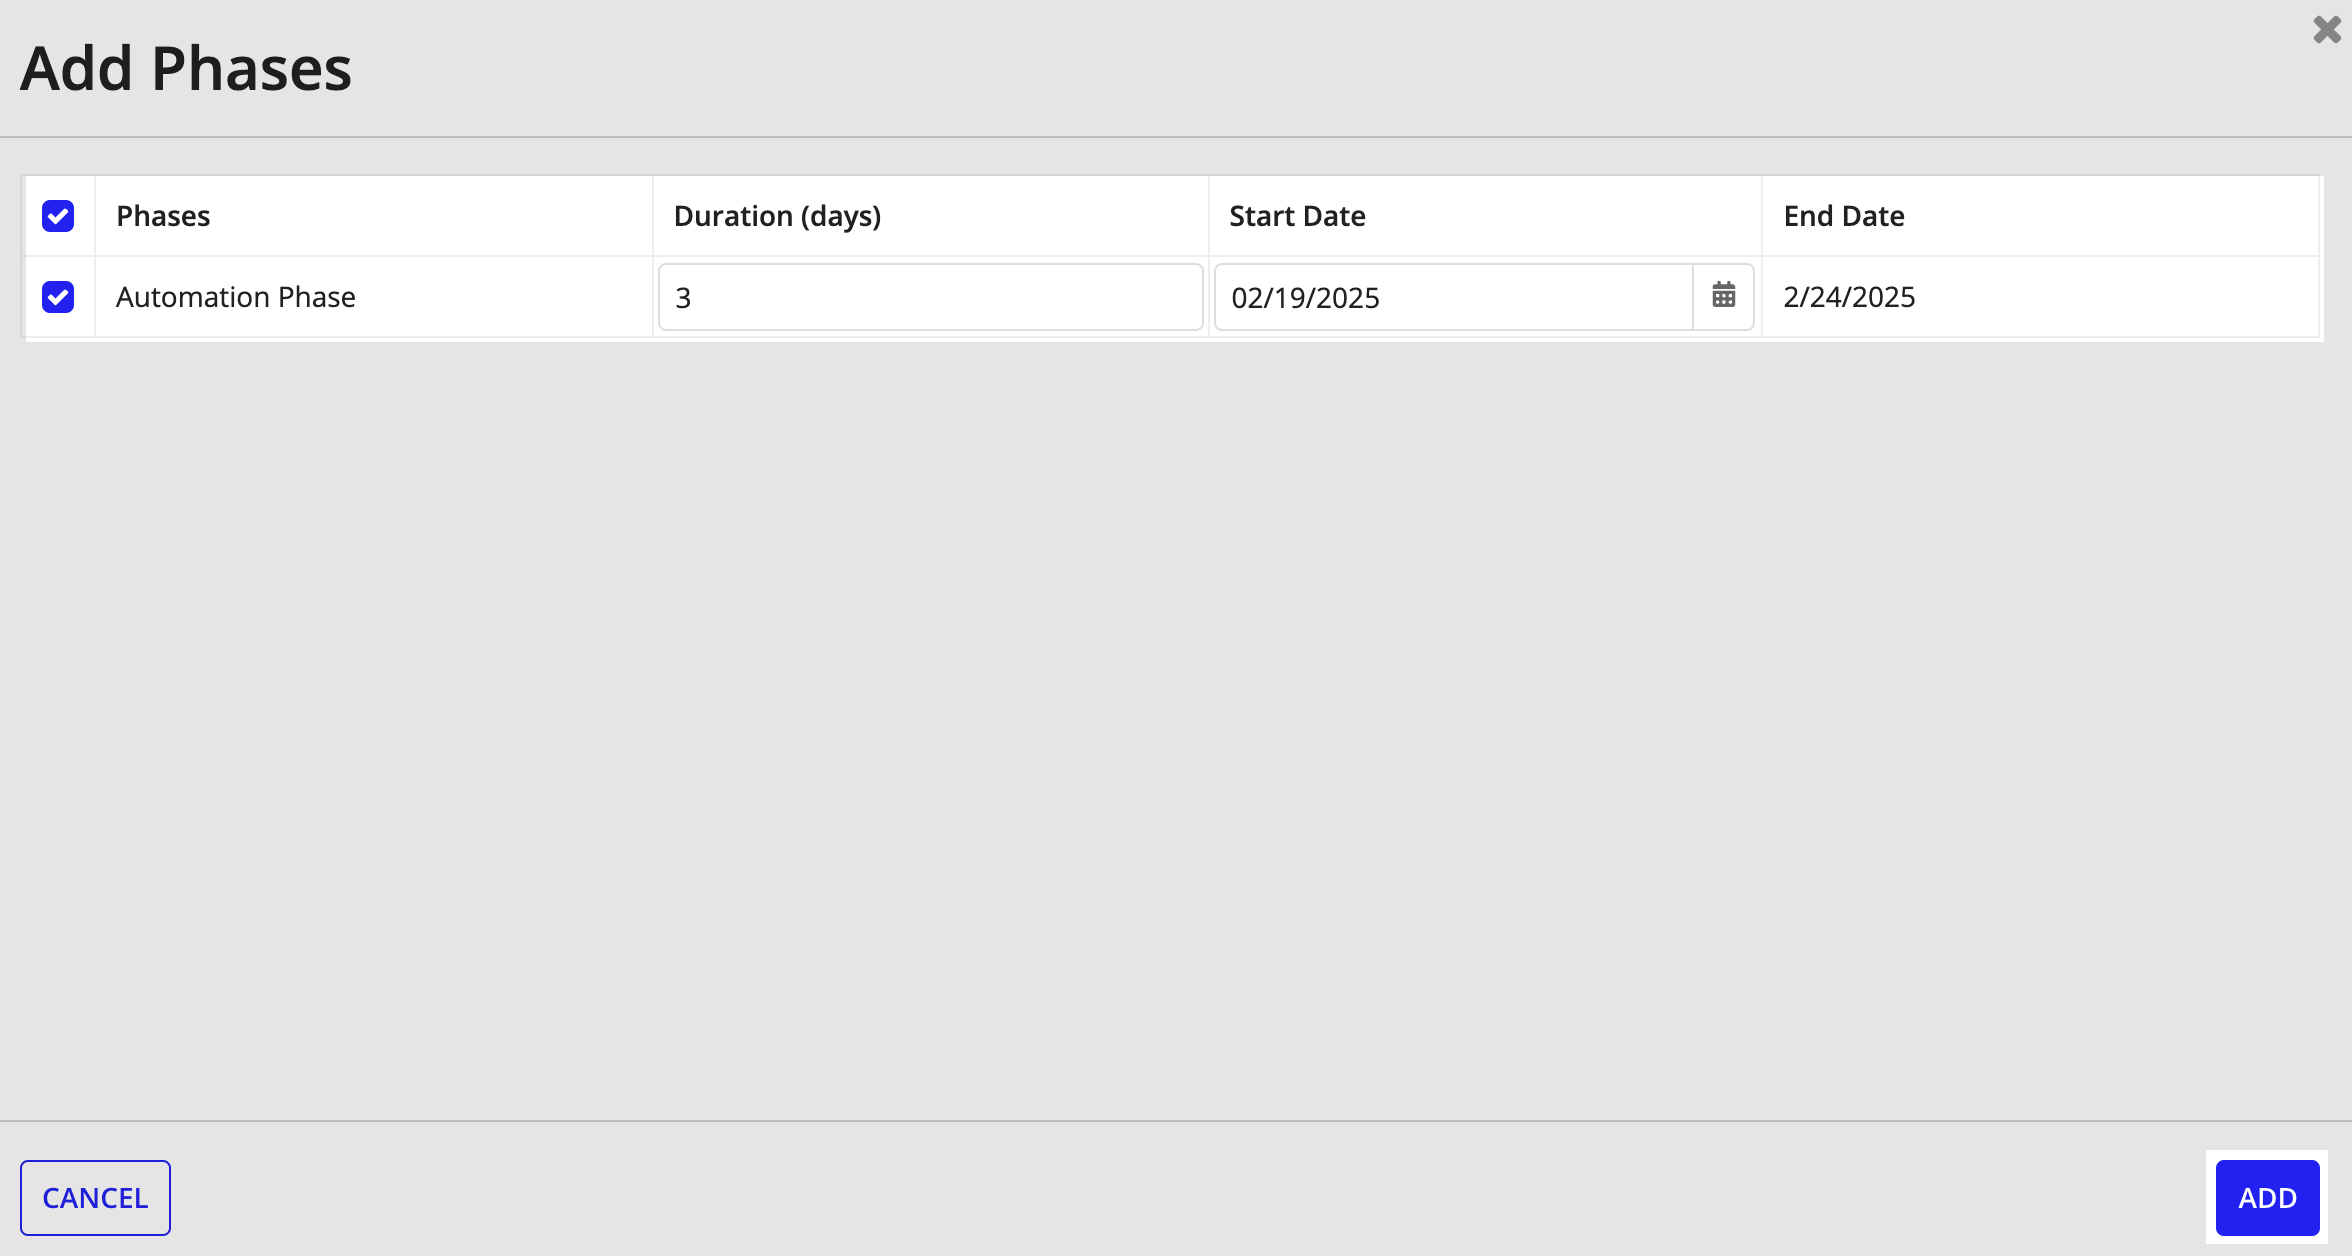
Click ADD in the Phases card to open the Add Phases wizard.
- Select the phase(s) for the evaluation using the checkbox(es).
- Enter DURATION for each phase. Number only.
- Select START DATE for the phase using the date picker. END DATE is auto-filled based on the defined duration and start date. The solution displays a validation message if the phase's end date exceeds the evaluation's end date.
- Click ADD to add the phases.
Add factorsCopy link to clipboard
A factor is a specific criterion or standard used to evaluate vendor proposals during the procurement process. These factors are outlined in the solicitation document (such as a Request for Proposal) and serve as the basis for determining which proposal offers the best value to the government.
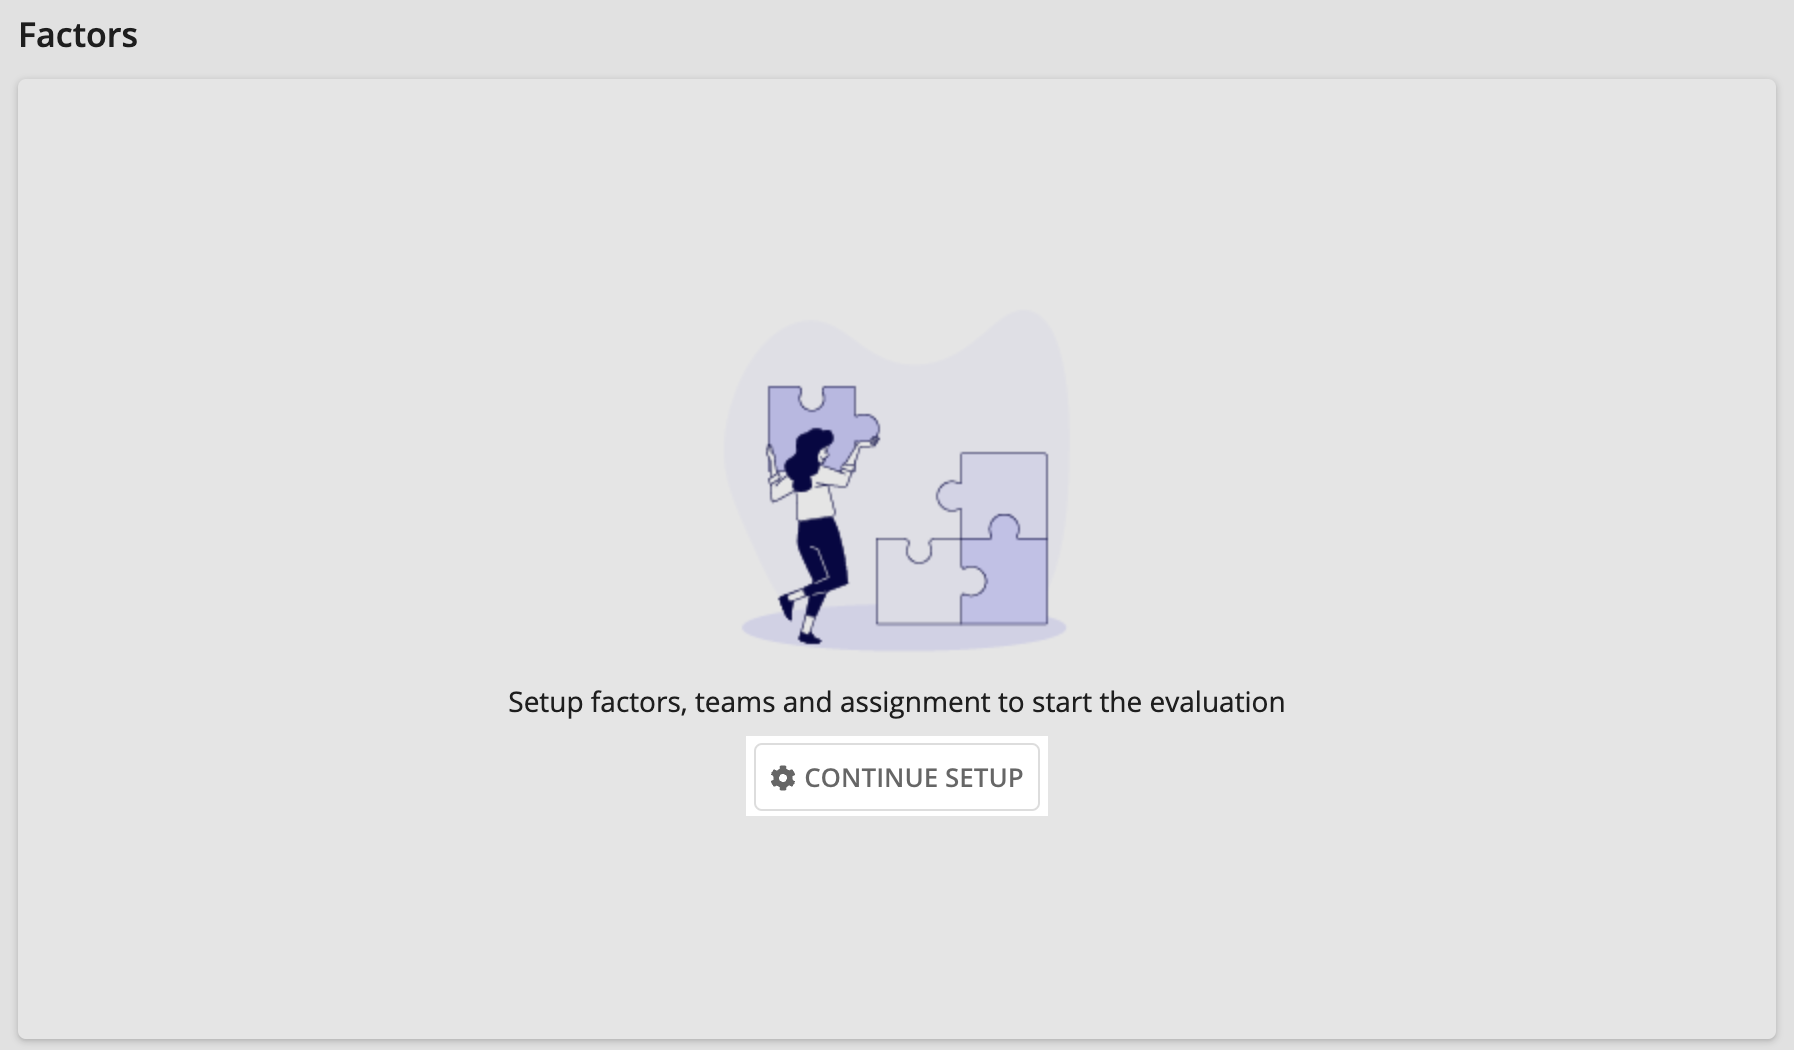
The Factors card enables you to add the factors, subfactors, weights, teams, and assign evaluators to evaluate each vendor.
To add factors:
-
Click CONTINUE SETUP to open the Continue Setup wizard.
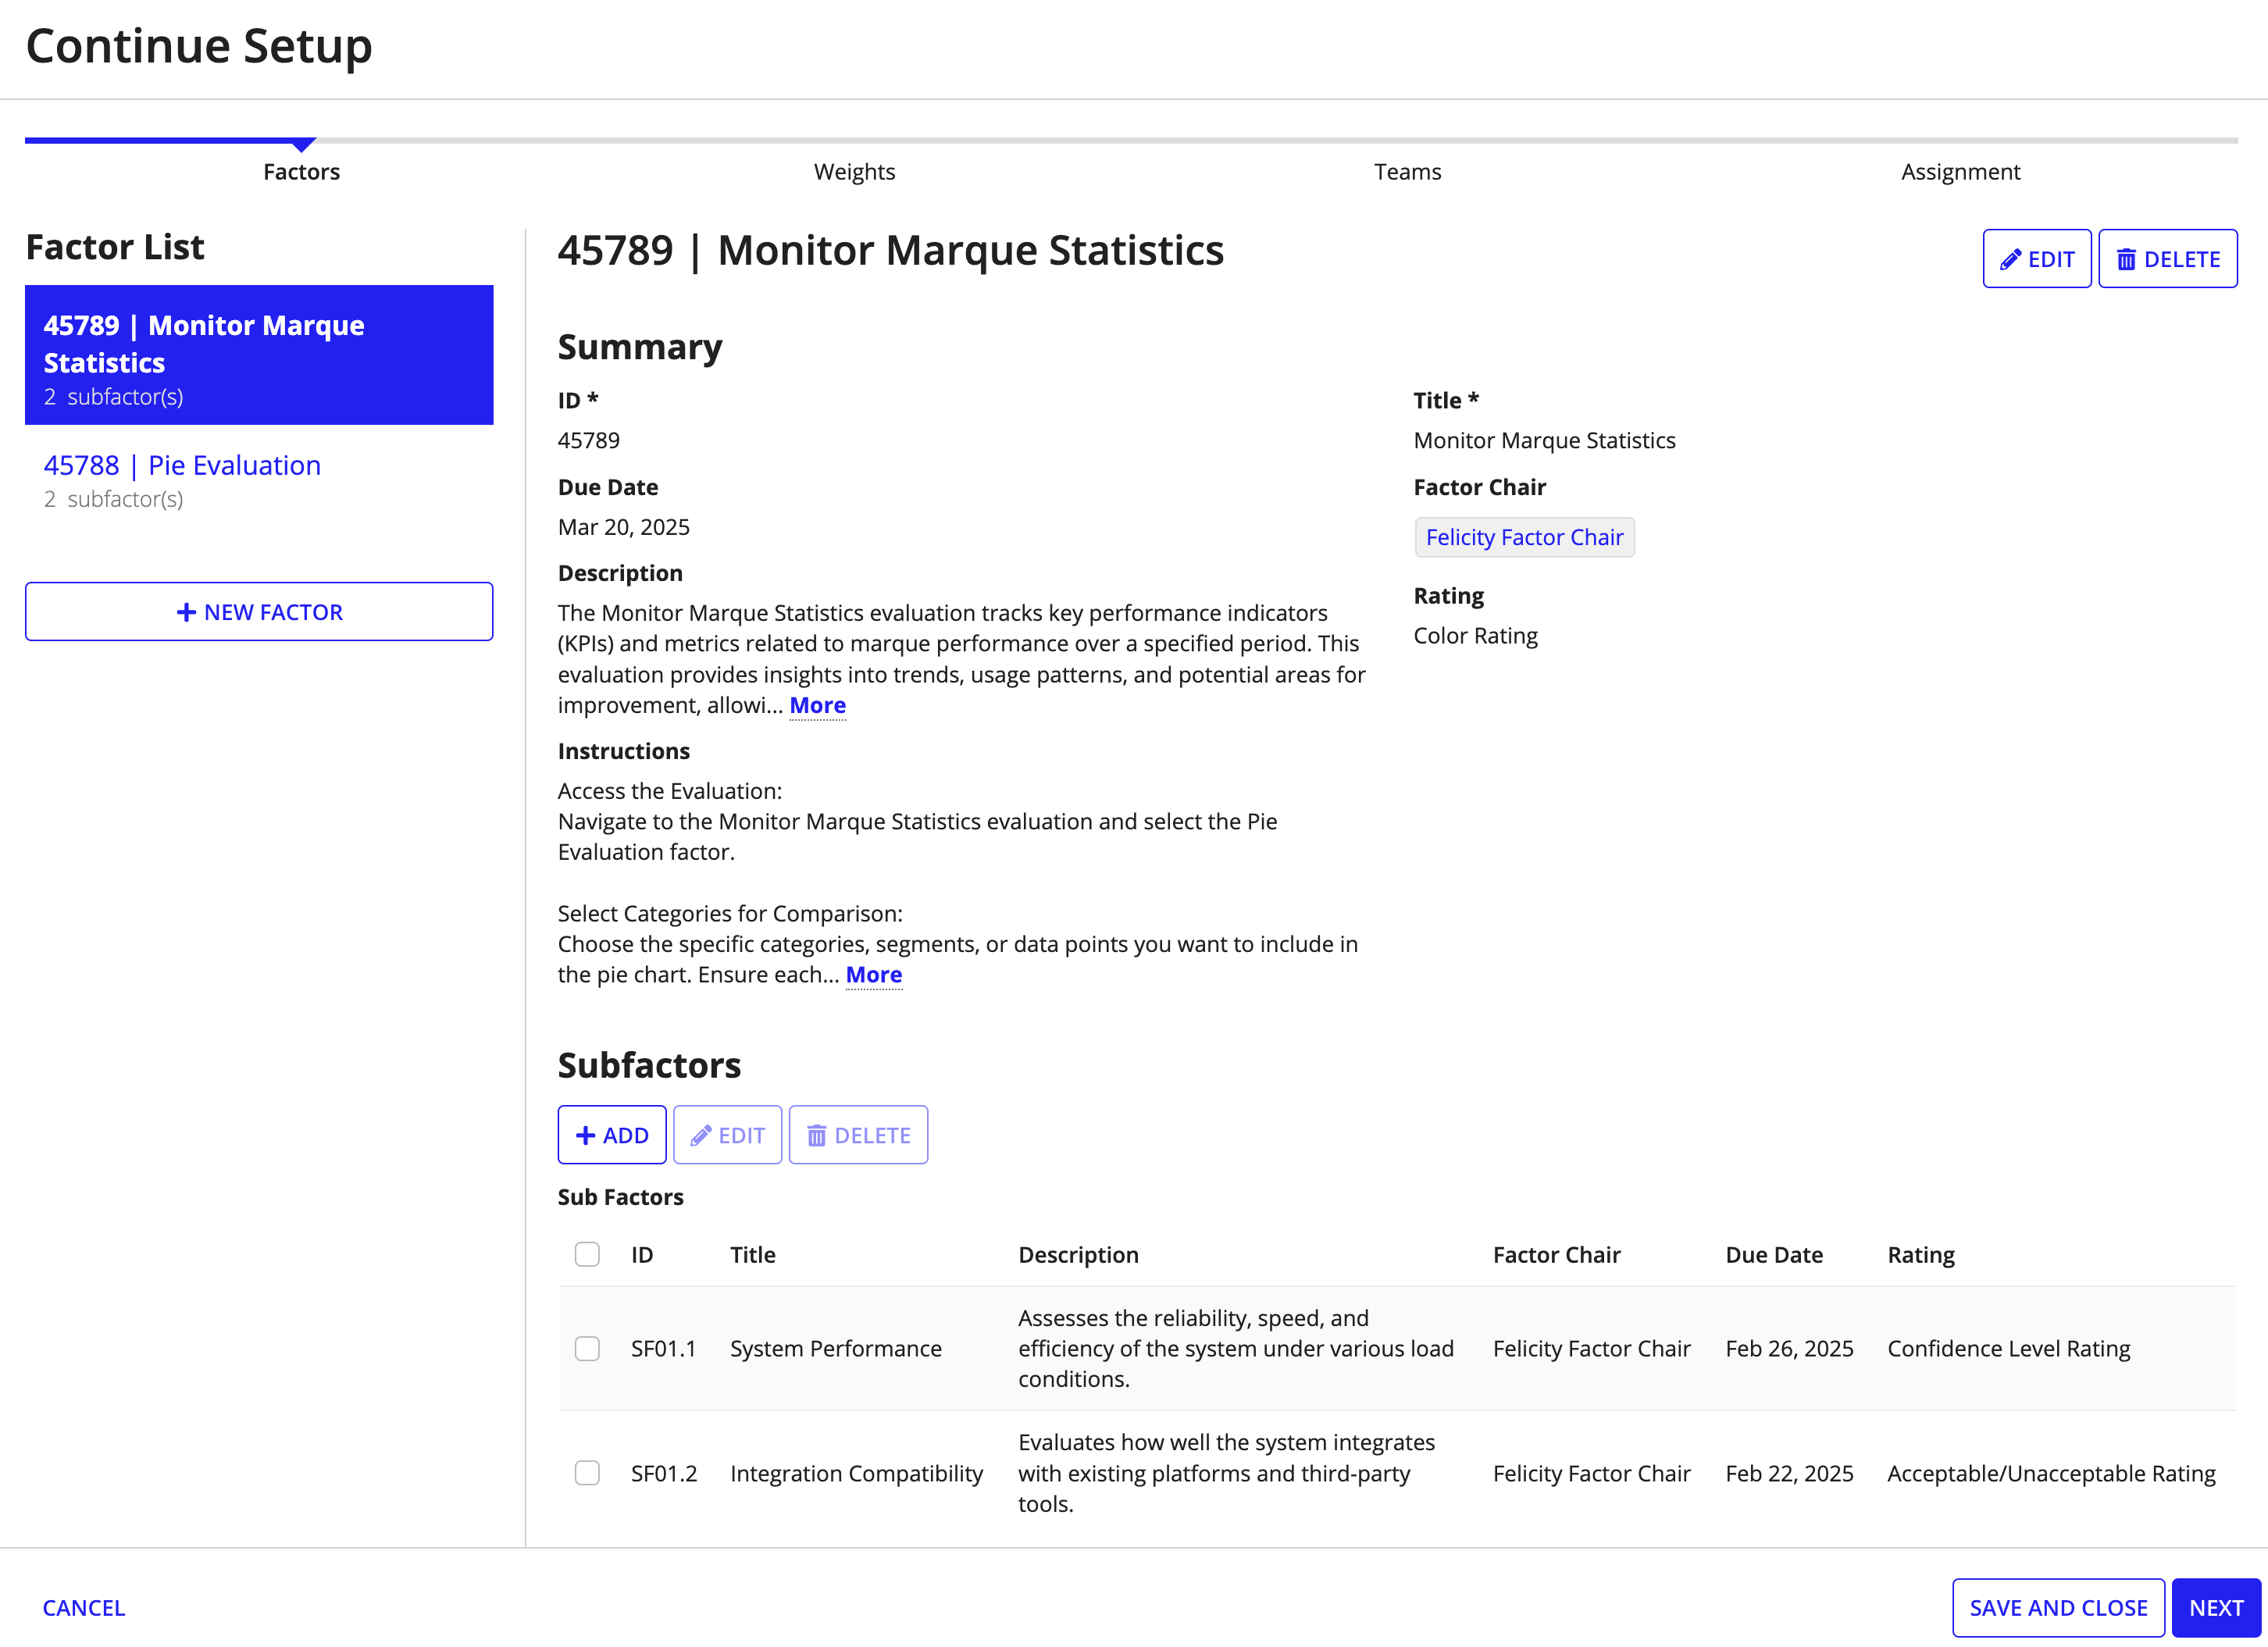
- Click NEW FACTOR.
- Enter factor ID, Title, Description, and Instructions using the text fields.
- Select the Due Date using the date picker.
- Select the Factor Chair using the auto-suggest dropdown to assign a user as the factor's chair.
-
Select the Rating method to evaluate the factor using the dropdown.
Note: Select the rating method to reflect the needs of a specific organization. See Modifying Dropdowns for information on how to update these values.
See the following table for more information on the pre-configured rating methods and rating values.
Rating Method Rating Values Color Rating Blue, Purple, Green, Yellow, Red Adjective Rating Outstanding, Good, Acceptable, Marginal, Unacceptable Risk Adjective Rating Low, Moderate, High Number Rating 1, 2, 3, 4, 5 Confidence Level Rating Substantial, Satisfactory, Limited, No, Unknown Acceptable/Unacceptable Rating Acceptable, Unacceptable - Click SAVE to add the factor.
- Click NEW FACTOR to add more factors.
- Add subfactors.
- Click ADD to add subfactors.
- Enter the subfactor ID, Title, Description, and Instructions using the text fields.
- Select Due Date using the date picker.
-
Select the Rating method using the dropdown.
Note: Select the rating method to reflect the needs of a specific organization. See Modifying Dropdowns for information on how to update these values.
- Click SAVE to add the subfactor.
- Click ADD to add more subfactors.
-
Click EDIT and DELETE to edit and delete factors and subfactors, respectively.
Caution: Deleting a factor also deletes the associated subfactors.
- Click NEXT to save changes and continue to enter weights, or click SAVE AND CLOSE to save changes and close the wizard to continue the setup later.
Enter weightsCopy link to clipboard
The Weights tab enables you to enter and assign weights to factors.
On the Weights tab:
-
Enter weight points for each factor and its subfactors. Numbers only.
Note: Adjust each factor’s weight to ensure their sum equals 100. Adjust each subfactor weight so their sum equals the total factor weight.
-
Click NEXT to save changes and continue to add teams, or click SAVE AND CLOSE to save changes and close the wizard to continue the setup later.

Add teamsCopy link to clipboard
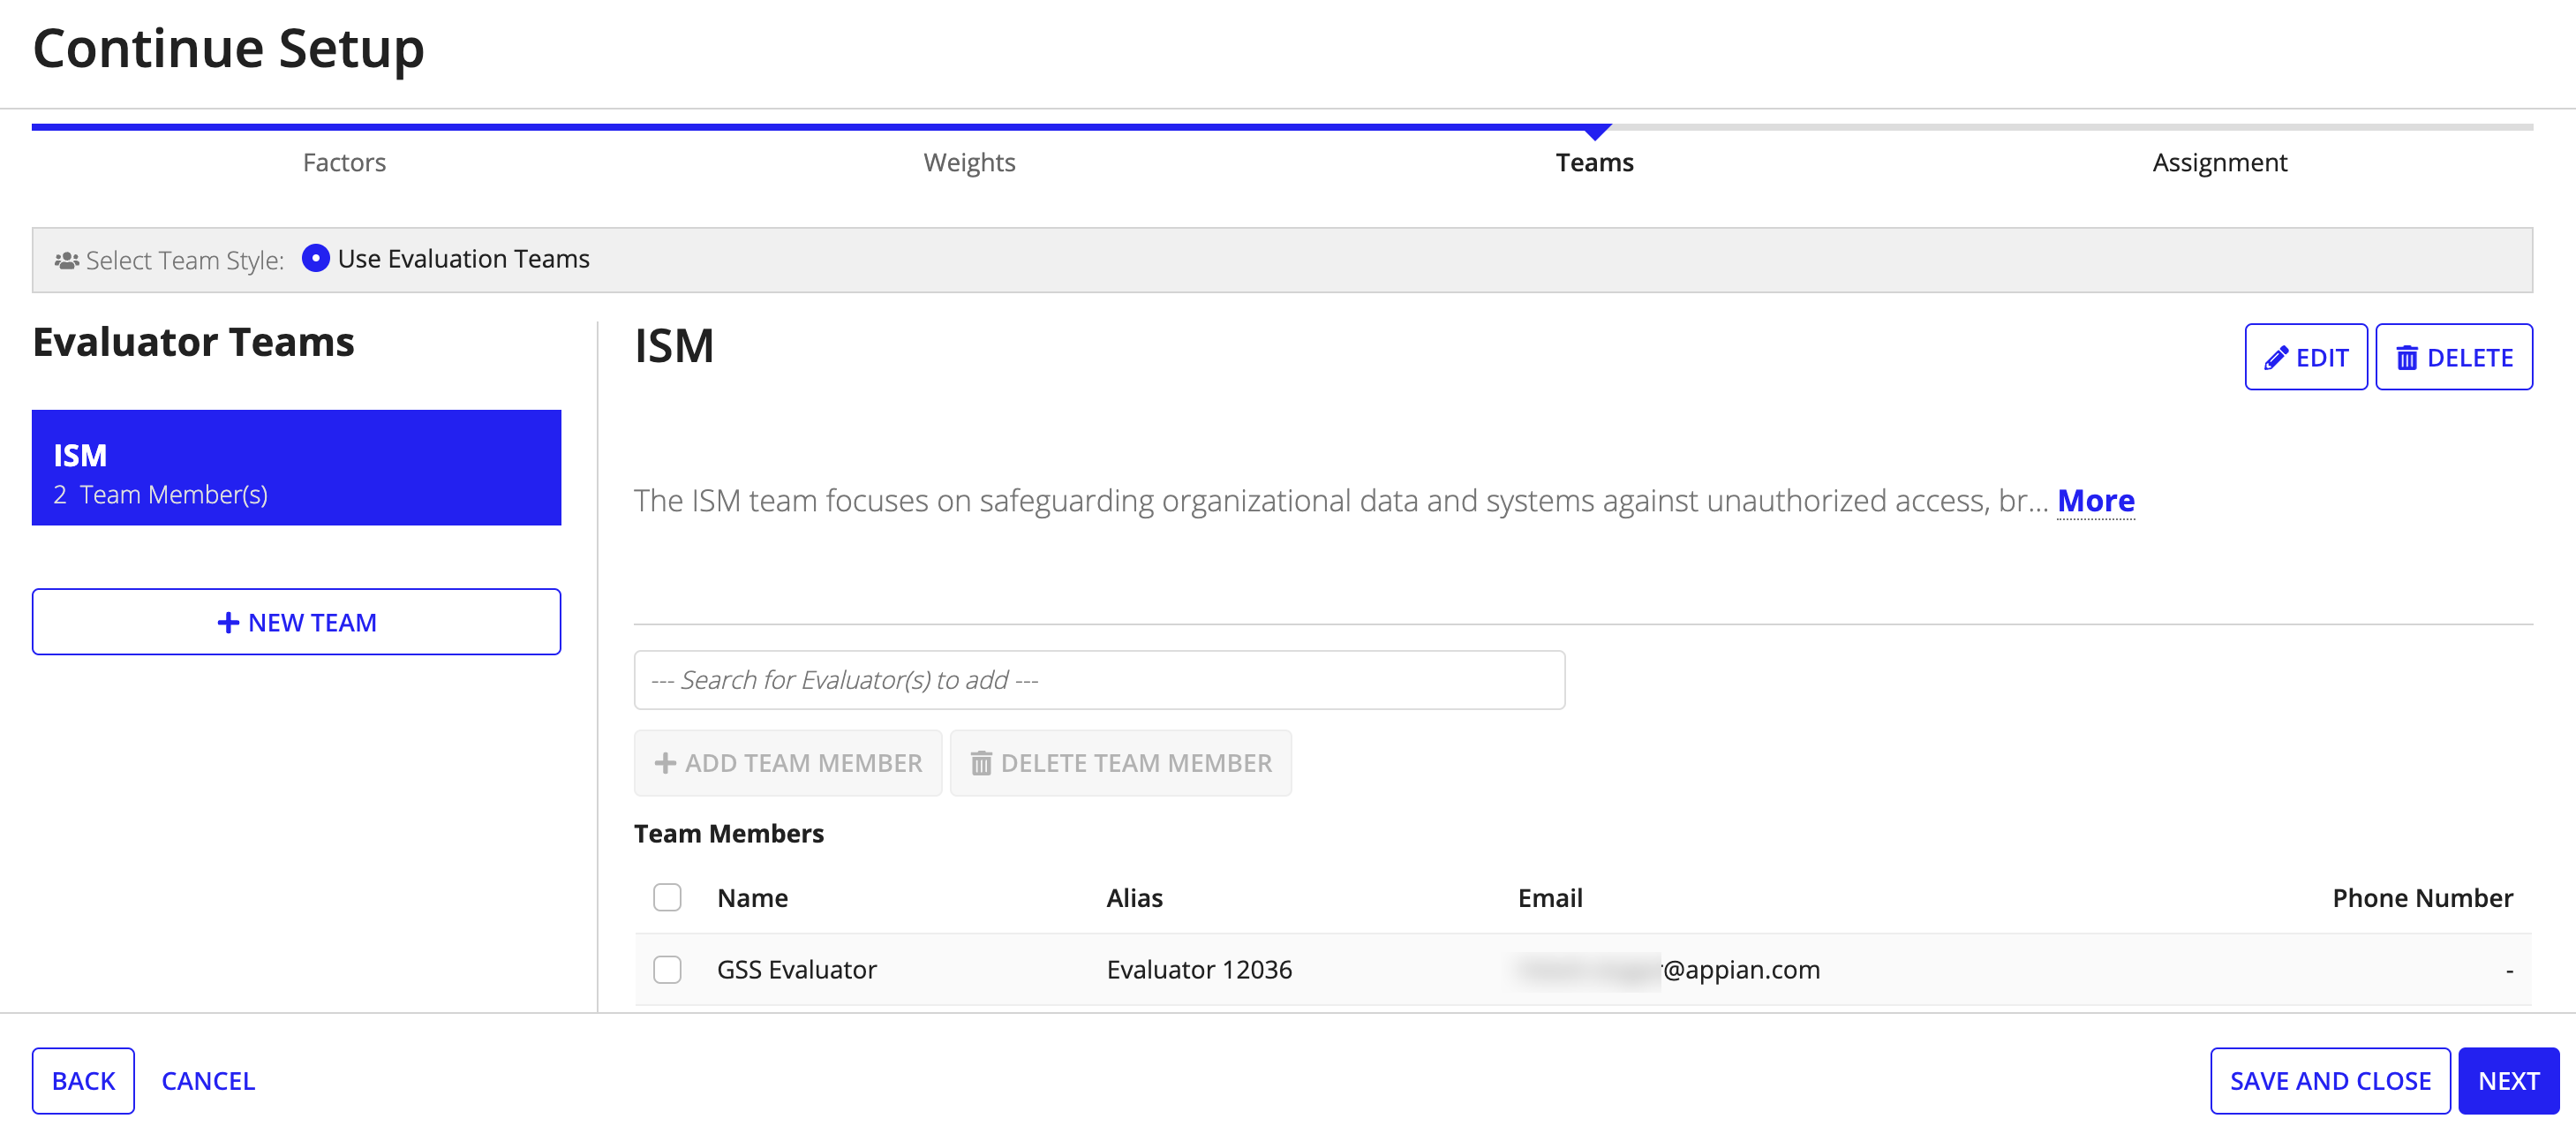
The Teams tab enables you to create evaluation teams and add evaluators to the teams.
On the Teams tab:
- Click NEW TEAM to navigate to the New Team section.
- Enter a Team Title and Description that reflects the team's purpose.
- Click SAVE to save changes.
- Select evaluator(s) using the auto-suggest dropdown.
- Click ADD TEAM MEMBERS to add the selected evaluators to the team.
- Select the team members checkbox(es) and click DELETE TEAM MEMBER to delete evaluators from the team.
- Click NEW TEAM to add more evaluator teams.
- Click EDIT and DELETE to edit and delete evaluator teams respectively.
- Click NEXT to save changes and continue to assign evaluators to factors, or click SAVE AND CLOSE to save changes and close the wizard to continue the setup later.
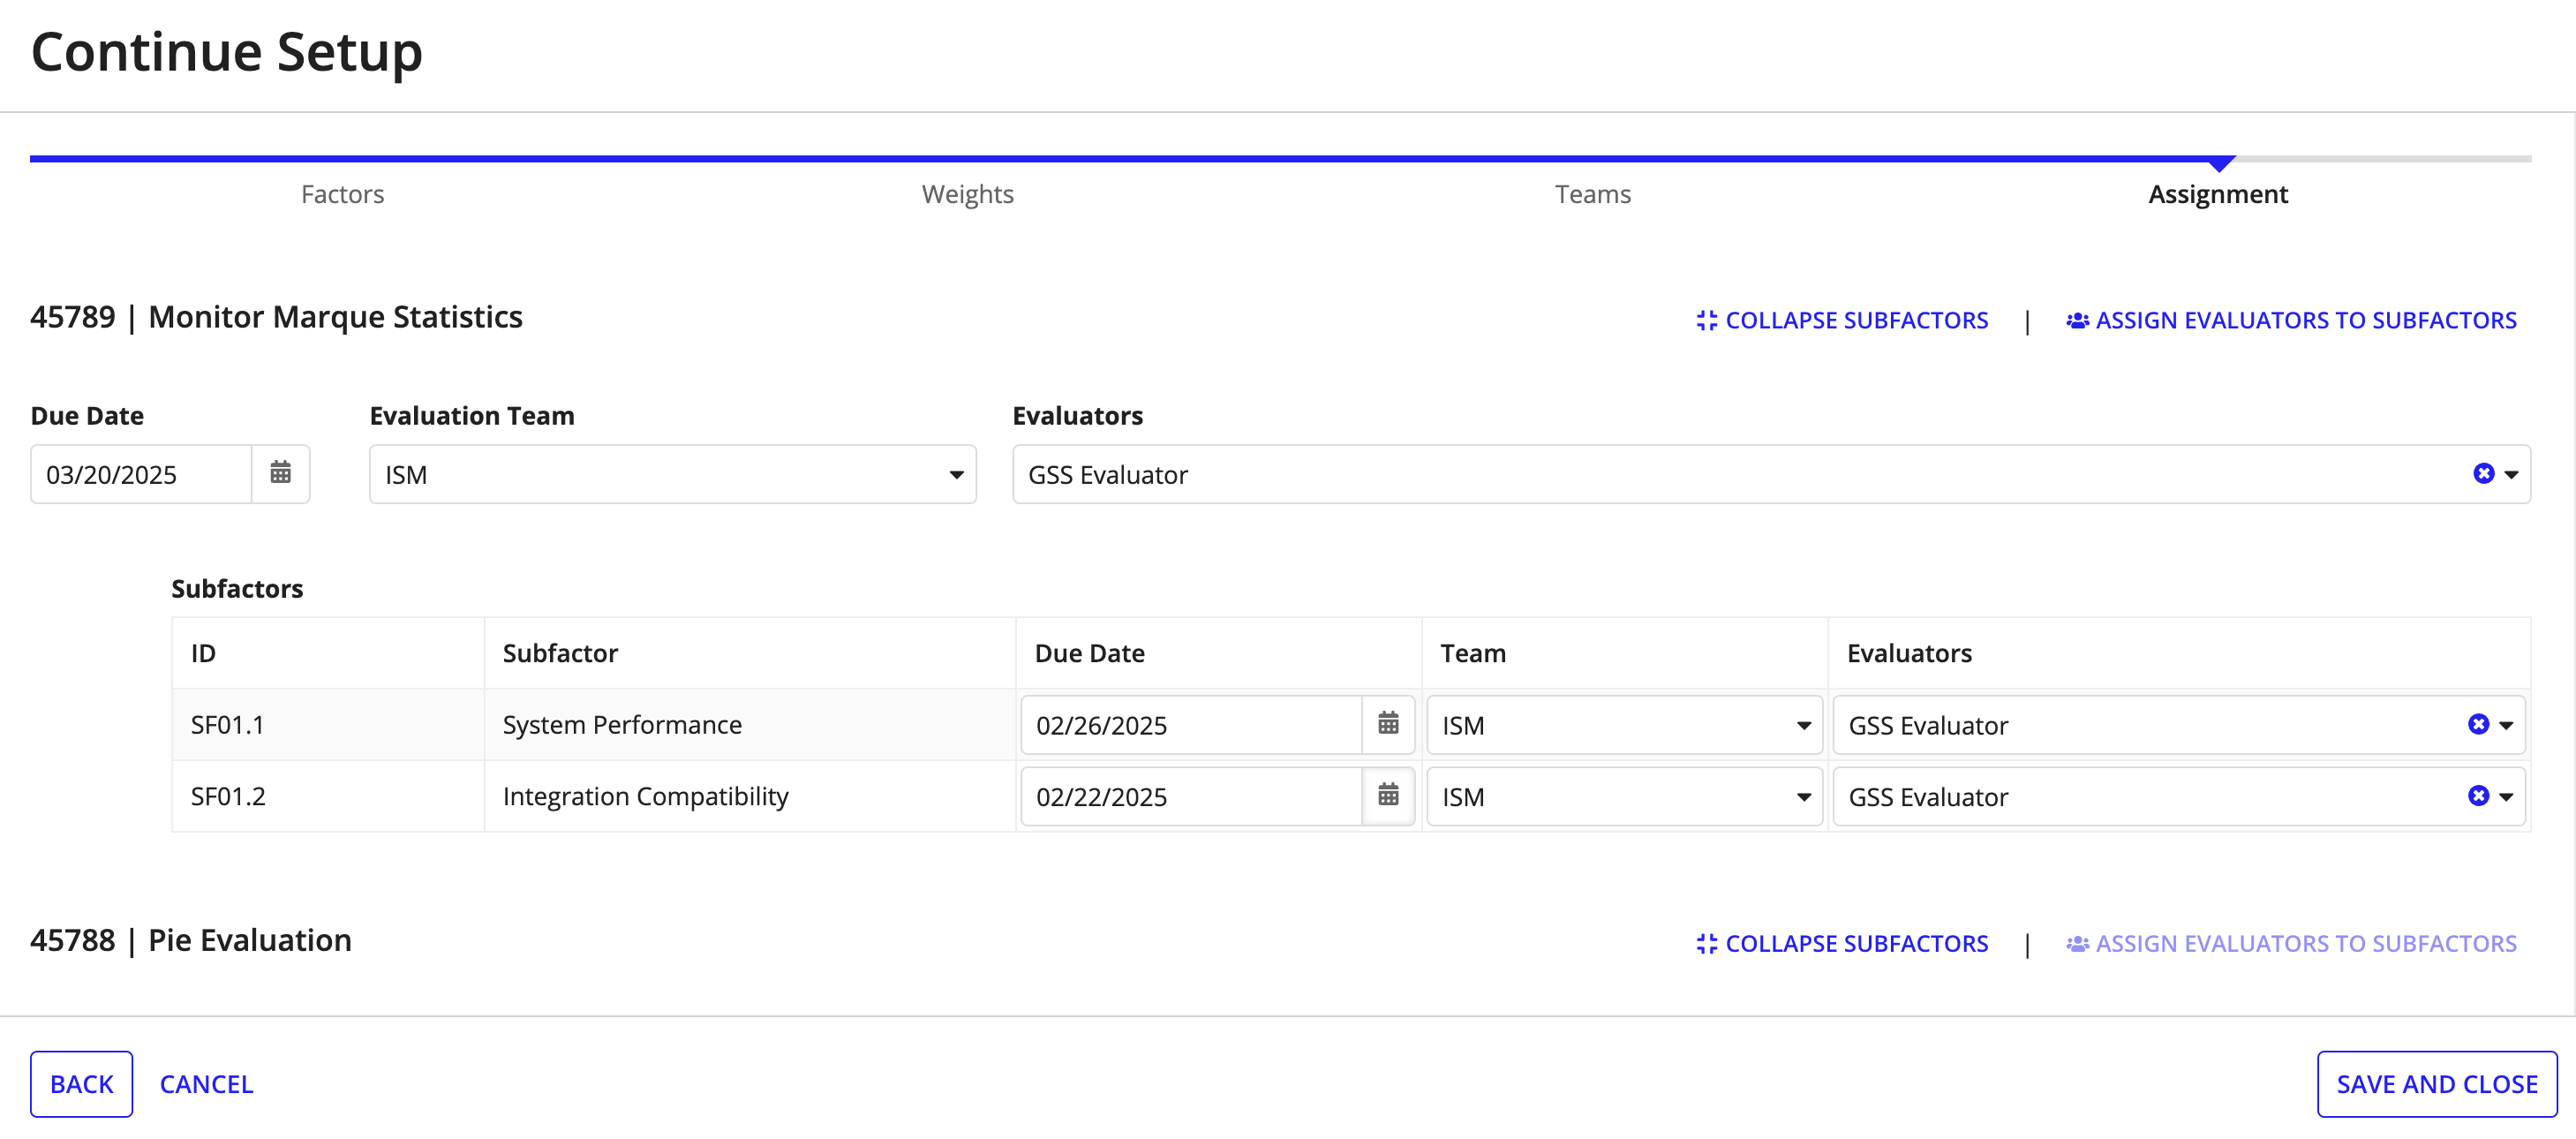
Assign evaluators to factorsCopy link to clipboard
The Assignment tab enables you to review the factors and subfactors created earlier and assign them evaluators.
On the Assignment tab:
- Select the assignment’s Due Date using the date picker.
- Select the Evaluation Team using the dropdown.
- Select the Evaluators using the multi-select dropdown.
- Click COLLAPSE SUBFACTORS to hide subfactors and EXPAND SUBFACTORS to show them.
- Click ASSIGN EVALUATORS TO SUBFACTORS to duplicate factor’s evaluators to subfactors.
- Alternatively, select the subfactor's Due Date, Team, and Evaluators.
Note: Subfactor due date must not occur after factor due date.
- Click SAVE AND CLOSE to save changes and navigate back to the evaluation record.
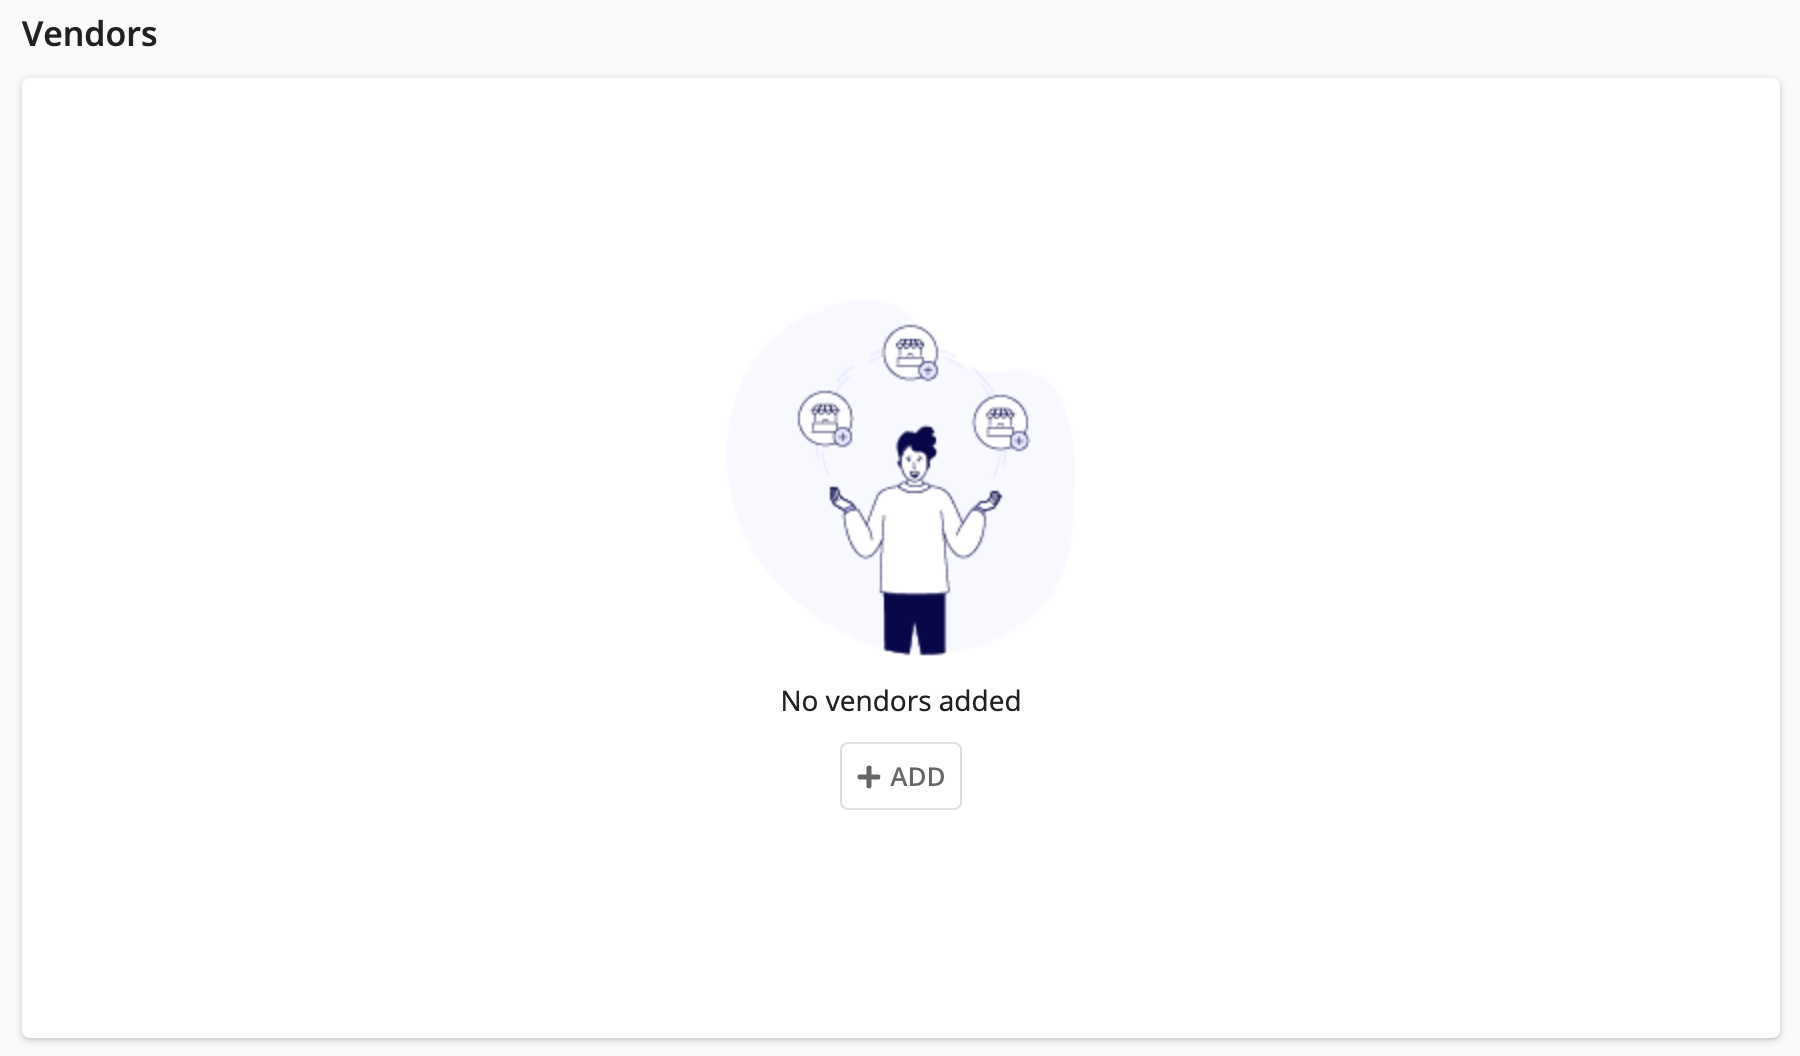
Add vendorsCopy link to clipboard
The Vendors card enables you to add vendors who have submitted proposals and upload their associated proposals.
To add vendors:
-
Click ADD in the Vendors card to open the Add Vendors wizard.
- Enter a vendor UEI or CAGE in the Search Vendors field and click to search for the vendors in internal records and sync data from SAM.gov to list the results.
-
Select a vendor using the checkbox to move it to the Vendors to Add section.
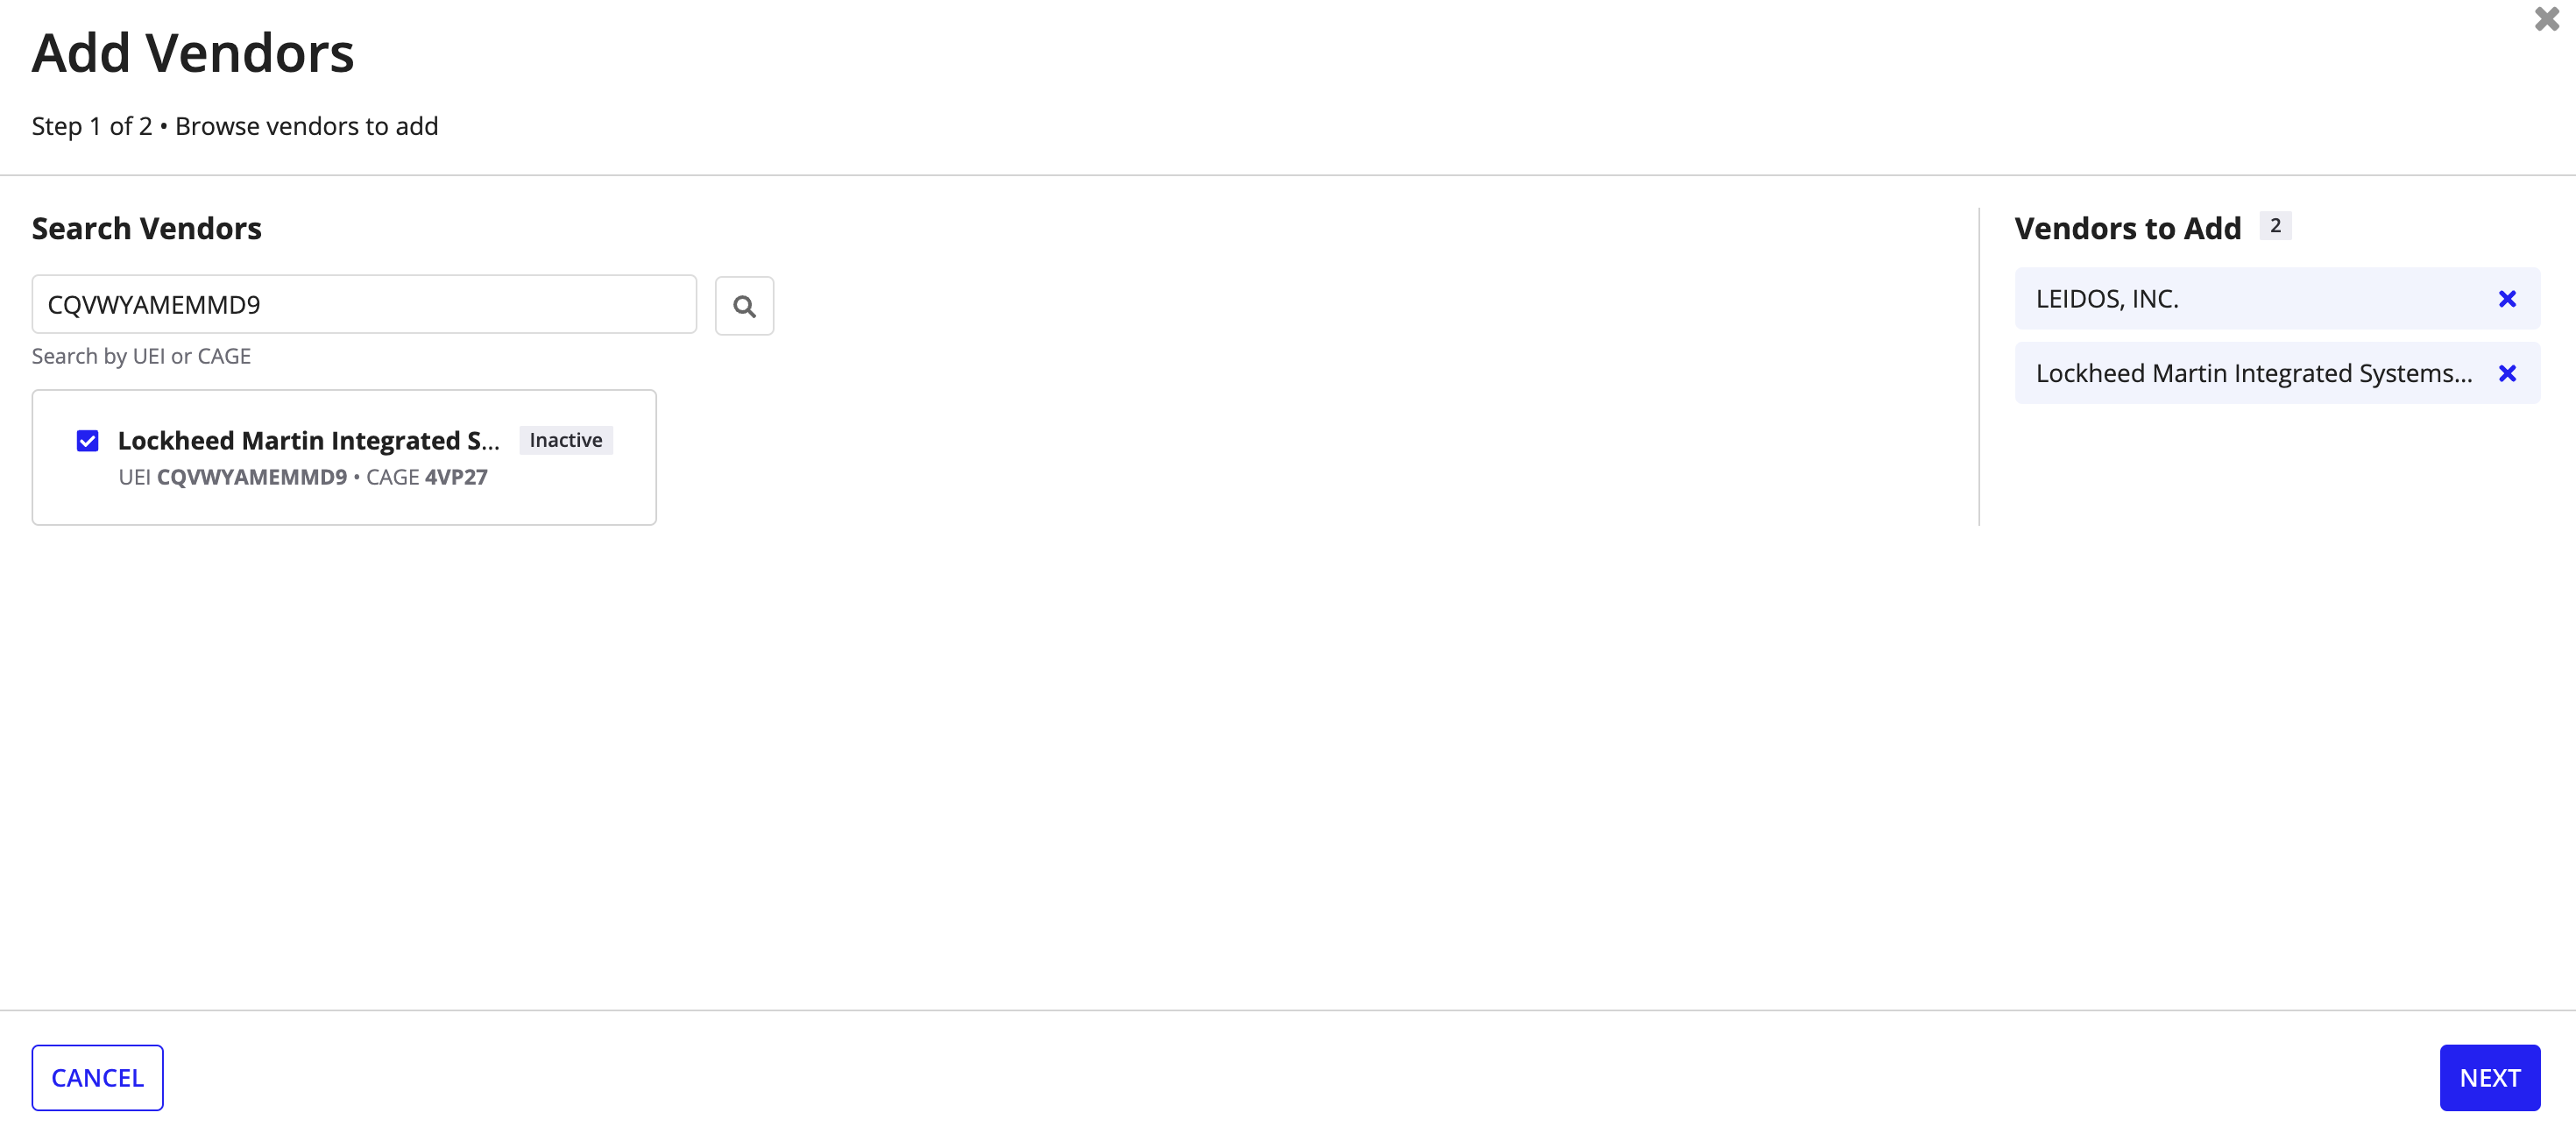
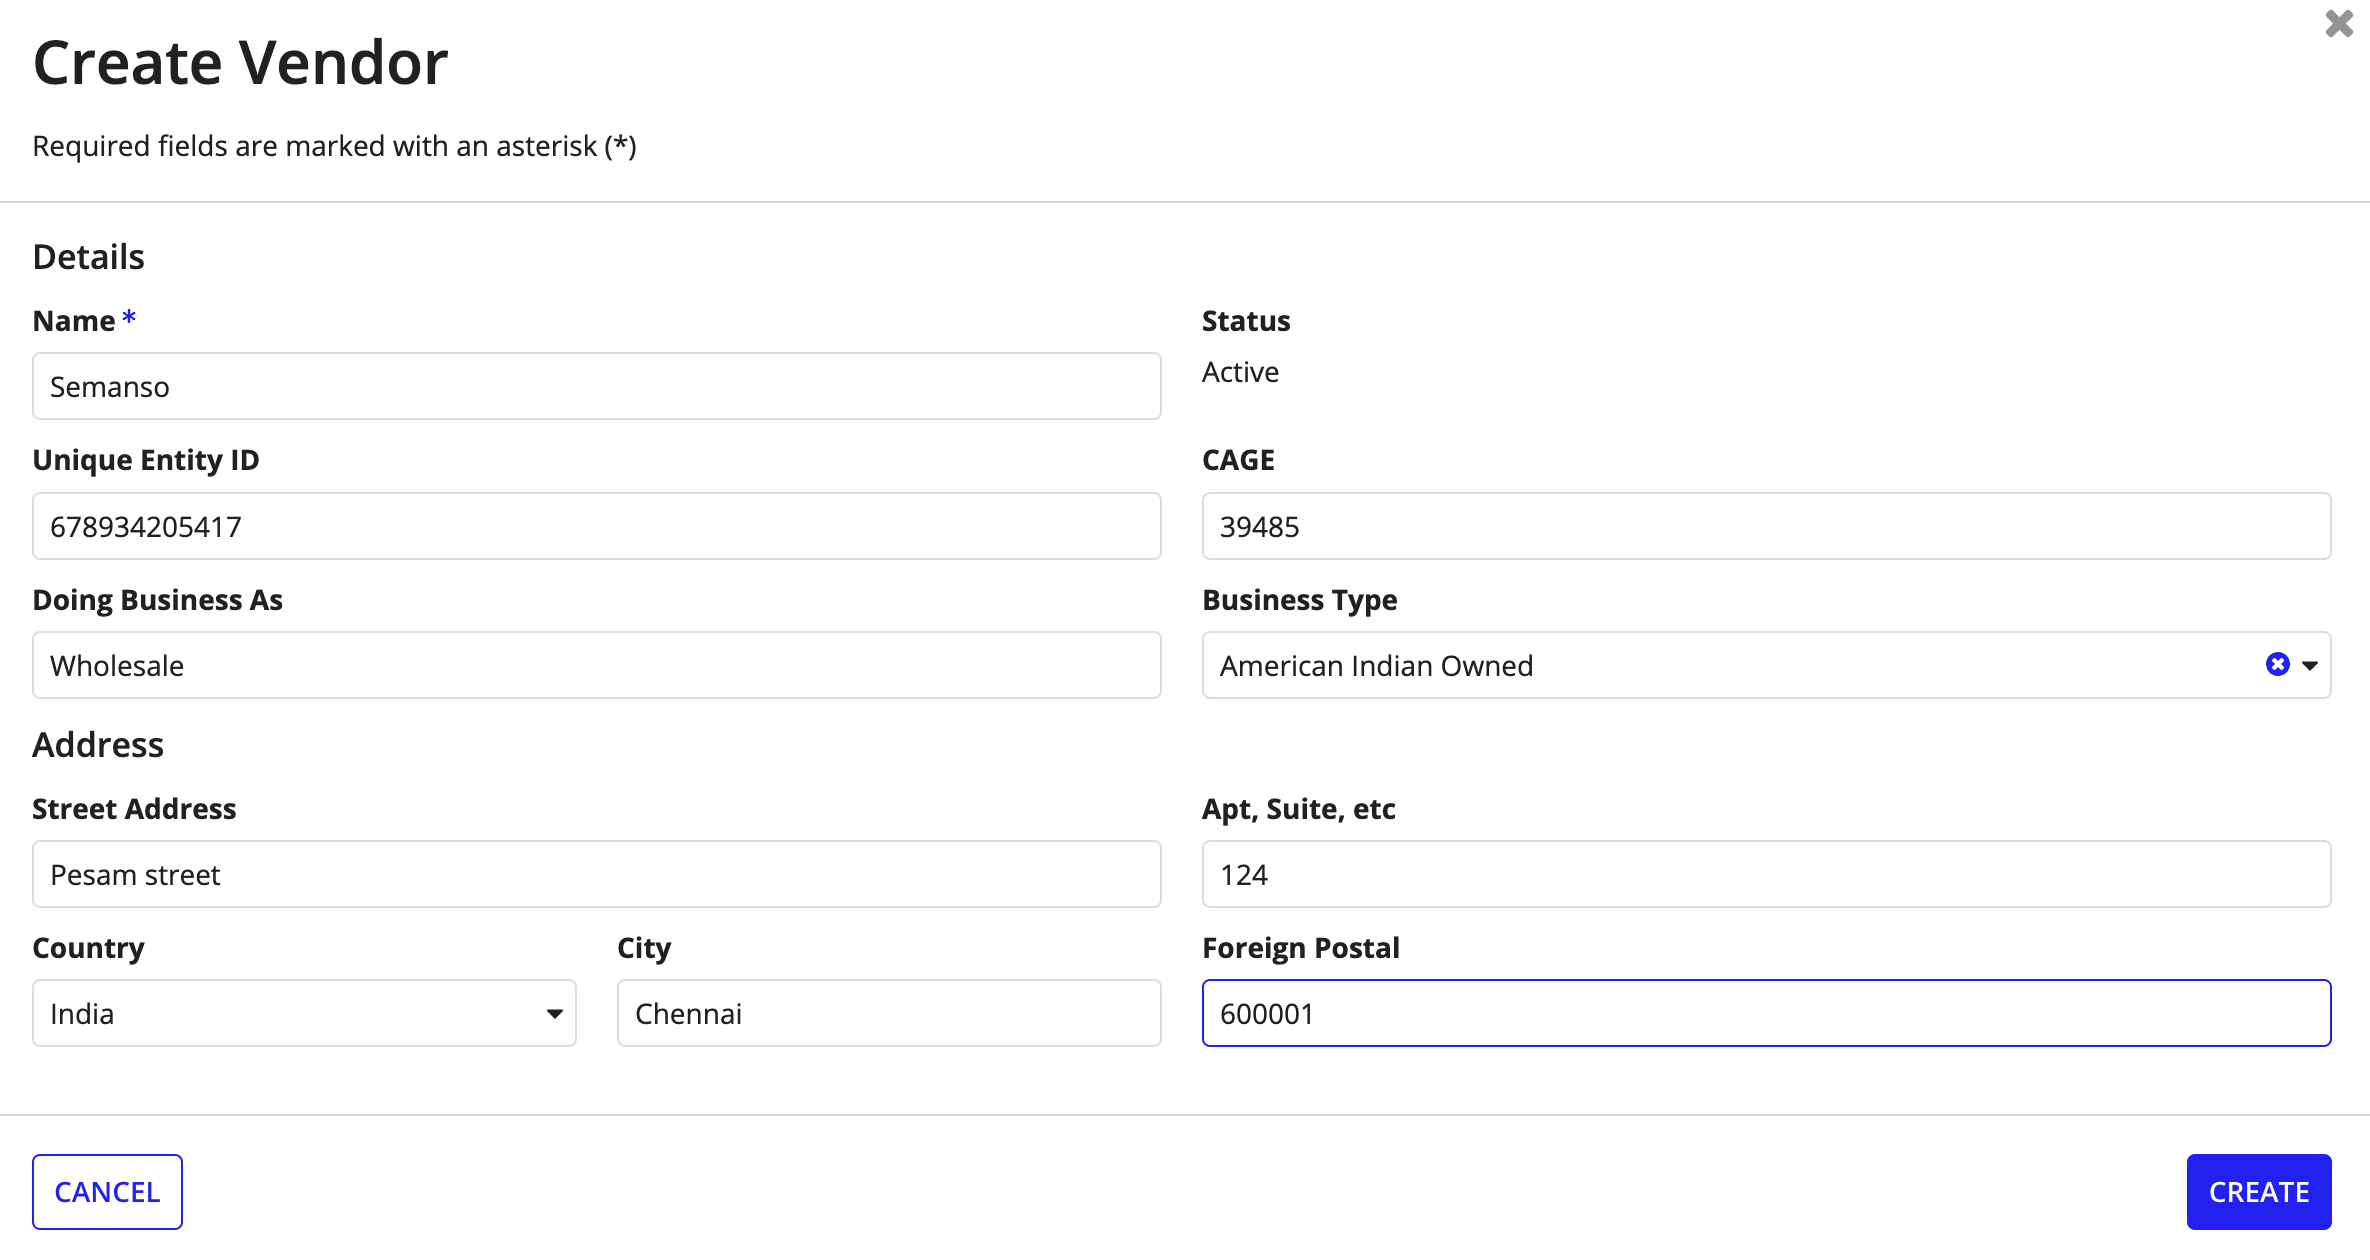
If the vendor record or SAM.gov contains the vendor's UEI or CAGE number, GSS displays the vendor and allows you to select it. If a vendor record does not exist in GSS or SAM.gov:
-
Click Create a vendor manually to open the Create Vendor wizard.

- Enter the vendor and address details in the respective sections.
-
Click CREATE to create the vendor. The created vendor is now available for search and selection.
-
- Search and select additional vendors if required.
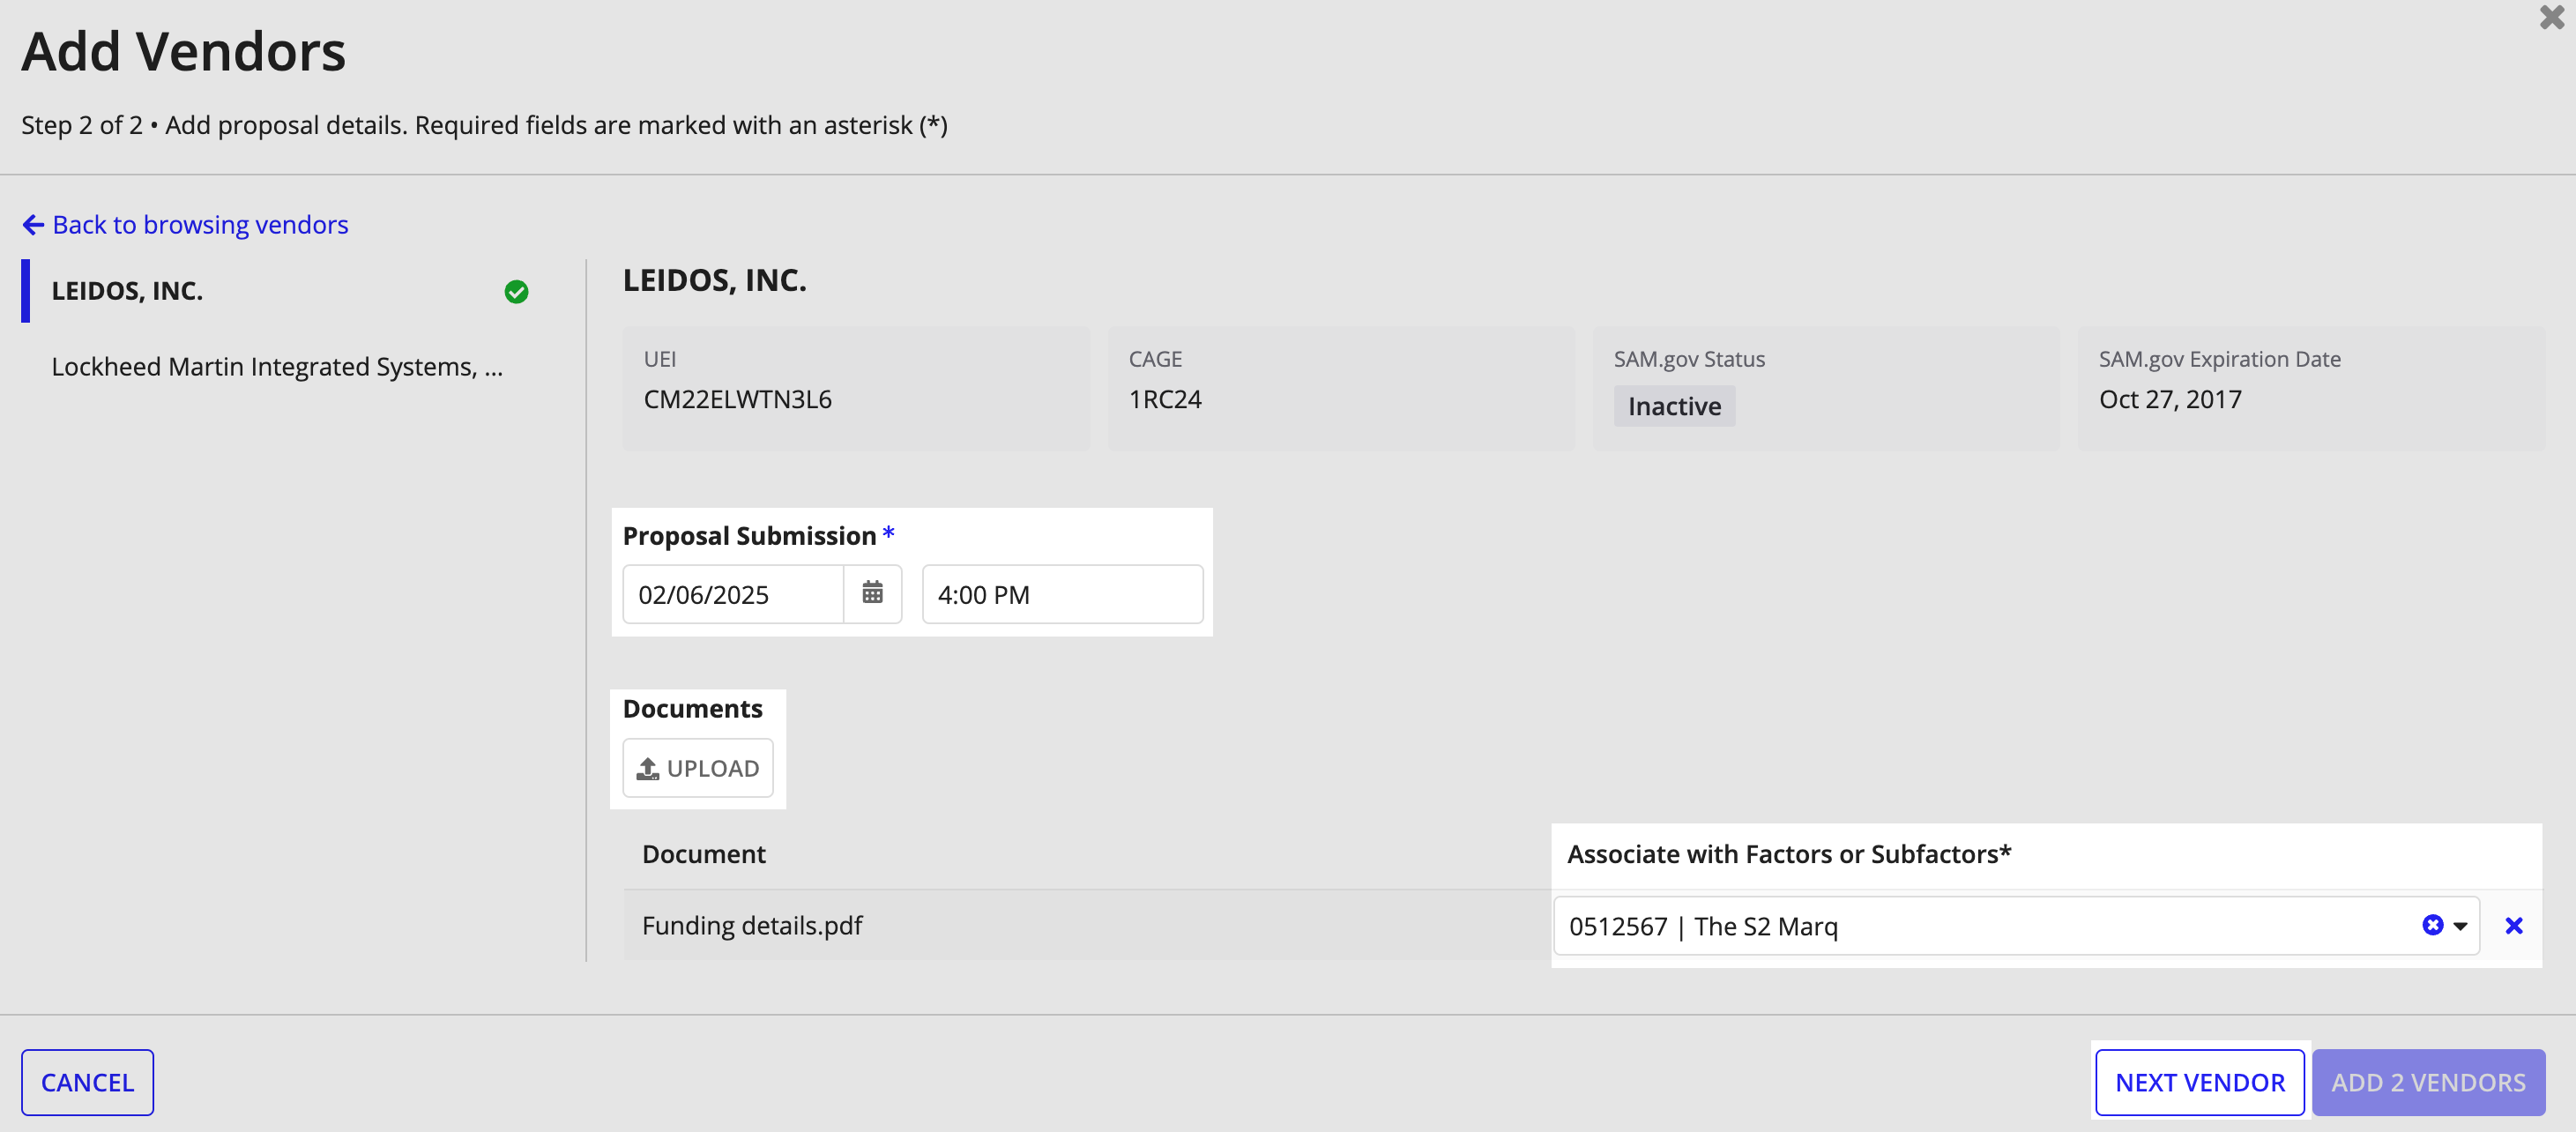
- Click NEXT to open the proposal details section.
- Select the Proposal Submission date and time using the date and time pickers.
- Upload the vendor's proposal and other evaluation documents.
- Click UPLOAD to open the file picker.
- Select the document to upload.
-
Click to upload additional documents.
Note: After the files are uploaded, the grid automatically populates with the name of each document. Each vendor document is only visible to evaluation chairs, members of the contracting personnel, and the evaluators assigned to the factors/subfactors associated with it.
- Click to remove a document.
- Click UPLOAD to upload the documents.
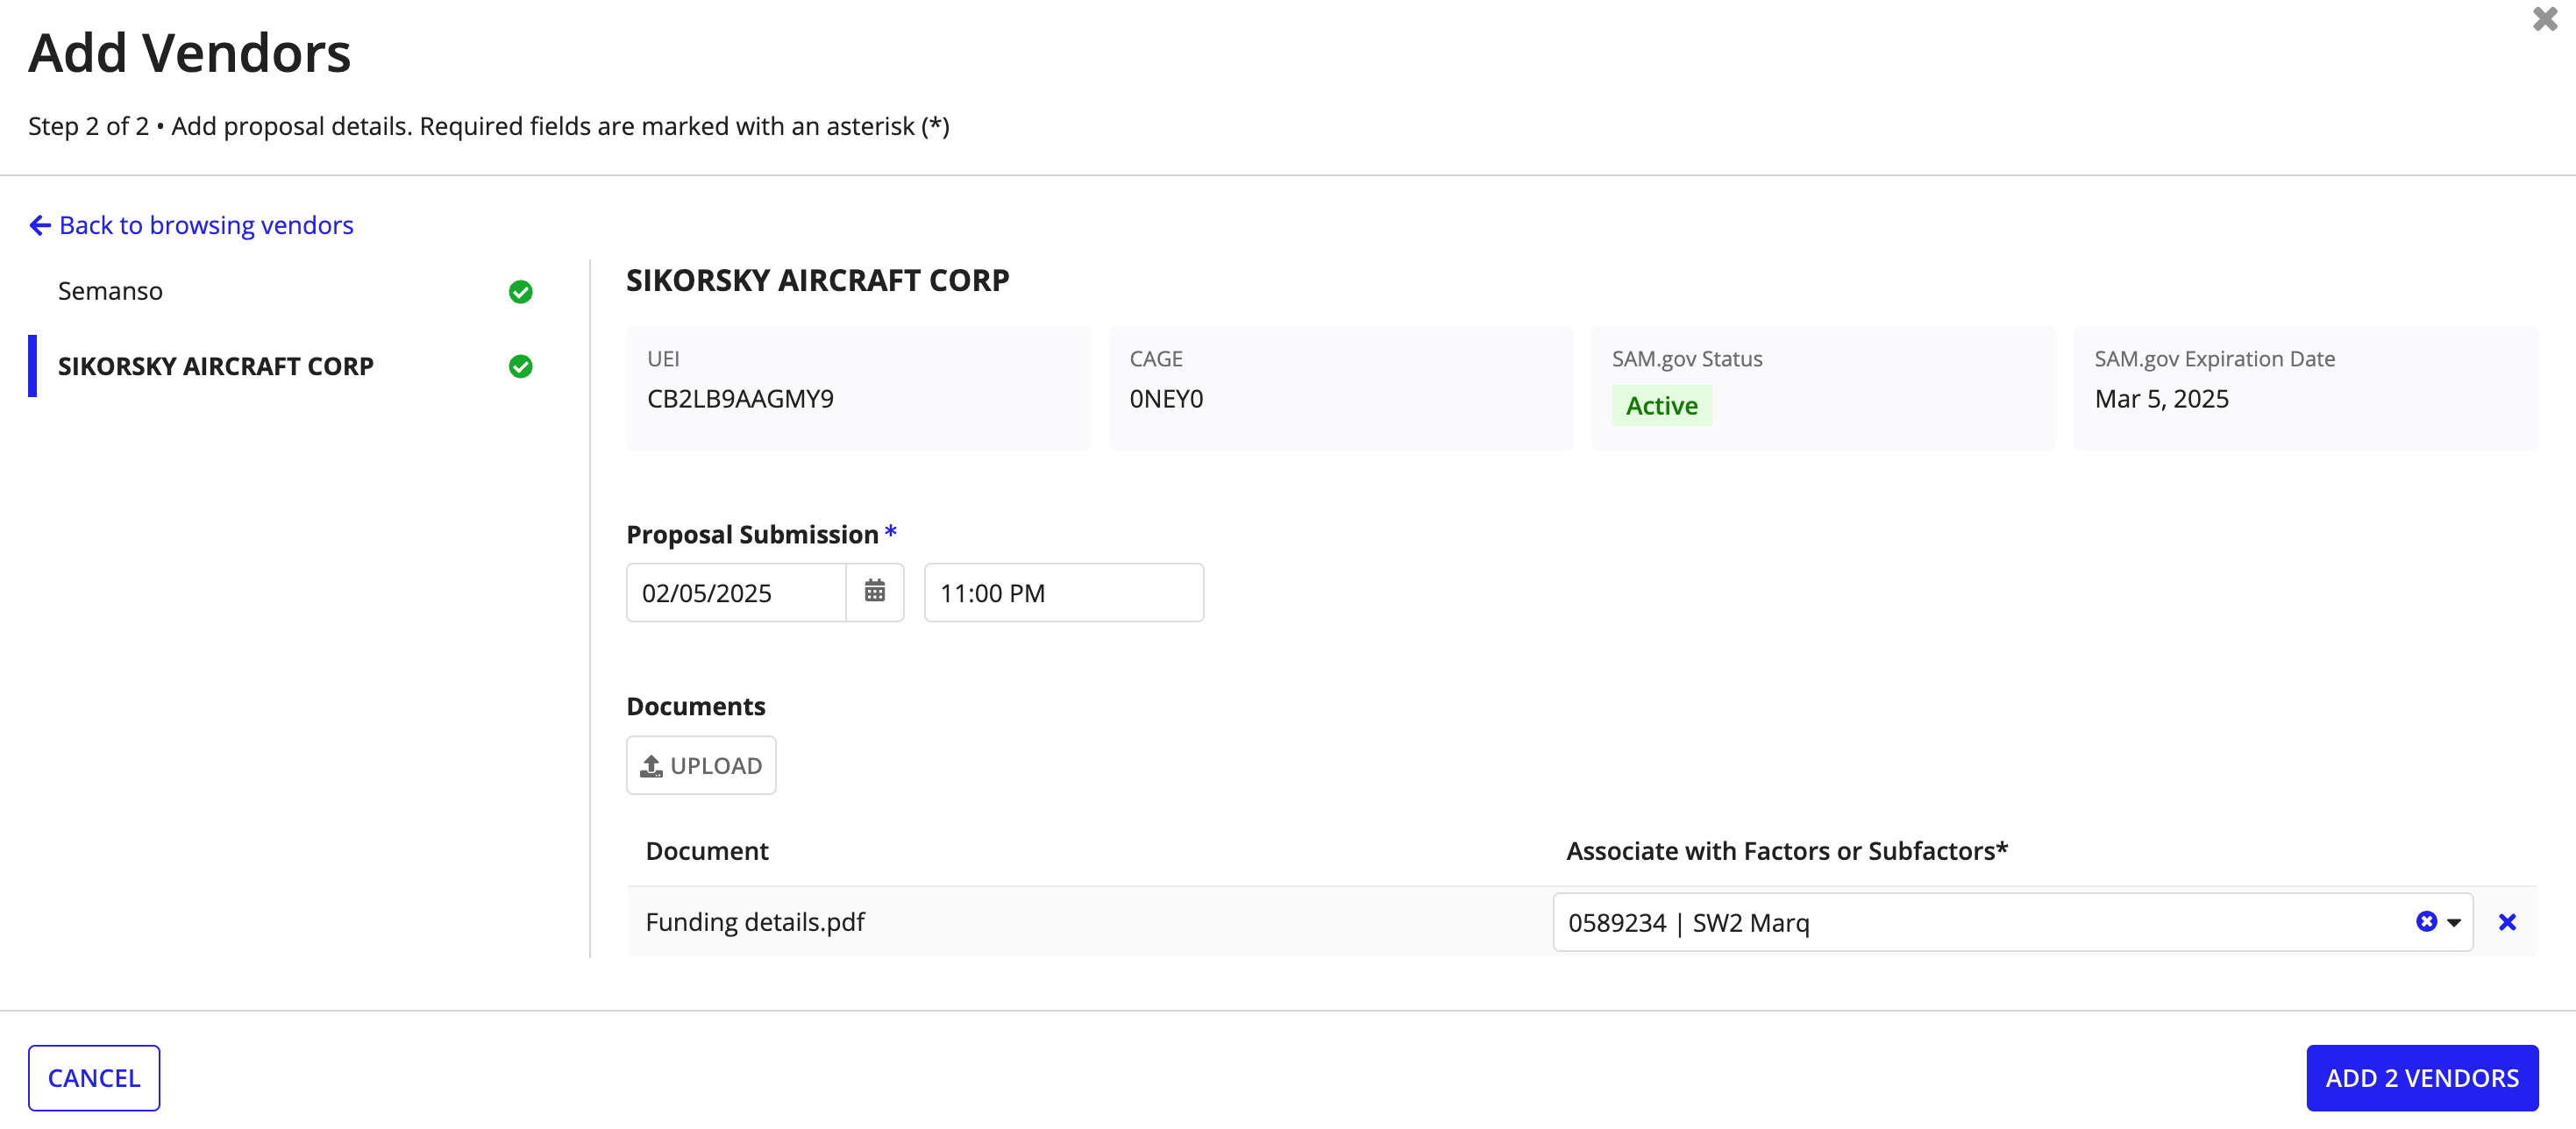
- Select the factors and subfactors associated with the vendor evaluation documents using the Associate with Factors or Subfactors multi-select dropdown.
-
Click NEXT VENDOR to add proposal details for additional vendors.
-
Click ADD VENDORS to add the vendors.
Review and start evaluationCopy link to clipboard
On the evaluation record:
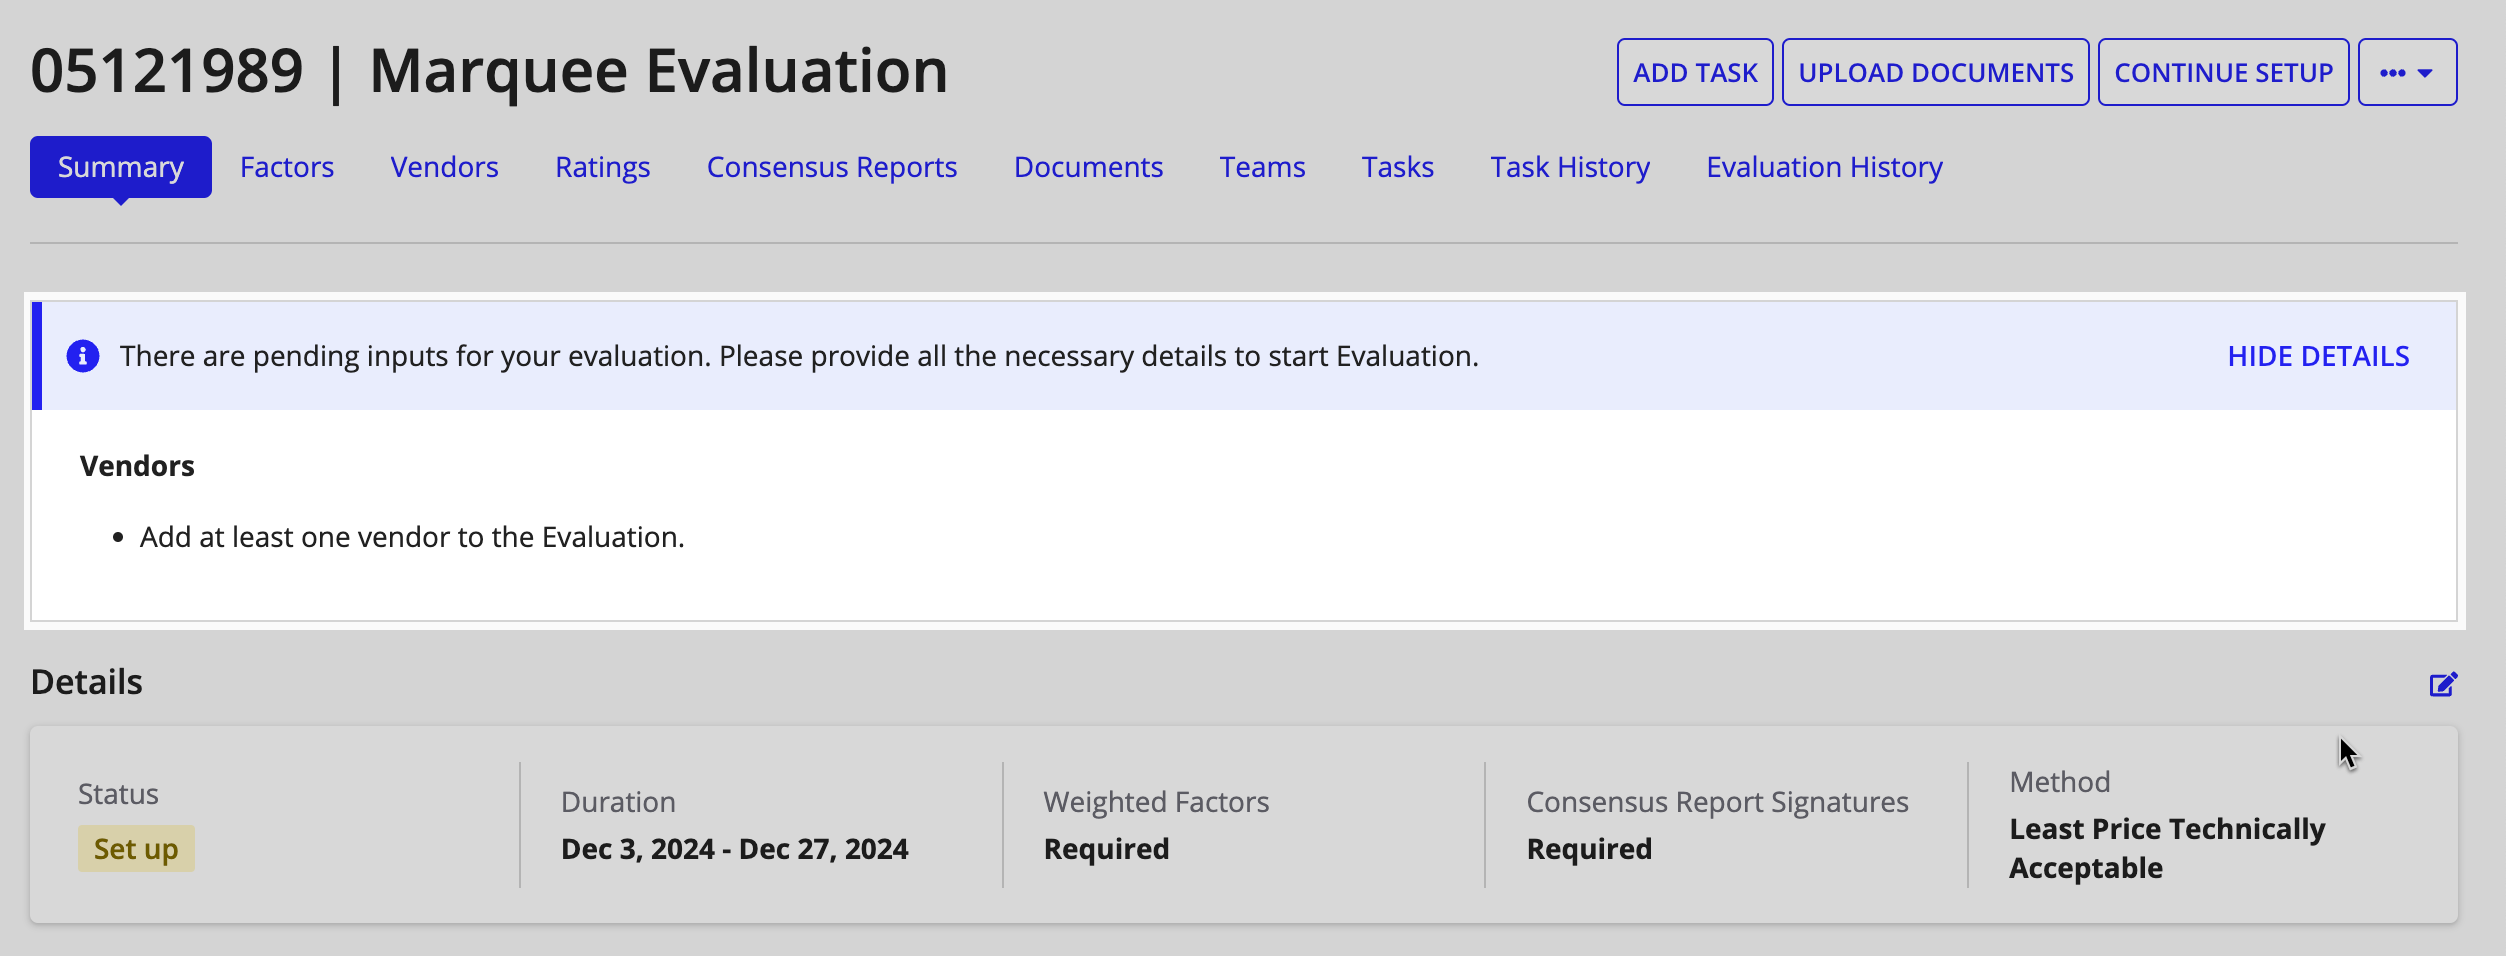
- Review the defined evaluation details.
Any missing information and errors are displayed on top of the evaluation record page.
-
Click SHOW DETAILS to view the pending actions.
Note: If no errors appear and the START EVALUATION button is clickable, the evaluation is ready to start.
-
-
Click START EVALUATION to open the Start Evaluation confirmation dialog box.

-
Click START to start the evaluation.
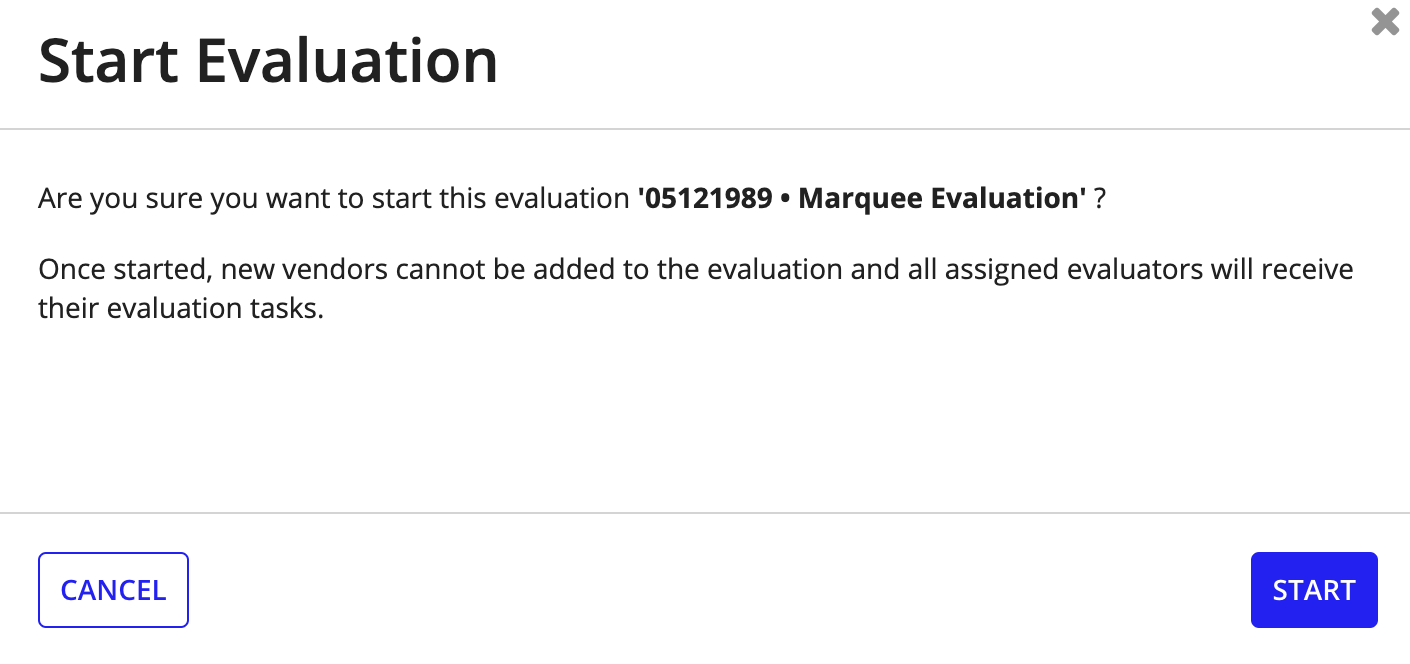
Once the evaluation is started, all assigned evaluators receive their evaluation tasks.
See Managing Evaluations to walk through how to manage evaluations.