This page is about the packages you can create and deploy in Appian.
A package is a collection of Appian application changes that a developer can deploy to another environment. Preparing a package is an important step in the deployment process and involves understanding what changes you need to deploy and how these changes will affect your target environment.
We recommend that you use packages as a tool for building your applications and ensuring successful deployments. With packages, your development team can better organize the changes being introduced, collaborate effectively during development and peer reviews, and monitor the progress of each package periodically.
Deploying a package is the goal of your packaging process. With packages, you can take advantage of direct deployments and external deployments. Alternately, you can download the package zip file and deploy it yourself by logging in to the target environment and manually importing it. Learn more about manual export and import of packages.
Packages allow you to:
Your package may require other files to successfully deploy in the target environment. Import customization files, database scripts, and plug-ins are common dependencies that can be directly deployed alongside your packages. Based on the type of changes you are making to the target environment, your list of dependencies and how you deploy them will vary.
The packaging process includes the following steps:
Note: Appian RPA customers need to package and deploy robotic processes separately from applications. Learn how to deploy robotic processes and apps.
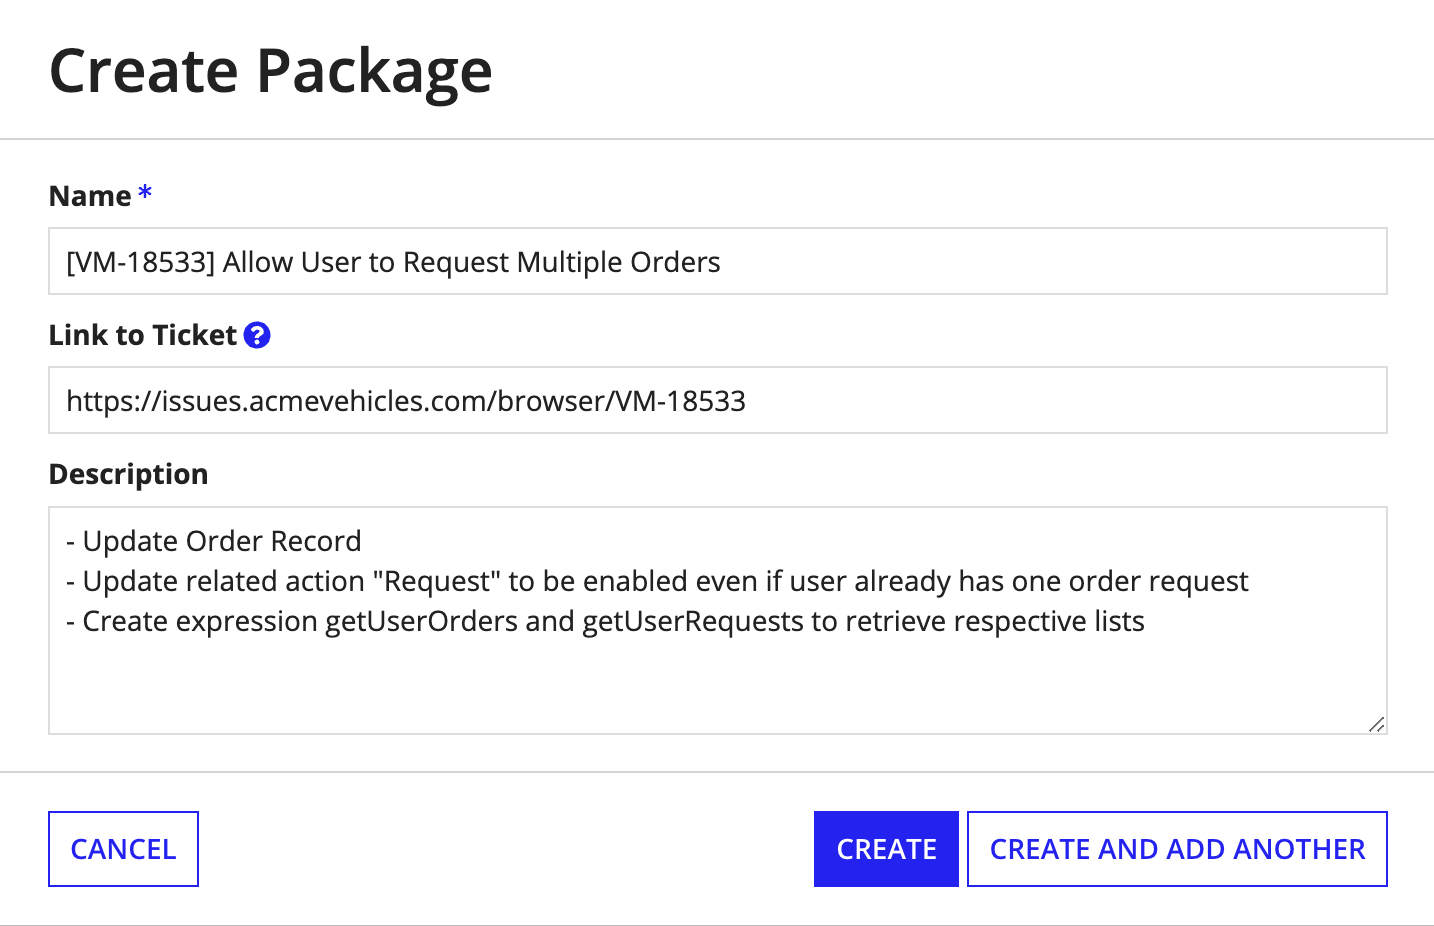
You can configure the following properties for your package:
| Property | Description |
|---|---|
| Name | The name of the package. This name must be unique within an individual application. |
| Link to Ticket | (Optional) Add the URL of the related ticket in your project management tool (for example, Jira). This property enables better traceability between Appian and your project management tool. |
| Description | (Optional) Add a clear, concise description of the application changes you're including in the package. This description helps you to quickly assess differences in packages. |
To make your development life cycle more streamlined and efficient, Appian recommends creating packages before making changes to objects. Create a corresponding package once you have finalized requirements for building or enhancing an application.
All packages created in an application will be visible to any user with Viewer permissions or above to the application. Within a package, users can only see the objects to which they have the required permissions.
You can create up to 100 packages for an individual application.
To create a package:
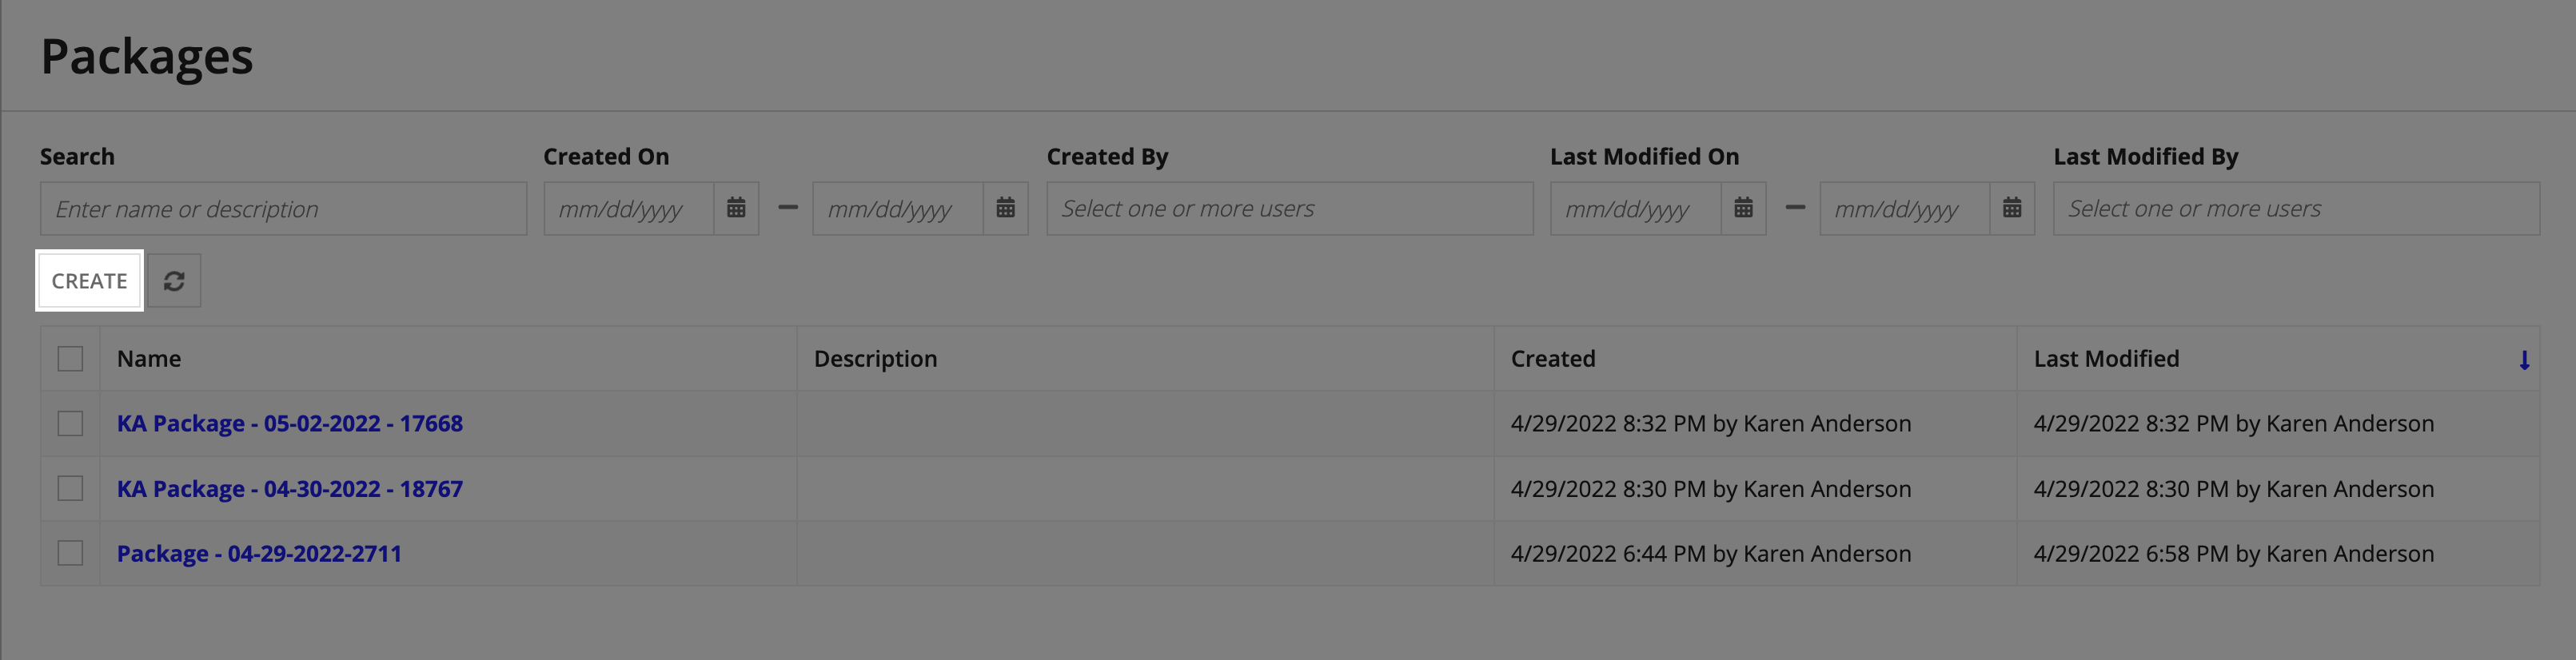
In the application, click PACKAGES.

In the Packages dialog, click CREATE.
Configure the package properties.
For example:
In the package list, click the name of the package you just created.
You'll notice the contents view for the package is empty right now. Most likely, you'll want to do one or more of the following actions next:
While building or improving your application, you'll commonly perform the actions described in this section.
To view the list of packages for an individual application, click PACKAGES in the application.
From this list, you can:
To view an individual package, select the package from the dropdown menu in any tab of the application:
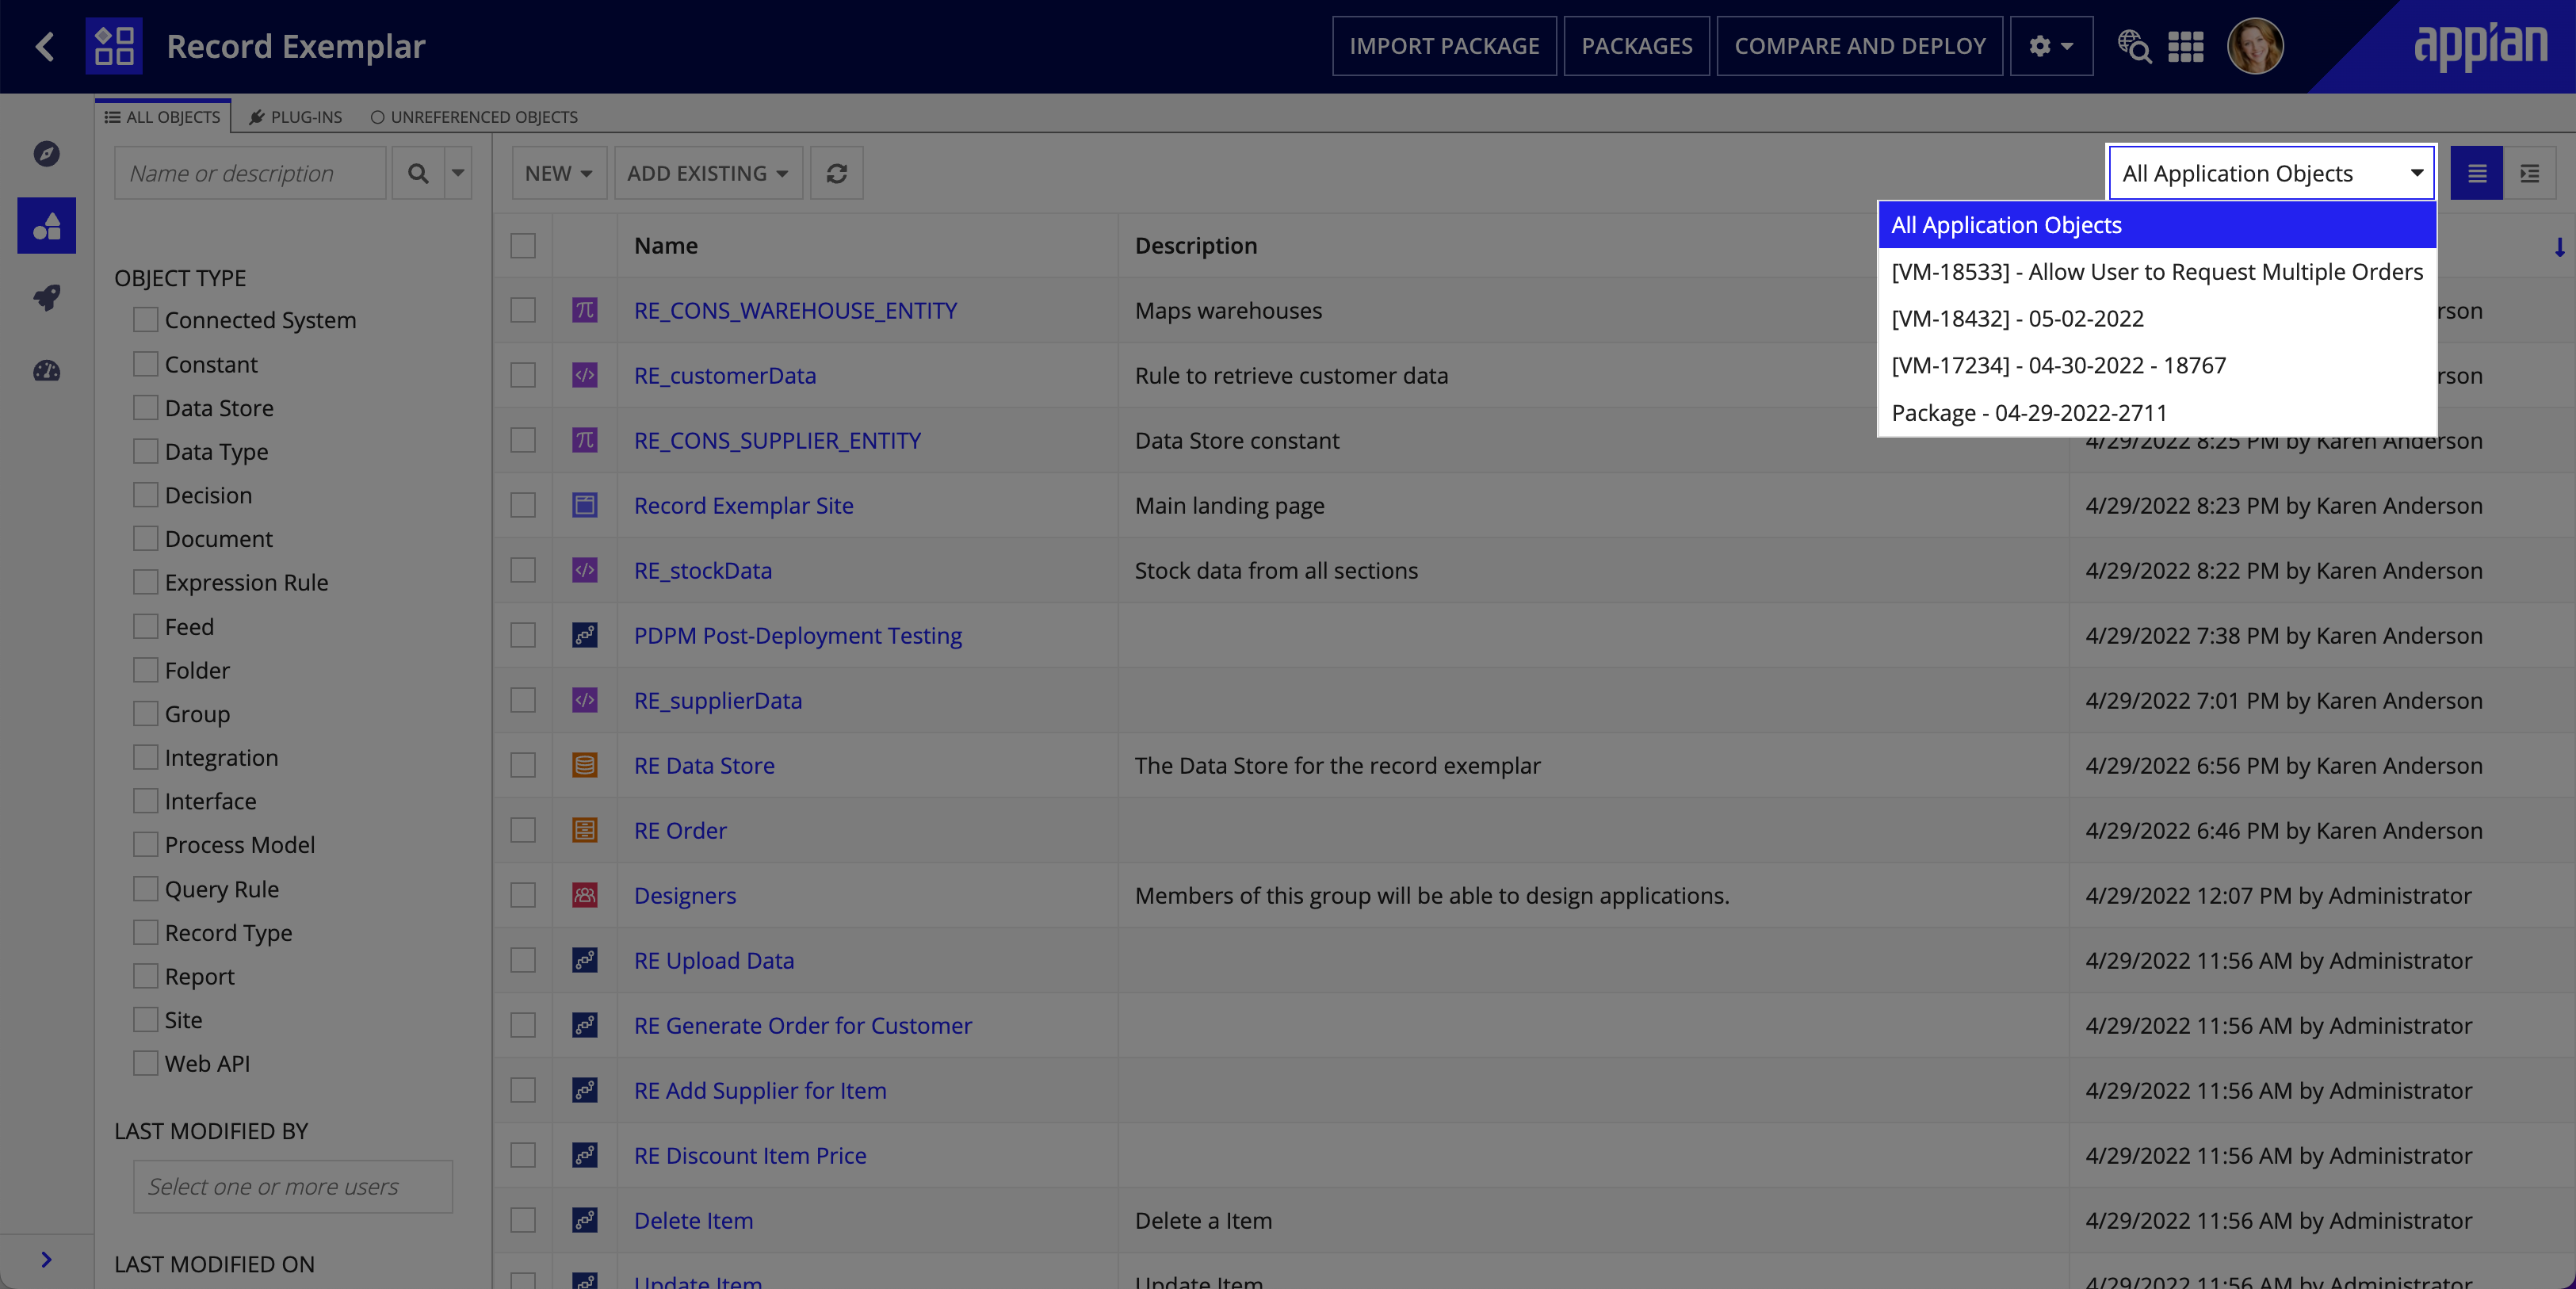
For example:
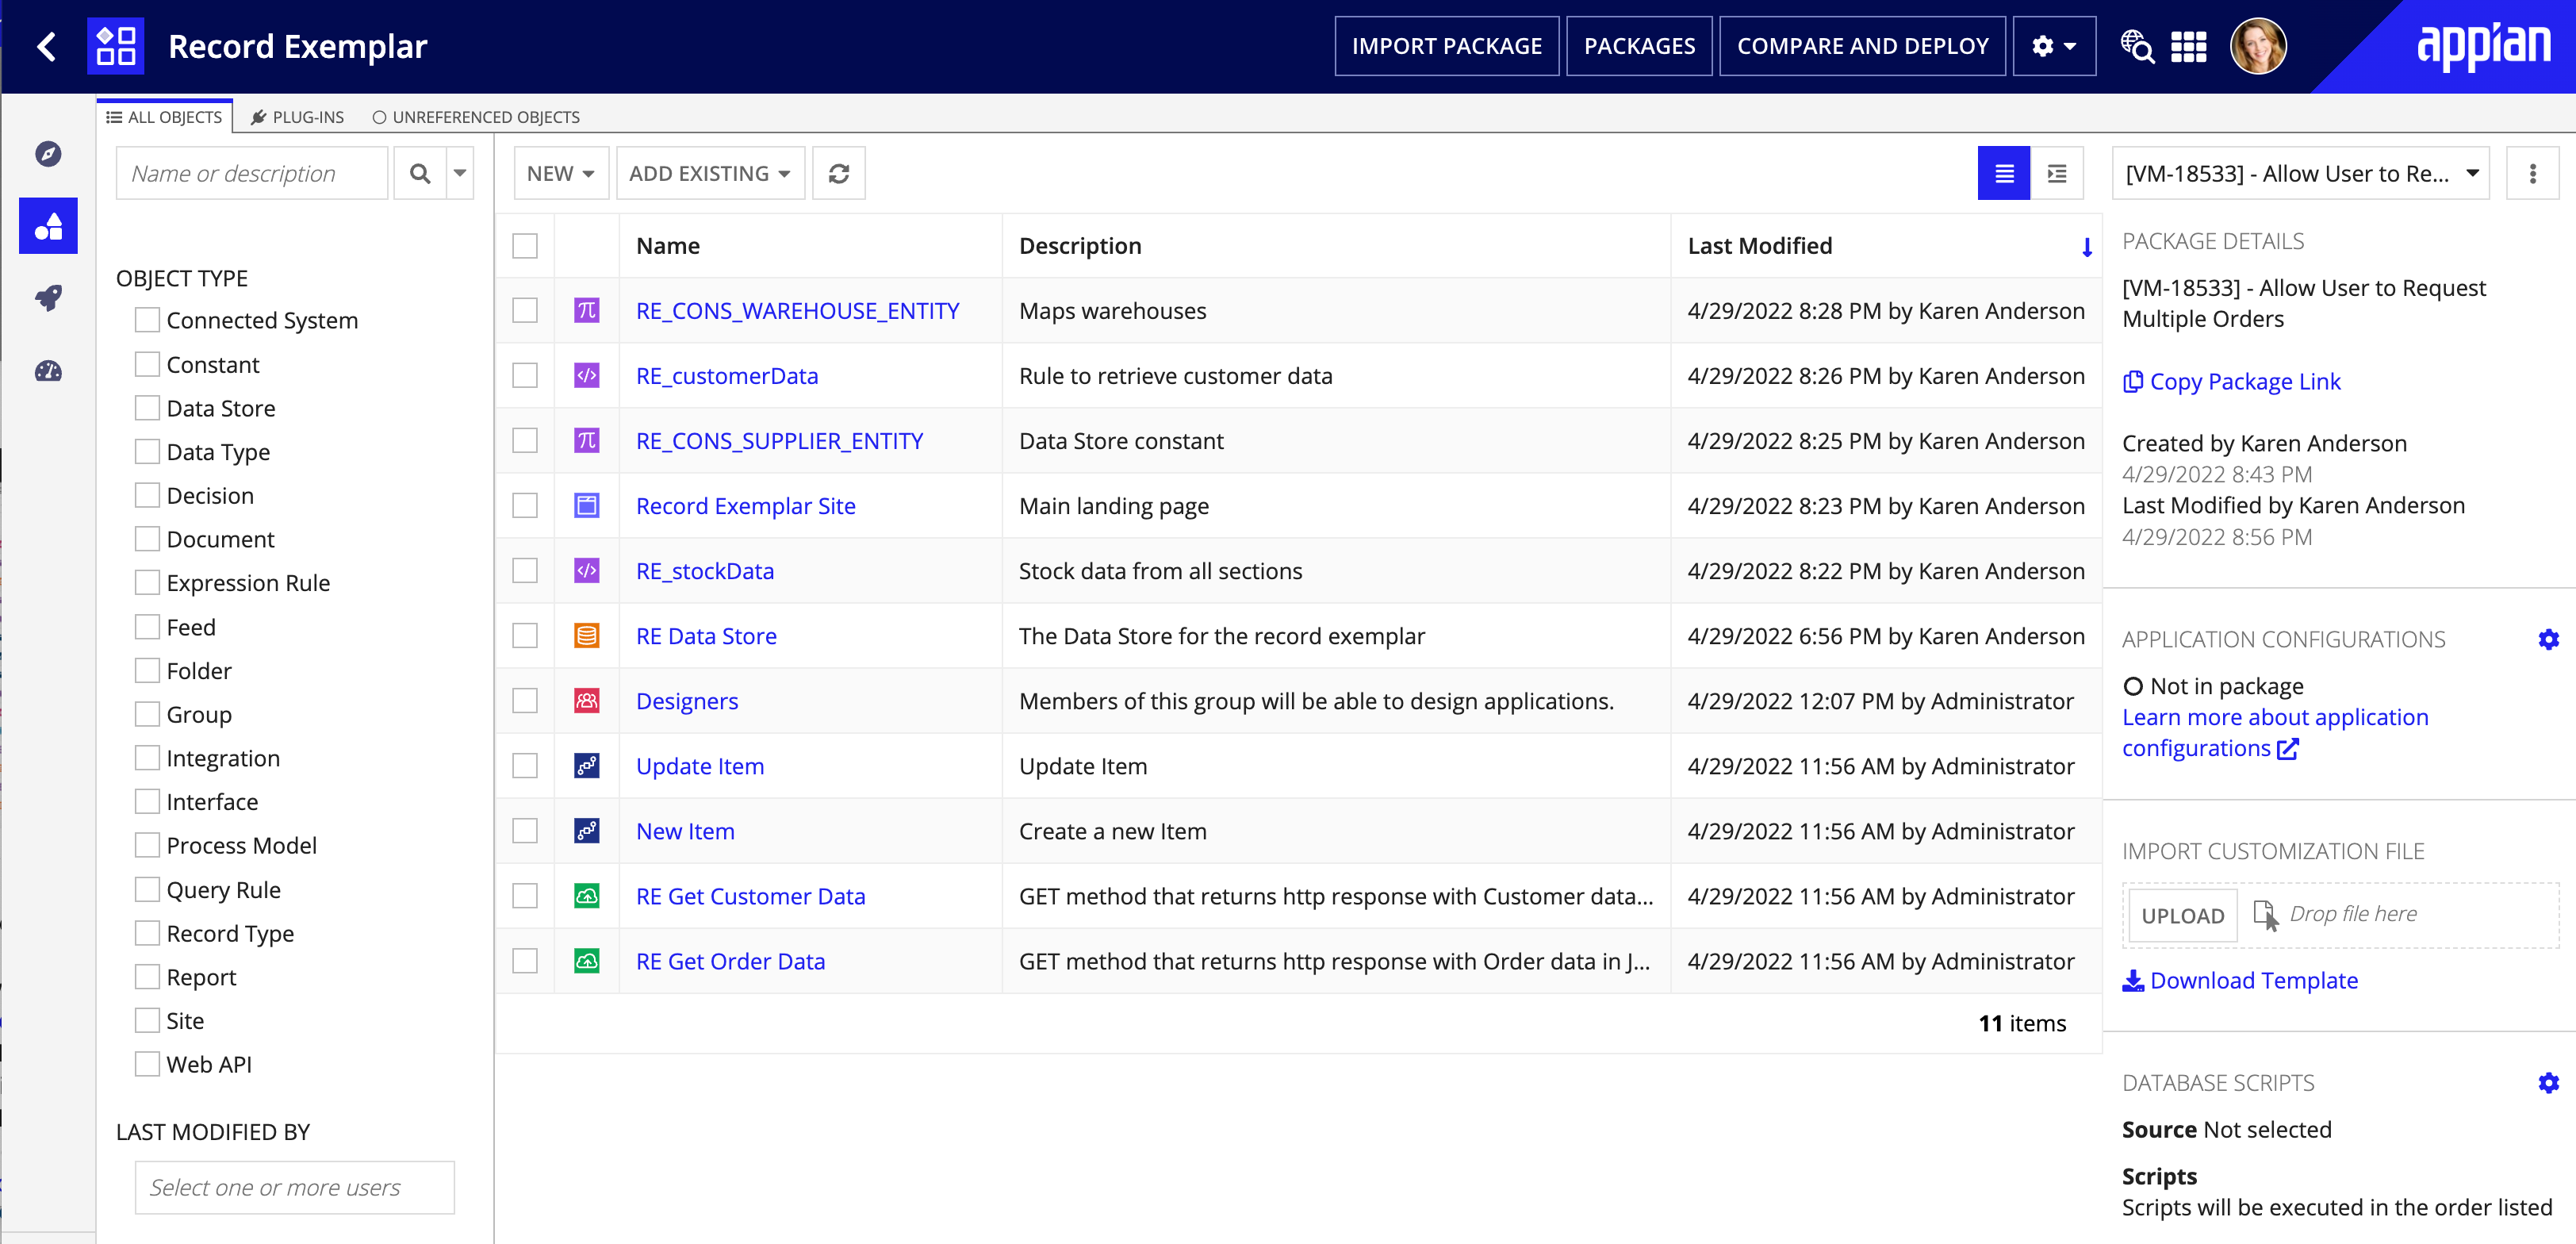

The package view includes:
You can easily share the link to a package for change reviews.
To get the link:
To edit package properties:
Once you've created a package, you'll want to specify the design objects to include in the package.
To add design objects to a package:
Continue as appropriate:
Make your selections:
| Option | Action |
|---|---|
| Application Contents | Enter the name of the application, then select the application from the dropdown list. If you select an application other than (or in addition to) the current application, Appian first adds the objects from that other application to the current application, then adds the objects to the package. |
| Folder Contents | Enter the name of a folder, then select the folder from the dropdown list. You can select multiple folders. |
| Existing Objects | For each object category, enter the name of an object, then select the object from the dropdown list. Object categories include Record Types, Process Models, Reports, and Other (for example, a connected system. |
(Optional) If checking for missing precedents:
You can add contents of one package (source package) to another package (destination package). These contents include:
If the destination package already contains an item from the package, Appian handles the contents as follows:
| Package Item | Description |
|---|---|
| Application configurations | Adds application configurations to the destination package if the source package includes application configurations. If the destination package includes application configurations, and the source package does not, Appian keeps the original application configurations setting for the destination package. |
| Import customization files | Adds an import customization file (ICF) to the destination package if the source package includes an ICF. If both source and destination package include an ICF, Appian generates a file combining properties from both files, which it then includes in the destination package by default. This system-generated file is named for the destination package and appended with the text _combined. When creating this file, Appian simply combines existing properties; it does not eliminate duplicate properties. Alternatively, you can upload an import customization file to replace this system-generated file. |
| Database scripts | Adds scripts from the source package to the destination package. By default, places the new scripts last in execution order. |
| Plug-ins | Adds plug-ins from the source package to the destination package. |
To add contents from one package to another:
Tip: The new file can be an edited version of the system-generated file. Just click the link for the combined file to download it, edit the file locally, then upload it as a new file.
 next to the script you want to remove.
You can modify objects in the package view the same way you'd modify the objects in the applications view.
You can:
Tip: In the package list, you can add objects from one package to another.
Application configurations are a category of settings that apply to the application on a global level. These configurations are not design objects, but may rely on design objects to function.
Application configurations include:
To deploy changes to these settings to a target environment, we recommend adding application configurations to your package.
If your application is new to a target environment, the deployed package always includes application configurations.
To deploy only application configurations to a target environment, create a package that leaves out all design objects except the objects needed by the configurations. This approach allows you to promote these changes to a higher environment without deploying in-progress work on design objects.
When adding application configurations to a package, make sure that the package includes any objects that the application configurations rely on to function. These precedents can include:
| Configuration | Precedents |
|---|---|
| Application properties | Default security groups |
| Application security | Groups used in the application role map |
| Application actions | Process models and supporting objects |
| Application documentation | Document objects |
| Post-deployment process | Process models and supporting objects |
In preparation for deployment, Appian compares application configurations in packages to the corresponding configurations in the target environment, then reports the appropriate status. However, this comparison does not track whether supporting objects might have been deleted in the lower environment, so you will need to manually delete those objects in the higher environment. Learn more about package comparison.
To add or remove application configurations to a package:
Click Review Configurations . The Application Configurations dialog displays a read-only summary of configurations for the current application.
For example:
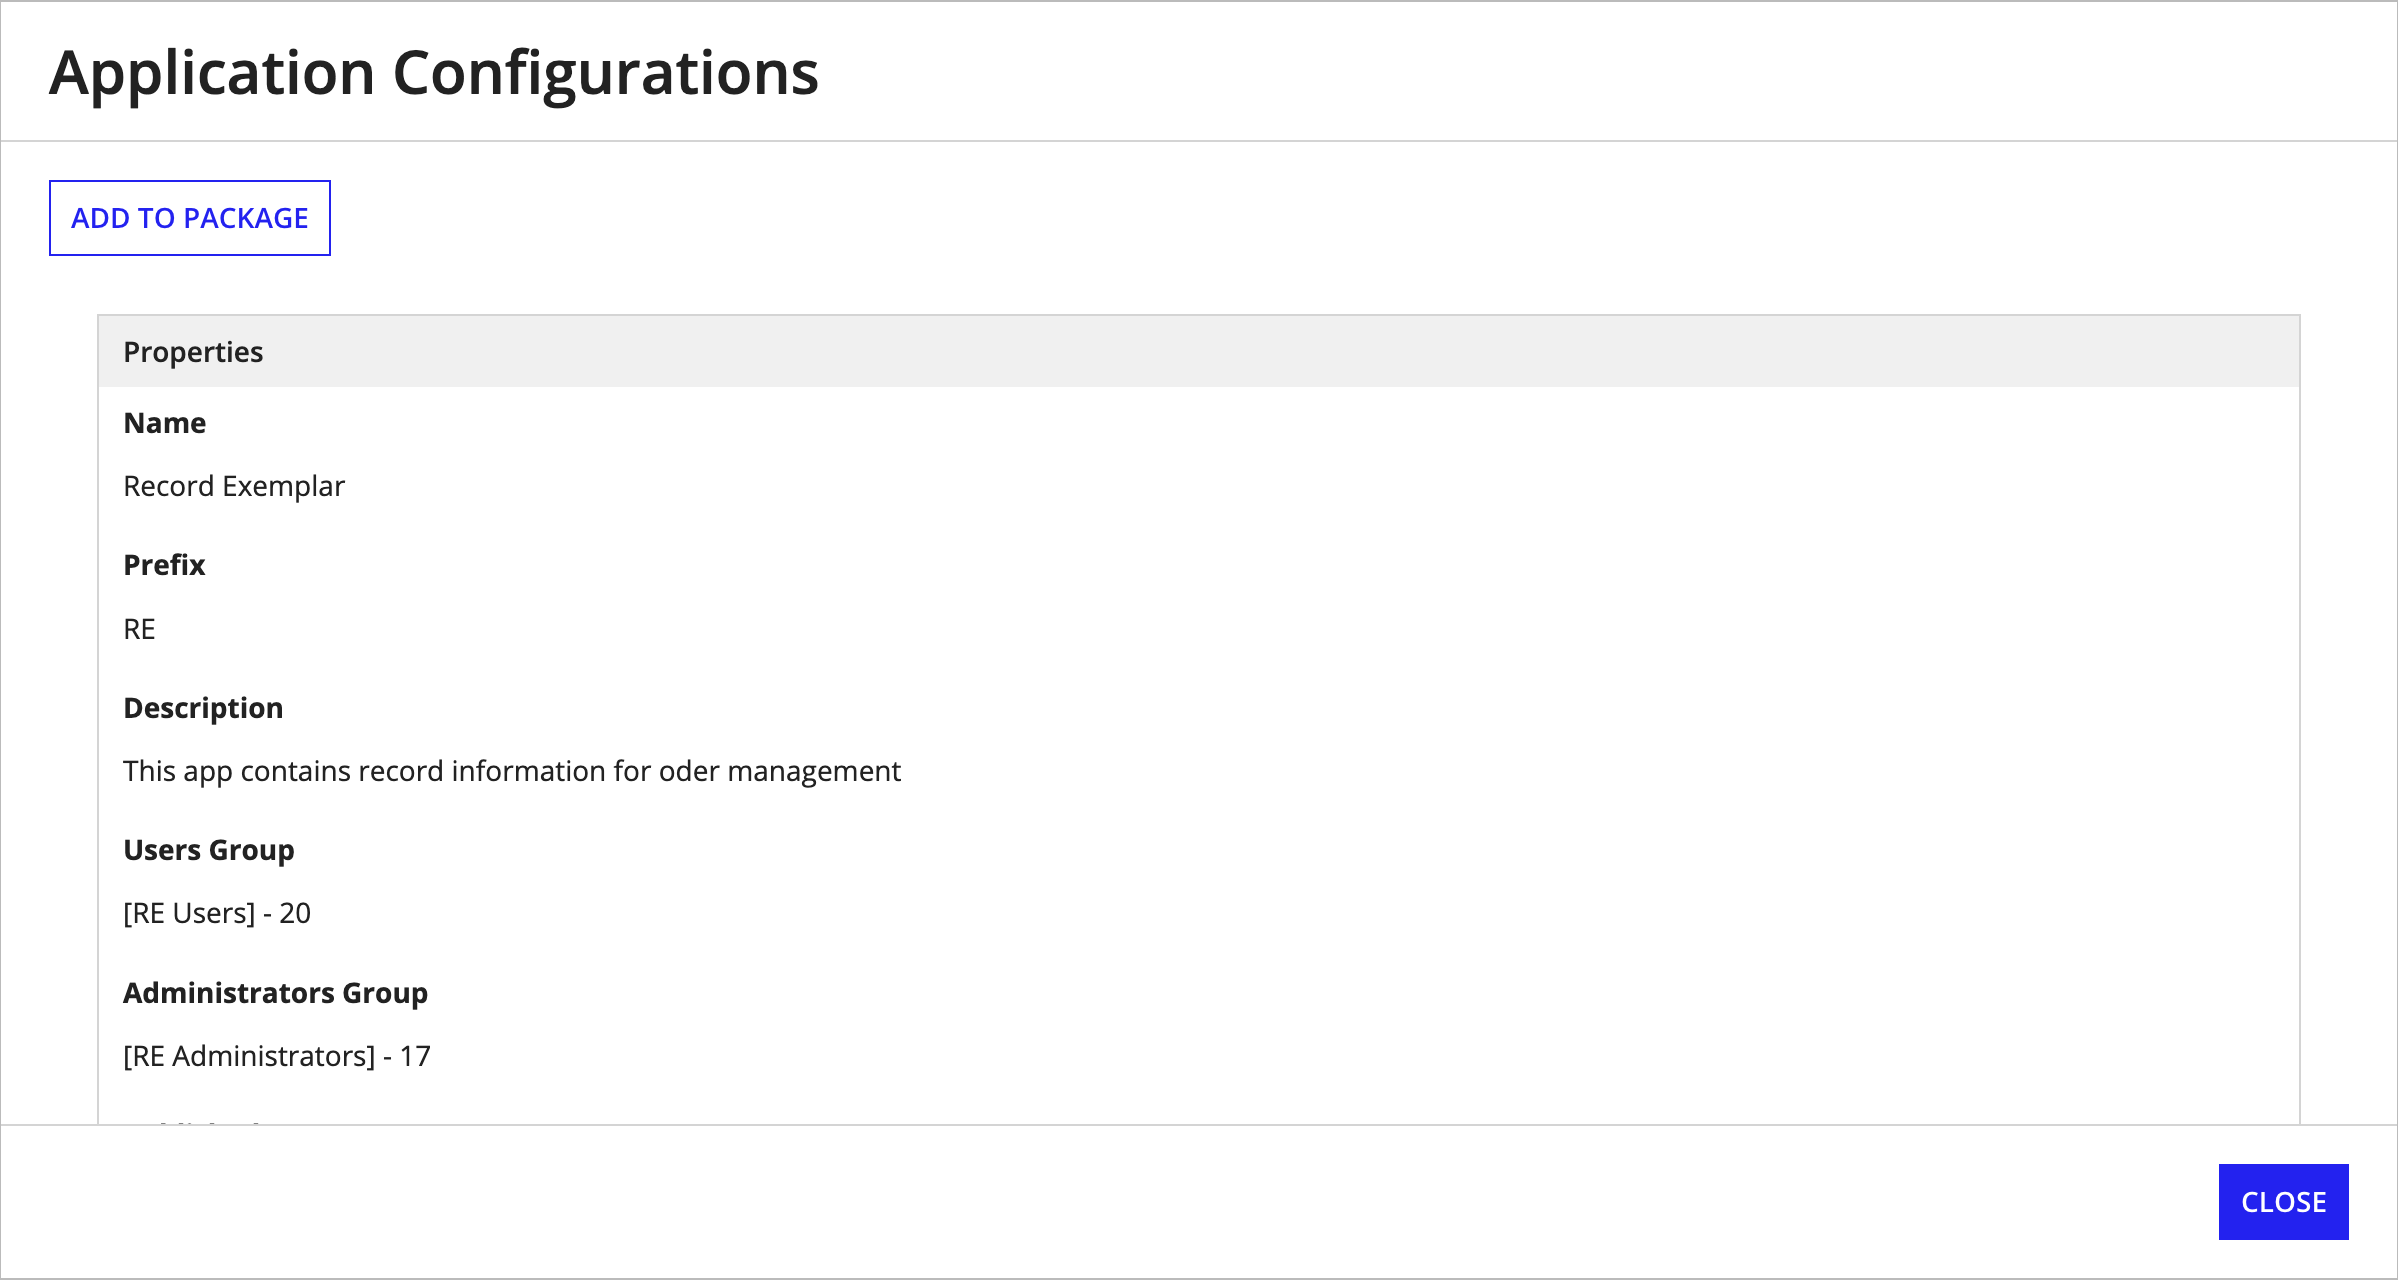
This summary includes sections for application properties, application security, application documentation, application actions, and the post-deployment process.
You'll see a number of benefits when you add an import customization file to a package during development:
To add import customization files to a package, you'll need a basic user assigned the Designer user role and the appropriate permissions for the application:
In the package view, Appian displays a message when you first add a design object to a package that requires an import customization file. This message clears when you add an import customization file.
After you've added an import customization file to a package, Appian also displays a message when you add a relevant design object, so that you can keep the import customization file up-to-date. This message clears when you upload a new import customization file.
Appian doesn't display a message if you remove the relevant design object from the package. It's good housekeeping to remove the related property from the import customization file and upload the updated file to the prepared package, but keeping the out-of-date file won't impact deployment. Appian does not apply the property in the target environment unless the deployment includes the relevant design object.
To add an import customization file to a package:
Navigate to and select the .properties file you want to upload. The selected file appears in the pane.
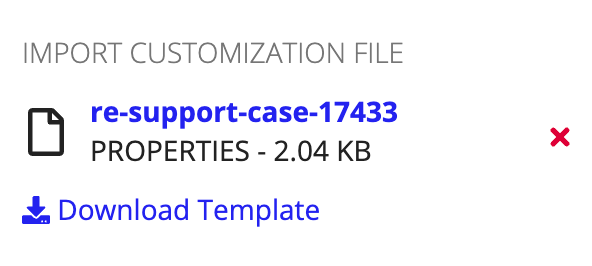
After you've added a file, you can also do any of the following in the IMPORT CUSTOMIZATION FILE pane:
icon next to the file.Improving an application sometimes requires changes in the structure of underlying data sources. To implement these changes in the data source in a higher environment, you can create database scripts.
You can include these database scripts when you deploy a package. However, we recommend adding database scripts to the package during development. Adding scripts to packages lends itself to better maintainability and collaboration with your teammates throughout the development life cycle, because with packages you can track, add, reorder, and generally maintain the scripts as you develop.
When you add contents from one package to another, the contents include the database scripts associated with the original package.
To add a database script to a package:
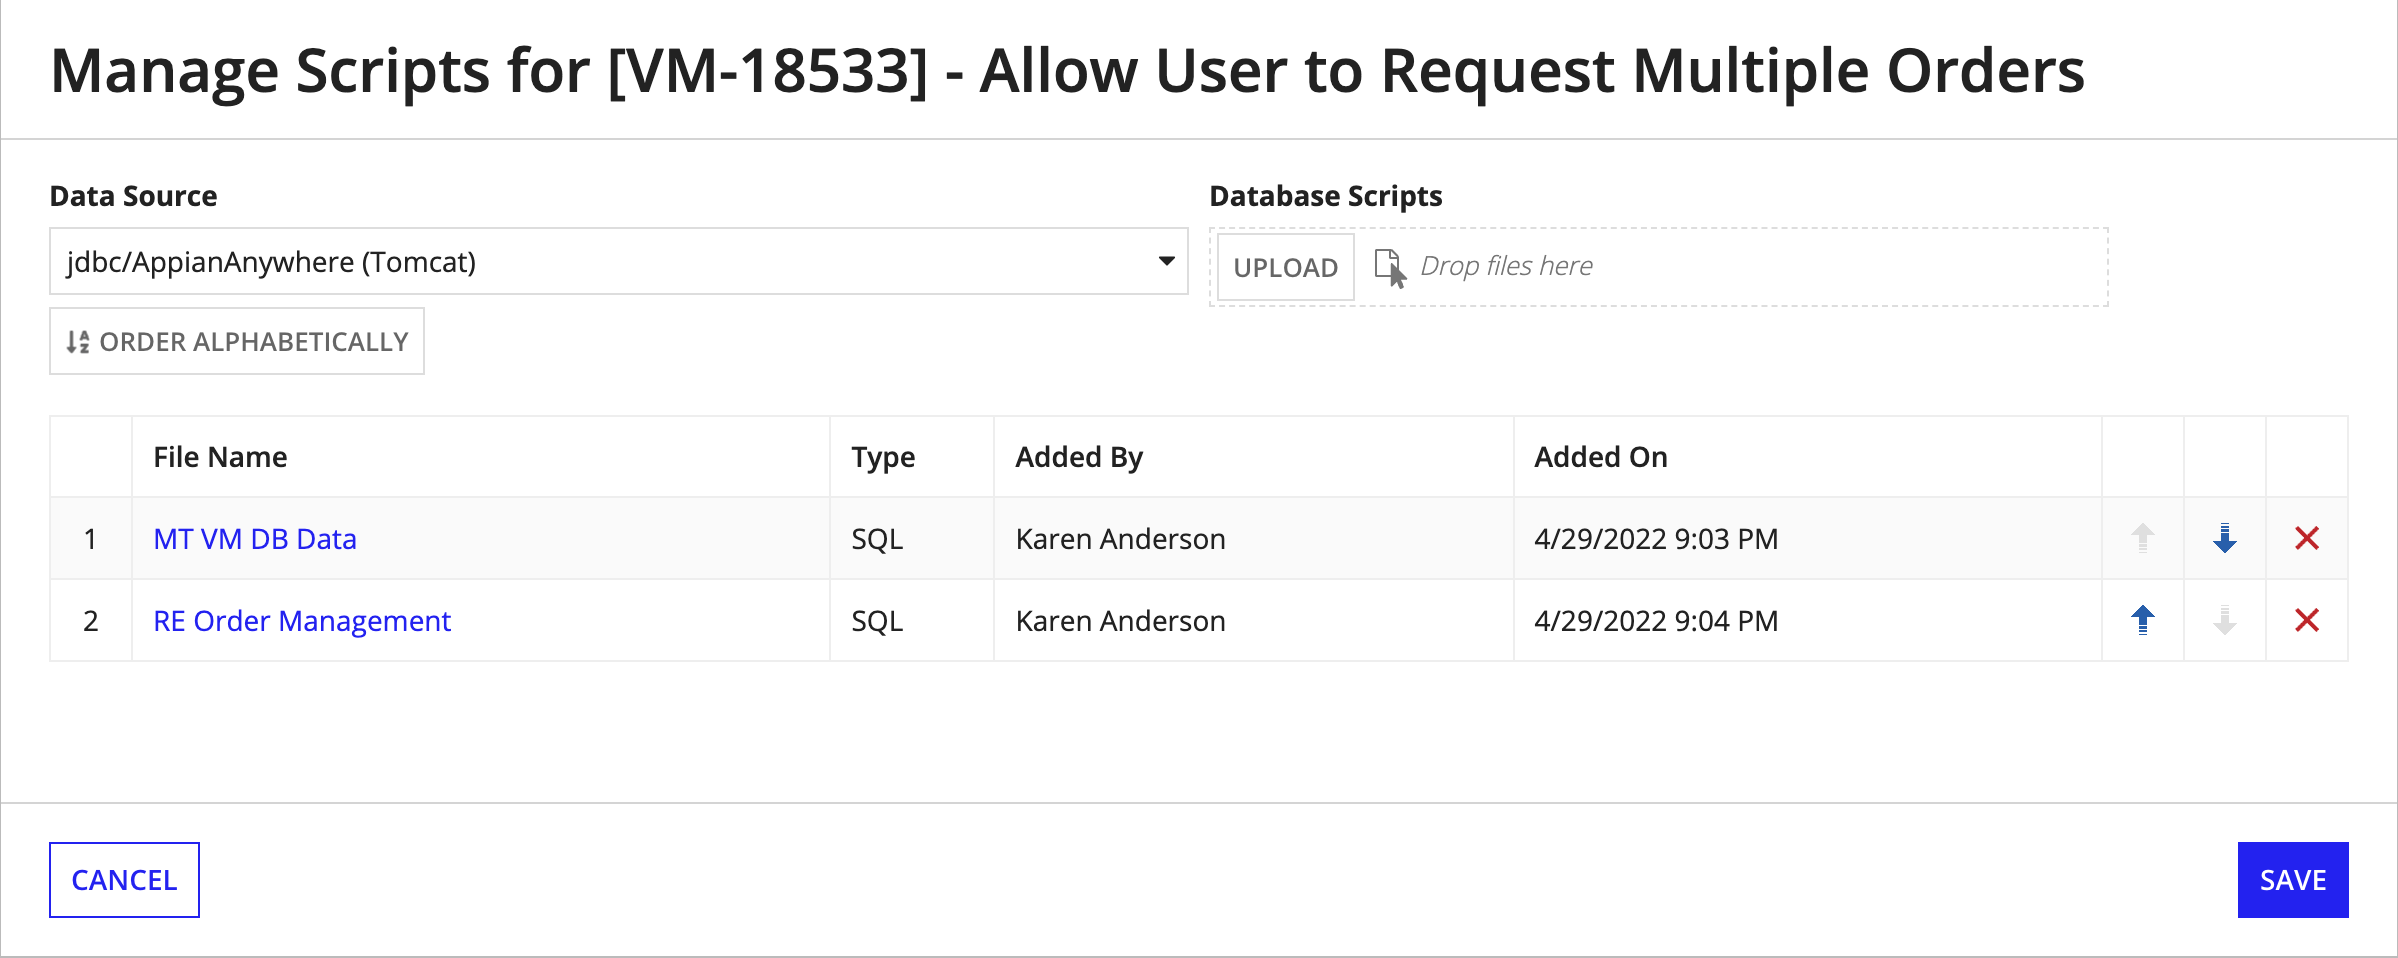
Configure the following properties:
| Property | Description |
|---|---|
| Data Source | Select the relational database that stores data for this application. |
| Database Scripts | For each database script you want to add:
The uploaded script displays in the scripts table. Appian executes the database scripts in the order in which they appear in this table. |
For example:
To update database scripts in a package:
next to the original version of the script.To delete database scripts from a package:
next to the script you want to delete.If objects in your application reference plug-ins, there are additional considerations when deploying the application.
Plug-ins are maintained at the environment level, rather than the application level, which means a plug-in's affiliation with an application is dependent on objects within the application referencing the plug-ins. Plug-ins are not included in the application in the same way as objects. As a result, plug-ins won't appear on the application's missing precedents analysis. You must manually verify the presence of the plug-ins and supporting objects in the target environment.
If the right versions of the referenced plug-ins are present in the target environment, no additional action is needed on your part to ensure successful deployment of the referencing objects.
If the plug-ins are missing in the target environment or aren't the right version for your application, additional action on your part is needed. Your approach depends on the type of target environment and your deployment policies for each environment.
If it's appropriate, you can install or update the plug-ins directly in the target environment:
Alternatively, you can add plug-ins to your package using the steps described in this section, then deploy the package using compare and deploy. You can also add plug-ins to your package from the PLUG-INS tab of the Build view and during the Prepare Deployment step of compare and deploy.
When you add contents from one package to another, the contents include the plug-ins associated with the original package.
To add plug-ins to a package:
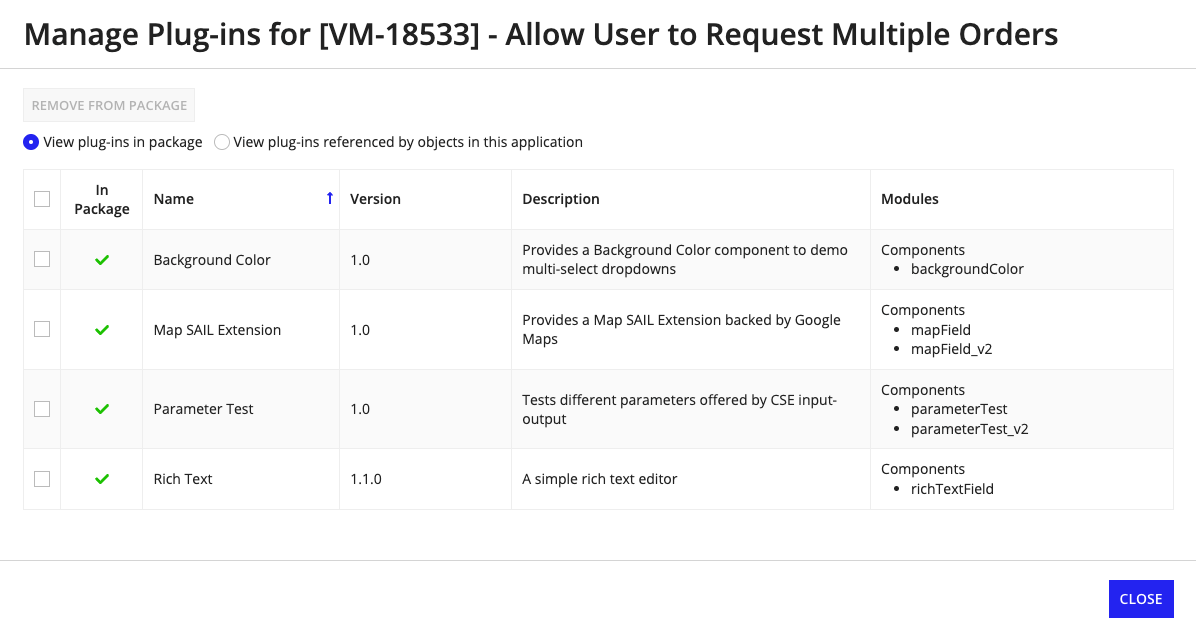
To remove plug-ins from a package:
Before deploying changes to a target environment, we recommend that you validate your package in the source environment:
The deployment process will further validate your package during package comparison and package inspection. However, validating your application before starting the deployment process significantly simplifies those steps.
Now, your package is ready to deploy!
