| The capabilities described on this page are included in Appian's standard capability tier. Usage limits may apply. |
This tutorial walks you through creating a Web API that will write data into a Data Store. It builds on the progress you made in the Web API Tutorial, so you should be sure to complete that tutorial before beginning this one.
Complete the Web API Tutorial.
In order write to a data store with a web API, we are going to use the a!writeToDataStoreEntity() expression function. This function requires a data store entity constant for one of its parameters. So before building our web API, we need a data store entity constant to select.
In the Create Constant dialog, configure the following properties:
| Property | Description |
|---|---|
| Create from Scratch | Leave selected. |
| Name | Enter: AT_EMPLOYEE_ENTITY |
| Type | Select Data Store Entity. |
| Data Store | Select AT Employees. |
| Entity | Select AT Employees. |
| Save In | Keep the default folder, AT Rules & Constants. |
Now that we have a Data Store Entity constant, create a new web API named AT_AddEmployee:
Configure the following properties:
| Property | Description |
|---|---|
| Data Store Entity Constant | Select the data store entity constant you just created. |
| Name | Enter: Add Employee |
| Endpoint | Enter: add-employee |
Your screen should look something like the following:

The left-hand pane contains the expression generated by the template that you just selected. Take a moment to read over that expression to see what it's doing.
type!Employee to the Data Store.
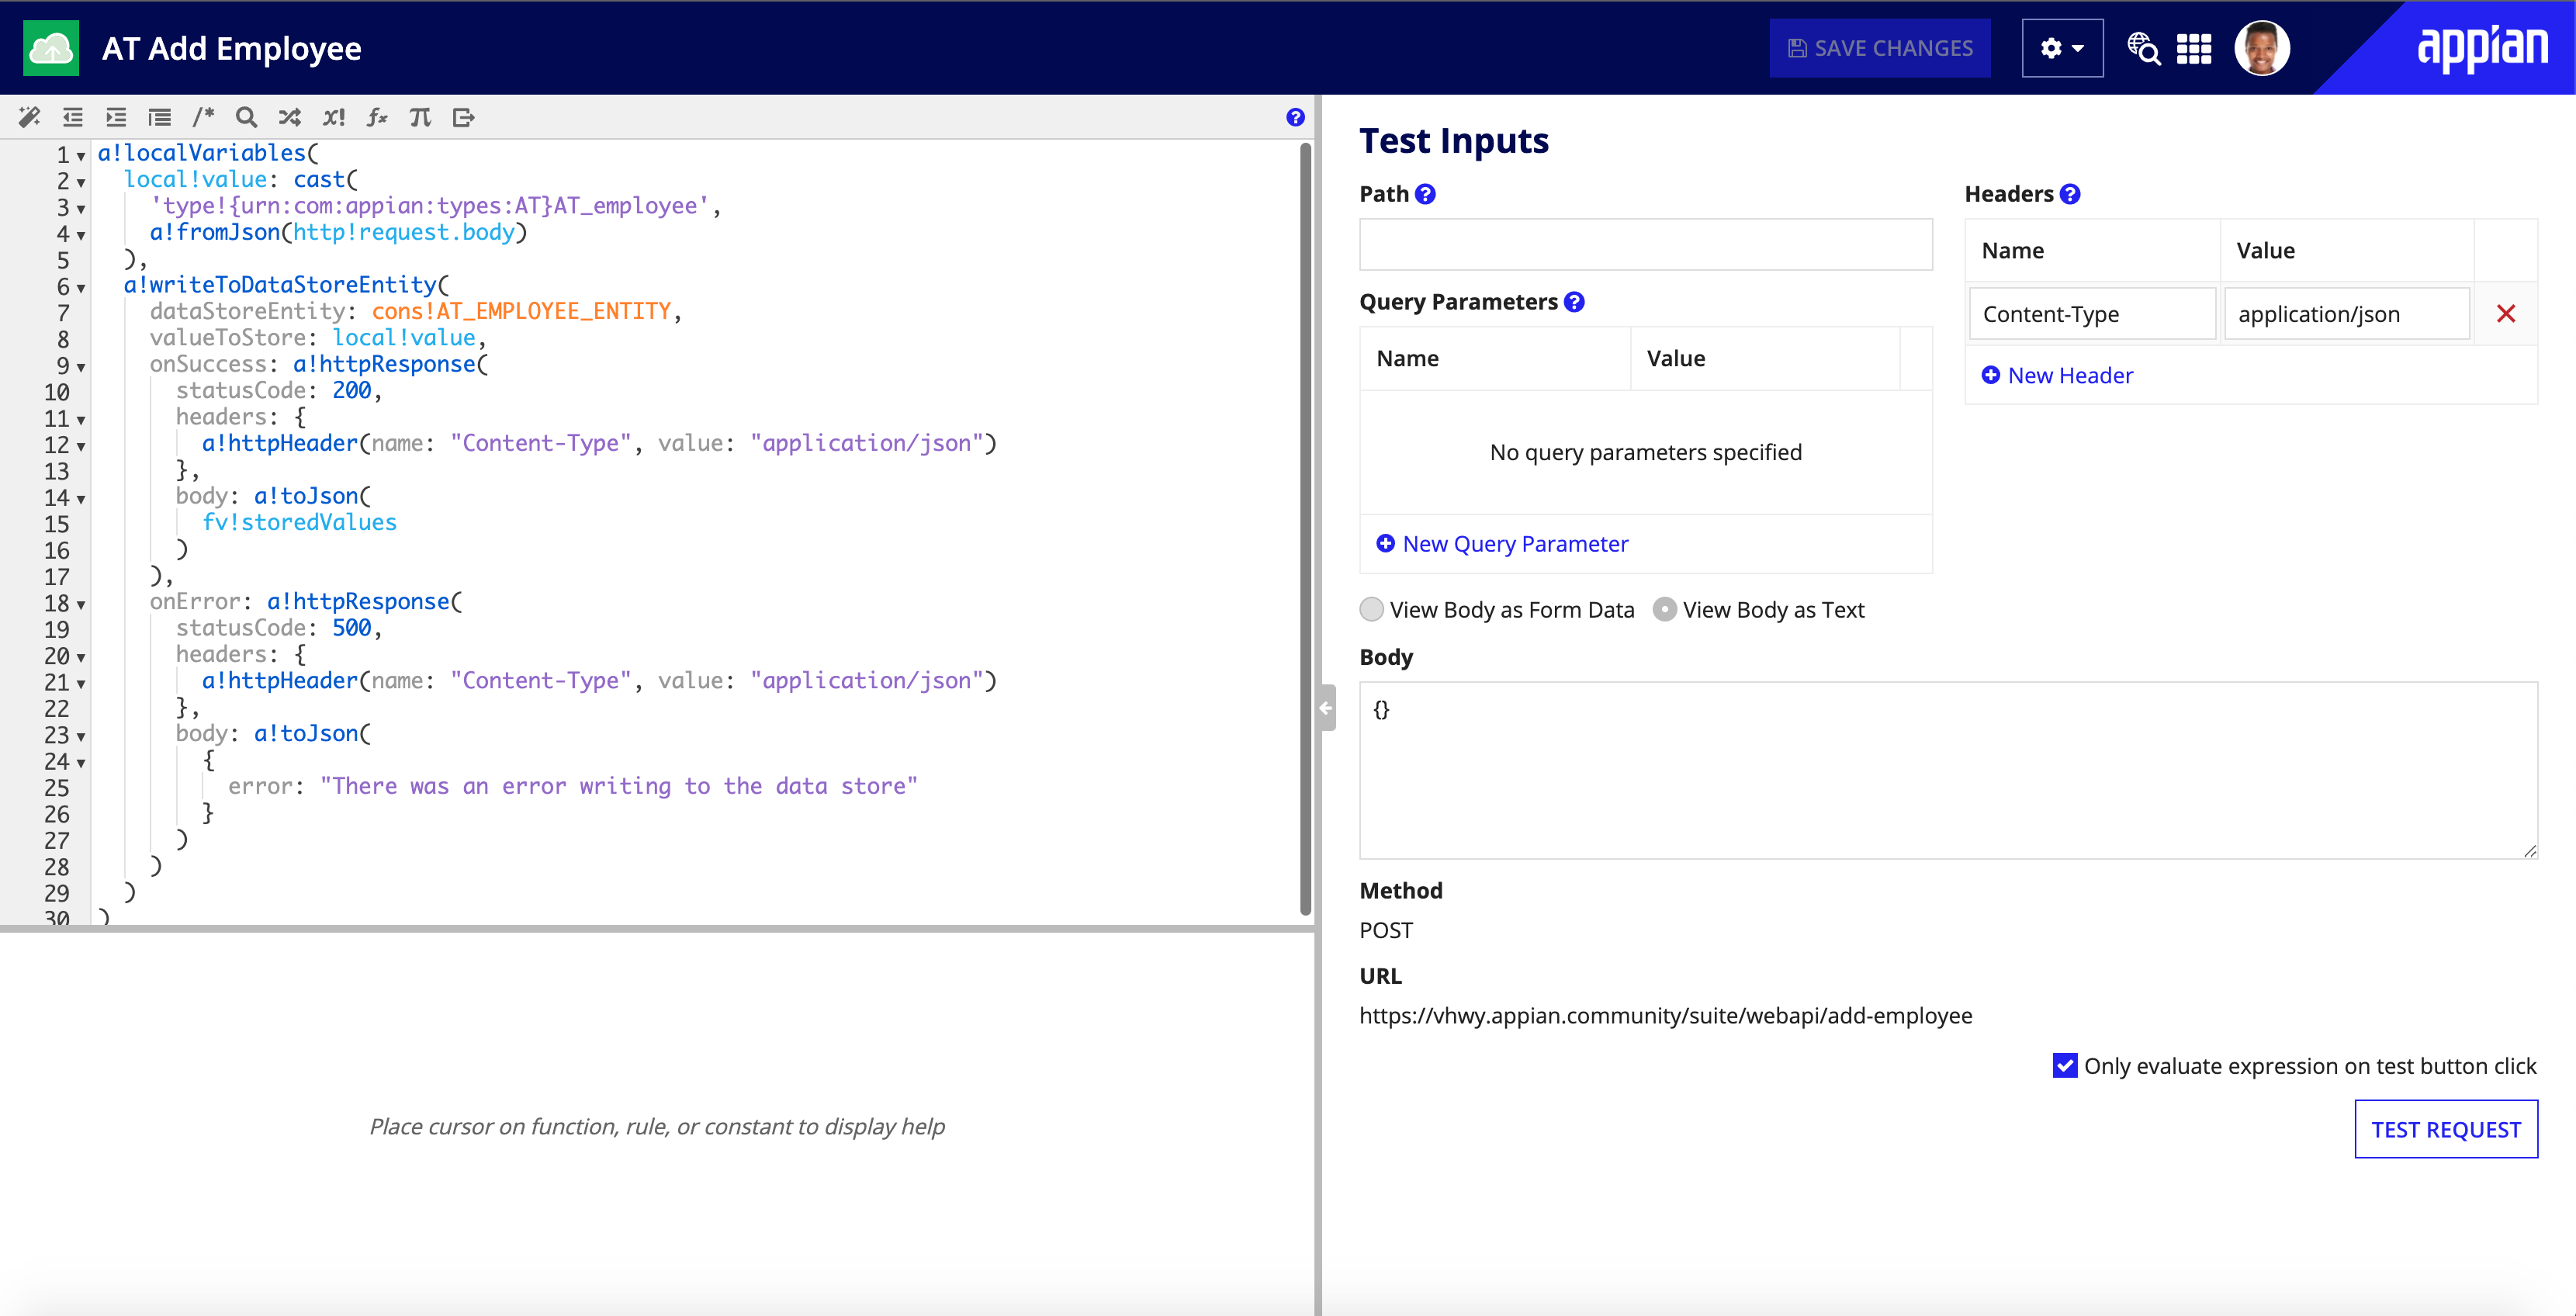
Our web API works by looking at the body of the incoming HTTP request, converting the JSON it finds there into an type!Employee CDT and writing that CDT to the database. When we tested the web API above, the content of the test HTTP request's body was {}, which in JSON represents an empty object. But that's not really what we want to test.
From the Test Inputs section, copy and paste the following expression in the Body field:
1
2
3
4
5
6
7
8
{
  "firstName": "Frank",
  "lastName": "Sullivan",
  "department": "Sales",
  "title": "Sales Associate",
  "phoneNumber": "555-962-8452",
  "startDate": "3/27/2011"
}
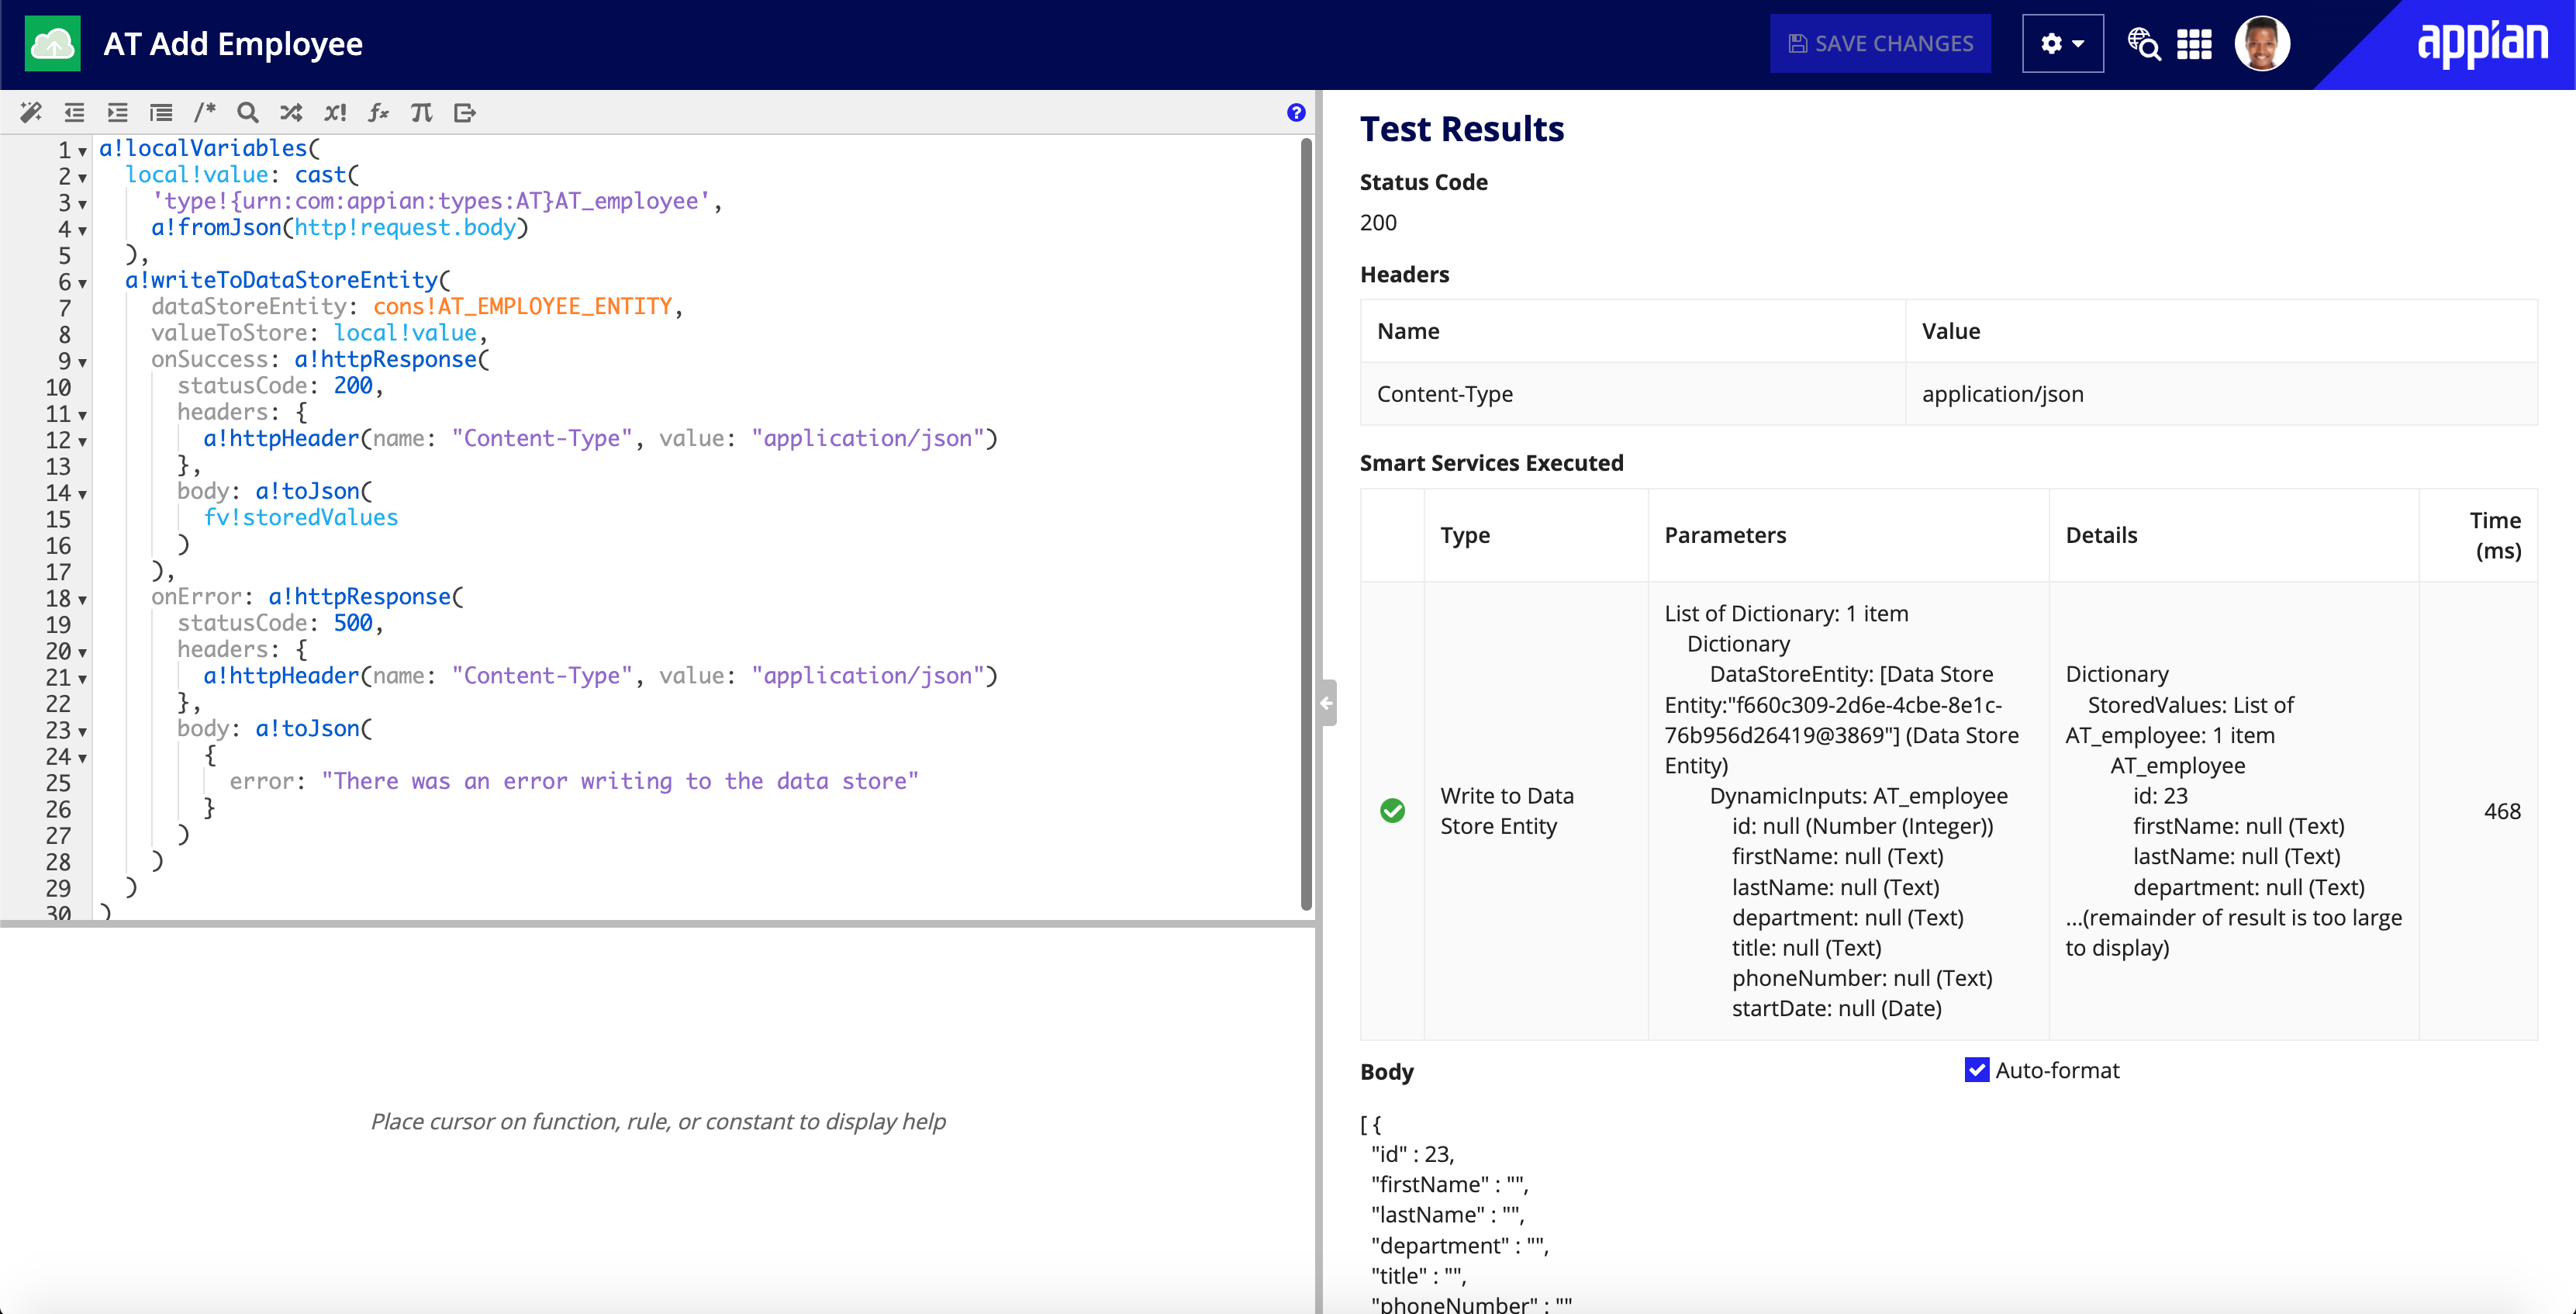
Click Test Request.
This time you should see that the Write to Data Store Entity smart service executed with data that matches what you put into the Body field. If you check the database again, you'll see a new row in the Employee table with the provided data.
At this point, we have a web API that takes data from the body of an HTTP request and passes it into the Write to Data Store Entity smart service. The Write to Data Store Entity smart service then either creates a new row in the database or updates an existing row, depending on the data provided. If you want to ensure that the API never updates existing data, you need to make some changes.
Let's add a check that prevents the web API from updating existing employees. The way the Write to Data Store smart service knows if it should update an existing row in the database or create a new one is whether the value in the valueToStore parameter contains a value for the primary key. In this case, that's the id field. So if we want to prevent updates, we need to check to see whether the id is null and only call the Write to Data Store Entity smart service if it is.
Change the expression to be the following:
1
2
3
4
5
6
7
8
9
10
11
12
13
14
15
16
17
18
19
20
21
22
23
24
25
26
27
28
29
30
31
32
33
34
35
36
37
38
39
40
41
42
43
44
45
a!localVariables(
  local!value: cast(
    'type!{urn:com:appian:types:Employee}Employee',
    a!fromJson(http!request.body)
  ),
  `if(`
    `not(isnull(index(local!value, "id", null))),`
    `a!httpResponse(`
      `statusCode: 400,`
      `headers: {`
        `a!httpHeader(name: "Content-Type", value: "application/json")`
      `},`
      `body: a!toJson(`
        `{`
          `error: "The provided Employee data included an id, which is not allowed.  " & `
          `"You can only create new employees, not modify ones that already exist."`
        `}`
      `)`
    `),`
    a!writeToDataStoreEntity(
      dataStoreEntity: cons!AT_EMPLOYEE_ENTITY,
      valueToStore: local!value,
      onSuccess: a!httpResponse(
        statusCode: 200,
        headers: {
          a!httpHeader(name: "Content-Type", value: "application/json")
        },
        body: a!toJson(
          fv!storedValues
        )
      ),
      onError: a!httpResponse(
        statusCode: 500,
        headers: {
          a!httpHeader(name: "Content-Type", value: "application/json")
        },
        body: a!toJson(
          {
            error: "There was an error writing to the data store"
          }
        )
      )
    )
  )
`)`
Add an id value to the test body and hit the Test Request button again.
This time, instead of executing the Write to Data Store Entity smart service the web API returned an HTTP response with a status code of 400 (meaning Bad Request) and a body that explains to the caller what they did wrong.
