A Start Event node denotes the beginning of a process in a process model, and is used to configure how a process is launched.
Note: For Quick Tasks, any nodes that do not have an incoming flow are automatically triggered when the process is started.
You can only have one Start Event per process model, so all new Process Modeler Canvas will always contain a Start Event and an End Event.
You can choose to add triggers to your Start Event to determine when the event starts. You can add the following triggers:
To configure a Start Event:
Note: To use the Receive Message Event trigger, the process model where the event is received must have Public Events enabled, and the user who runs the process or process flow event that sends the message must have sufficient permissions.
If you've already configured a Start Event trigger, you can always view or edit the configuration at any time.
To view the Start Event triggers:
To add a Timer trigger to a Start Event:
The start of a process can be delayed for a configurable time period, or it may be delayed until a particular date has been reached. In either case, the time period for which the flow is delayed is relative to the time at which the underlying process model was published.
To delay the process flow for a specific time period:
Apart from delaying the start of a process for a specified time period, you can also delay it until a specific date.
To delay the process flow until a specific time period:
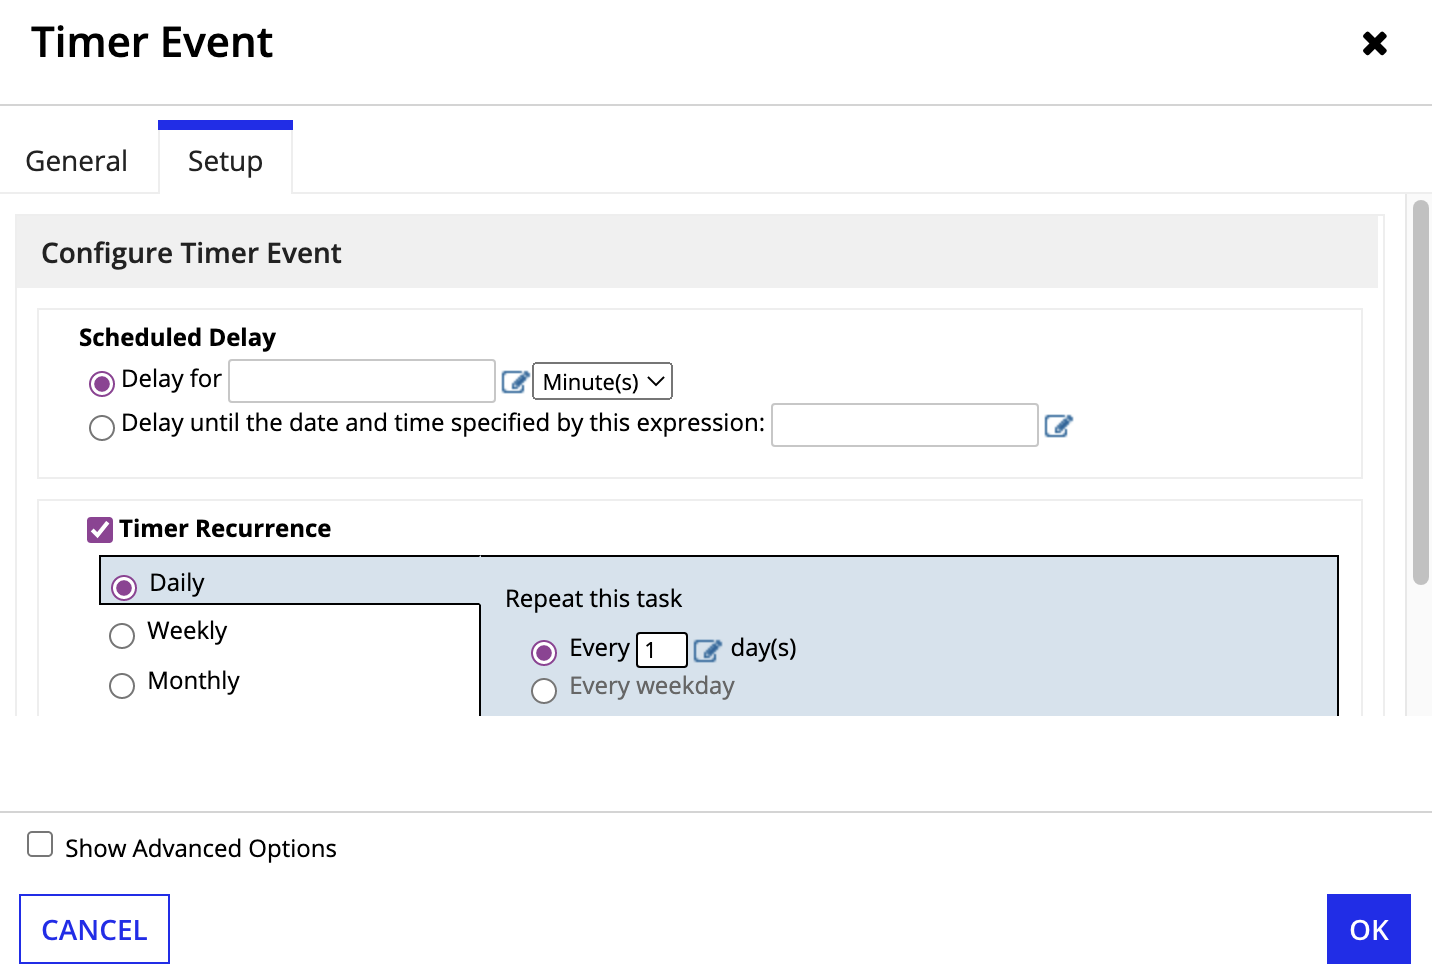
A timer trigger can also be configured to execute periodically.
To execute a Start Event periodically:
Choose how frequently you'd like the Start Event to occur:
Daily: Start a process either on a daily basis or periodically at a certain time (in a certain timezone)
Weekly: Start a process either on a weekly basis or periodically at a certain time (in a certain timezone)
Monthly: Start a process either on a monthly basis or periodically at a certain time (in a certain timezone)
Yearly: Start a process either on a yearly basis or periodically at a certain time (in a certain timezone)
At an interval: Start a process after a specified time period that can either be specified in minutes or hours. Only integer values must be supplied in the text fields.
The time zone used in a recurring event can be configured in the Process Model Properties (File > Properties), and is indicated by the timezone process property (pp!timezone).
Recurring schedules continue executing once the process model has been launched once.
To disable a recurring start event trigger, republish the process model without the recurring schedule. Only the most recently published process model will trigger new processes to start.
For a more advanced option, you can also add conditions that govern the execution of the event. To do this, you can add a new condition, or a new expression.
Creating a new condition allows you to evaluate a process variable against another value that can either be populated through the expression editor, or by entering a value in the provided text area. Creating a new expression, on the other hand, allows you to create to create a complex expression using the expression editor that should always evaluate to true or false.
In order for an event to execute, all conditions created under this section should evaluate to true. Therefore, once a process model has been published, all conditions specified within a trigger are continually evaluated until all conditions evaluate to true, upon which the trigger is activated. For example, if a timer trigger is used within a start event to delay the start of process flow by 10 minutes, the 10 minutes only begins when all conditions specified beneath this section evaluate to true.
To create a new condition:
Select + New Condition.

To create a new expression:
Select + New Expression.

Tip: Creating expressions to determine the conditions in which an event executes can result in reduced application performance. We recommend creating conditions instead of expressions when configuring Event Conditions.
A process may need to be started when any one of many conditions evaluate to true. In such a scenario, multiple triggers can be added to a Start Event. This means you can have one or more Receive Message or Timer triggers.
When more than one trigger is added to a Start Event, the icon on the Start Event appears as such:

Adding multiple triggers to a Start Event can be useful when multiple messages are targeted at a process model and the reception of any of these messages require a process to be started.
The triggers configured within a start event are automatically activated when the process model is published. When all conditions imposed by any of the triggers evaluate to true, a new process is started.


