|
This page applies to Appian Cloud only. It may not reflect the differences with Appian Government Cloud. |
In a process, a Send Message event can be used to generate a message that is made available to all Receive Message events (which are actively listening for messages). Messages sent to events that are not active (either paused, yet to be activated, passed in the process flow, or in an unpublished process model) are discarded.
Note: System administrators must configure JMS messaging to enable this feature.
Note: Process-to-process messaging is enabled by default for Appian Cloud sites.
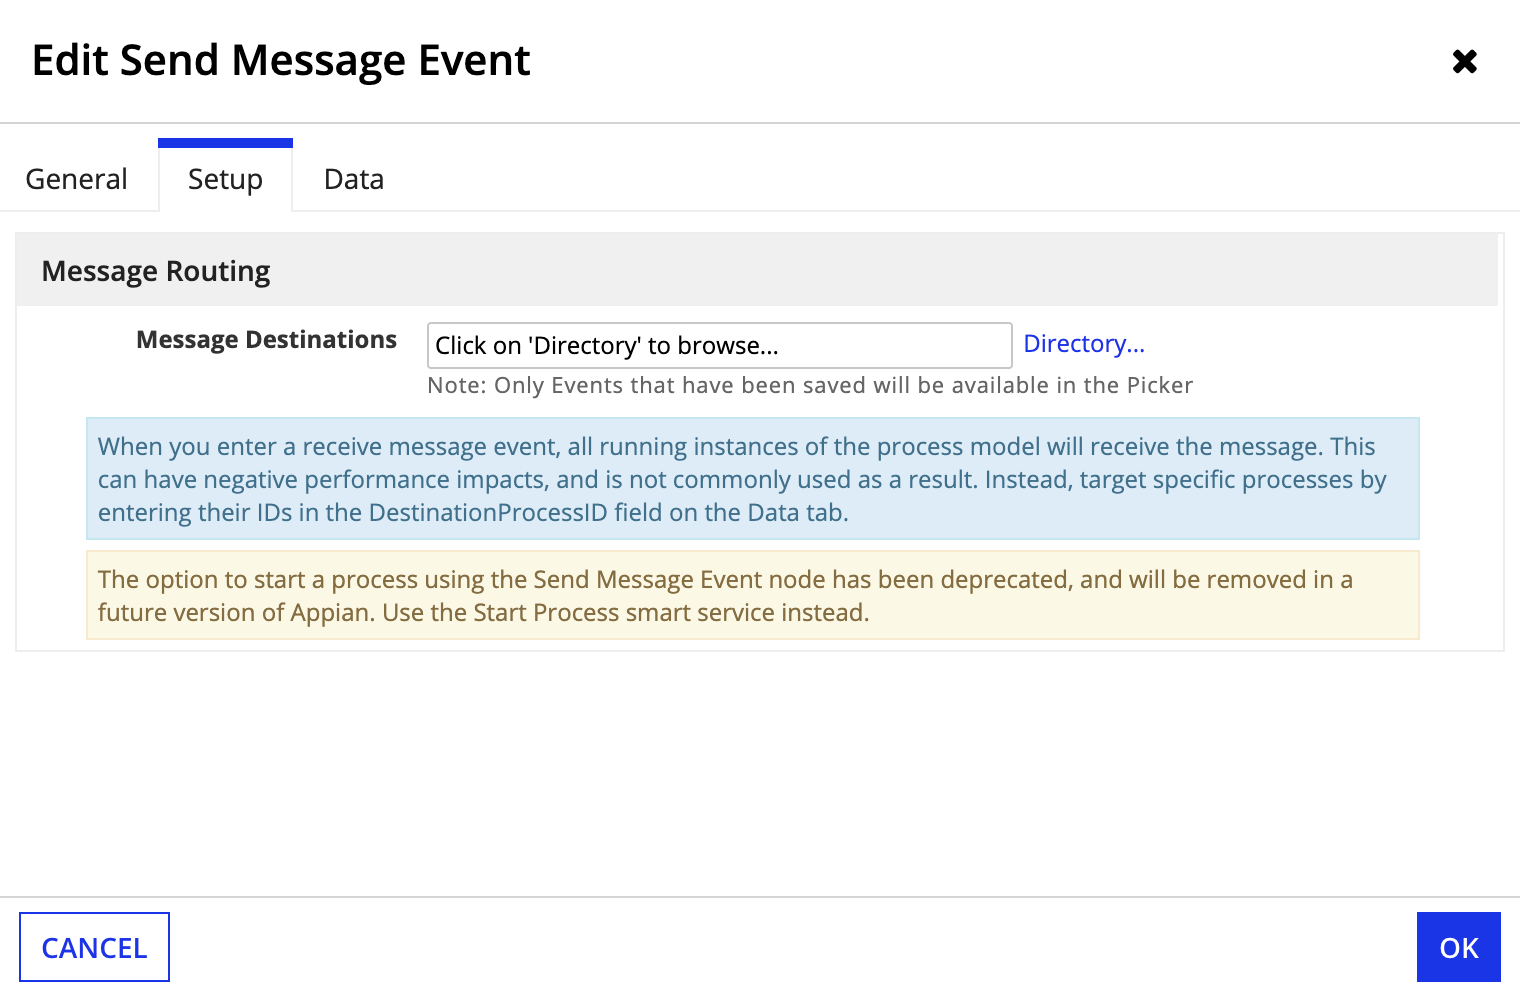
You can configure the Send Message Event to send messages from a process to any of the following:
Tip: As a Messaging Best Practice, we recommending sending an event message to a specific process, since sending the message to a process model results in the message being sent to all processes created from that model.
The content within a message is transferred from the Send Message event to a Receive Message event through mappings. Mappings can be created within a Send Message event to store information, while mappings created in a Receive Message event may be used to retrieve information from messages.
When you need to send a message to a specific process instance, follow these steps:
In the Optional Text field, type the information you want to include in the body of the message. This field allows you to specify data values using the Expression Editor, which can be read by expressions in the Receive Message event.
Note: All active Receive Message Events within the process specified by DestinationProcessID are triggered by the Send Message Event. Messages sent through the Send Message event are only available to active Receive Message nodes in running processes. If no Receive Message events are active in the destination process model, the message sent is lost.
To target a specific Receive Message event within the process, complete the following:
Set the value of the condition in the Receive Message event to match the value in the Send Message event custom mapping.
To send a message to a Receive Message event, follow these steps:
Messages can contain two types of custom information: custom properties and a message body.
All mappings that have been configured using events in process models to which you have at least Editor level access can be reused by selecting this option.
To import mappings from a previously configured event:
Apart from mappings, you can also enter additional text as part of the message that is generated. Additional text can be entered directly into the provided text, or it can be entered using the Expression Editor. Like email messages, in the message body you can specify key-value pairs and other text, which can then be extracted using the Expression Editor in a Receive Message event. Also, using the Expression Editor, you can use the insertquestions function to pose questions. Then the answers to these questions can be retrieved in a Receive Message event using the extractanswers function.
Text entered within a message body can be extracted using the extract function in the Expression Editor, which requires you to specify the text that is to be searched and the delimiters within the text. It returns all content enclosed within the delimiters in the text. The message body, can be referenced in the expression editor using the msg!body property. Other Expression Editor functions that facilitate information-transfer between events in a process model include: insertkey, insertkeyval, insertquestions, keyval, and extractanswers.
Note: Since the Send Message event is used to generate a message (and produce an action), it cannot be used to create an exception flow.
In addition to sending JMS messages from the Send Message Event node, you can send messages from an End Event or from an escalation.
To add a Send Message event to an End Event
To send a message event from an escalation
