The walkthrough on this page will help you build your first application for the Appian Application Platform. We will be building a very basic application while learning basic concepts related to application and object security, but we won't be diving into details about designing interfaces, processes, or data. Those topics are covered in detail in other tutorials.
Applications are built using design objects that together form the user interfaces, logic, processes, and data users interact with while doing work in Appian. Every application that you build in Appian should represent a business solution. For example, you would build separate applications for customer relationship management and human resources.
All design objects in Appian are secured separately, including the application object itself. This tutorial walks you through setting up basic security as we go along. As you start to build applications on your own, you should keep in mind that the objects that you create won't be available to users unless security is configured correctly for each object. With that said, keep the following things in mind as we work through this tutorial:
We will be creating the Appian Tutorial application for this tutorial. All of Appian's tutorials use the Appian Tutorial application as the reference application. After completing this tutorial, you can reuse this application as you work through other Appian tutorials.
To create the Appian Tutorial application:
In the Create New Application dialog, configure the following properties:
| Property | Description |
|---|---|
| Name | Enter Appian Tutorial. |
| Prefix | Keep the default prefix, AT, which Appian constructs using the initial characters of each word you entered in the Name parameter. We'll be following the recommended naming standard, and using this short, unique prefix whenever we name an object in this application. |
| Description | Leave blank. It's normally a best practice to add descriptions to all design objects. However, to save a little time during this tutorial, we'll skip adding descriptions unless the description displays to the end user. |
| Generate groups and folders to secure and organize objects | Keep this checkbox selected, so that Appian will automatically generate standard groups and folders and assign default security groups for this application. |
In the Review Application Security dialog, keep the default security settings. Because we selected the Generate groups and folders option in the previous step, Appian automatically uses the AT Users and AT Administrator groups it generated to set our application security appropriately.
Tip: The security of the application object is unrelated to the security of each of the objects contained within the application. This means that you will need to set security permissions for every object in an application in addition to the application object itself. For more information about security permissions for the application object, see Application Security.
Click SAVE. The Explore view appears.
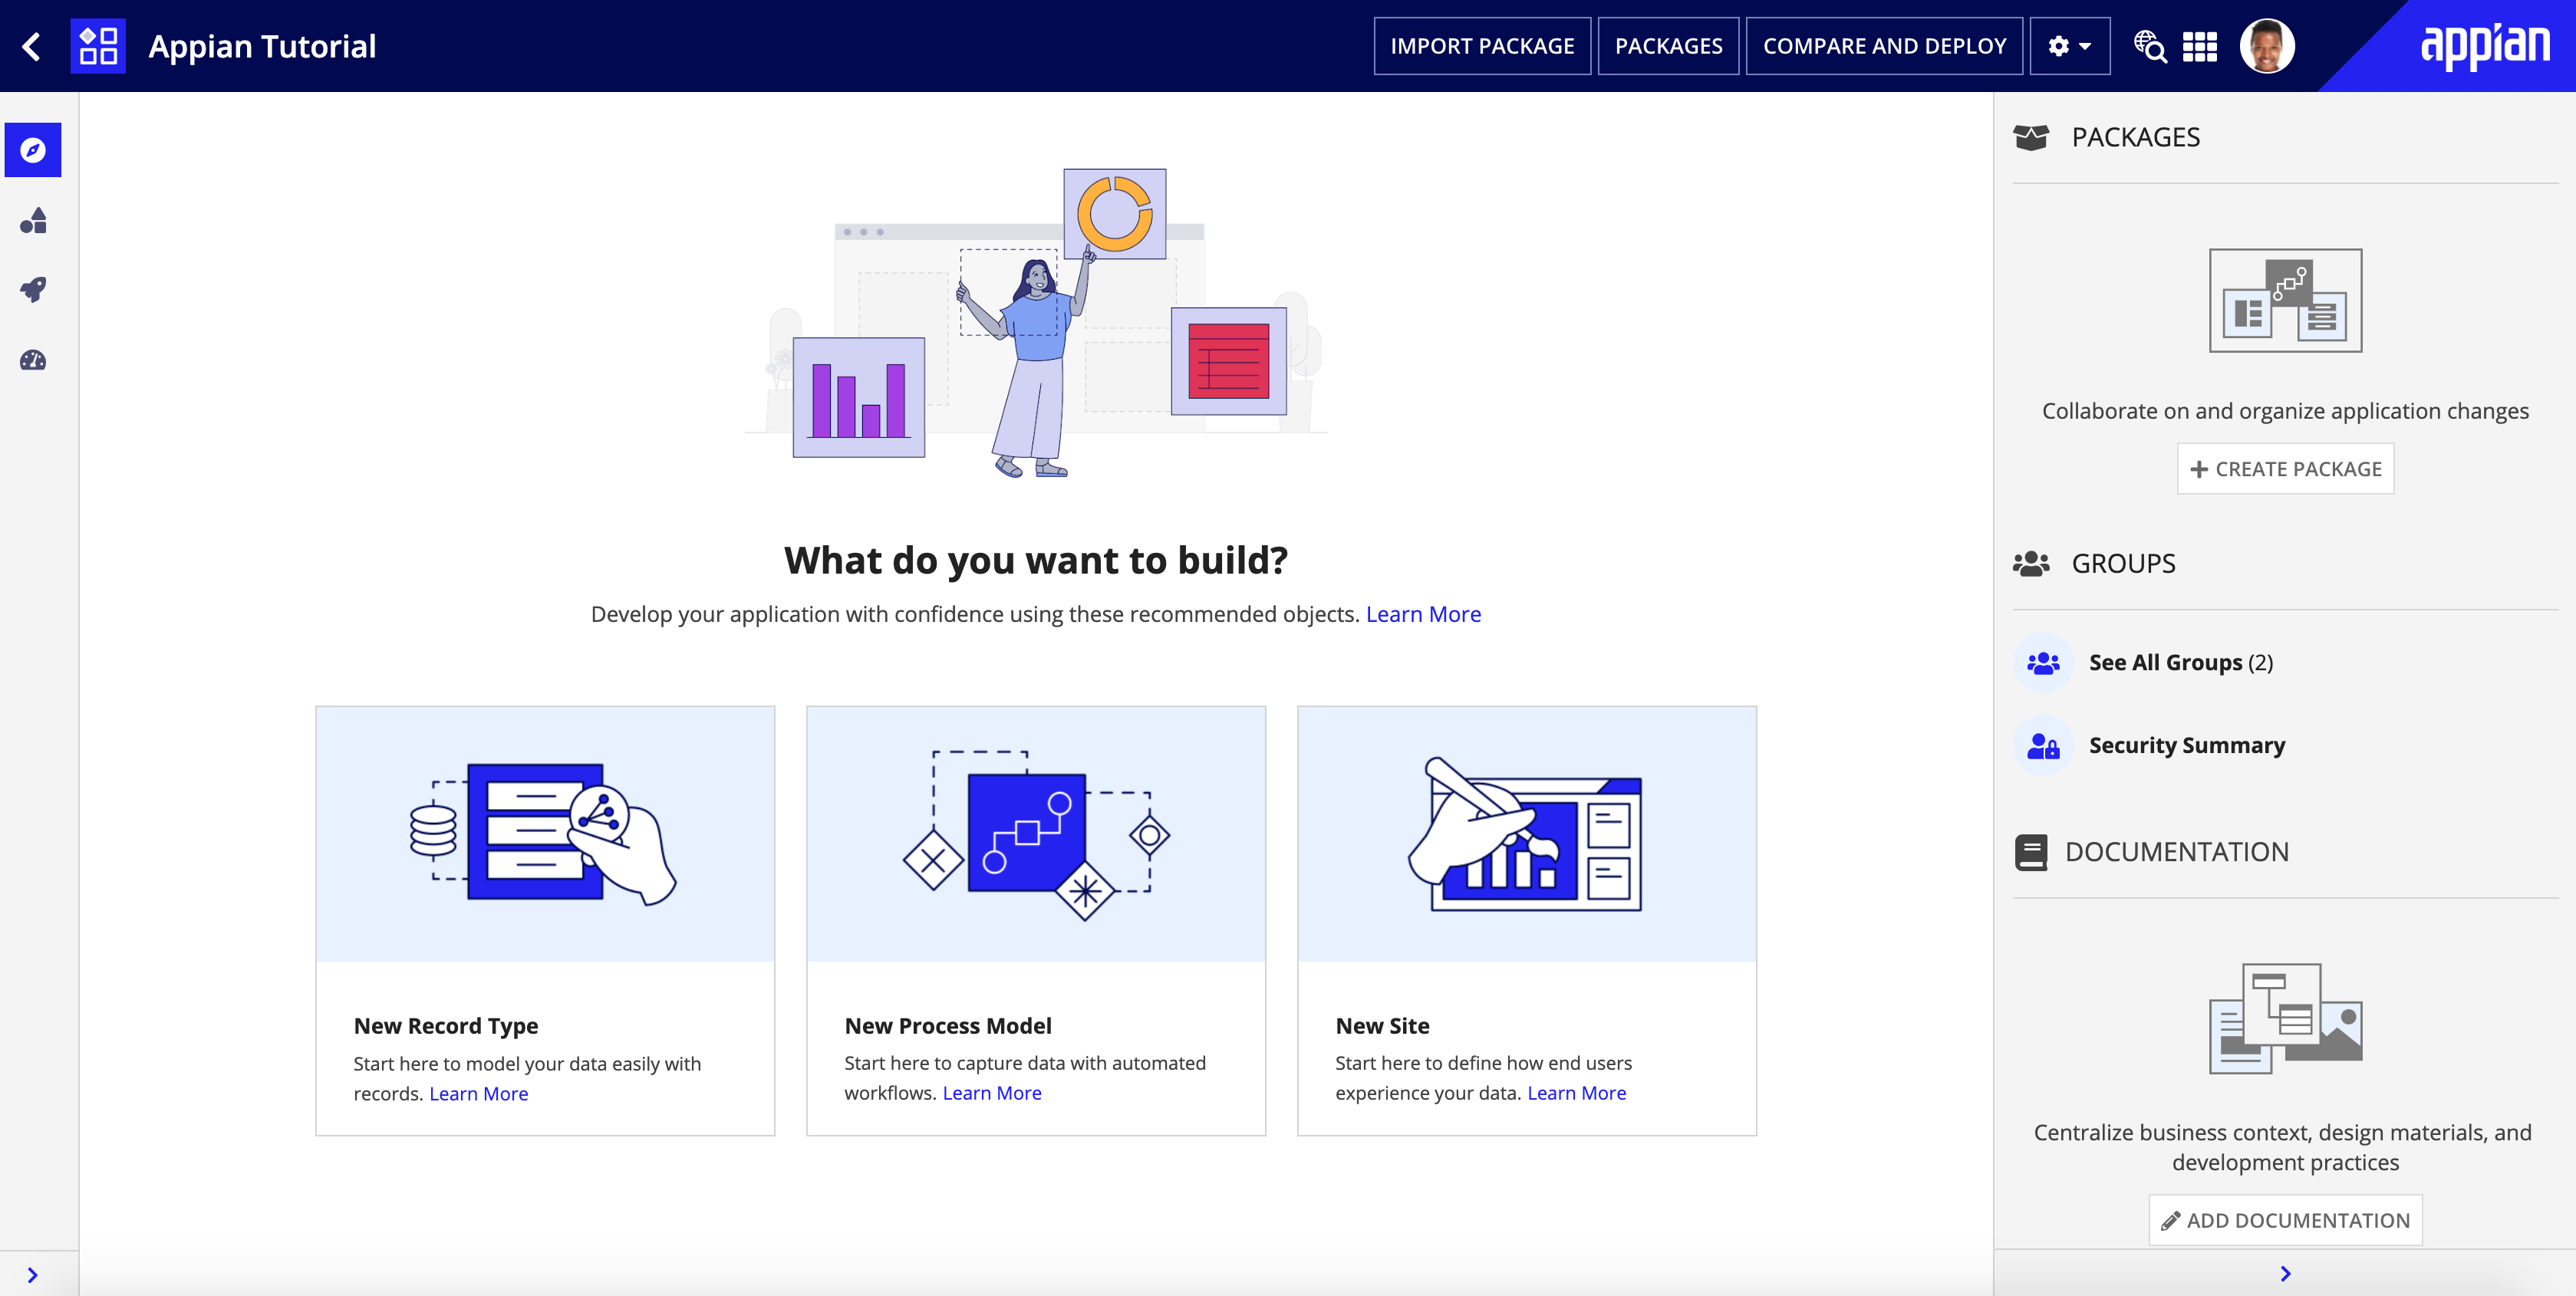
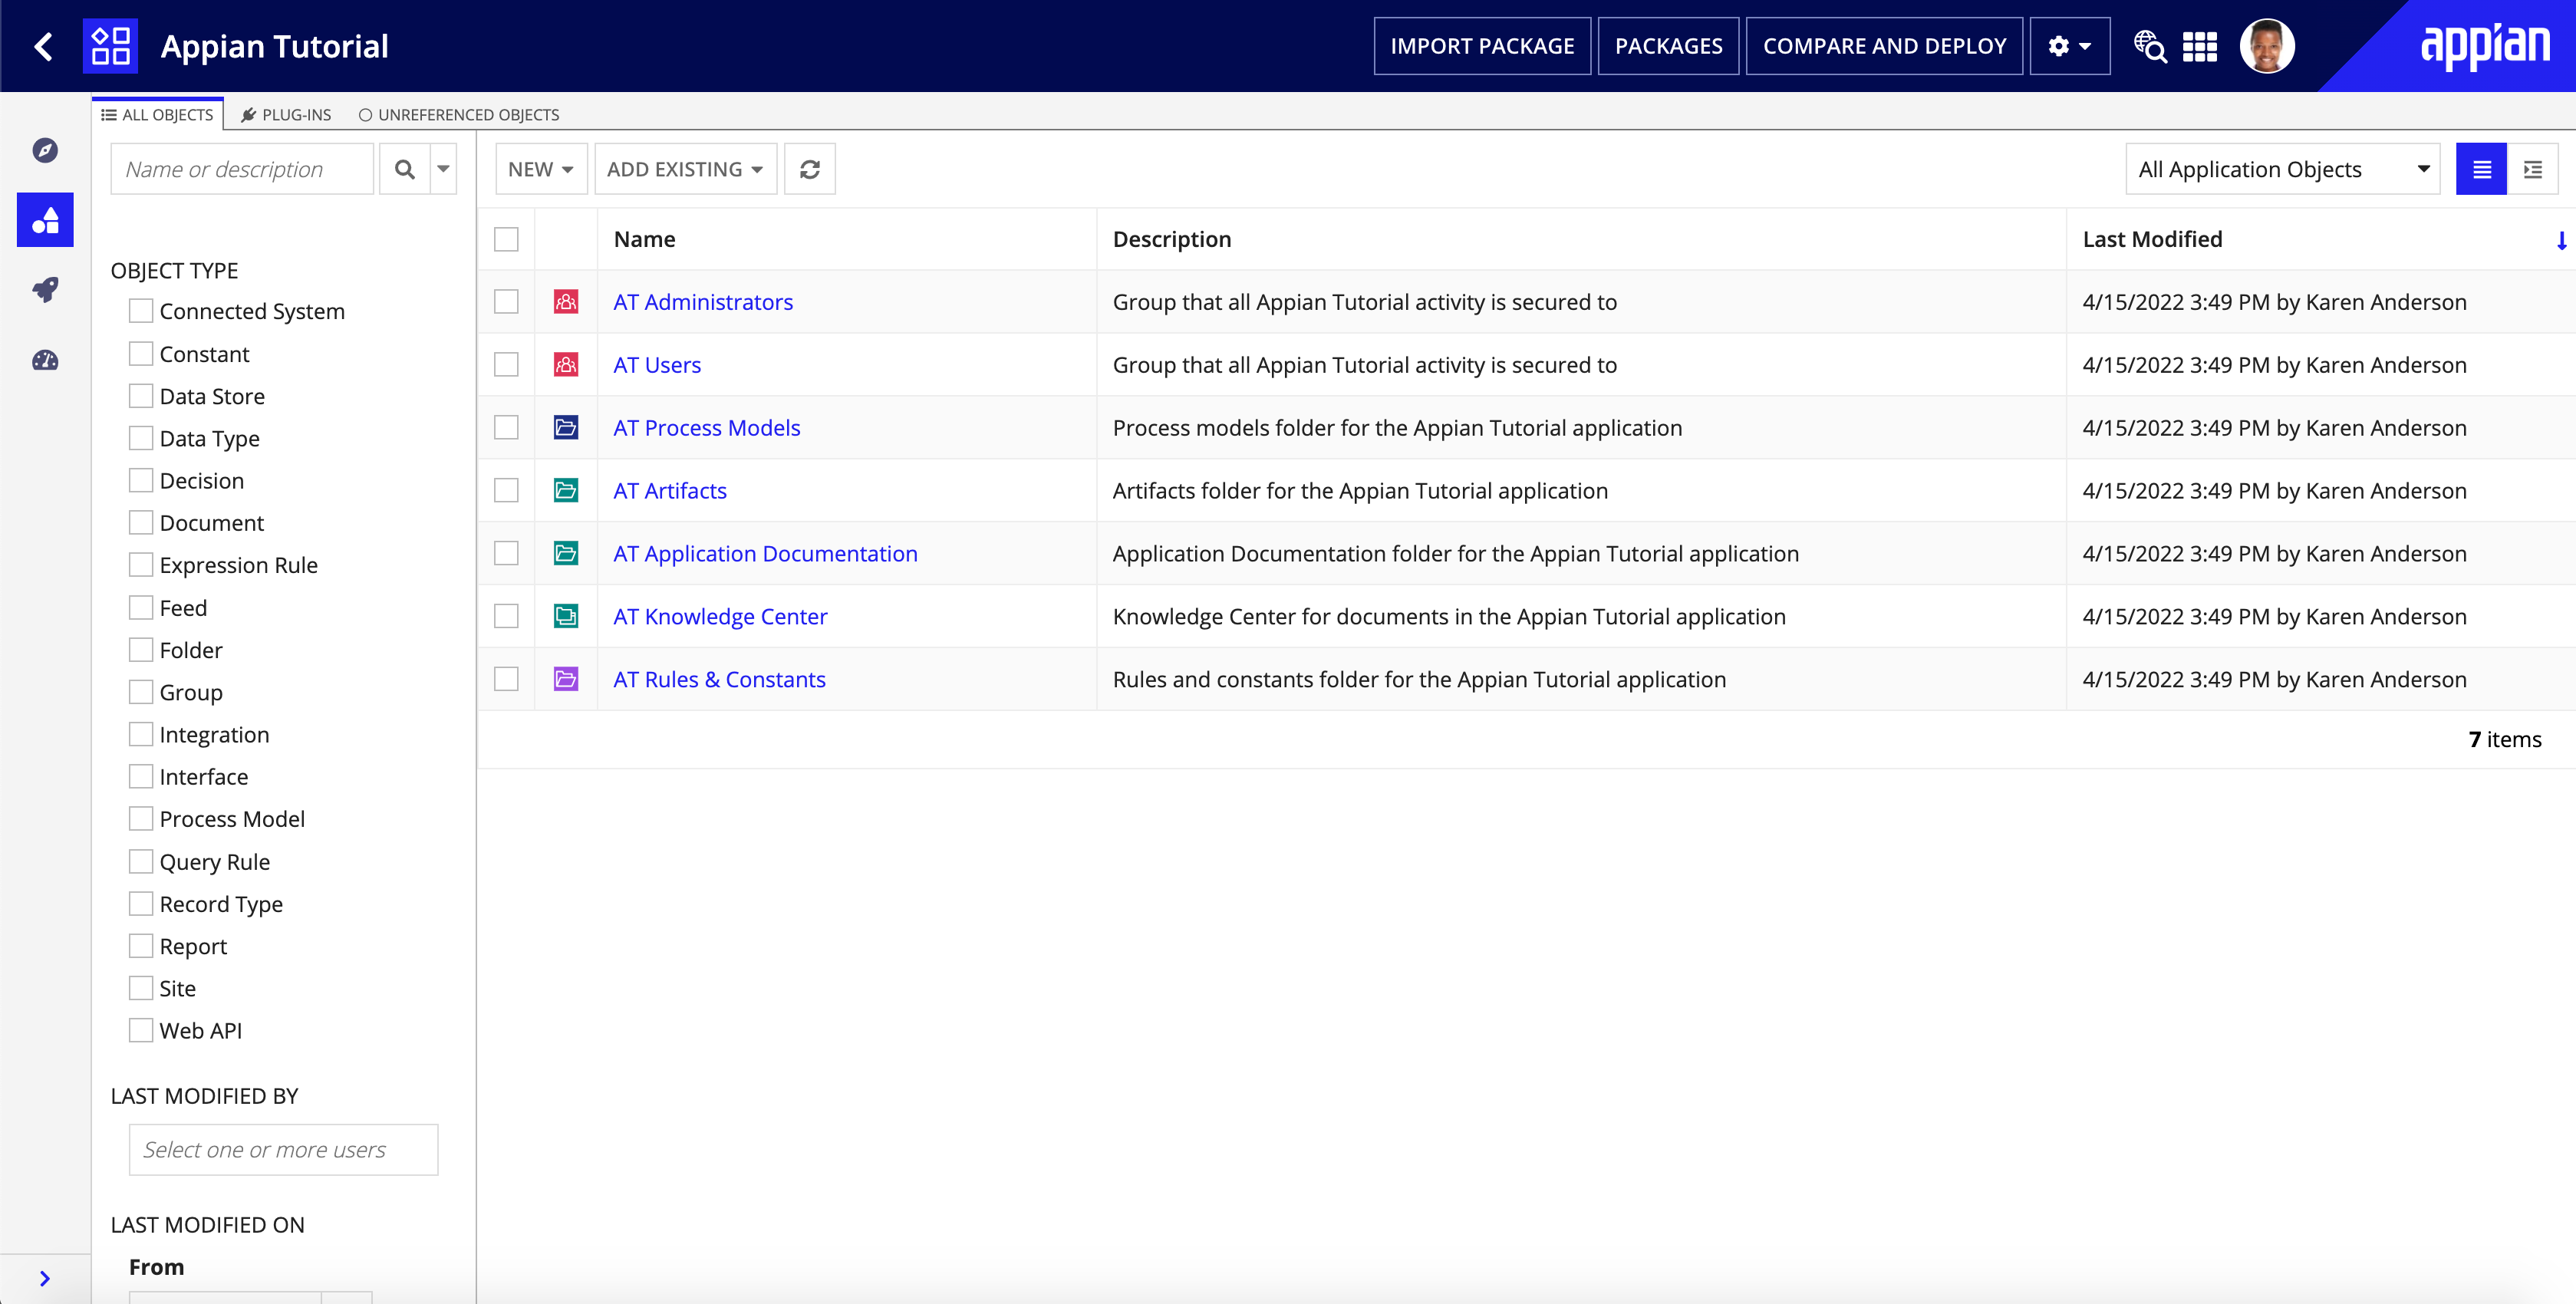
Right now, the application contains the folders and groups Appian generated automatically. To see these, click Build in the navigation pane. Each design object that you create during the course of this tutorial will appear in this list in the Build view and be associated with the tutorial application.
Next, we are going to create a basic process model called AT My First Action and save it in the folder called AT Models, which Appian automatically generated for us.
It is a best practice to create an object from the context of the application that uses it. We'll be creating the process model in the application, so it's automatically associated with the Appian Tutorial application.
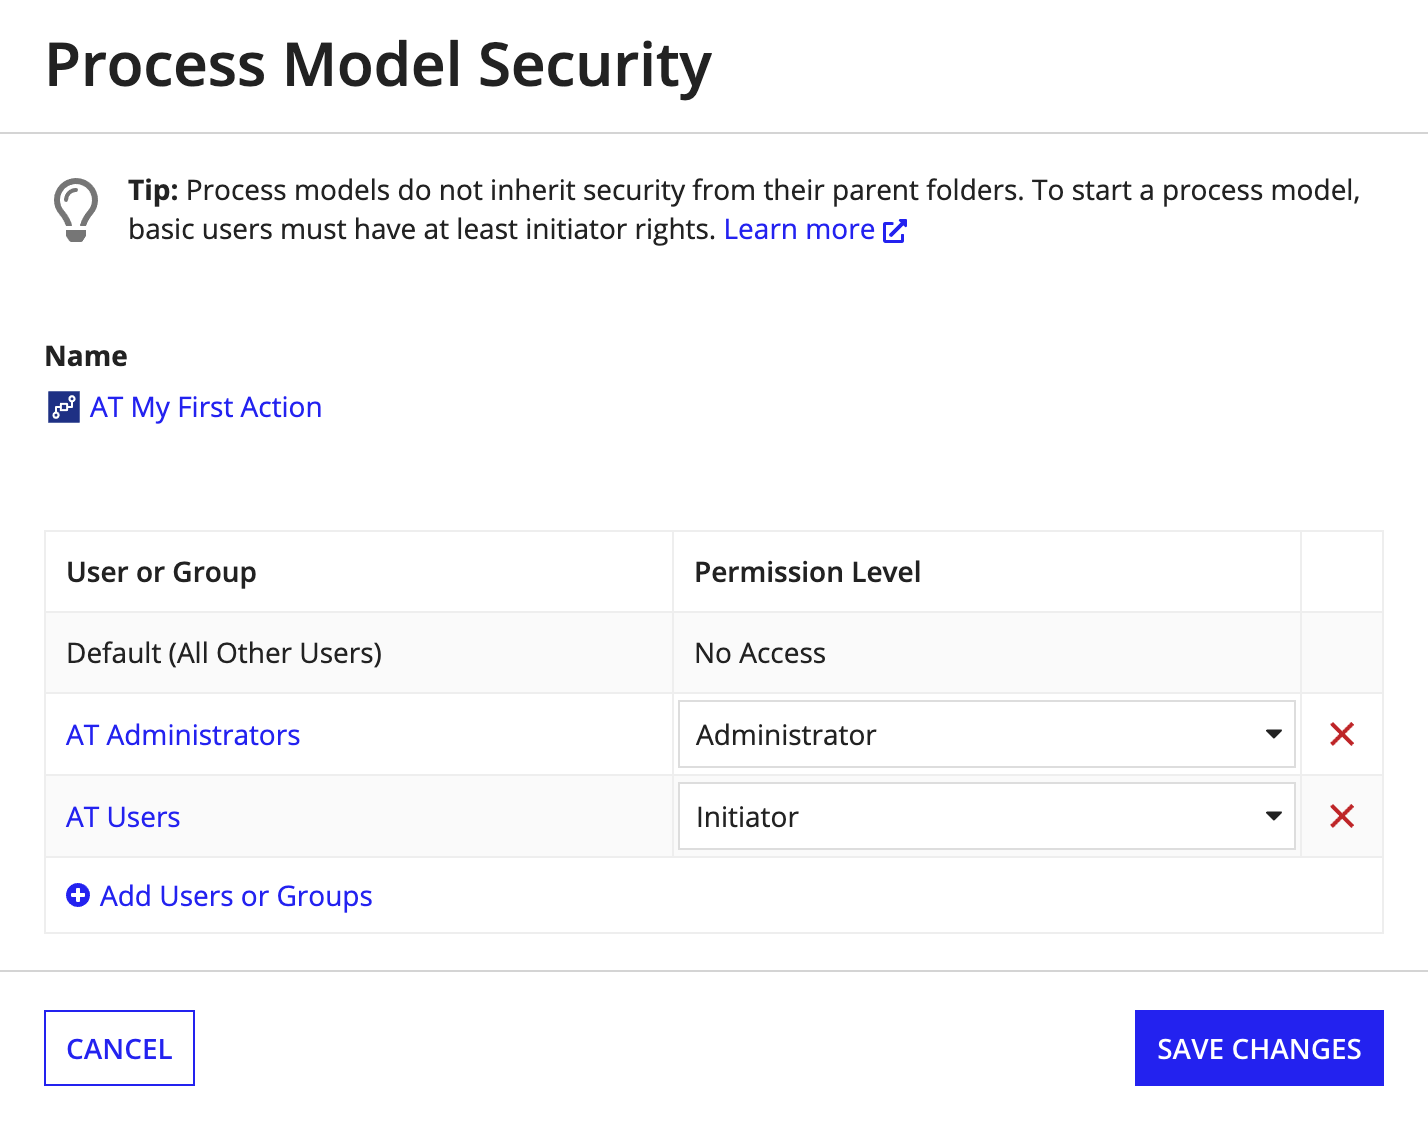
We'll also be adding security to the process model, so that you can verify the permissions of various users as you test the process itself. We'll want to grant the following permissions:
| Group | Permissions | Result |
|---|---|---|
| AT Administrators | Administrator | Members of this group are administrators of the process. |
| AT Users | Initiator | Members of this group can start the process. |
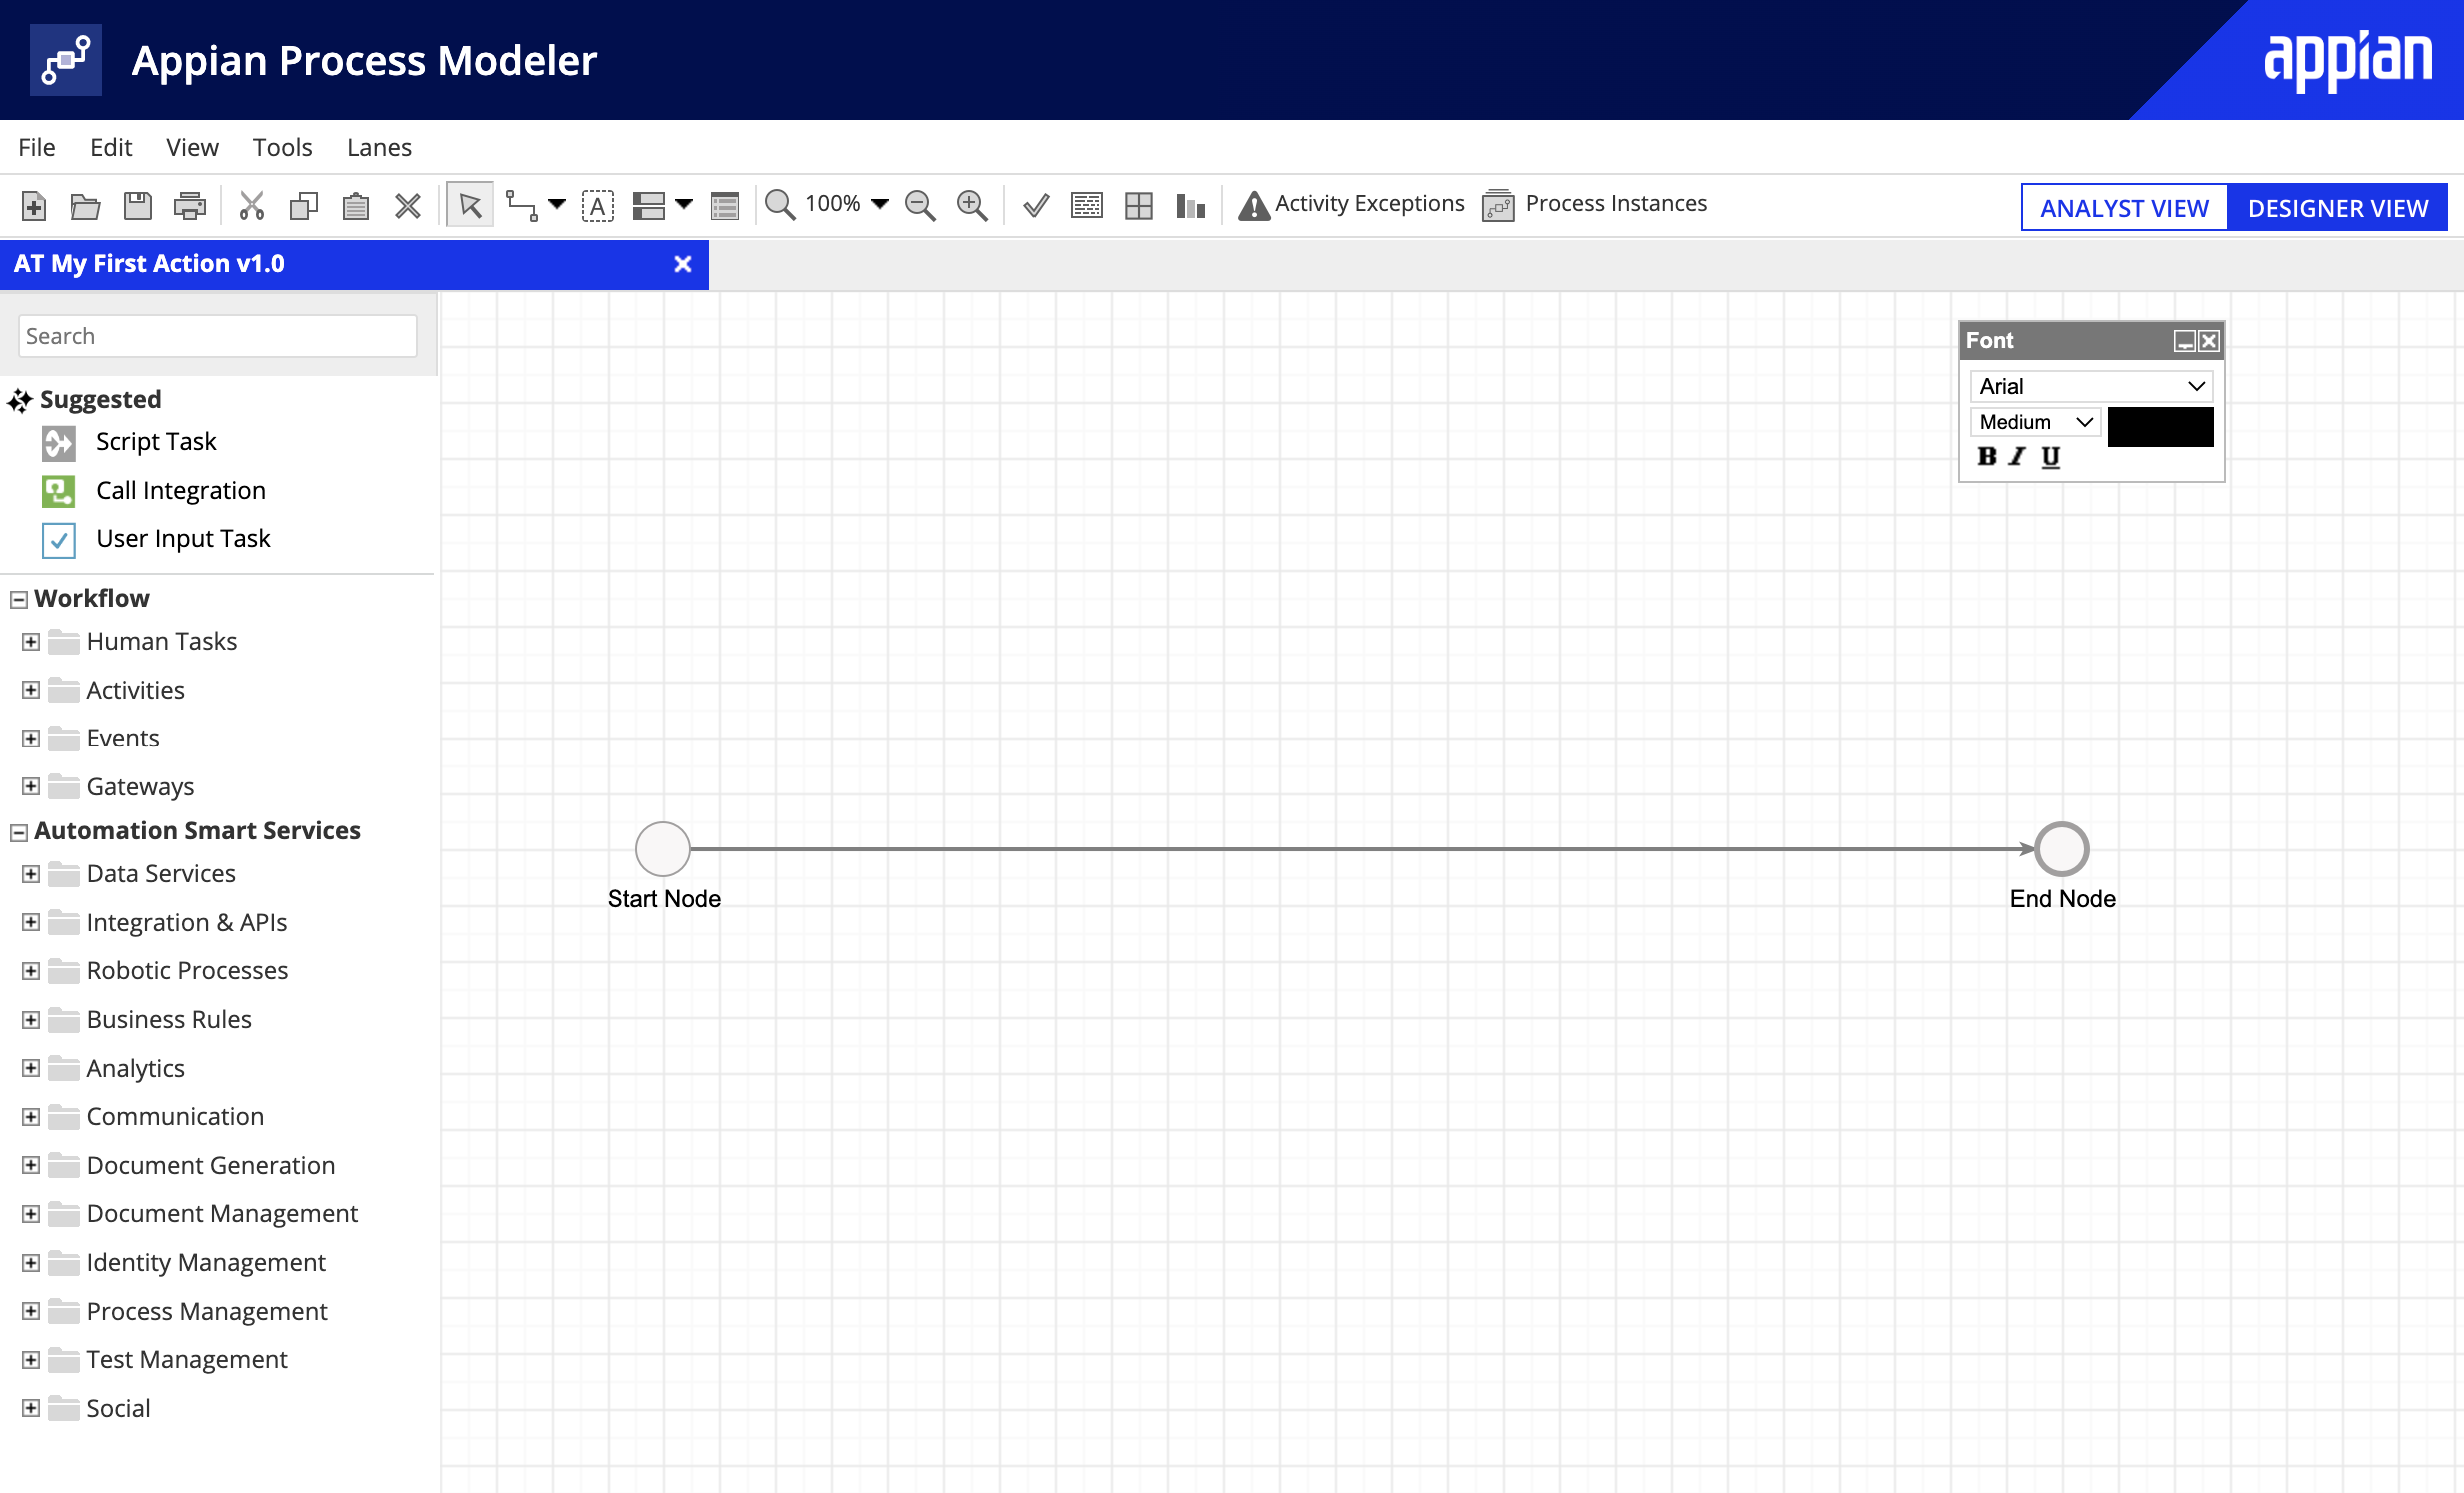
This process model won't include any smart services or user input tasks, but we will publish it so that we can add it as an action later in the tutorial.
To create the process model:
AT My First Action for the Name.Click SAVE.
The process model opens in a new window. By default, DESIGNER VIEW is selected.
Now let's save and publish the process model. This step is necessary because process models must be published before they can be added as actions.
To publish the process model:
When you're done with this step, you can close the Process Modeler.
Now we are ready to add an action to this application. Once the application is published, users who belong to the AT Users group will be able to see and start this action from a user interface, such as Tempo.
To add the AT My First Action process model as an action:
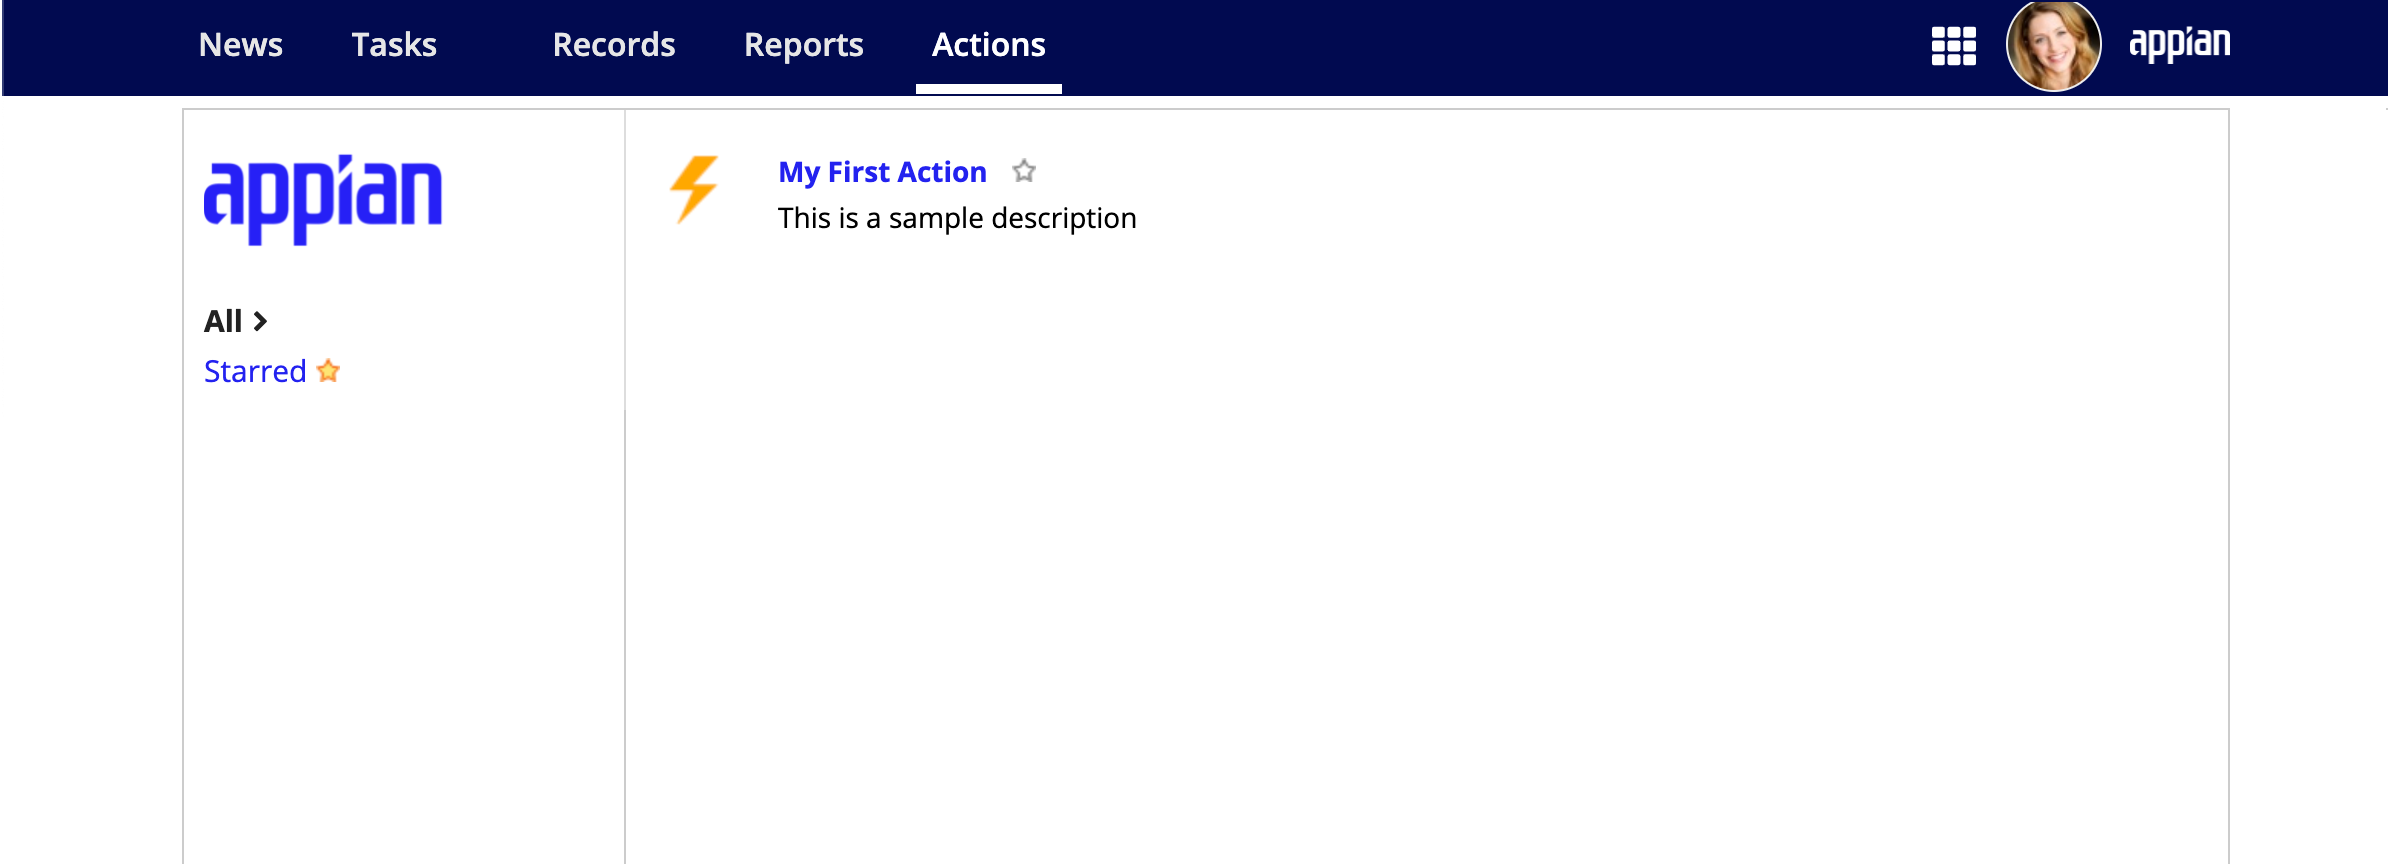
My First Action.This is a sample description.Now that we've created the action, let's navigate to the Actions tab in Tempo and check it out:
You should see your new action in the list as shown below.
This action won't actually do anything since we haven't added anything to the process model or created any interfaces. Check out the other tutorials for more information about building functionality into applications.
If you don't see your action, you should check the security settings and verify that the process model and application are both published:
Now that we have verified the action, we have completed the first stage of development on our application. Normally at this stage, a designer would be ready to export the application from a development environment into a staging environment for testing and validation. Let's see how this process works, even though we aren't going to import this tutorial application into another environment.
To export an application:
After the export completes, click DOWNLOAD PACKAGE.
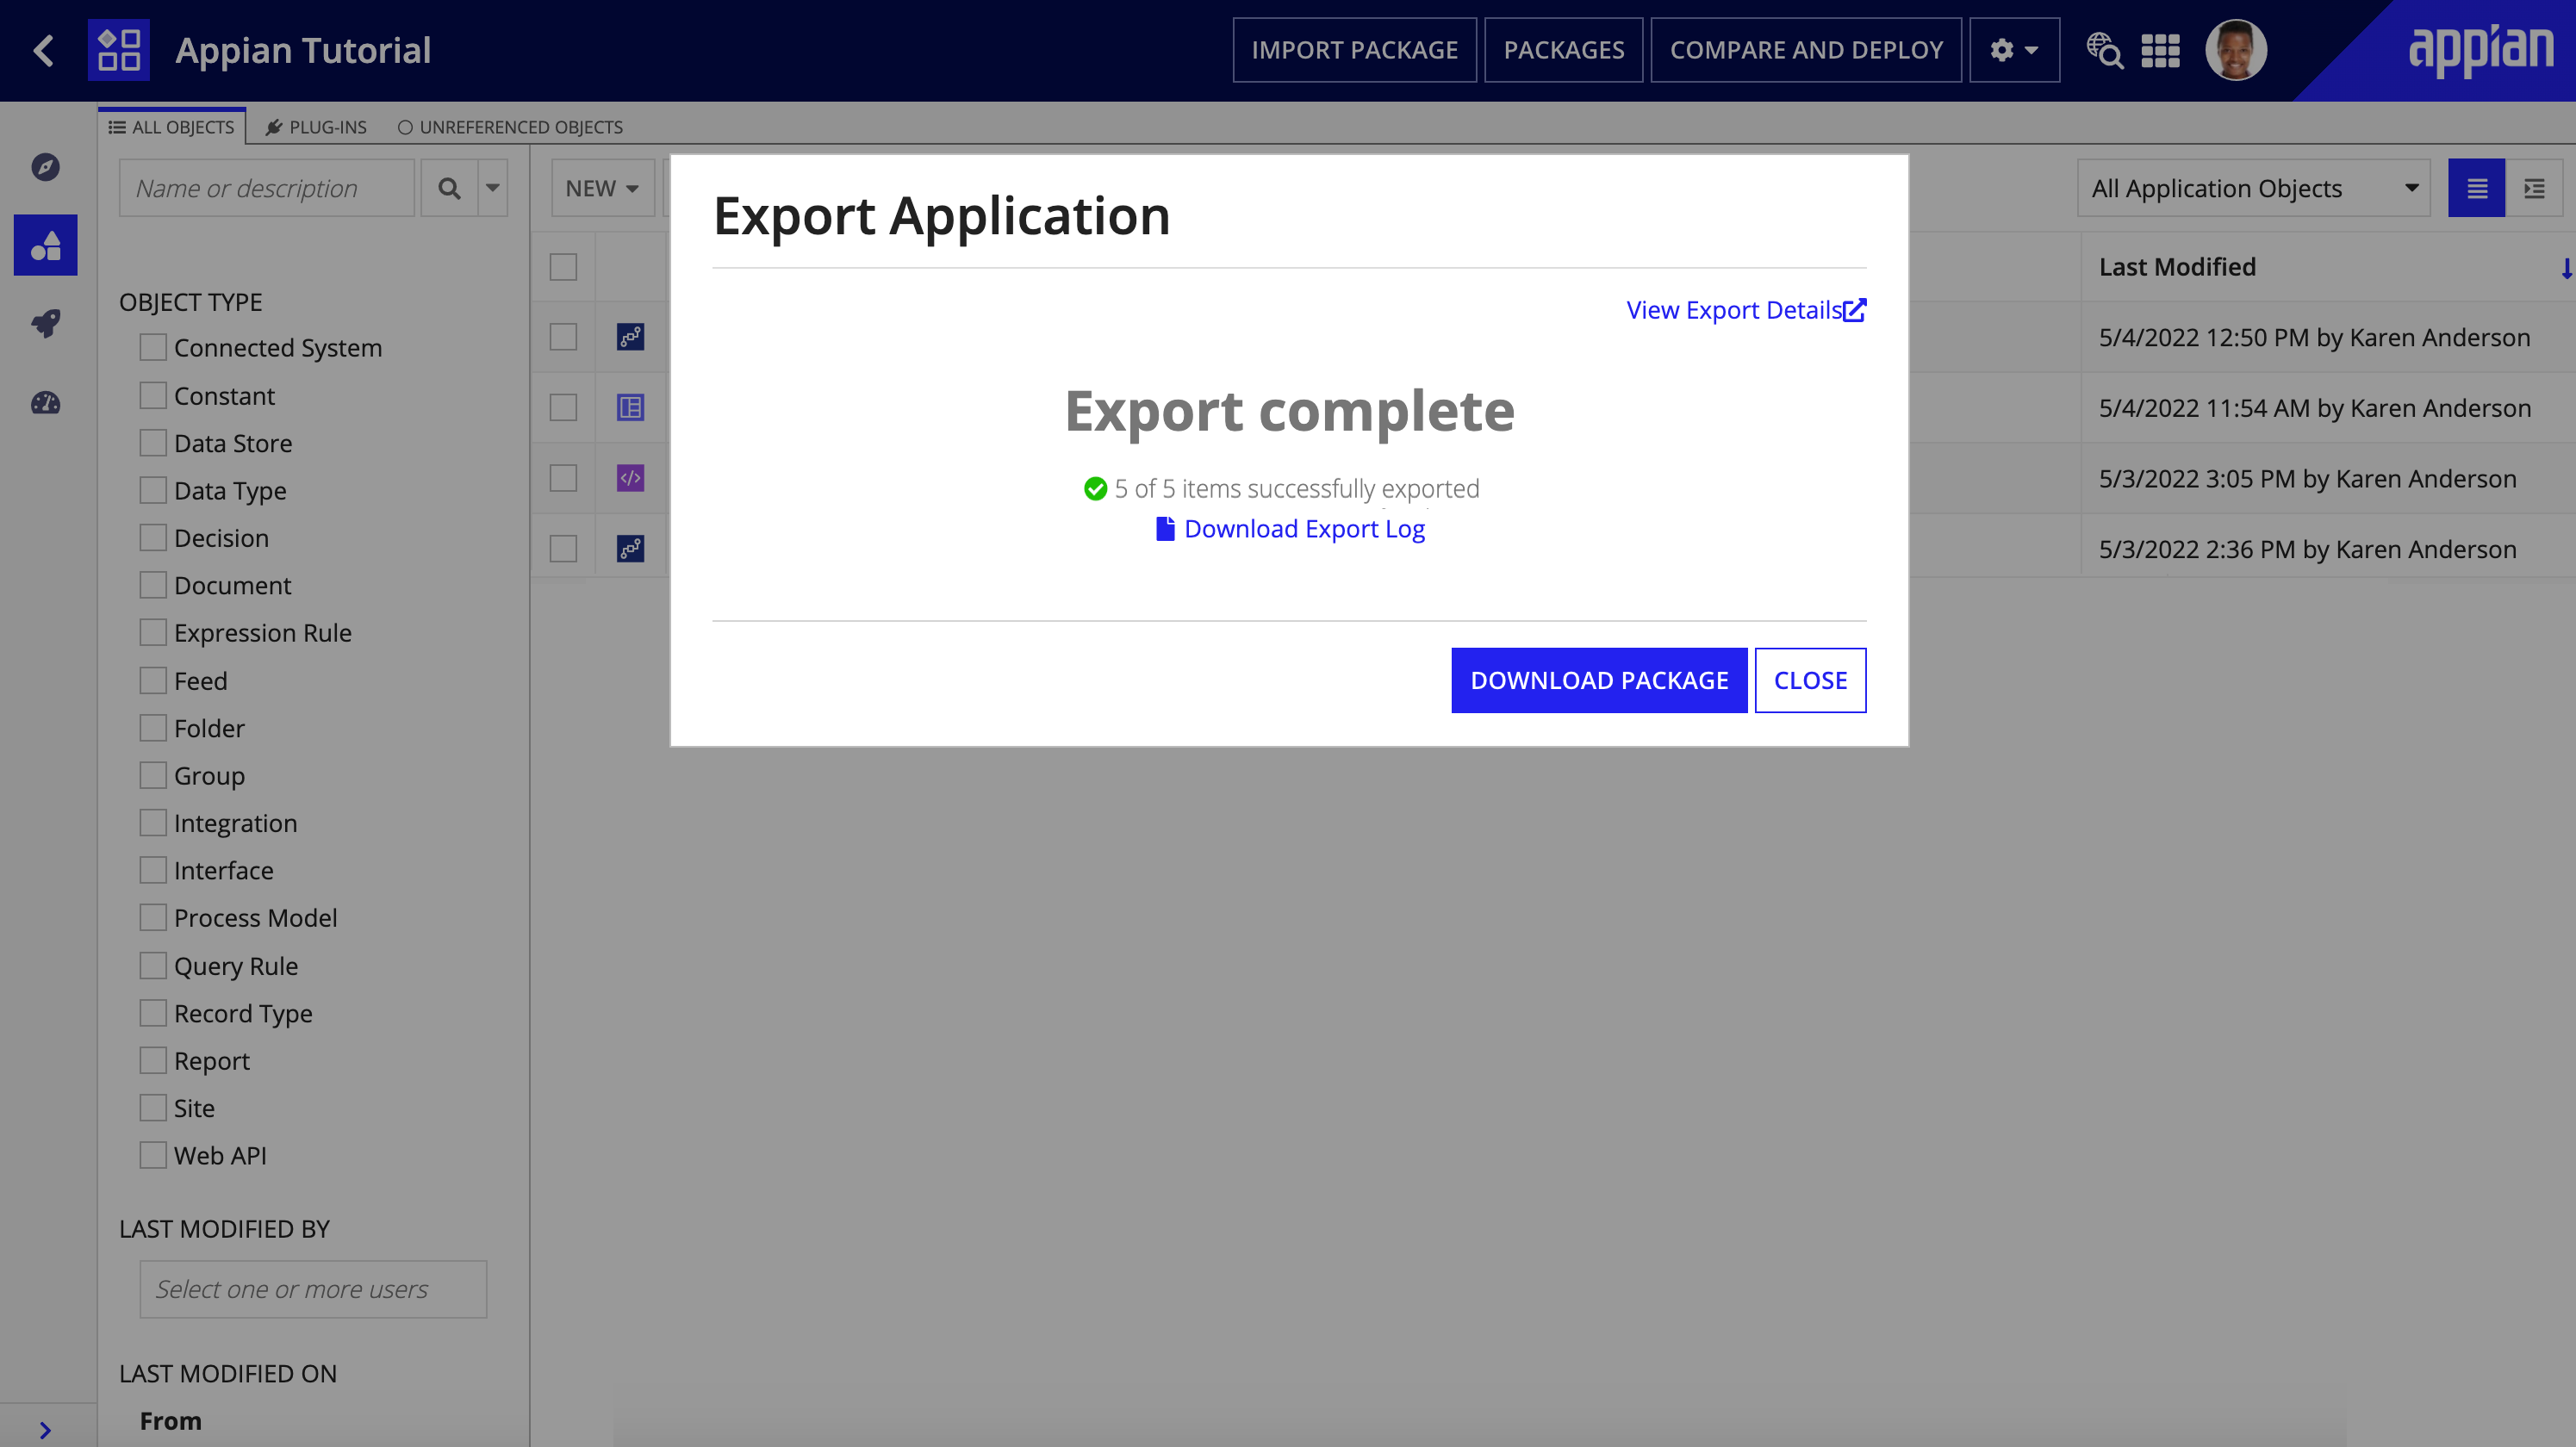
The export package downloads according to your browser's settings.
Ready to learn more about Appian? Check out our full list of tutorials or our free courses on Appian Academy.
