
| This content applies solely to Contract Writing, which must be purchased separately from the Appian base platform. This content was written for Appian 24.4 and may not reflect the interfaces or functionality of other Appian versions. |
IntroductionCopy link to clipboard
One of the main differentiators of Appian Contract Writing (CW) is its ability to empower business users to manage their procurement workflows without having to rely on their IT departments. In the Contract Writing Settings Site, users can configure categories, checklists, tasks, and review workflows.
The Contract Writing Settings site allows business users can:
- Manage categories that group tasks together.
- Manage tasks that can be chosen for checklists.
- Manage checklists that assign default tasks for a type of procurement or procurement event.
- Manage review workflows.
- Enable or disable certain application features.
Accessing the Contract Writing Settings siteCopy link to clipboard
Contract Writing Settings is a separate site in the CW application. Only business users with the appropriate group membership are able to access it. This ensures that only a select few have the access to sensitive processes and information.
To access the Contract Writing Settings site:
- Make sure you are in the
AS CW Contract Writing Settings Site Accessgroup. - From the Contract Writing site, select the navigation menu > Contract Writing Settings.
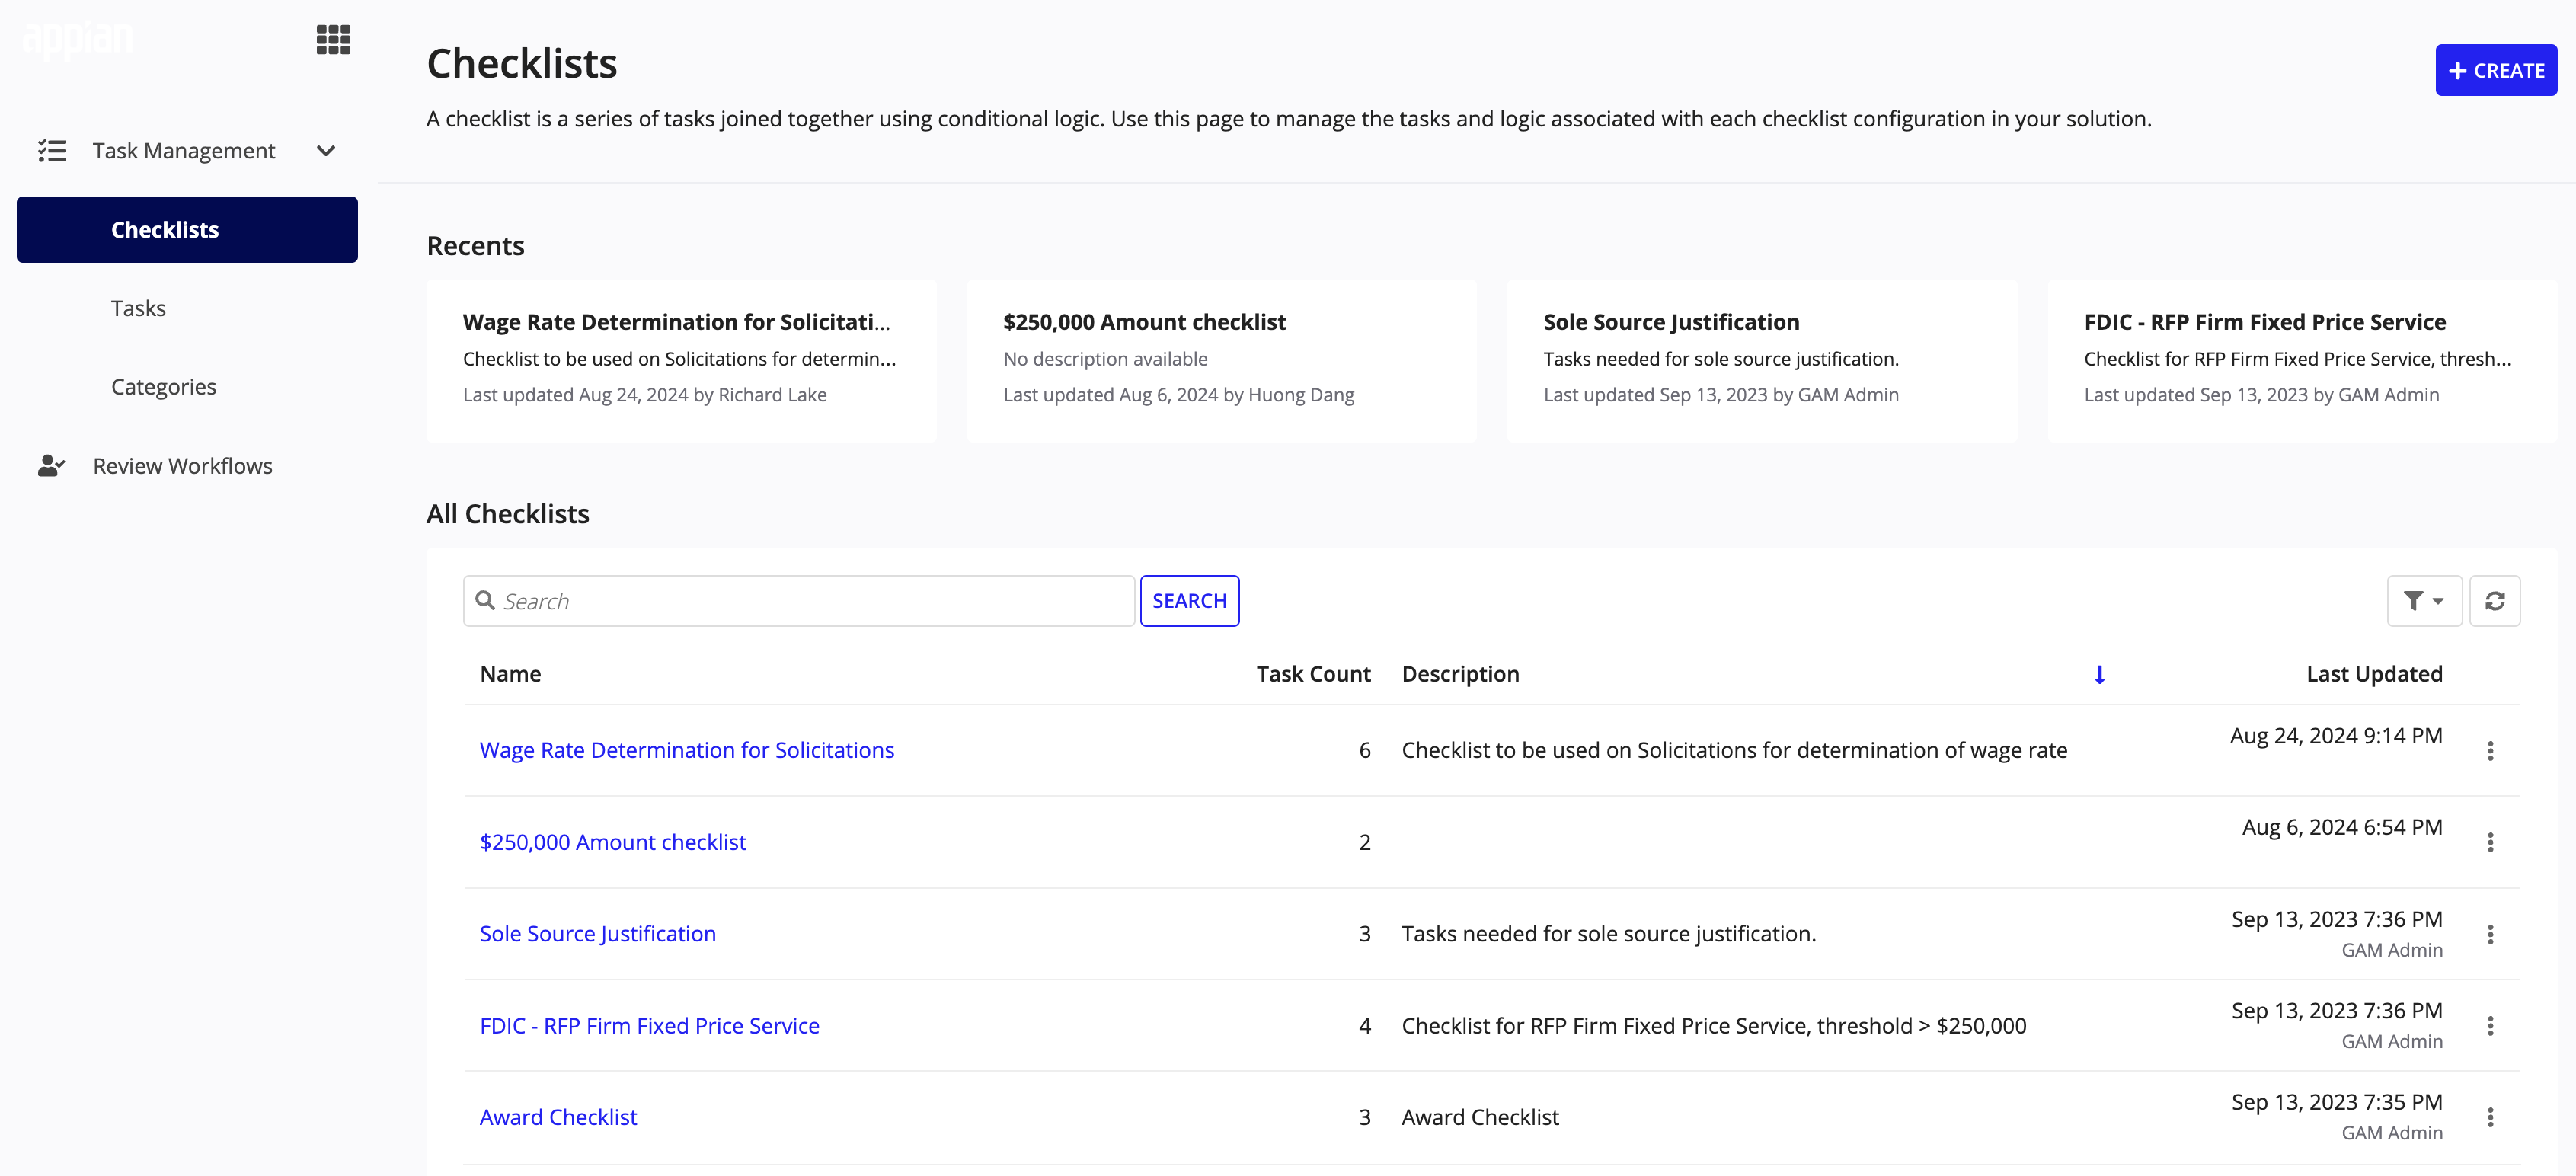
ChecklistsCopy link to clipboard
Different procurements will often require different sets of tasks depending on various factors like the entity involved or the total amount of the procurement. CW allows you to account for these variations across procurements by using checklists. A checklist is a series of tasks joined together using conditional logical that need to be completed during the procurement lifecycle.
To access the Checklist page from the Contract Writing Settings site, click Checklist from the side navigation menu.
Creating a new checklistCopy link to clipboard
Tip: Make sure any tasks you want to add to your checklist are already created on the Tasks page.
To create a new checklist:
- From the Checklists page, click +CREATE.
- In the Details section, enter a Name and Description.
- In the Conditions section, add and configure Conditions.
- The checklist will be recommended on procurements when these conditions are met. You can specify if you want to recommend the checklist when Any Condition (or) is met or when All Conditions (and) are met.
- In the Workflow section, add tasks from the Available Tasks column to the Selected Tasks column by checking the box next to the task you want to add.
- Remove tasks from the Selected Task column by clicking the X next to the task you want to remove.
- When you are finished, click ADD to proceed to the next step.
- You can assign a Group, Days to Complete, and Dependents for each task. You can also arrange them in sequential order to establish the checklist workflow.
- Dependent groups are only able to review once the parent group has completed their review.
- The workflow visualizer will update dynamically as you make changes to help you see the impacts of your selections.
- When finished, click CREATE.
Updating an existing checklistCopy link to clipboard
To update a checklist:
- From the Checklists page, click the checklist name to open the Checklist Summary.
- Click UPDATE.
- You can update the Details, Conditions, and Workflow for the checklist.
- Click UPDATE when finished.
Note: All future procurements will use the modified checklist. Procurements that are already in process or completed will not be affected.
TasksCopy link to clipboard
Tasks are actions added to checklists that users need to complete during the procurement process. To add tasks to a procurement checklist, you must create a library of tasks. You can view tasks by clicking Tasks from the navigation. In the task list, you can filter the items, select a category from the dropdown list, or enter a search term in the Search Tasks field.
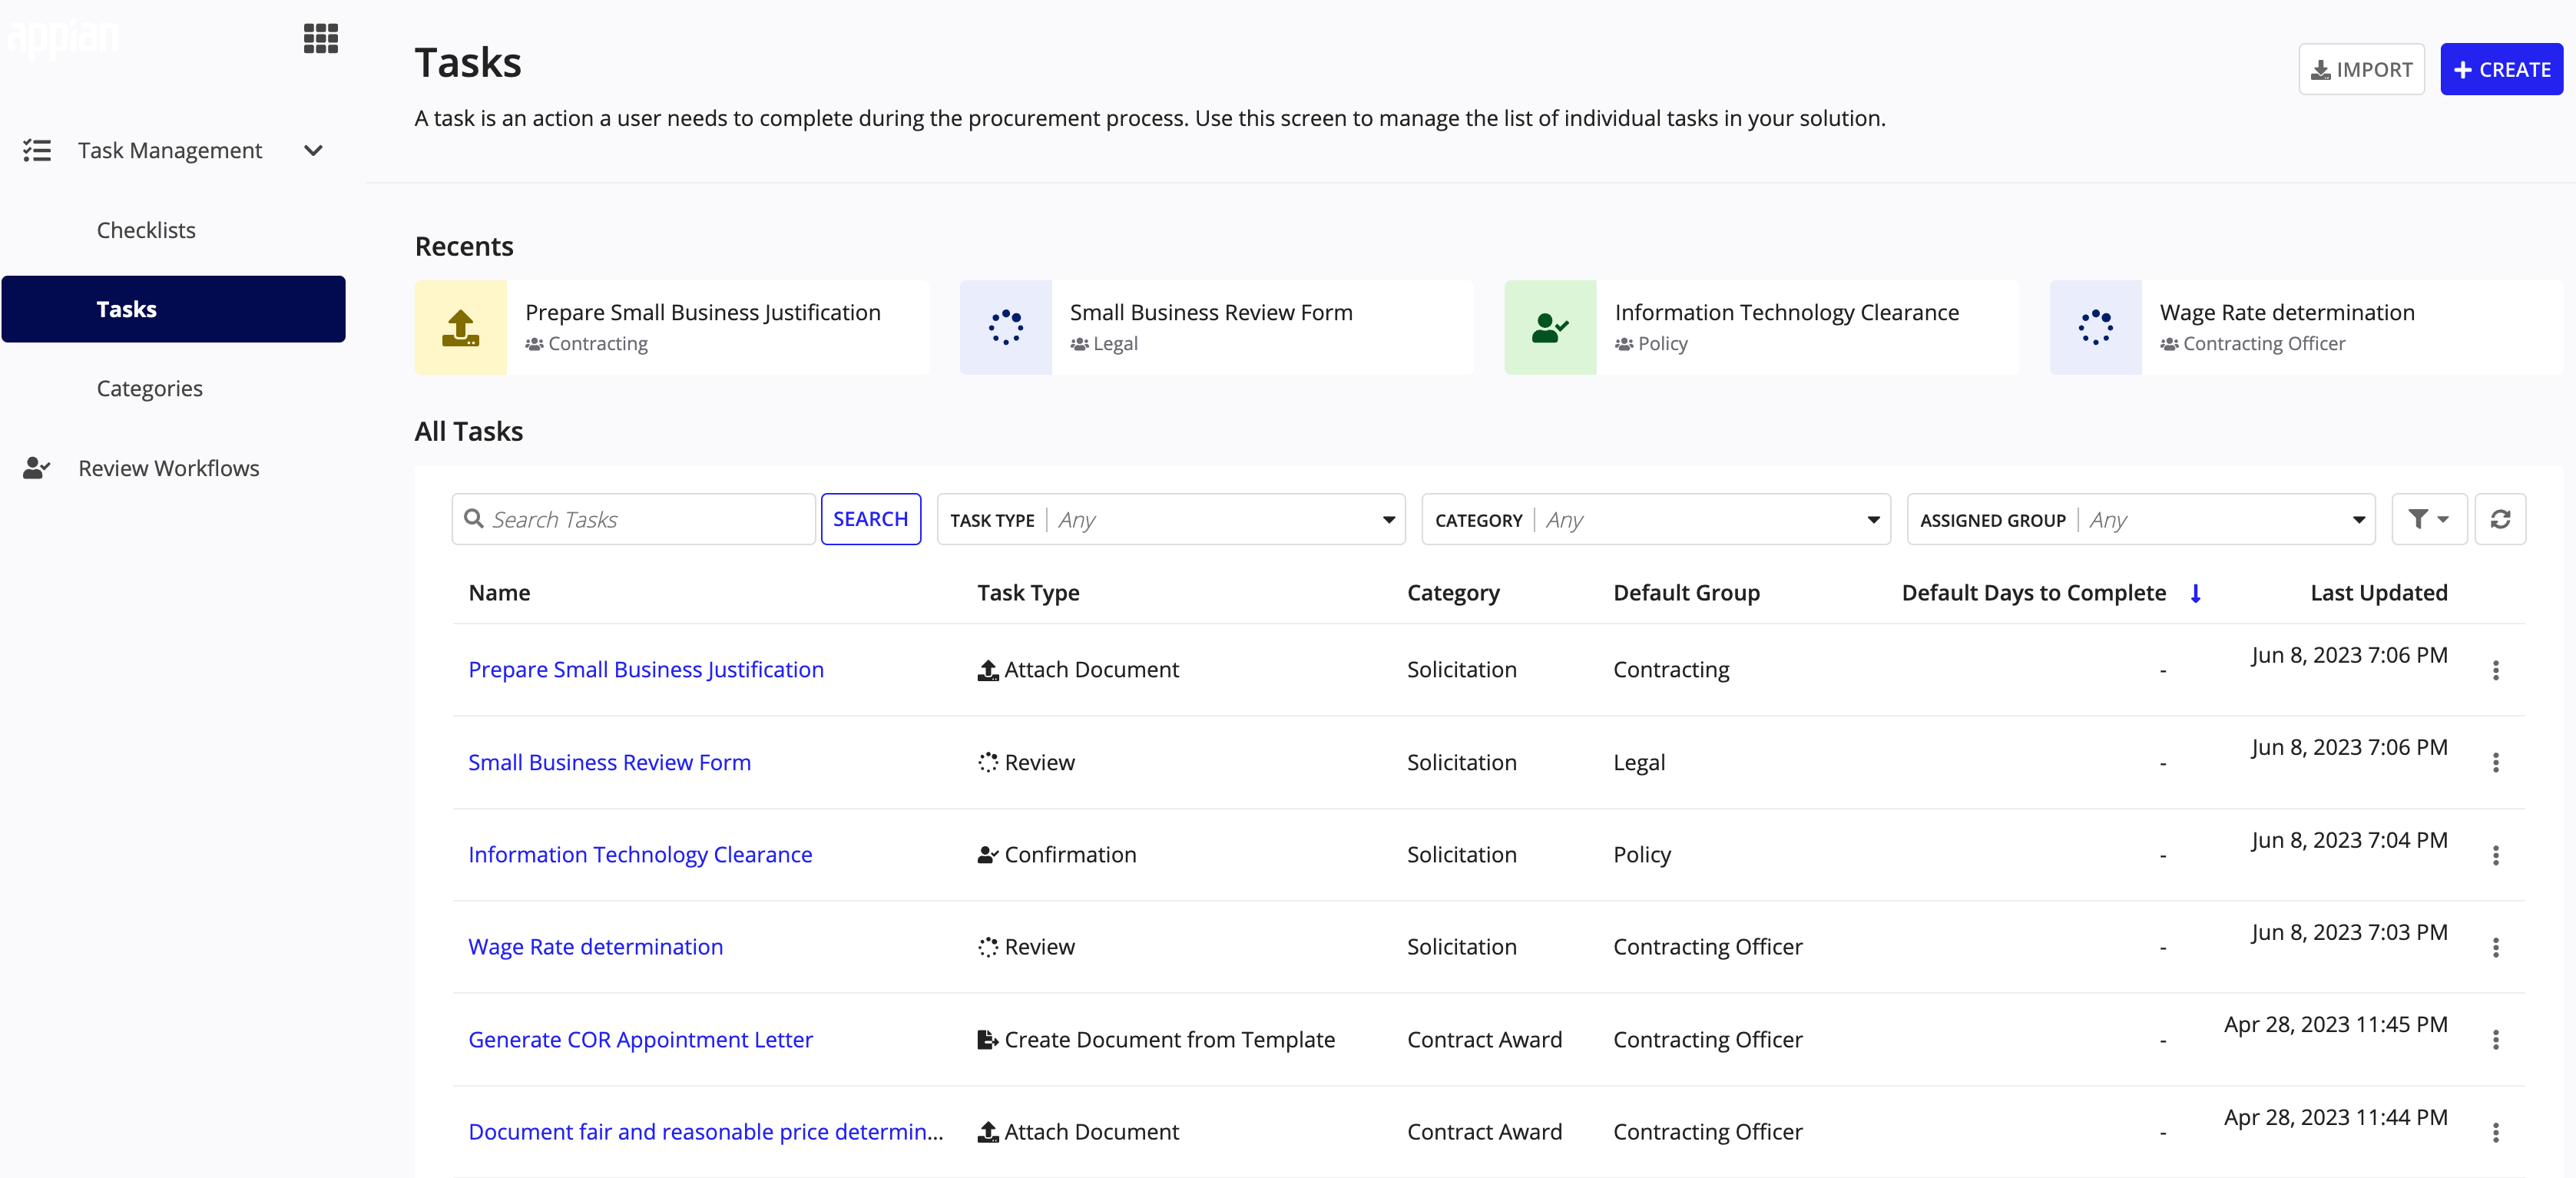
Task typesCopy link to clipboard
Tasks can be one of four types:
- Confirmation: This type of task requires a user to enter a date to confirm the task has been completed.
- Attach Document: This type of task requires a user to upload a specific document.
- Review: This type of task requires a user to approve, reject, or request changes on a task.
- Create Document from Template: This type of task requires a user to create a specific document from the provided document template.
Managing tasksCopy link to clipboard
You can create an individual task or import multiple tasks from an Excel spreadsheet. You can also edit existing tasks.
Create an individual taskCopy link to clipboard
If you only need to add a few tasks, you can add them one at a time.
To add an individual task:
- From the Tasks page, click +CREATE.
- Enter the following details:
- Name: Enter a display name for the task.
- Category: Select the category that the task should be grouped with. You can create and modify category values on the Category page.
- Description: Enter a description for the task.
- Default Group: Enter the group that should be responsible for the task.
- Task Type: Select a task type. Out-of-the-box, the valid values are: Confirmation, Attach Document, Review, and Create Document from Template.
- If the Task Type is Attach Document, select a Document Type.
- If the Task Type is Create Document from Template, select a Document Type and a Document Template.
- Click CREATE.
The new task will be available for use in all new and existing checklists.
Import multiple tasksCopy link to clipboard
If you want to create many tasks at once, you can import tasks from an Excel spreadsheet.
To import multiple tasks:
- From the Tasks page, click IMPORT.
- Download and open the Sample Import Excel File.
- Add tasks to the spreadsheet by filling out the following fields:
- Name: The display name for the task. There is a 255-character limit. Task names must be unique to import successfully.
- Category: The category that the task should be grouped with. Values must already exist on the Category page.
- Description: The description of the task. There is a 255-character limit.
- Assigned Group: The group automatically assigned to the task. The valid values are all business groups that are in the CW application. For example, Contracting Officer or Contract Specialist. See the Groups Reference Page for a list of the out-of-the-box groups.
- Task Type: The type of task. Out-of-the-box, the valid values are: Confirmation, Attach Document, Review, and Create Document from Template.
- Document Type: Only required if Task Type is Document Upload or Create Document from Template. If the Task Type is something else and a value is entered in this field, it will be ignored. Out of the box, the valid values are: Award Document, Memo, Justification Document, Determination, Waiver, Research, Checklist, Evaluation, Briefing, Notification, Appointment, Other.
- Document Template: Only required if Task Type is Create Document from Template. If the Task Type is something else and a value is entered in this field, it is ignored. Out-of-the-box, the valid values are: Exercise Option Letter Template and COR Appointment Letter Template.
- Save the spreadsheet.
- On the Tasks page, click UPLOAD and select the
AS GCW TMG Sample Task Import.xlxsfile that you just modified. - A list of the columns from the spreadsheet displays. Map the columns from the Excel sheet to the task fields. If you used the template without modifying the column headers, these should all match up automatically. Click NEXT.
- The task fields that you entered display. Verify all of the fields are correct and there are no validation errors.
- Click ADD TASKS. You will receive a confirmation message that the tasks were imported successfully.
- To create a new checklist with the tasks you just imported, click ADD TASKS TO CHECKLISTS.
Note: You can import up to 100 tasks at a time.
Edit tasksCopy link to clipboard
To edit a task:
- From the Tasks page, click the name of the task you want to modify.
- Click UPDATE.
- Modify the Name, Category, Description, Default Group, Default Days to Complete, and Document Type or Document Template, if applicable.
- Click UPDATE.
Note: All checklists that reference the item will be updated. Procurements that are in progress will not be affected.
CategoriesCopy link to clipboard
Categories group similar tasks together, usually by the function of the tasks or the group that performs the tasks. CW comes with some out-of-the-box categories that are completely configurable to meet the needs of your organization's procurement process. To view categories, click Categories from the navigation menu.

Managing categoriesCopy link to clipboard
You can create and edit the categories on this page. If a category no longer fits your needs, you can also delete it.
Create a categoryCopy link to clipboard
You can create a new category whenever you need a new way to group tasks. For example, you might want to create a category for post-award tasks.
To create a category:
- From the Categories page, click +CREATE.
- Enter a Name and click CREATE.
The new category will be available for all new procurement tasks and when adding a new checklist or additional tasks to an existing checklist.
Update a category nameCopy link to clipboard
You can change the name of any category. The new name will display in all new and existing tasks that reference it.
To edit a category name:
- From the Categories page, select the category you want to modify.
- Click UPDATE.
- Enter a new Name and click UPDATE.
Delete a categoryCopy link to clipboard
You also have the option to delete existing categories. However, if any tasks reference the category, you cannot delete them. Make sure you complete or cancel all tasks that reference the category you want to delete.
To delete a category:
- Click the three vertical dots next to the category you want to remove.
- Select Delete.
- The category will no longer display in tasks and checklists.
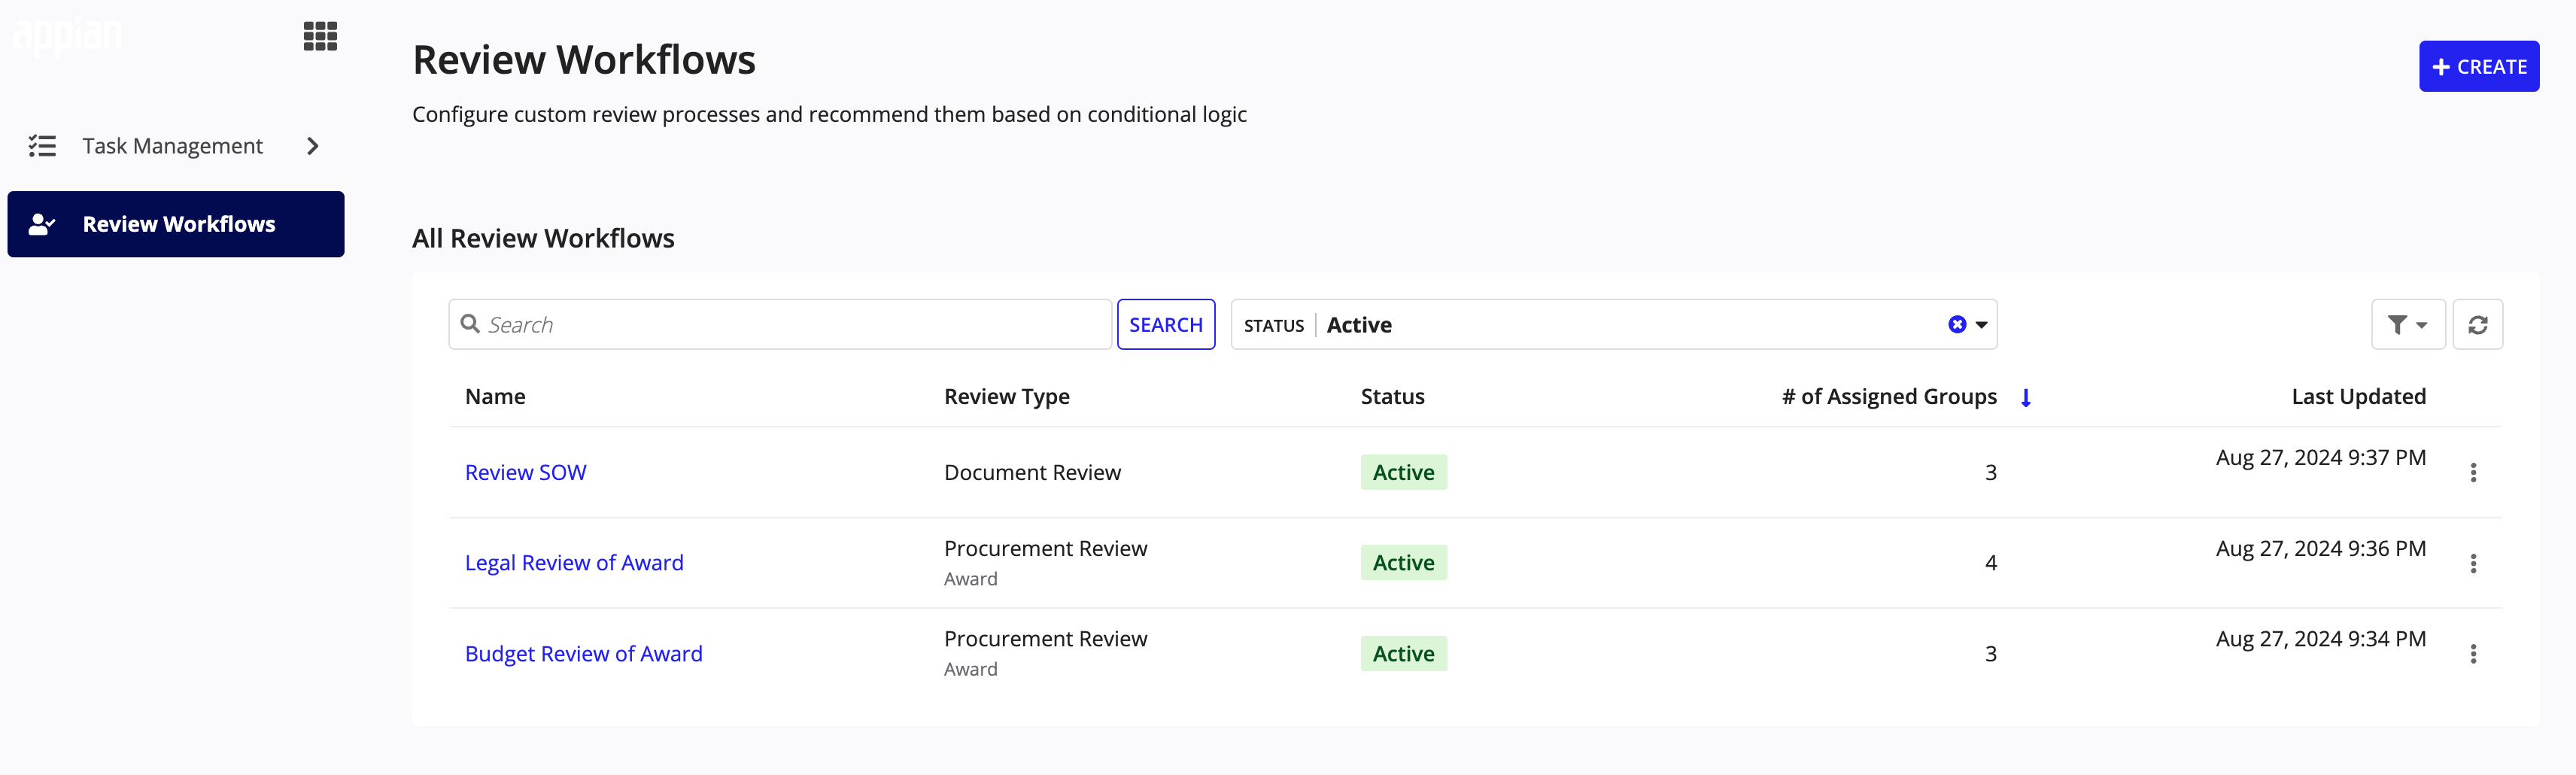
Review WorkflowsCopy link to clipboard
n In the Contract Writing Settings site, business users can configure custom review processes and recommend them based on conditional logic. The Review Workflows page displays all the information pertinent to review workflows in a grid list. This list helps users determine which reviews already exist and when they were last updated.
Clicking a review name displays the review summary for that review workflow. You can view the assigned groups, details, and conditions for the review. You can also update the review from this page.
Creating a new review workflowCopy link to clipboard
To create a new review workflow:
- From the Document Review page, click +CREATE.
- Enter the following information for your review:
- Name: Enter a name for the review.
- Status: Select a status, Active or Inactive.
- Review Type: Select the review type, Document Review or Procurement Review.
- The type will affect the fields available for setting up the conditional logic of the review process. - Procurement Type (Procurement Reviews only)
- In the Conditions section, define conditional logic for the review workflow.
- The review process will be used instead of the default process when these conditions are met. You can specify if you want to use the review when Any Condition (or) is met or when All Conditions (and) are met.
- In the Reviewers section, assign review groups to evaluate this workflow for the review process.
- For each Assigned Group you can select Dependents and Days to Complete.
- Dependent groups will only be able to review once the parent group has completed their review.
- For each Assigned Group you can select Dependents and Days to Complete.
- Click CREATE.
Updating an existing reviewCopy link to clipboard
The Contract Writing Settings site allows you to easily update reviews.
To update a review:
- Click the review name that you want to update.
- Click UPDATE.
- If desired, update the review details and conditions, or any combination of these review parameters.
- Add the groups that will perform the default review for a specific document type.
- Click Review Group to add review groups to the review.
- Modify the review groups. You can do this in the following ways:
- Modify the default Precedents. Note: A precedent is a review group that must complete the review before another group begins reviewing.
- Modify the default Assigned Group.
- For Duration, enter a number to indicate how long that item will take to complete once it's started.
- For Duration Unit, select whether the Duration is for Hours, Days, or Weeks.
- Click X to delete review groups.
- Click SAVE CHANGES.
SettingsCopy link to clipboard
The Settings page allows you to enable or disable certain features in your Contract Writing application.