Overview
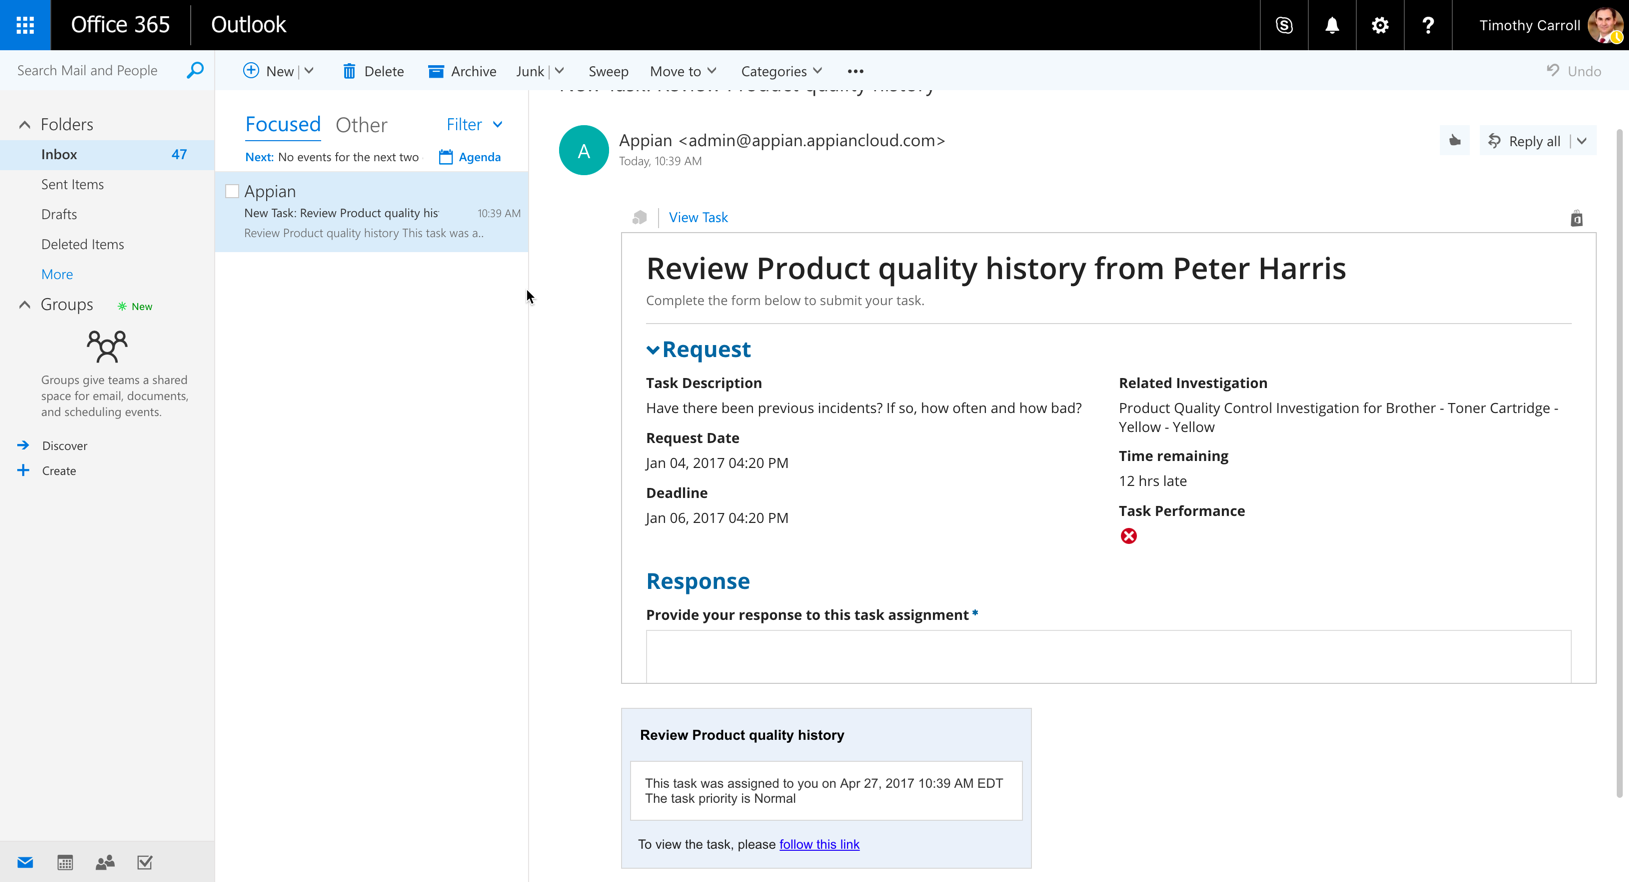
This page shows you how to connect Microsoft Office to Appian. Through the use of an Embedded Interface and an Office Add-in, the integration described below allows users to view and complete their Appian tasks without ever leaving Outlook.
To configure the integration, you and the systems you'll being configuring must meet the following requirements:
- You are using one of the following versions of Outlook:
- Office 2016 for Windows
- Office 2016 for Mac
- You have administrator access to Outlook
- You have system administrator access to Appian
How to set up the add-in
The following sections detail how to set up the add-in in Appian and Outlook.
Enable the add-in in Appian
Before uploading the add-in manifest to Outlook, you will need to enable the add-in endpoint in Appian.
- Go to the Microsoft Office tab of the Admin Console.
- Click Enable Integration.
- Click Save Changes.
- Click Download the site-specific add-in manifest to download the manifest. This is used in the next step.
Enable the add-in in Outlook
There are two ways to enable the add-in in Outlook: globally and on a per-user basis. For production use, you should enable the add-in globally. When enabled globally, you do not need to worry about users not in Appian because the add-in will only appear if the user receives an Appian task email. Instructions for enabling the add-in on a per-user basis are provided for initial testing.
Enable the add-in for all users
- Go to the Outlook Exchange Control Panel
- Click add-ins under organization
- Click the + icon above the grid, then select Add from file.
- Upload your manifest file.
- Click Next.
- Once uploaded, the add-in will be Optional, disabled by default. If you want it enabled by default for users, click on the newly-added row in the grid, then click the pencil icon to edit. From there, set the user default to Optional, enabled by default.
All Outlook accounts should now be connected to Appian. You can tell it is enabled for your users by following steps 1-3 in the next section and seeing the add-in displayed.
Note: There can be a significant delay, up to a few hours, between enabling the add-in in the control panel and seeing it enabled for your users.
Enable the add-in for one user
- From within the Outlook web client, click the gear in the upper-right corner to view settings
- Click Manage integrations.
- Go to the Add-Ins tab.
- Click Click here to add a custom add-in.
- Click Add from file….
- Click Install.
Your single account should now be connected to Appian, and the add-in should appear in the list of add-ins associated with your account.
Testing the configuration
To test the configuration:
- Go to one of your Appian tasks.
- Copy the URL from your browser's address bar, for example,
https://mysite.appiancloud.com/suite/tasks/task/12345.
- Paste that URL into an email to yourself.
- Open the email. With the add-in installed, if the add-in is configured correctly, a button labeled New Task will appear above the email body. Clicking the button will load the task form in Outlook.
Usage considerations
The following notes detail additional information about the add-in:
- Only SAIL interface tasks can be completed using the add-in.
- If a single email contains links to multiple tasks, only the first task in the list of links can be completed.
- If you have users that want to use the add-in in multiple environments, you will need to upload a manifest from each environment.
