| The capabilities described on this page are included in Appian's standard capability tier. Usage limits may apply. |
Overview
Required role: Administrator
The Appian RPA console is the command center for your automation environment. This page describes how to set up and customize different aspects of the RPA console.
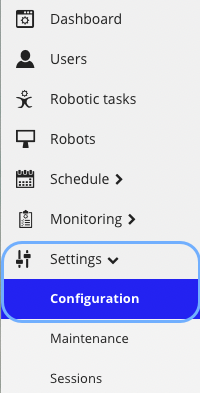
To access Appian RPA customization and configuration, click Settings > Configuration in the left pane.
Console license
This area shows read-only information about your environment.

Customization
Customize the console with the following properties:
- Language: Choose a language for the Appian RPA user interface: English or Spanish.
- Identifier: Console identifier. This information is provided by Appian and is associated with the console license.
- Instance: Instance name of the console. Just like the identifier, it is provided by Appian and is associated with the console license.
- Console URL: URL to access the console.

Restart configuration
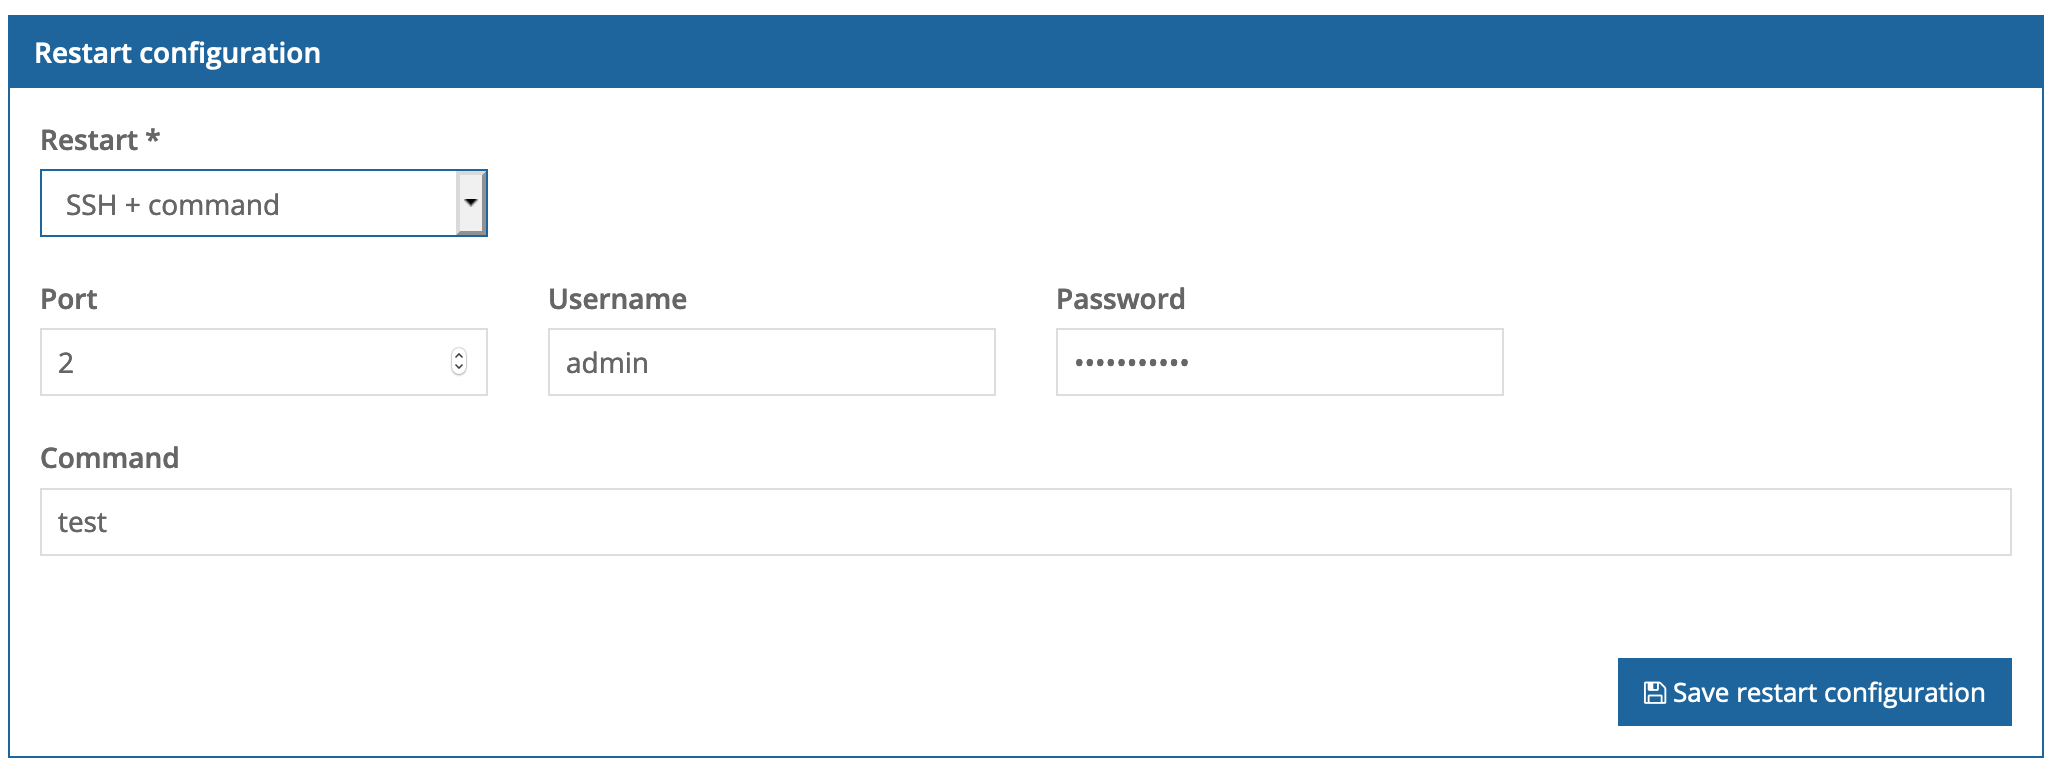
Configure console restart behavior with the following settings:
- Restart: select SSH + command
- Port: Port to establish the SSH connection
- Username: Username for the SSH connection
- Password: Password for the SSH connection
- Command: Command to execute in the machine for the restart
Security policies
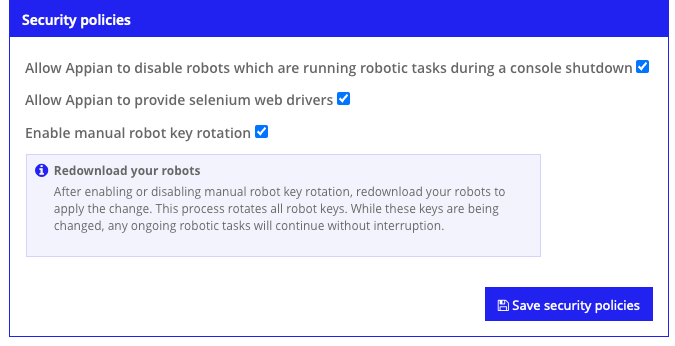
This area allows you to configure settings that allow Appian to update web drivers, disable unclean robots on start up, and use robot keys for authentication.
SMTP email configuration
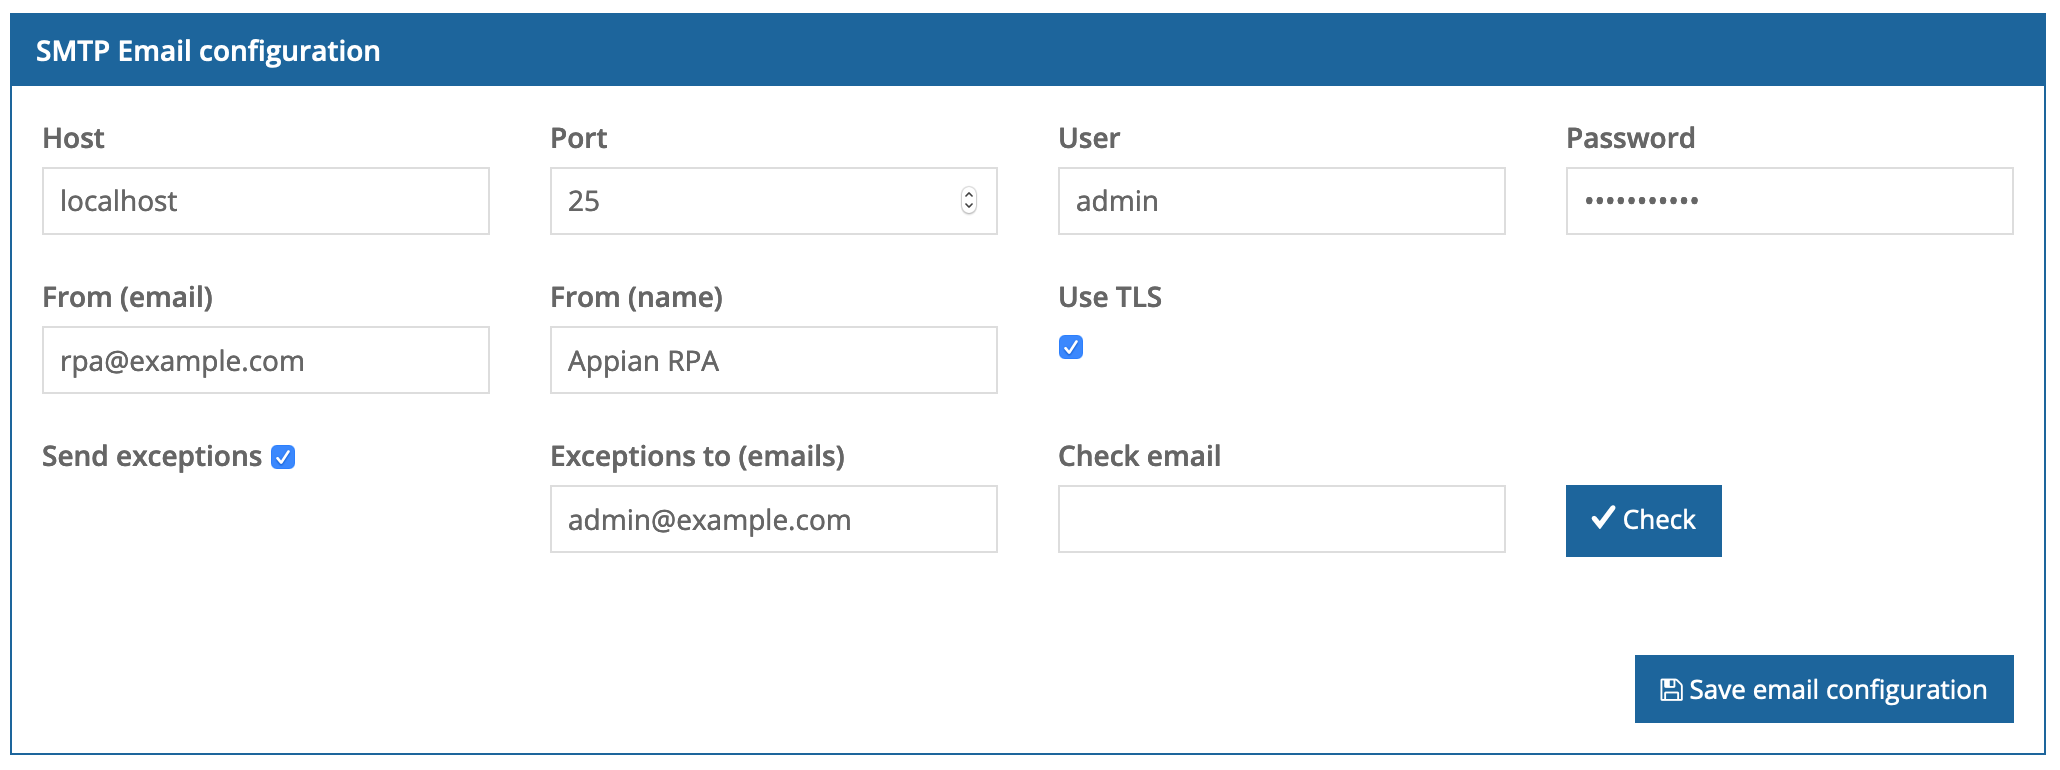
- SMTP Email configuration: This area allows you to adjust the email server settings used by Appian RPA. The platform uses SMTP to send emails.
- Host: email server's URL
- Port: access port (SMTP) to the email server
- User: username to access the email server
- Password: password to access the email server
- From (email): address that appears on emails sent from the Appian RPA
- From (name): name that appears on emails sent from the Appian RPA
- Use TLS: enables the TLS security protocol for sent emails
- Check email: email address to be used for testing these setting. Click Check to send the test email.
- Send exceptions: choose whether to send an email every time an exception is thrown
- Exceptions to (emails): email addresses to send trace logs of internal RPA server errors. Note that errors that occur with robotic task executions are not included in this email. The field Send exceptions must be enabled. Separate multiple email addresses with commas.
Default dashboard configuration
This area is no longer used.
Tools configuration
This area shows information for the tools connected to Appian RPA to develop and execute robotic tasks, such as Maven.
Caution: The fields are populated with default information. Do not change these settings.

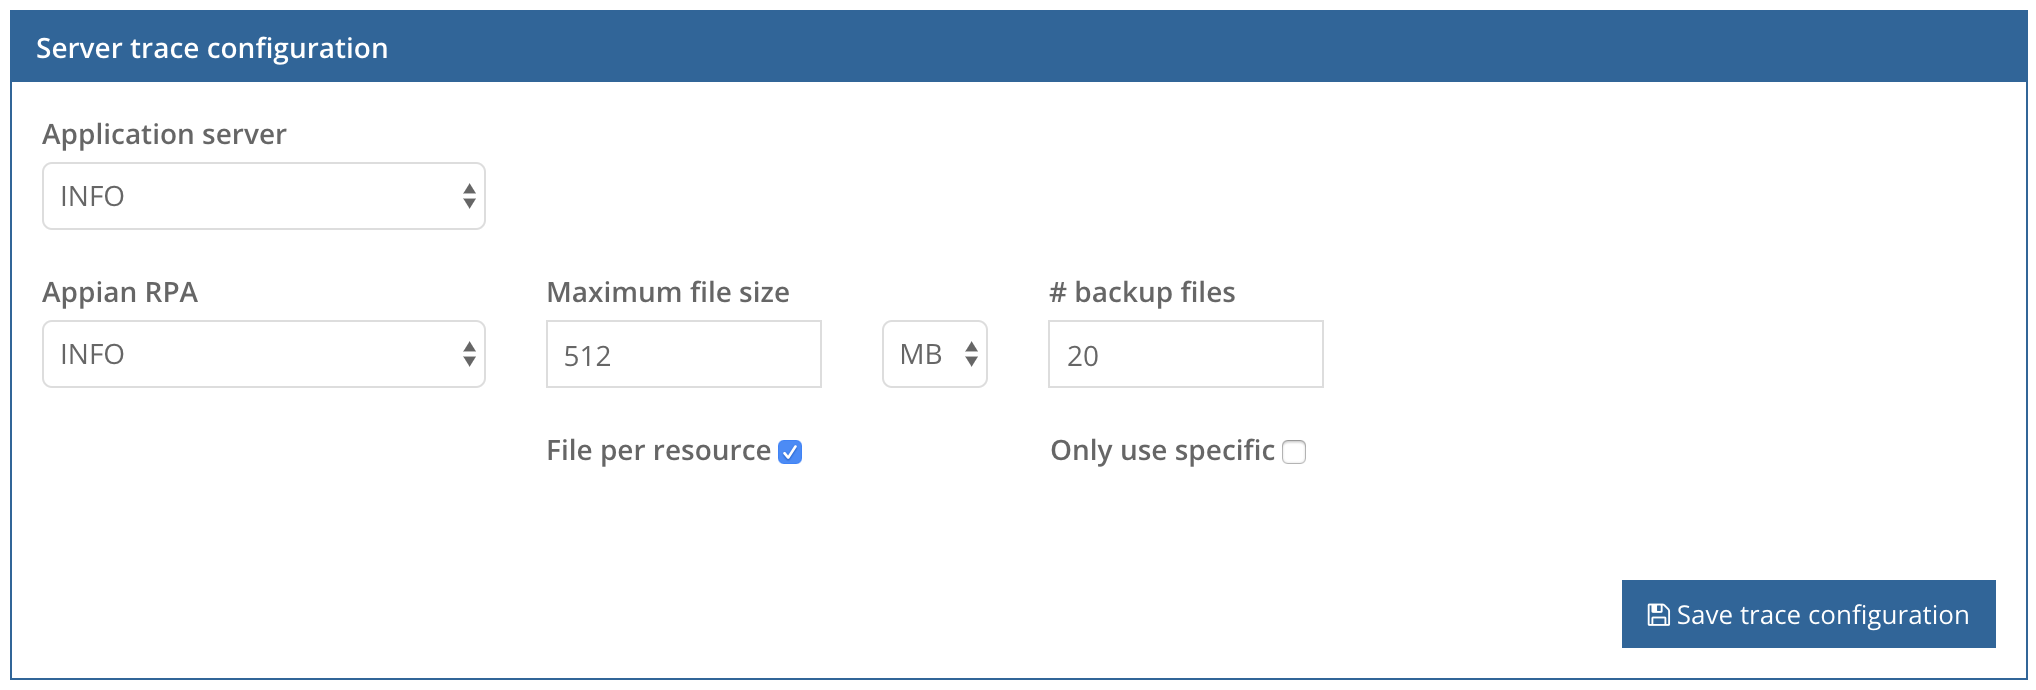
Server trace configuration
The options in this area let you customize server logs that appear on the Maintenance page. Choose what type of information to include, as well as file sizes. Be mindful that that log files can consume a lot of disk space on the server. Configure the following options:
- Application server: Minimum log level for the application server log system. Traces below this level will be ignored.
- Appian RPA: Minimum log level for the Appian RPA log system. Traces below this level will be ignored.
- Maximum file size: Maximum file size for a trace log. Once the maximum file size is reached, the file is archived. A new trace log file is created each time the maximum is reached.
- # backup files: Maximum number of backup files to keep in the server. Once reached, older files are removed to make room for newer files.
- File per robot: When enabled, additional log files are created for each robot configured in the console.
- Only use specific: When enabled, log traces are only written in the log file of the specific robot.
Show or hide an information message
Required role: Administrator
If your Appian RPA environment is undergoing maintenance or may not be available at a certain time, administrators can create a message to display to all users when they open the console.

To show or hide an information message:
- Go to the Robotic tasks tab.
- In the toolbar, click the Show/hide information message
 icon. The Information message window displays.
 - In the Information message box, enter the text of the message you want to show.
- Click OK.
