Quick Apps are a new kind of application. Flexible and adaptive, they are created by business users, not designers. As such, they don't require any training, or designer access; they are built with a wizard, and managed from Tempo. Heard enough? Jump to creating your own Quick App.
Successful companies rely on talented people to do what's needed, when it's needed. And a lot of what they do doesn't fit into well-defined, rigid processes; it's self-driven and ad-hoc. It's the reaction of proactive workers to unmapped business needs. They create their own loosely-automated workflows that center around visibility and communication, and keep track of it in spreadsheets, calendars, documents, email threads, etc.
Quick Apps are designed to capture these kinds of processes in a way that respects their freeform nature, while leveraging the power of Appian's data and collaboration tools. And like those other methods, Quick Apps are easy to setup and immediately available. Users can even make changes to Quick Apps while they're actively in use.
Let’s look at an example:
Karen works at Southeastern Bank, where she leads a growing team that's responsible for auditing customer billing numbers. The bank already uses Appian for the main auditing process, but her team also receives questions, requests, and corrections from the customers being audited. Her team uses a spreadsheet to keep track of these customer communications, but Karen's decided they need something better. Since the bank already uses Appian, Karen logs into Tempo and builds a Quick App. She starts by capturing the same information her team has been logging into the spreadsheet, creates a nice form to log new customer communications, and assigns her team as the Quick App's users. She does all of this in 15 minutes. Karen's team is now fully running on Appian. And since she's moved this workflow into Appian, she can leverage existing data. Karen returns to her Quick App to make a few changes, including a cross-link to the customer records and audit IDs. Now when her team opens a communication record, they have immediate access to customer contact information and current audit status. Karen was able to make these changes with zero downtime, because Quick Apps can be modified while they're in use without losing data or interrupting anyone's workflow.
There are three steps to creating a Quick App:
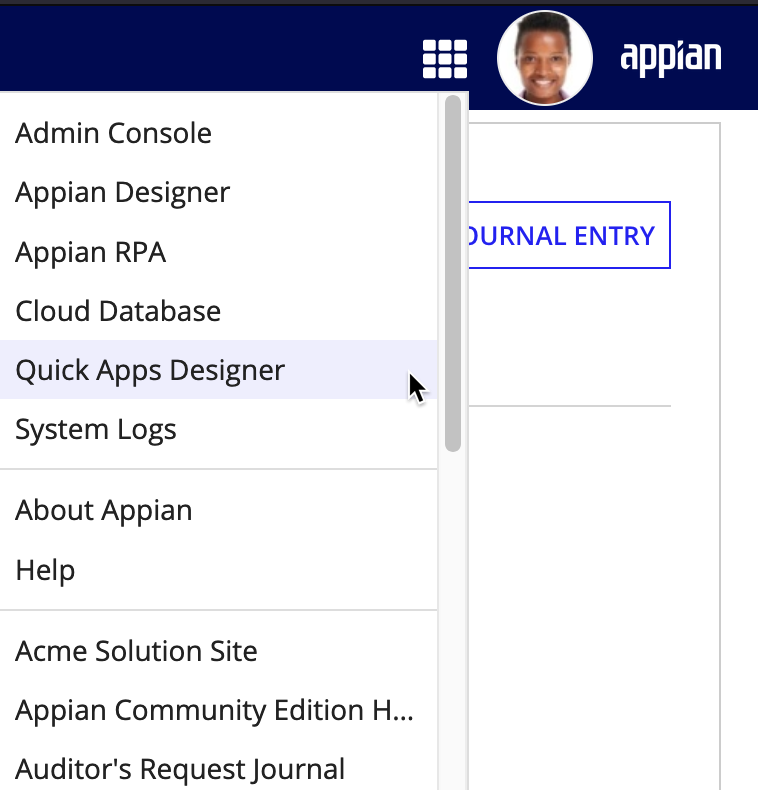
To open the Quick Apps Designer, click on the navigation menu, then select Quick Apps Designer from the dropdown menu. If the Quick Apps Designer option isn't available, contact your system administrator about access to Quick Apps.

The Quick Apps Designer displays a list of existing Quick Apps. In our example below, you can see we have two Quick Apps listed:
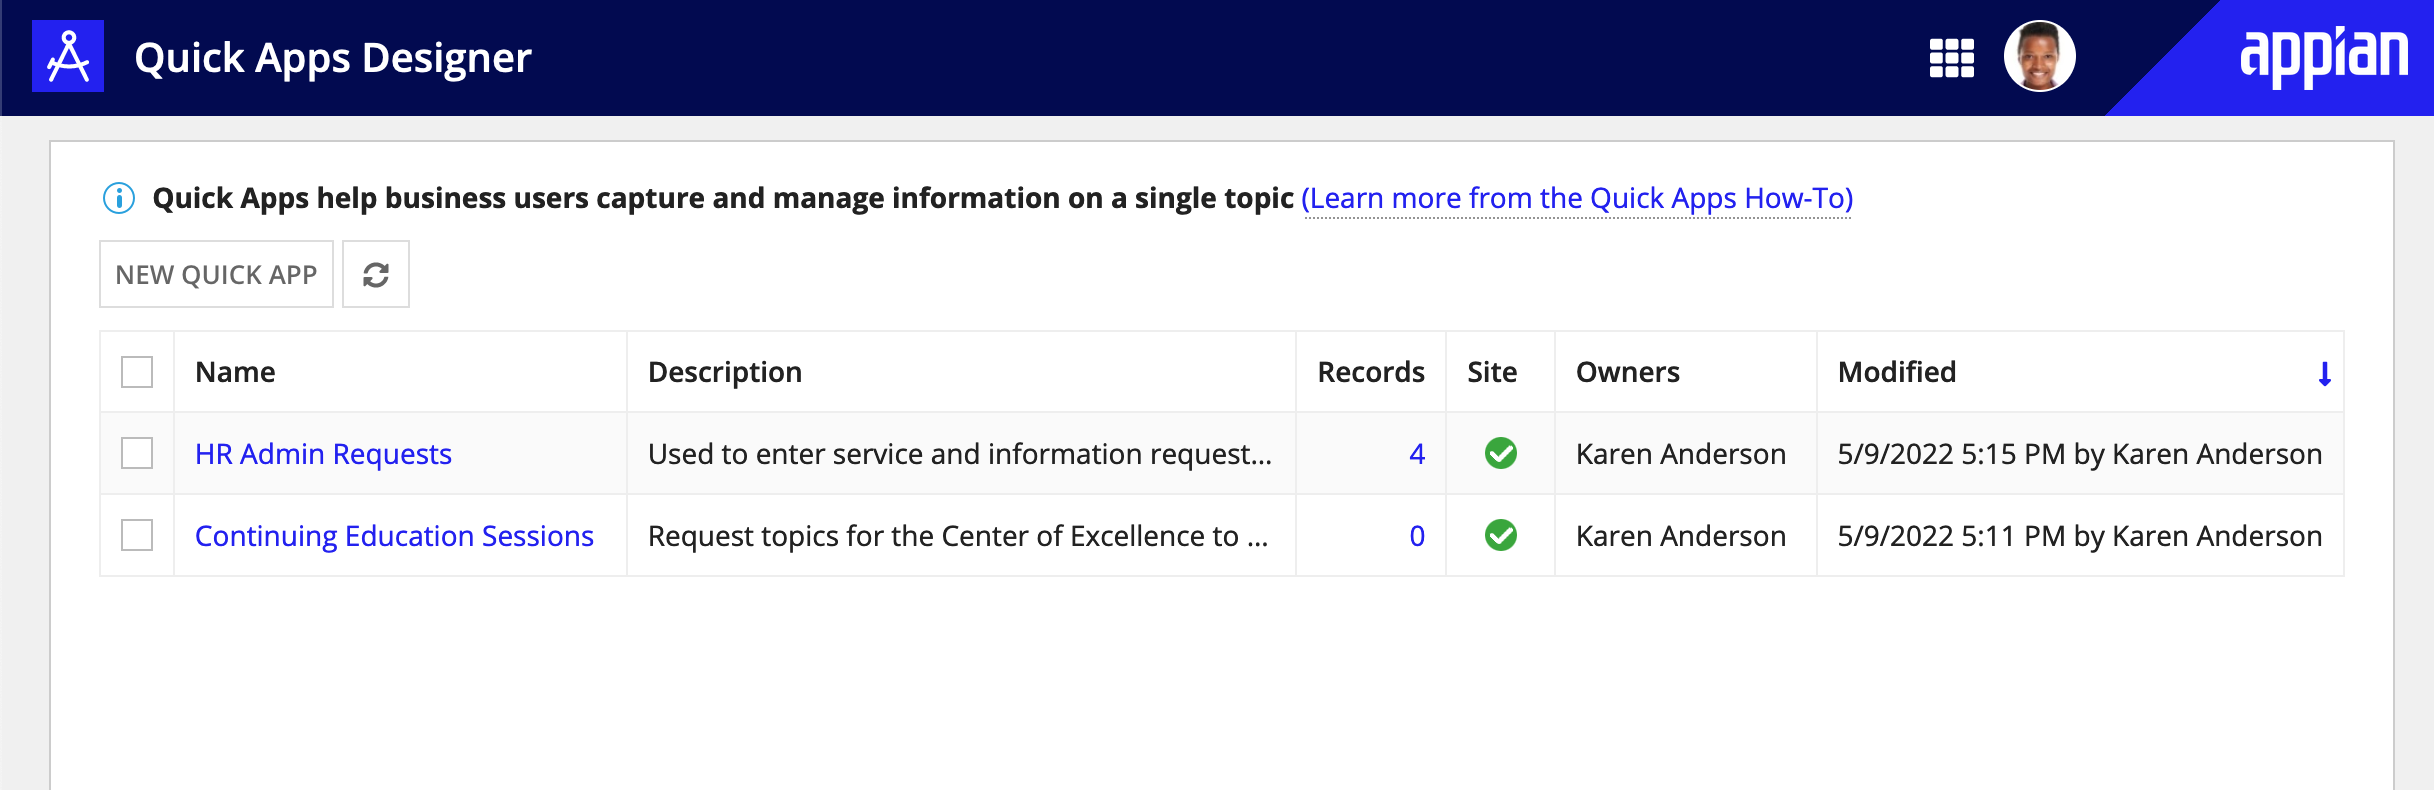
In Quick Apps Designer, click New Quick App to open the Quick App wizard.
Once you've opened the wizard, the first page will provide you with fields to name and describe your Quick App and its entries.

Since Quick Apps are records based, the Singular Entry Name and Plural Entry Name fields are how you describe the entries. For example, a Support Desk Quick App would have Support Ticket and Support Tickets as its singular and plural entries.
In our example below, we named the app Auditor's Request Journal, with the description Customer requests and questions for the Auditing team. For the entry names, we used Request Journal Entry and Request Journal Entries.
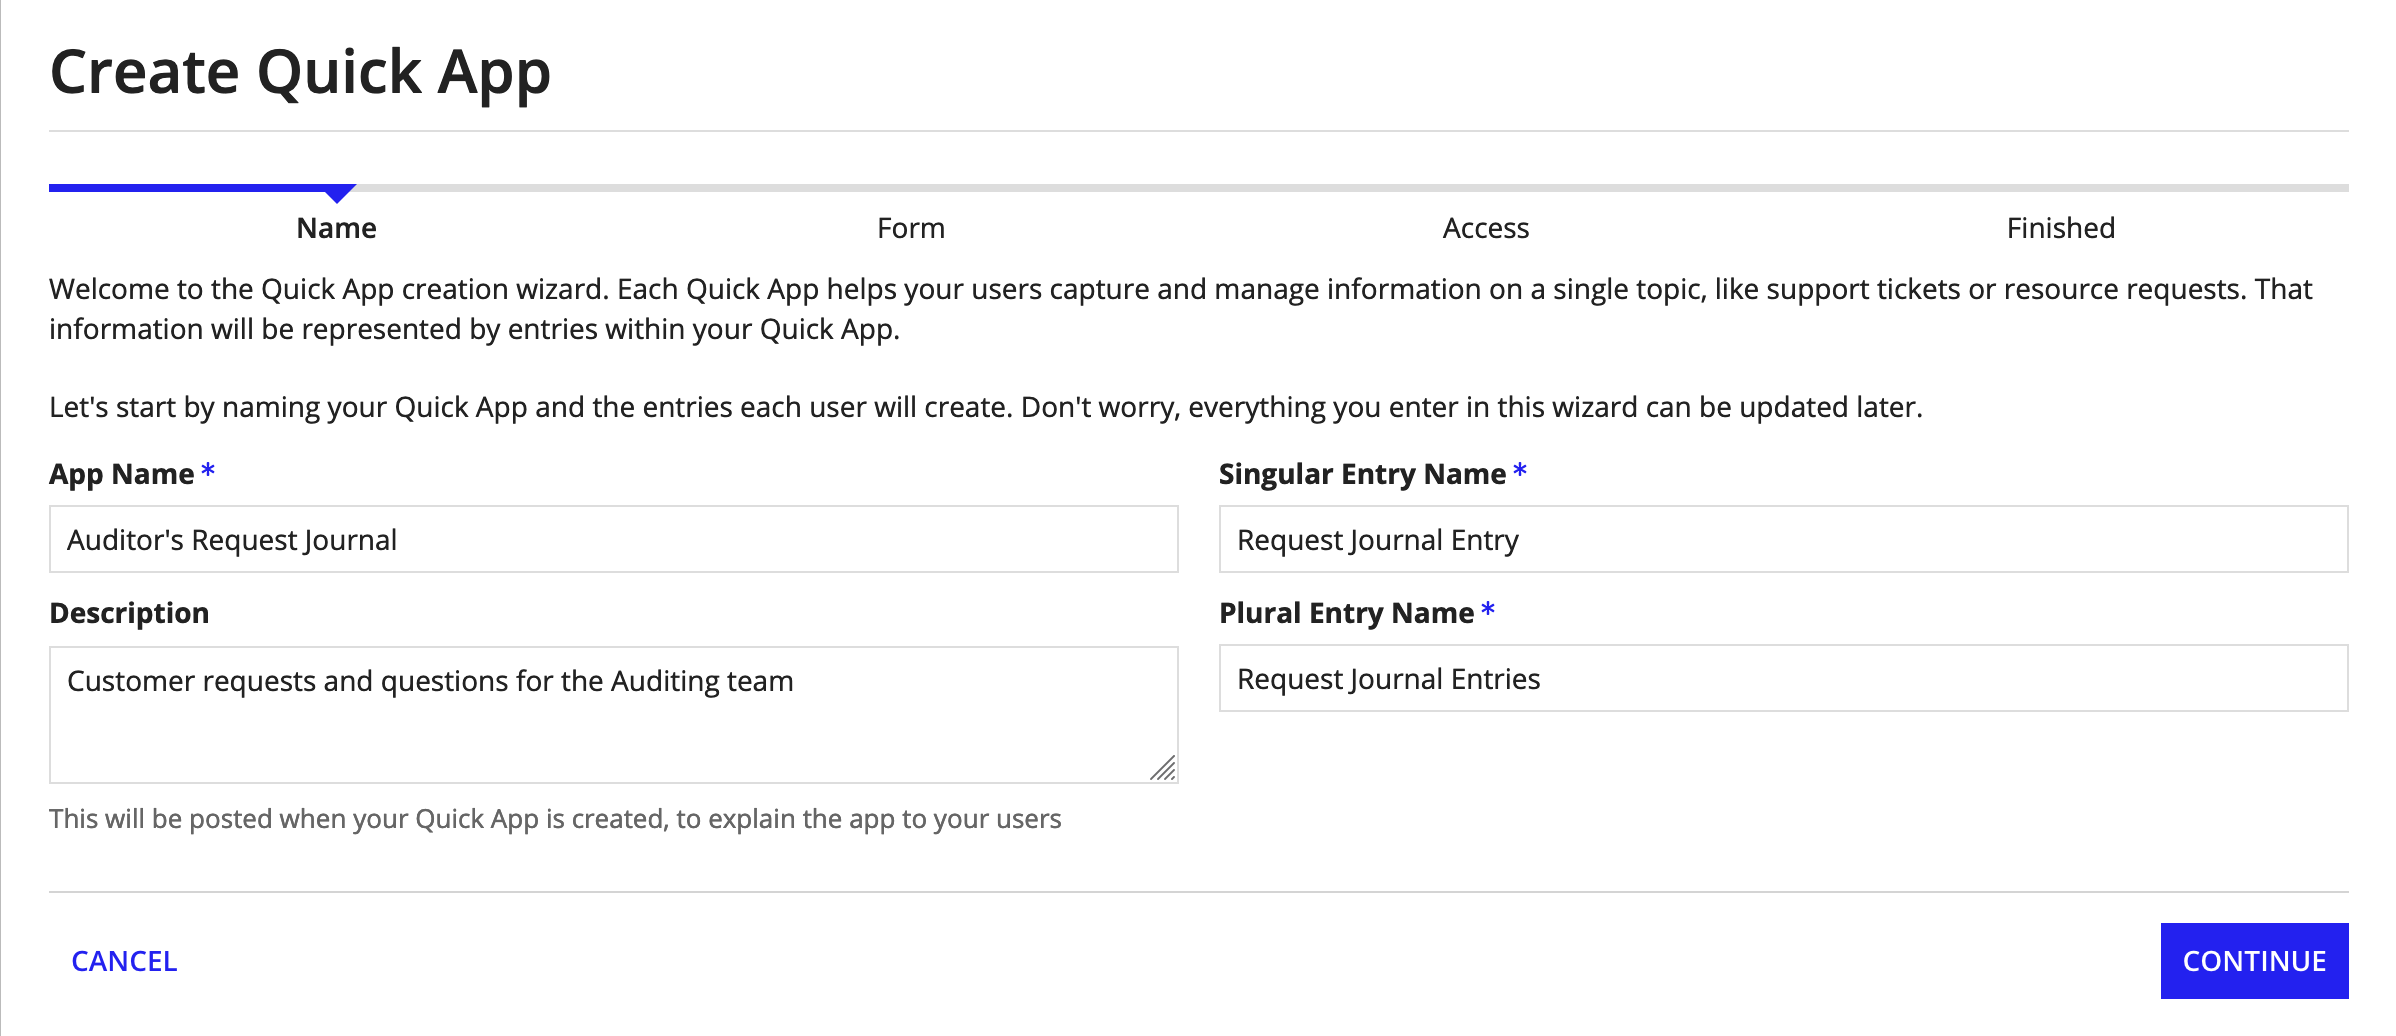
Once you’re done, click Continue.
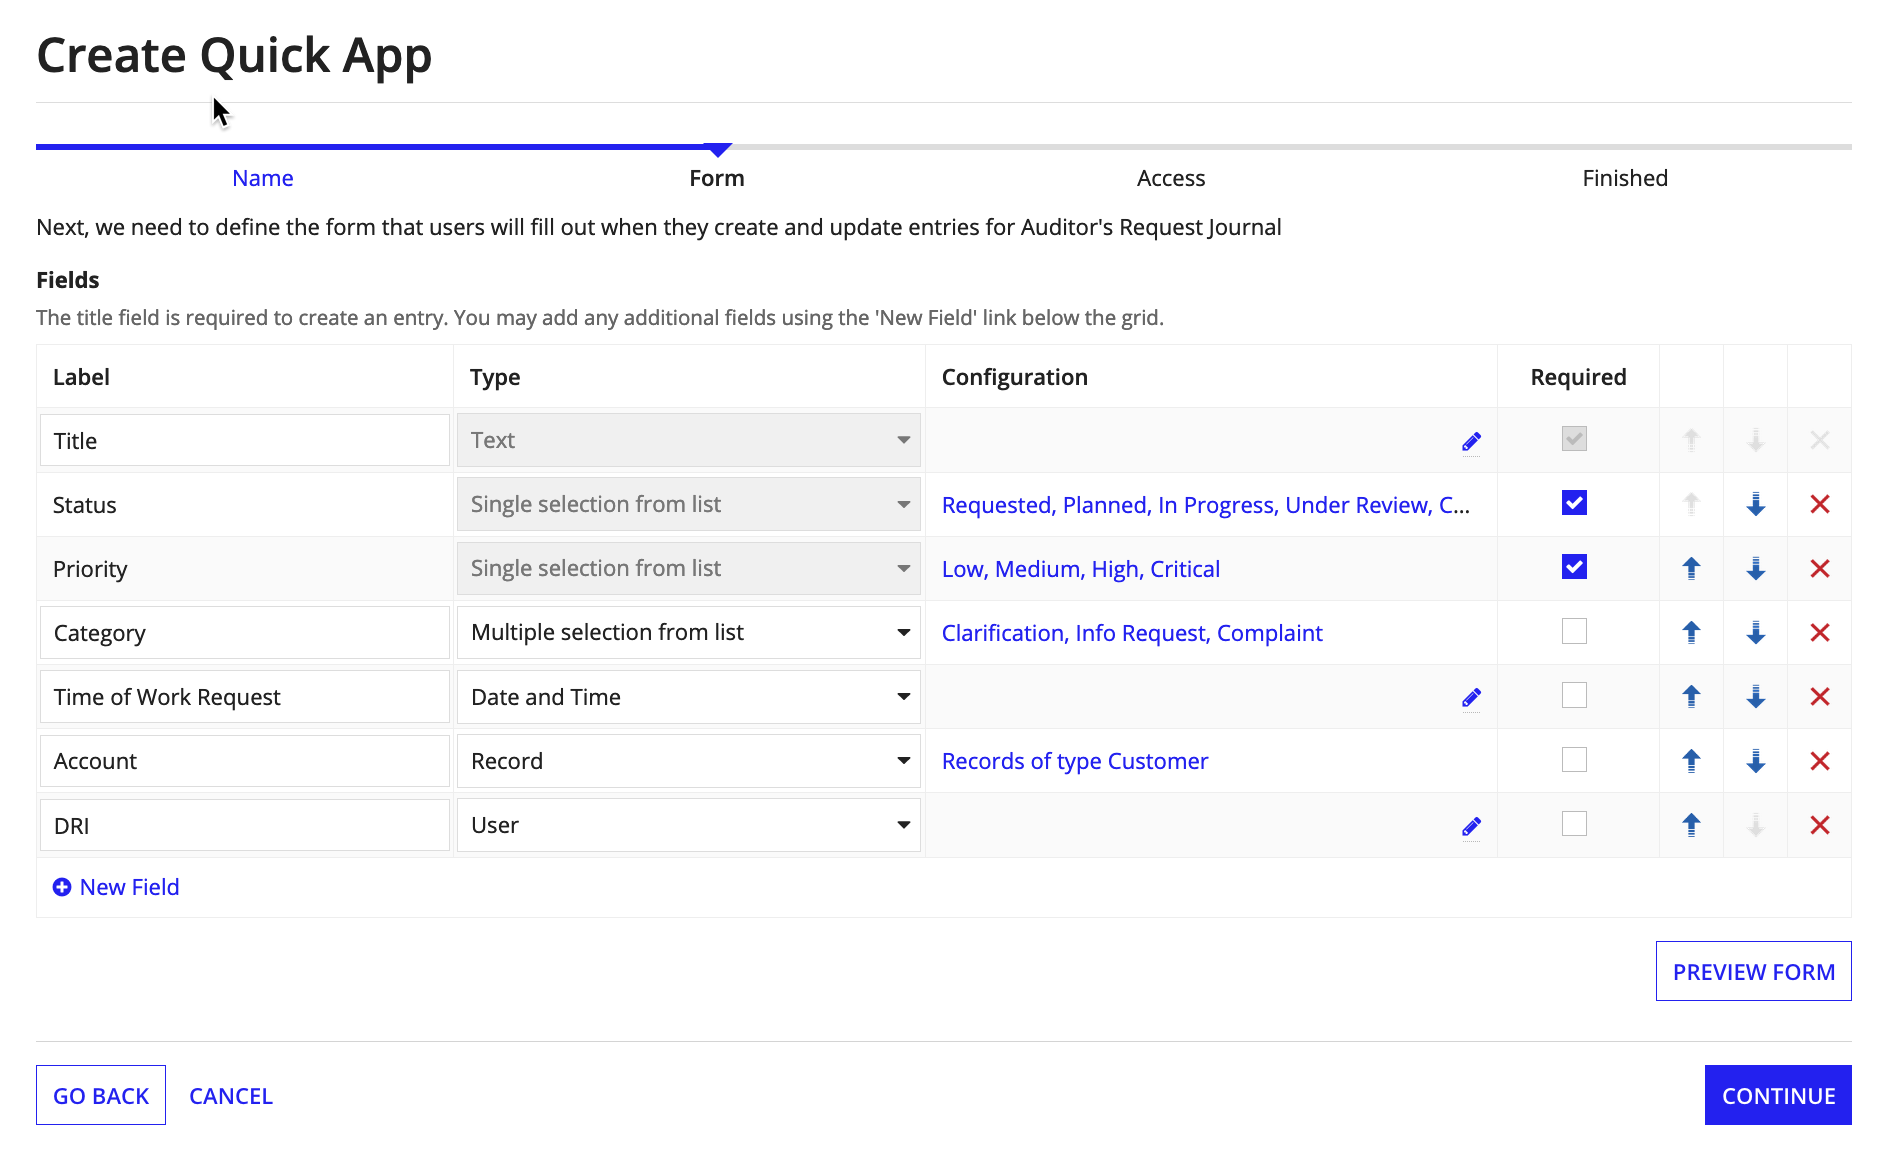
This step allows you to describe the interface used for entering and displaying individual entries in your Quick App. The grid on this page lists the fields that are shown in each interface for an entry in your Quick App.
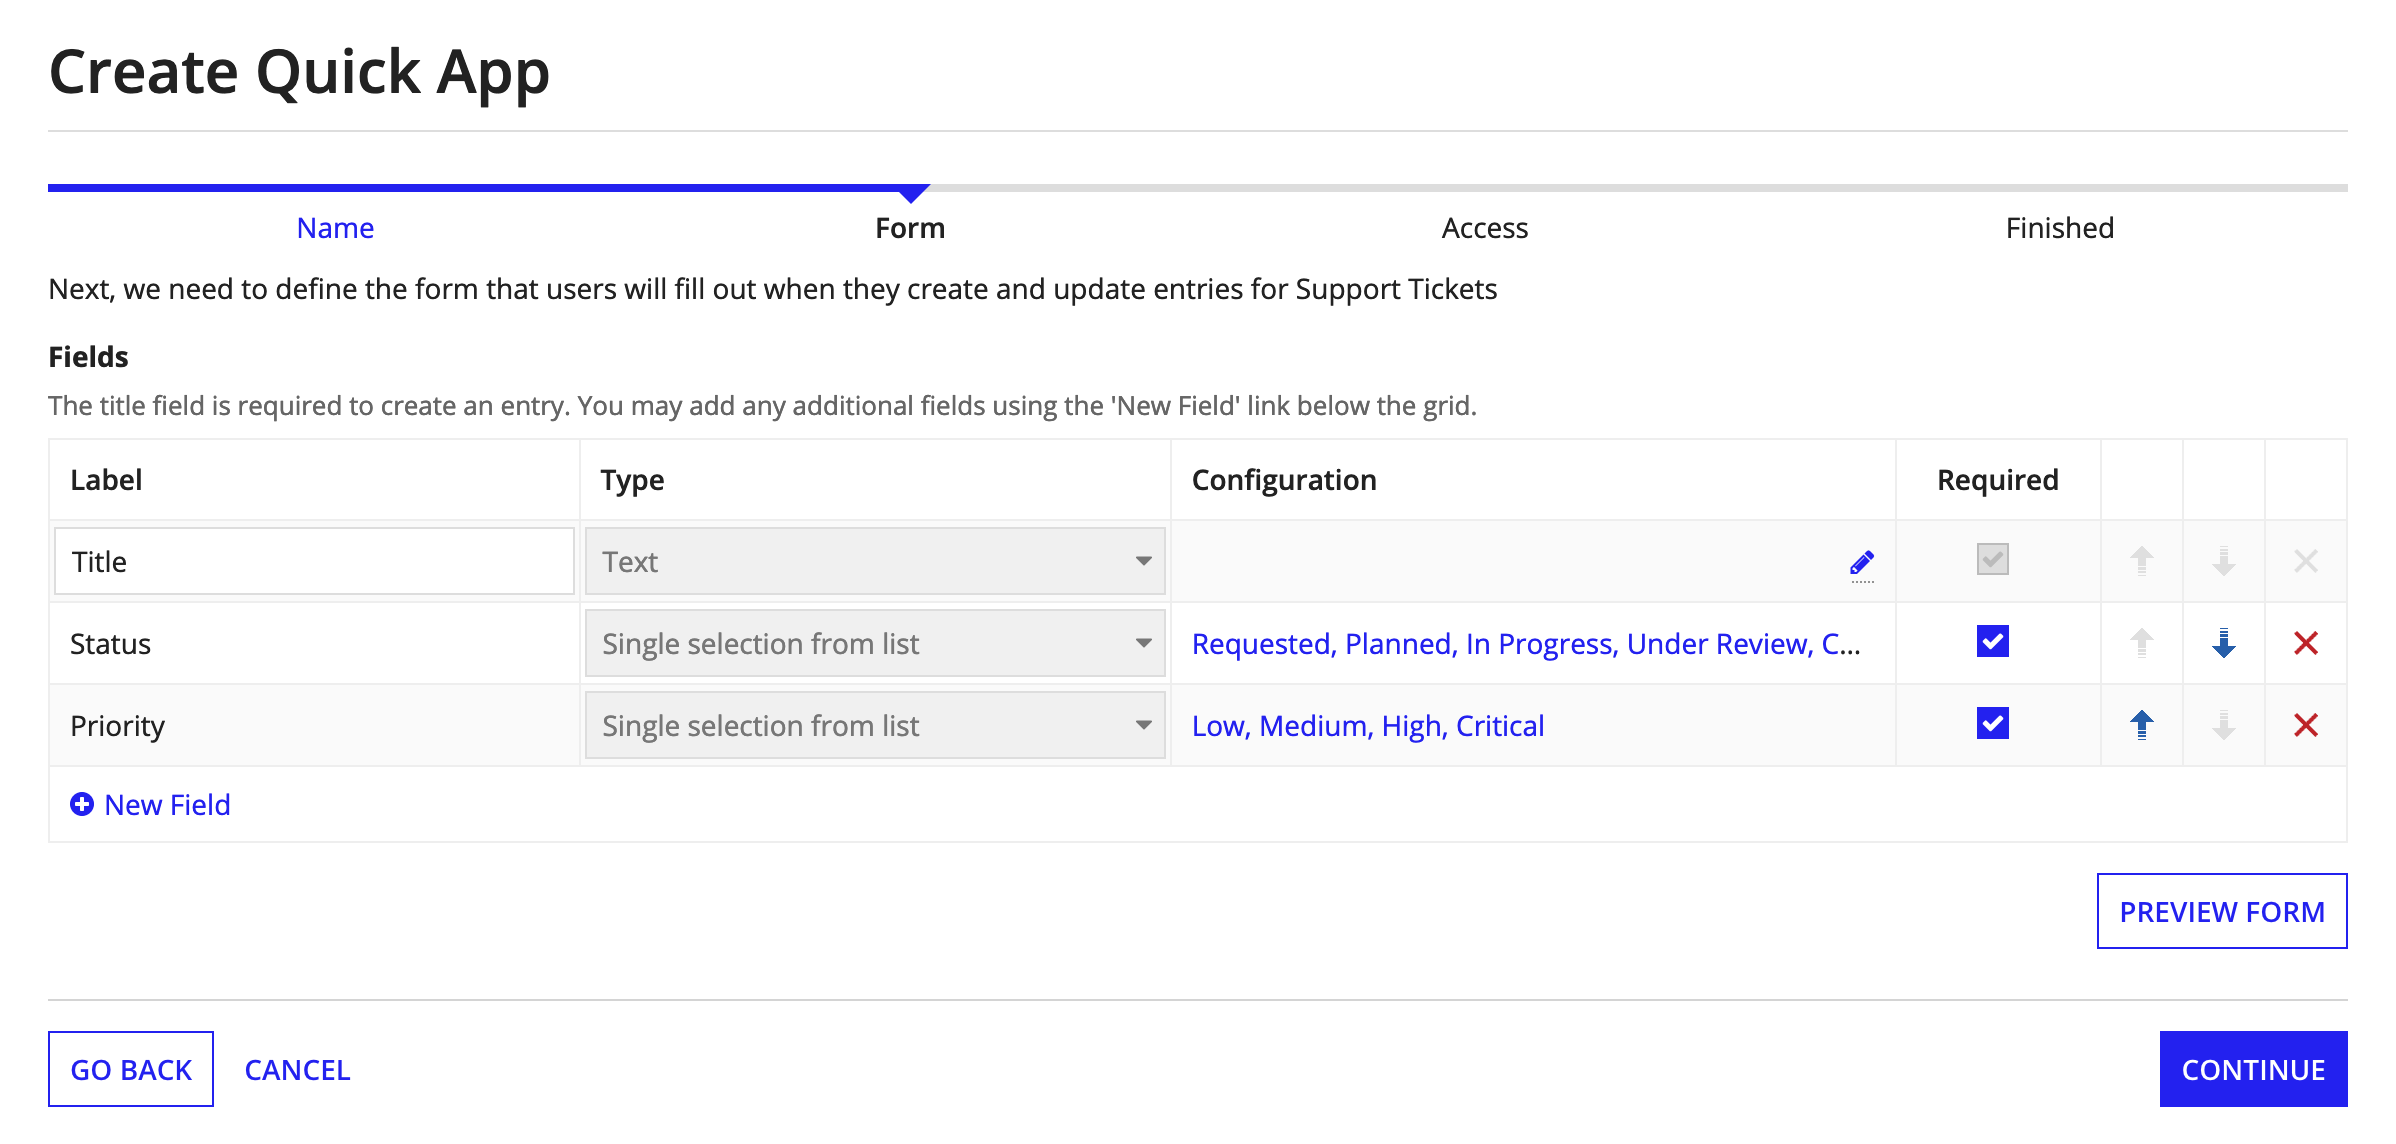
Enter the name and type for each field that you add. You may click on any link within the Configuration column to change options for that field, such as a help tooltip or instructional text, as well as controlling the order of the fields and whether or not each is required. Don't worry about getting something wrong here; Quick Apps are extremely easy to update.
Tip: Title, Status, and Priority are common to all Quick Apps and cannot be removed, though you can change some of their configurations.
Click Preview Form at any time to see what your form will look like. While previewing a form, you can click Dashboard to see what the entry will look like when someone is viewing the record.
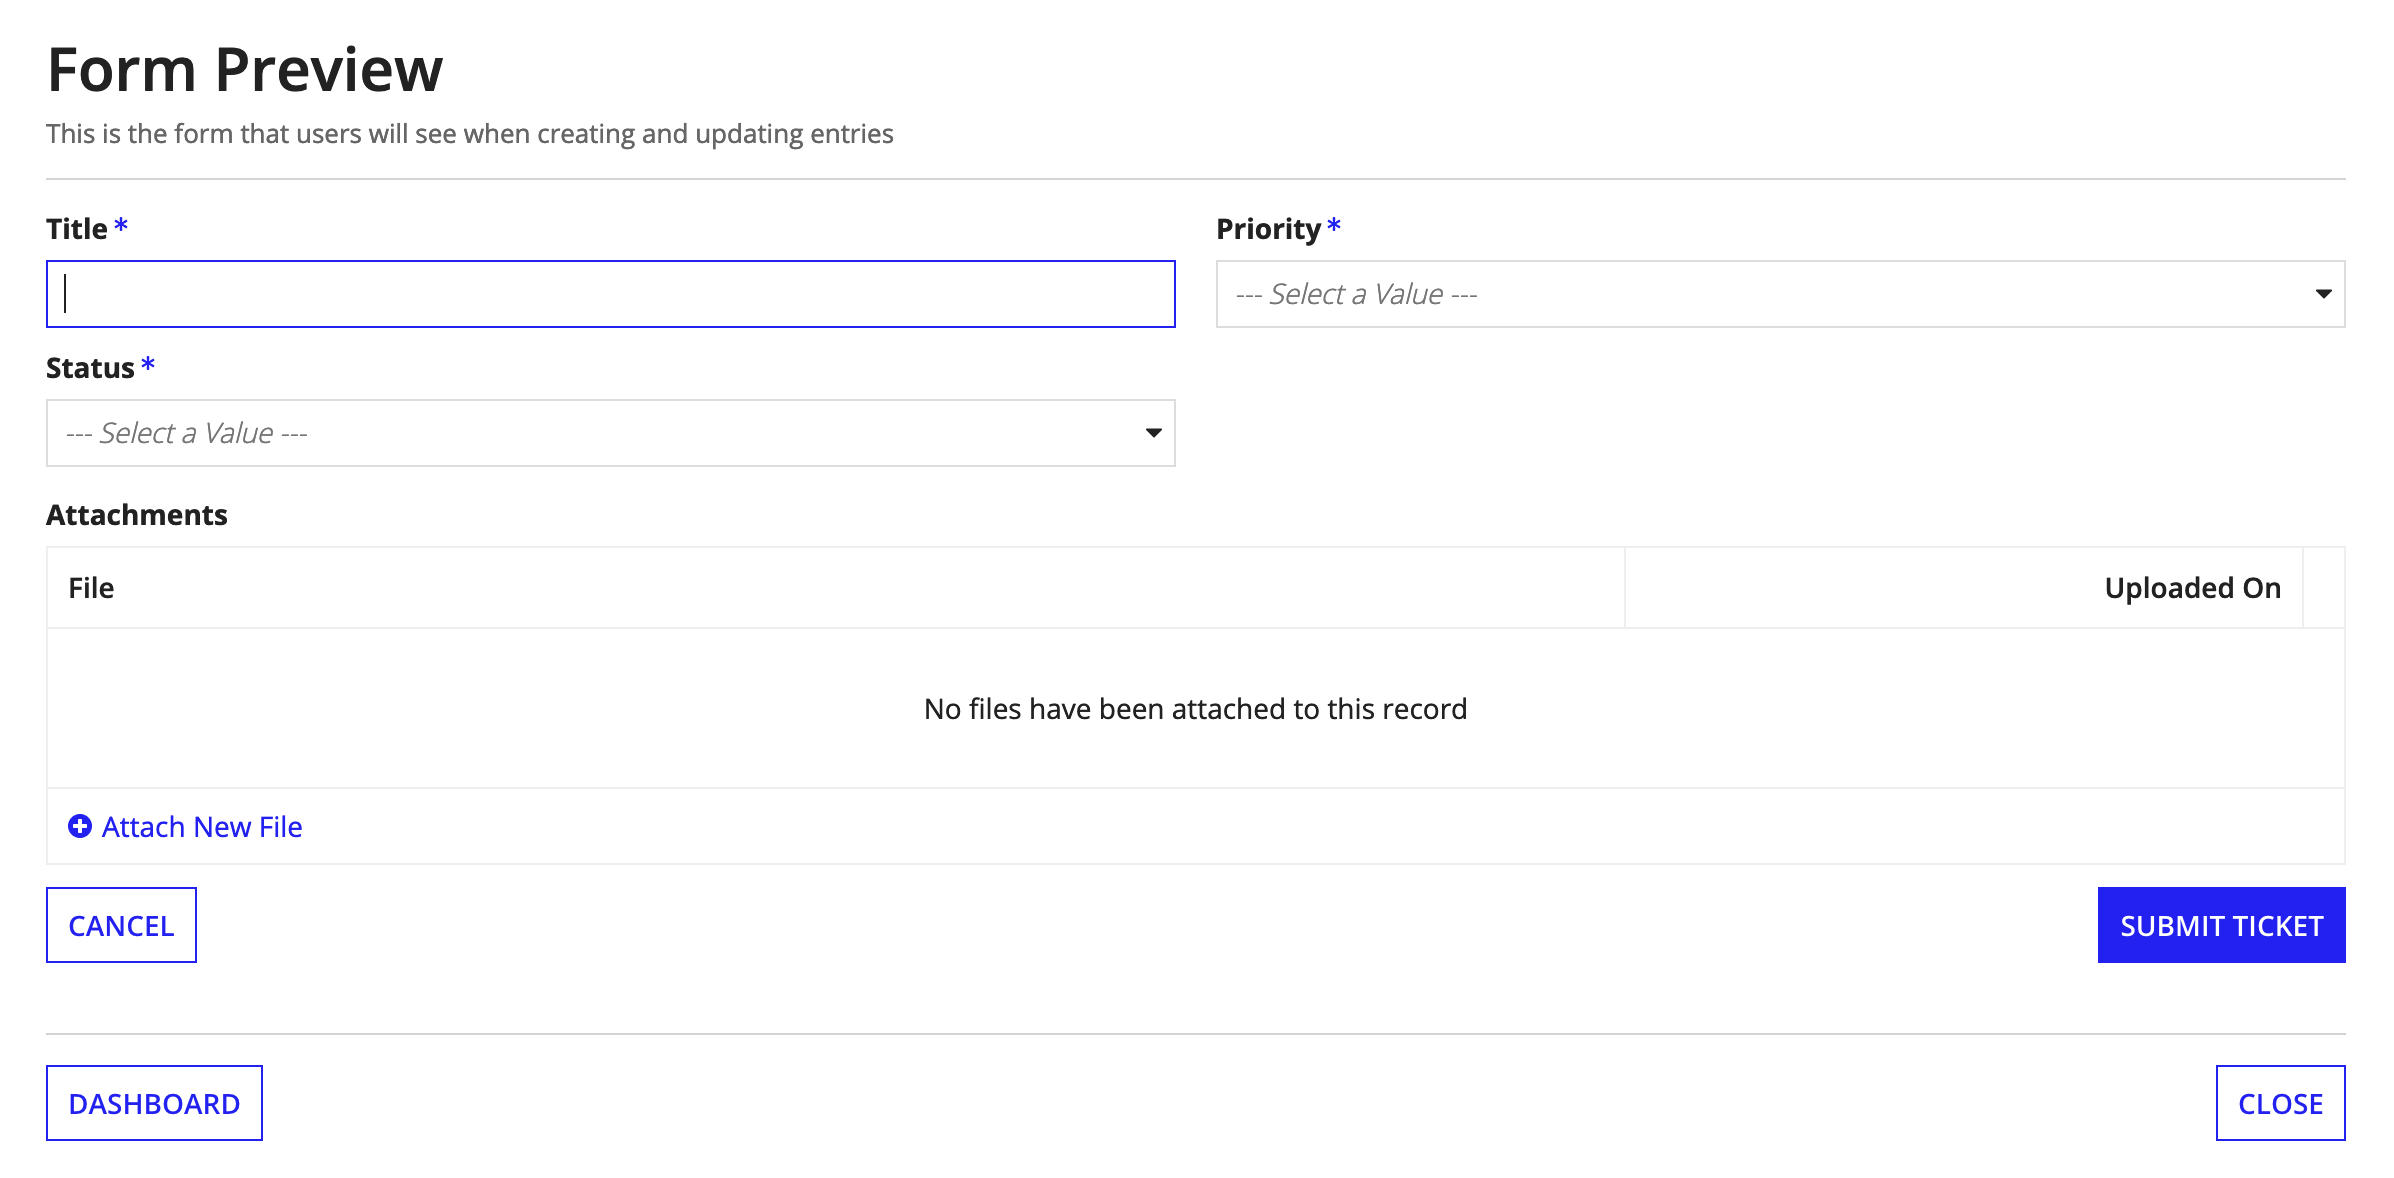
You'll notice that we added a field to allow you to attach files. This is available on all Quick Apps. We also capture information about who created and updated entries.
Take a look at this example of how we configured a form for our Quick App:
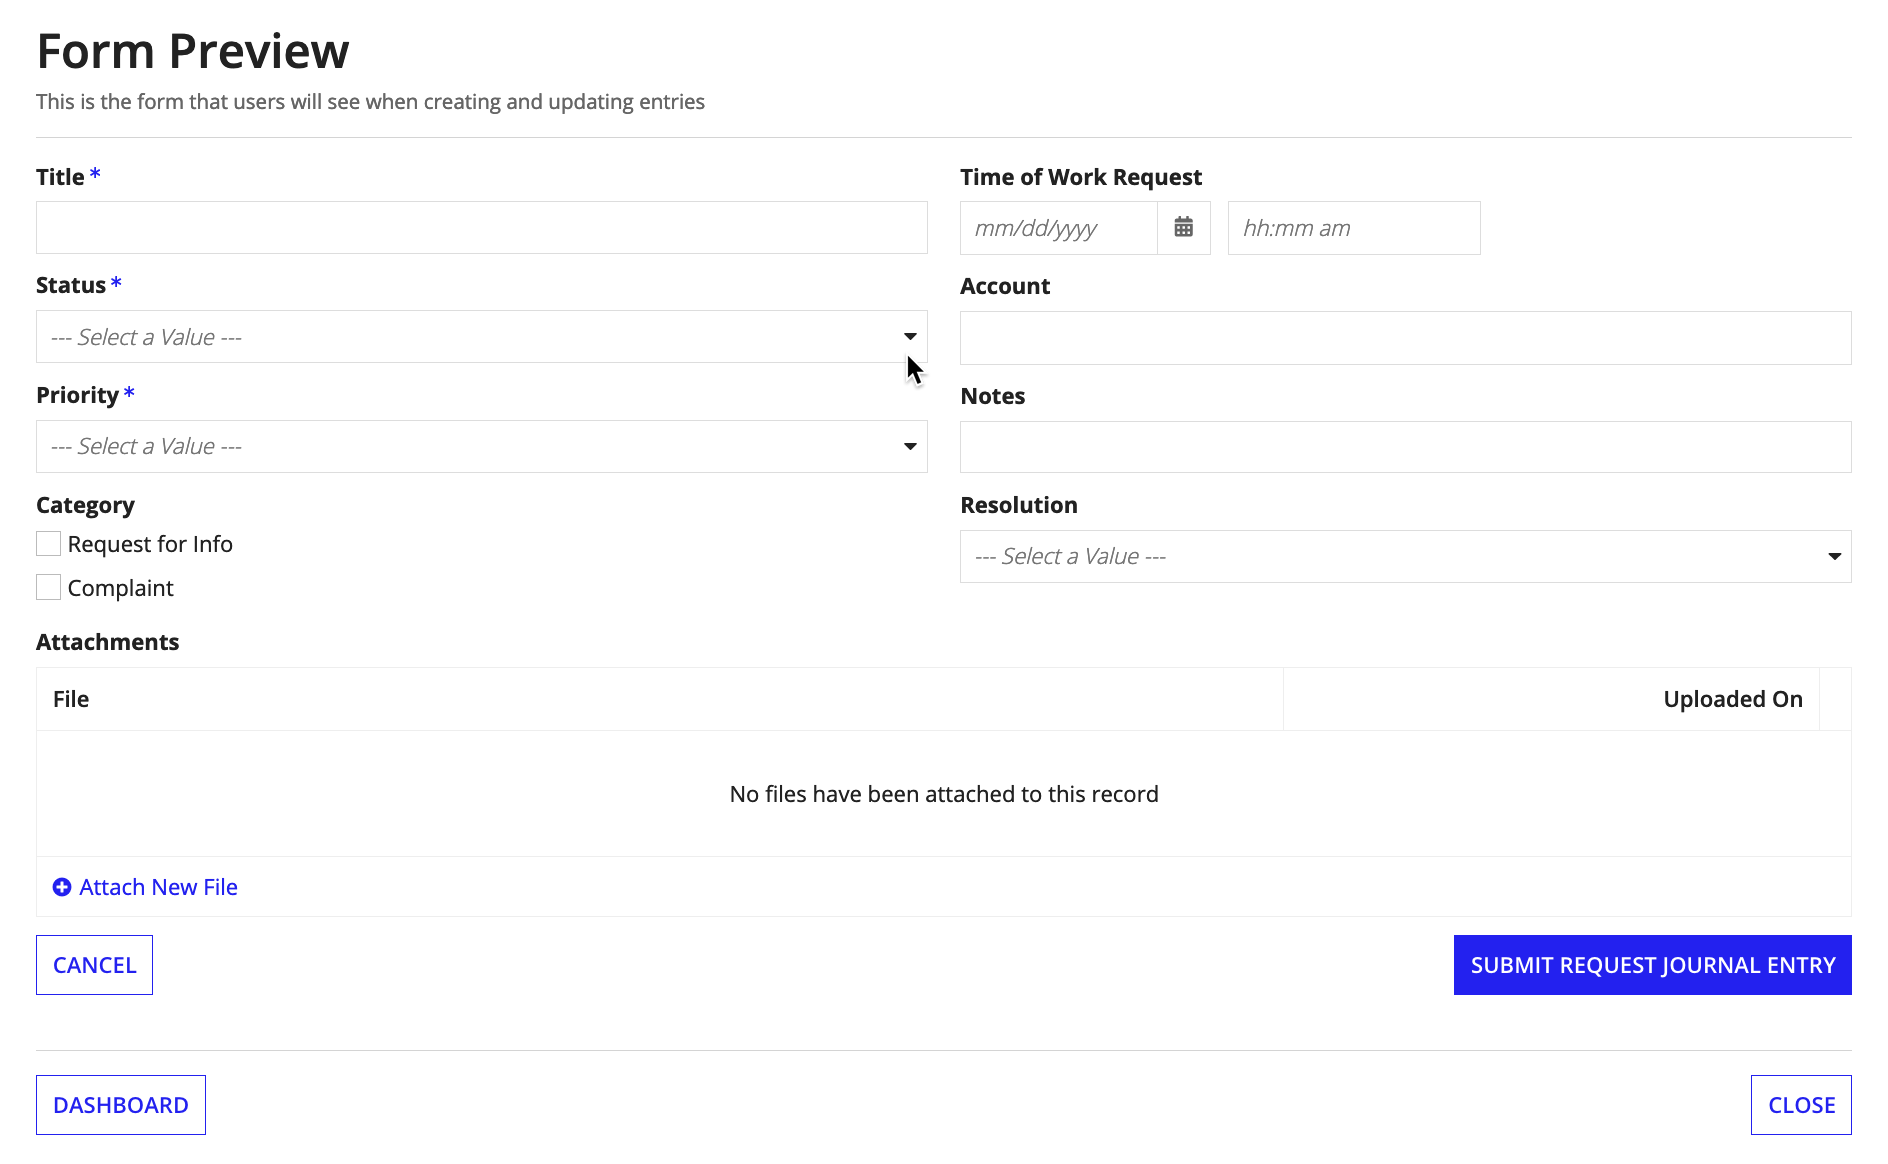
Here's what the preview of our form looks like:
Once you’re done configuring your form, click Continue.
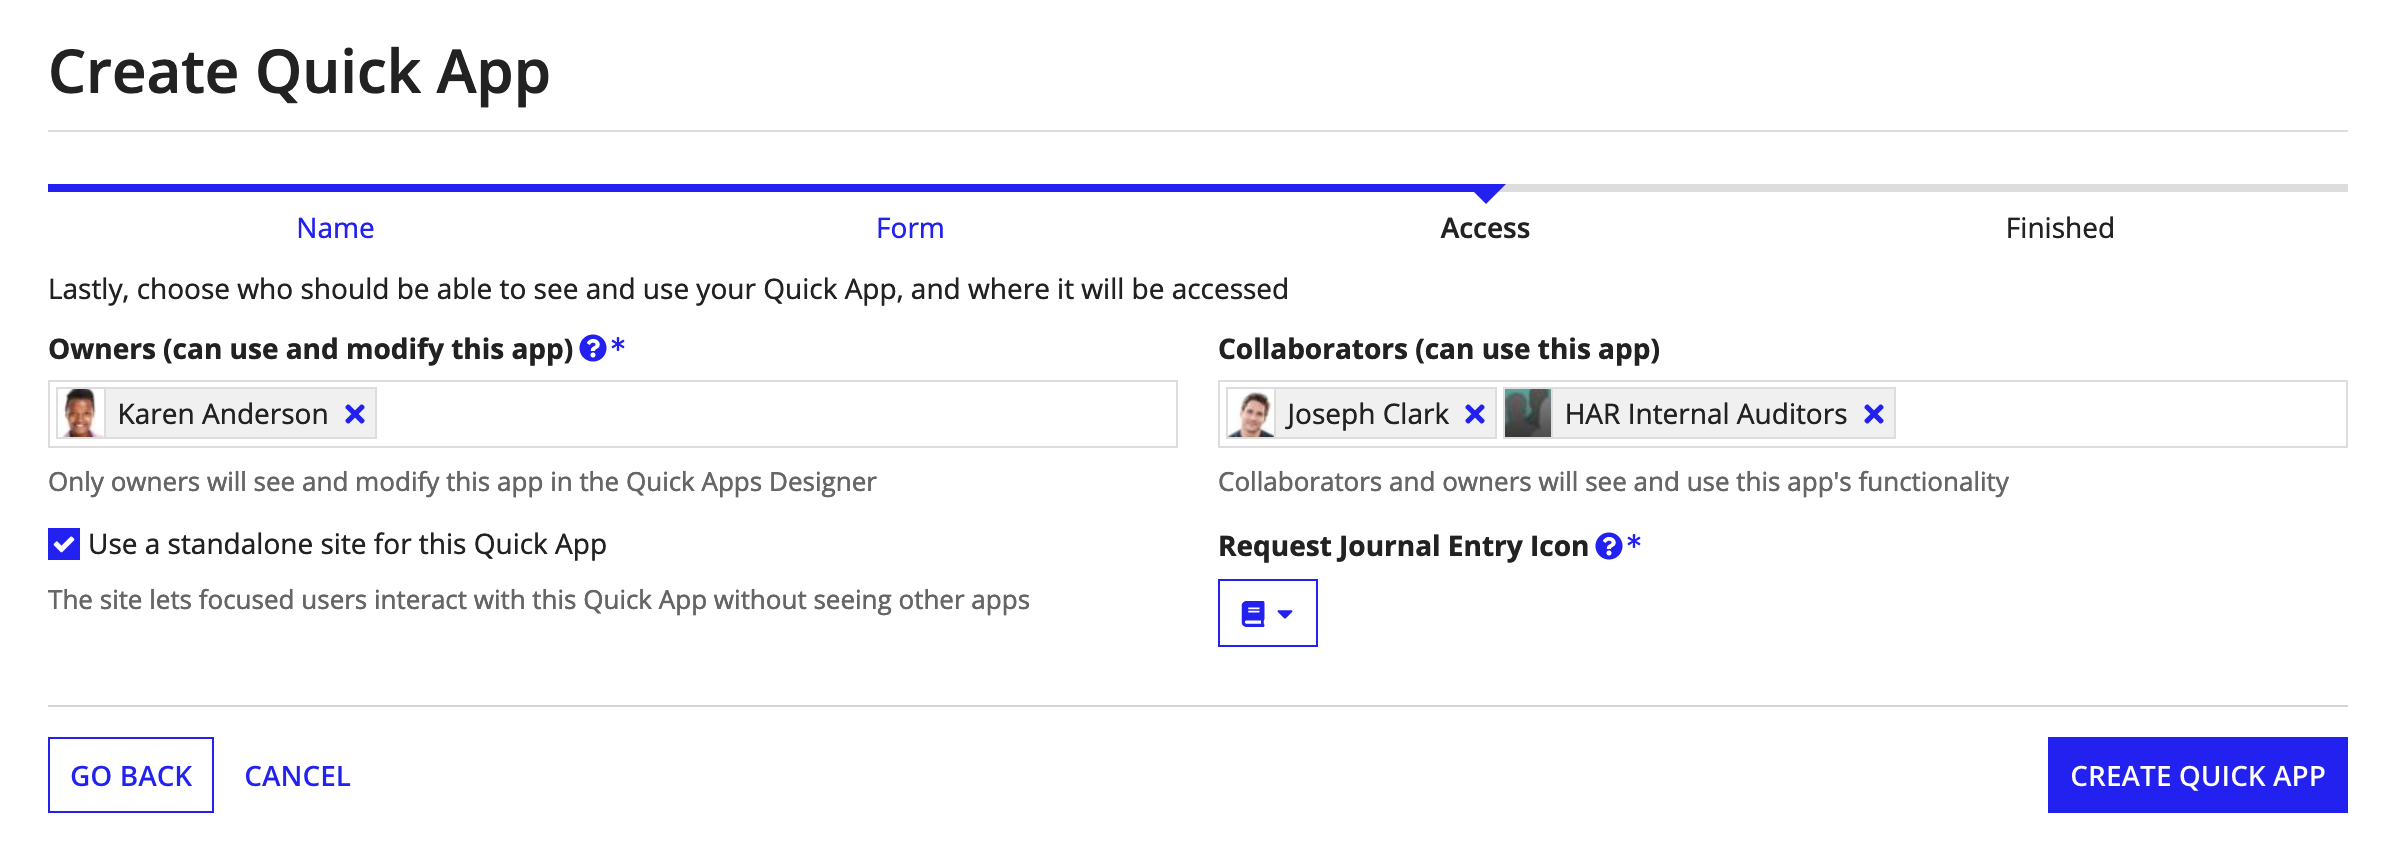
The final step is to choose who can see and use your Quick App, and where they can access it. In the Collaborators field, start typing the names of users or groups to select them.
In the example below, you can see we selected the HAR Internal Auditors group and Joseph Clark.
The Quick Apps Designer will automatically create a new group to with these people and groups within it. This group is used to secure the app's functionality and content. This means that a user added to the Quick App later will still be able to see anything that ever happened in it, while a user removed from the Quick App later will have access to nothing.
Below that, you can choose whether your Quick App should be accessed only in Tempo alongside your other applications, or also in a standalone site. Since each Quick App has standalone functionality, they make a natural fit for use with a site. When using a site, the user also chooses the icon that best represents the entries in their app. This icon will be used to represent the first page in their site, which shows all of the entries in the Quick App.
In the example below, we left the Site option turned on, since this Quick App will be used mostly with the Customer record that it already links to. We chose a book for the icon to evoke the 'work journal' concept. In the second image, we see that the icon is used for the first page in the site.

Once you’re done adding users and groups and configuring access, click Create Quick App.
That's it!
Once Appian is done assembling your Quick App, you'll see a congratulations screen much like the one in the screenshot below.
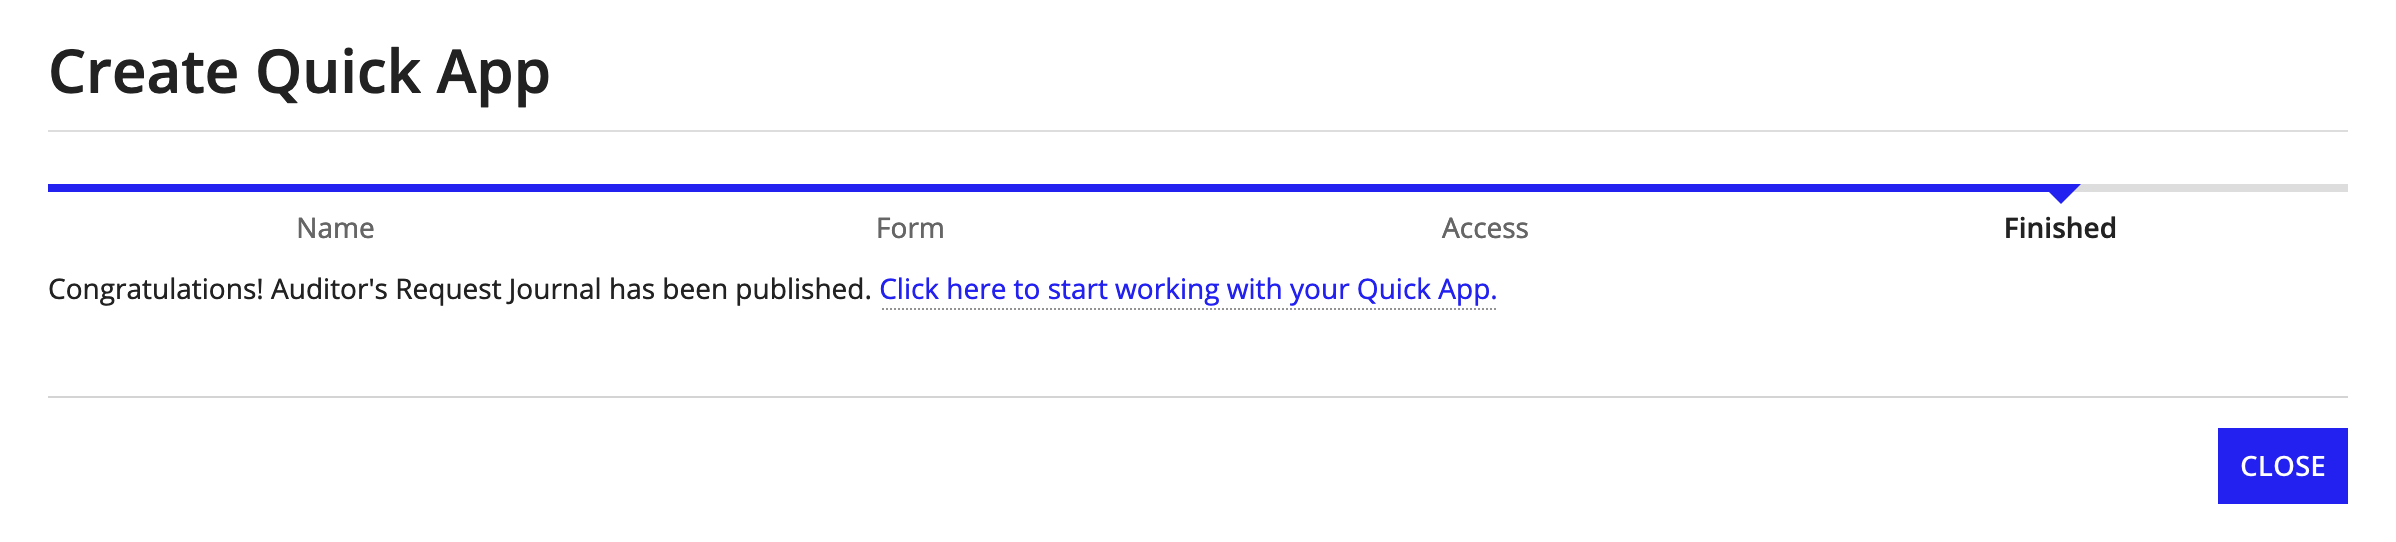
You'll find a short cut in this dialog to take you to the site for your Quick App, but your Quick App is now available in Tempo just like other Appian applications as well, and everyone with access can now see it in the Records, Reports, and Actions tabs.
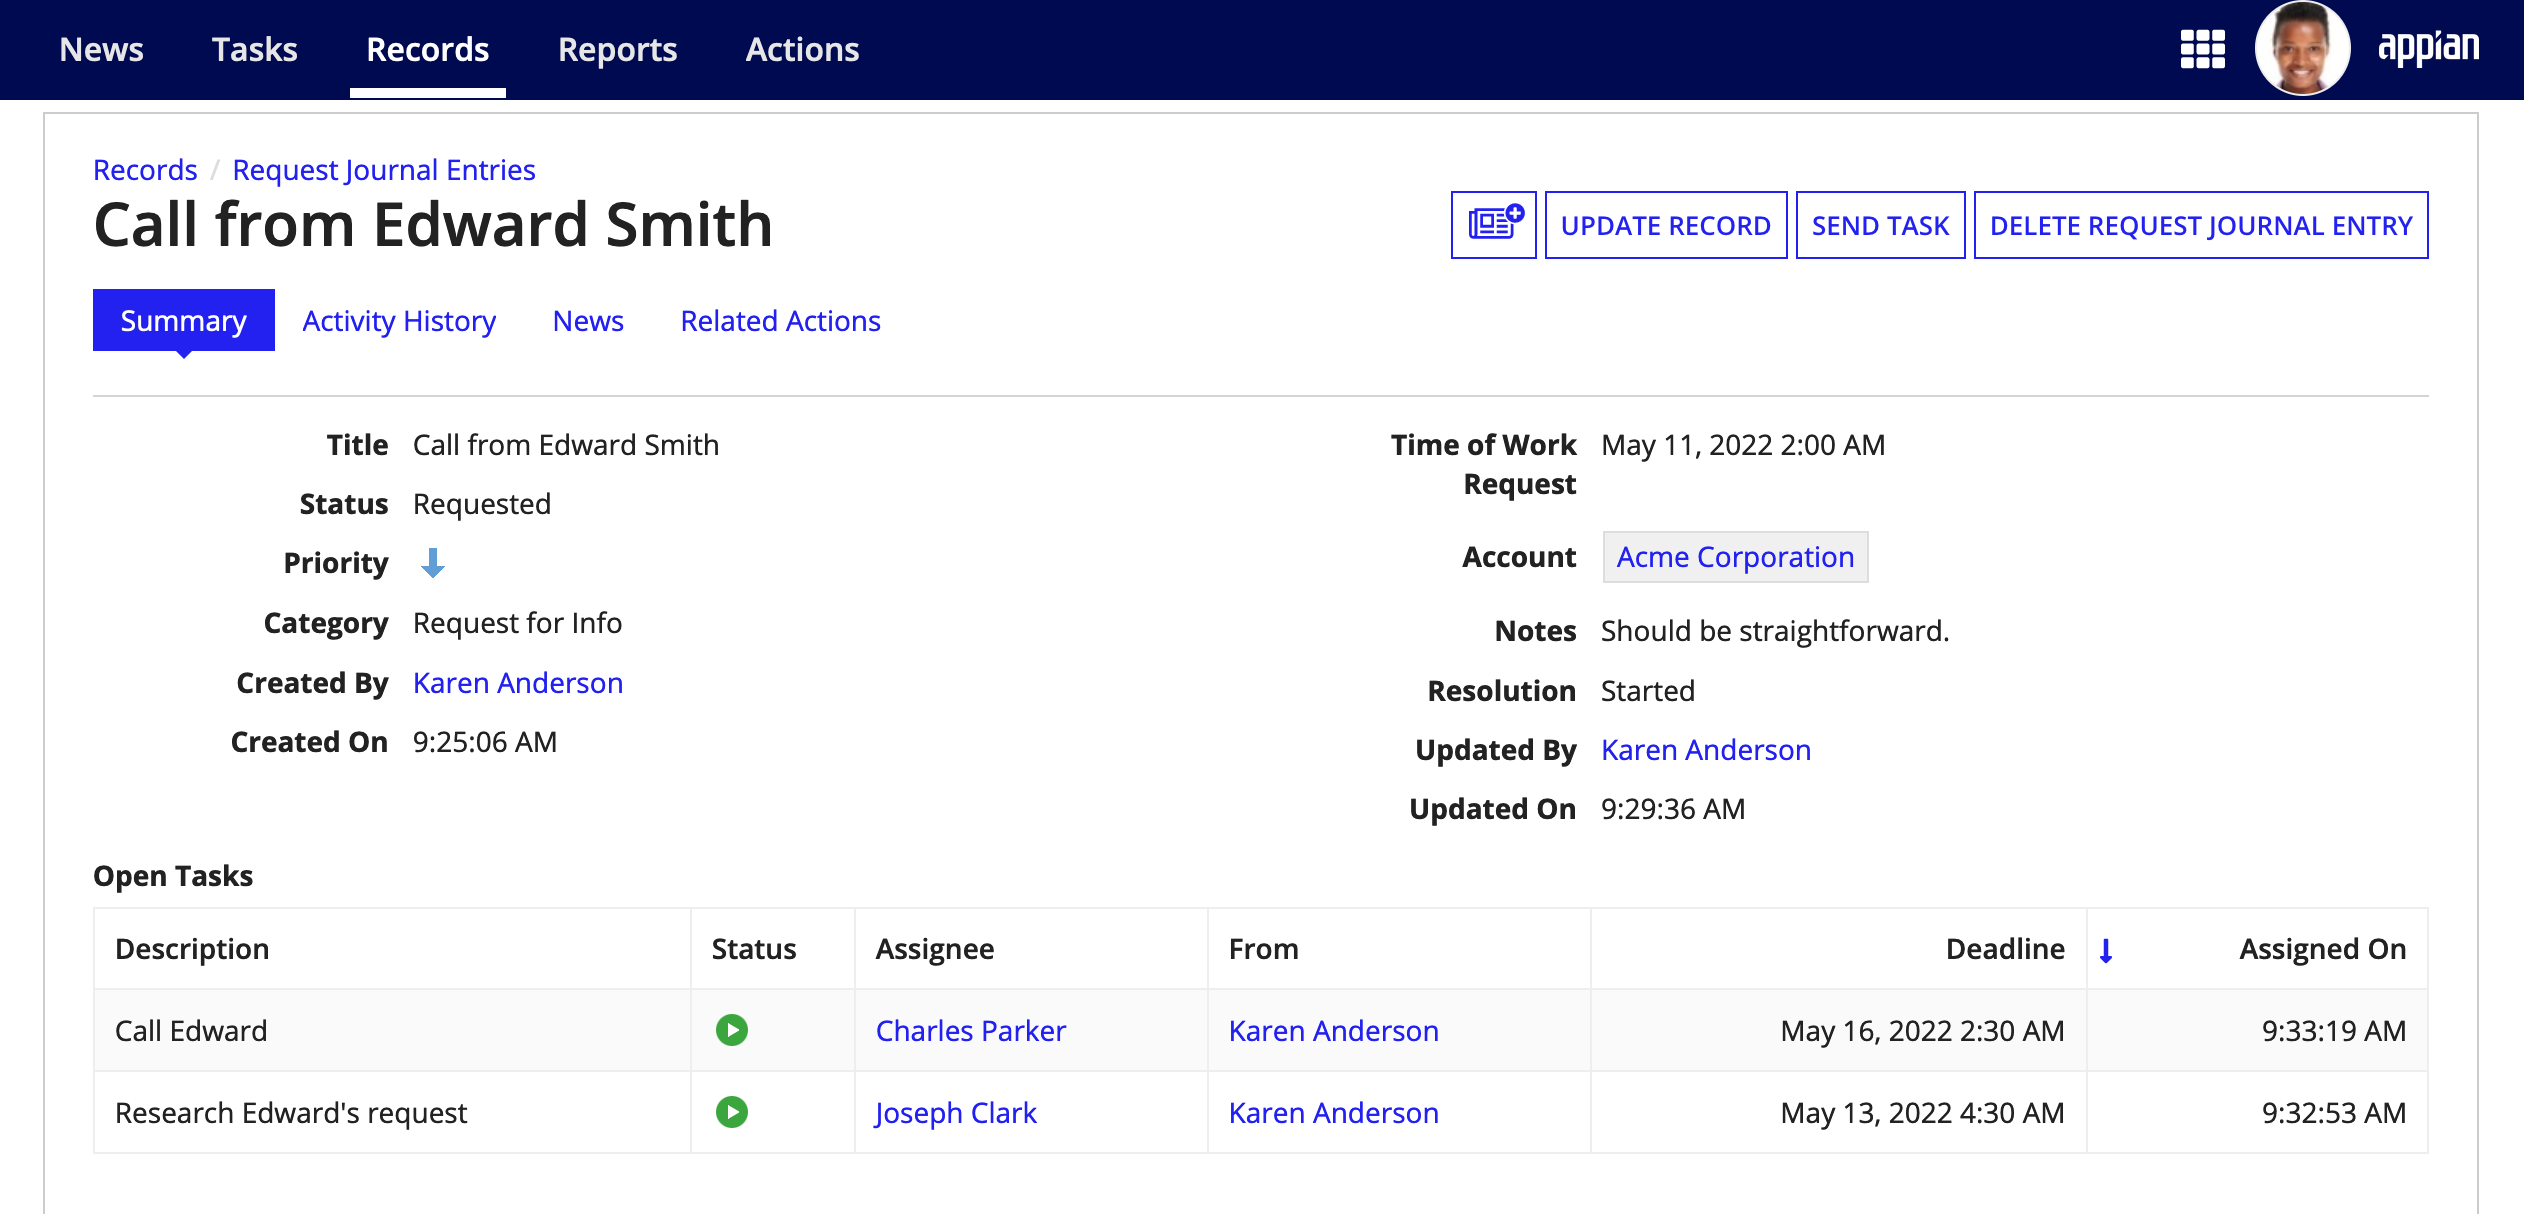
Everyone you set as a collaborator will be able to create, update, and delete entries, as well as send tasks and messages about each entry to collaborate on them. They'll also have a trackable history of all the activity done in the Quick App.
Making changes is as simple as re-opening the wizard, changing, adding, or deleting as needed. This updates the Quick App without losing any work; your existing records, attachments, tasks, and posts will remain.
However, to preserve the integrity of your data, you cannot change the type of existing fields. When you need to change the type of a field, you'll need to delete it then add it back as a new field of the desired type.
If you need to make changes beyond what is allowed in the Quick Apps Designer, select it in the grid and click Convert. This will transform the Quick App into a standard application, without changing any of its functionality or data. The former Quick App will simply be removed from the Quick Apps Designer and made accessible only as an application in Appian Designer.
If you need to delete the Quick App, select it in the grid and click Delete. This will remove the Quick App and all data associated with it. Effectively, there will be no remaining indication that the Quick App ever existed.
